
As a makeup artist, you have to be the champion of your work. Your portfolio is the one place where you're not merely credited as part of a full look – the spotlight is fully on you. Thanks to Carbonmade, your portfolio can be primed and ready in just 15 minutes.
Creating a makeup artist portfolio is similar to creating a photography portfolio. Your site should complement your work and showcase it in all its crisp, beautiful detail. You can create a personalized makeup portfolio in five steps using Carbonmade — the same amount of time as a quick face (or maybe less).
Requirements
The only tool you are required for this tutorial is Carbonmade, which is free to use until you launch.
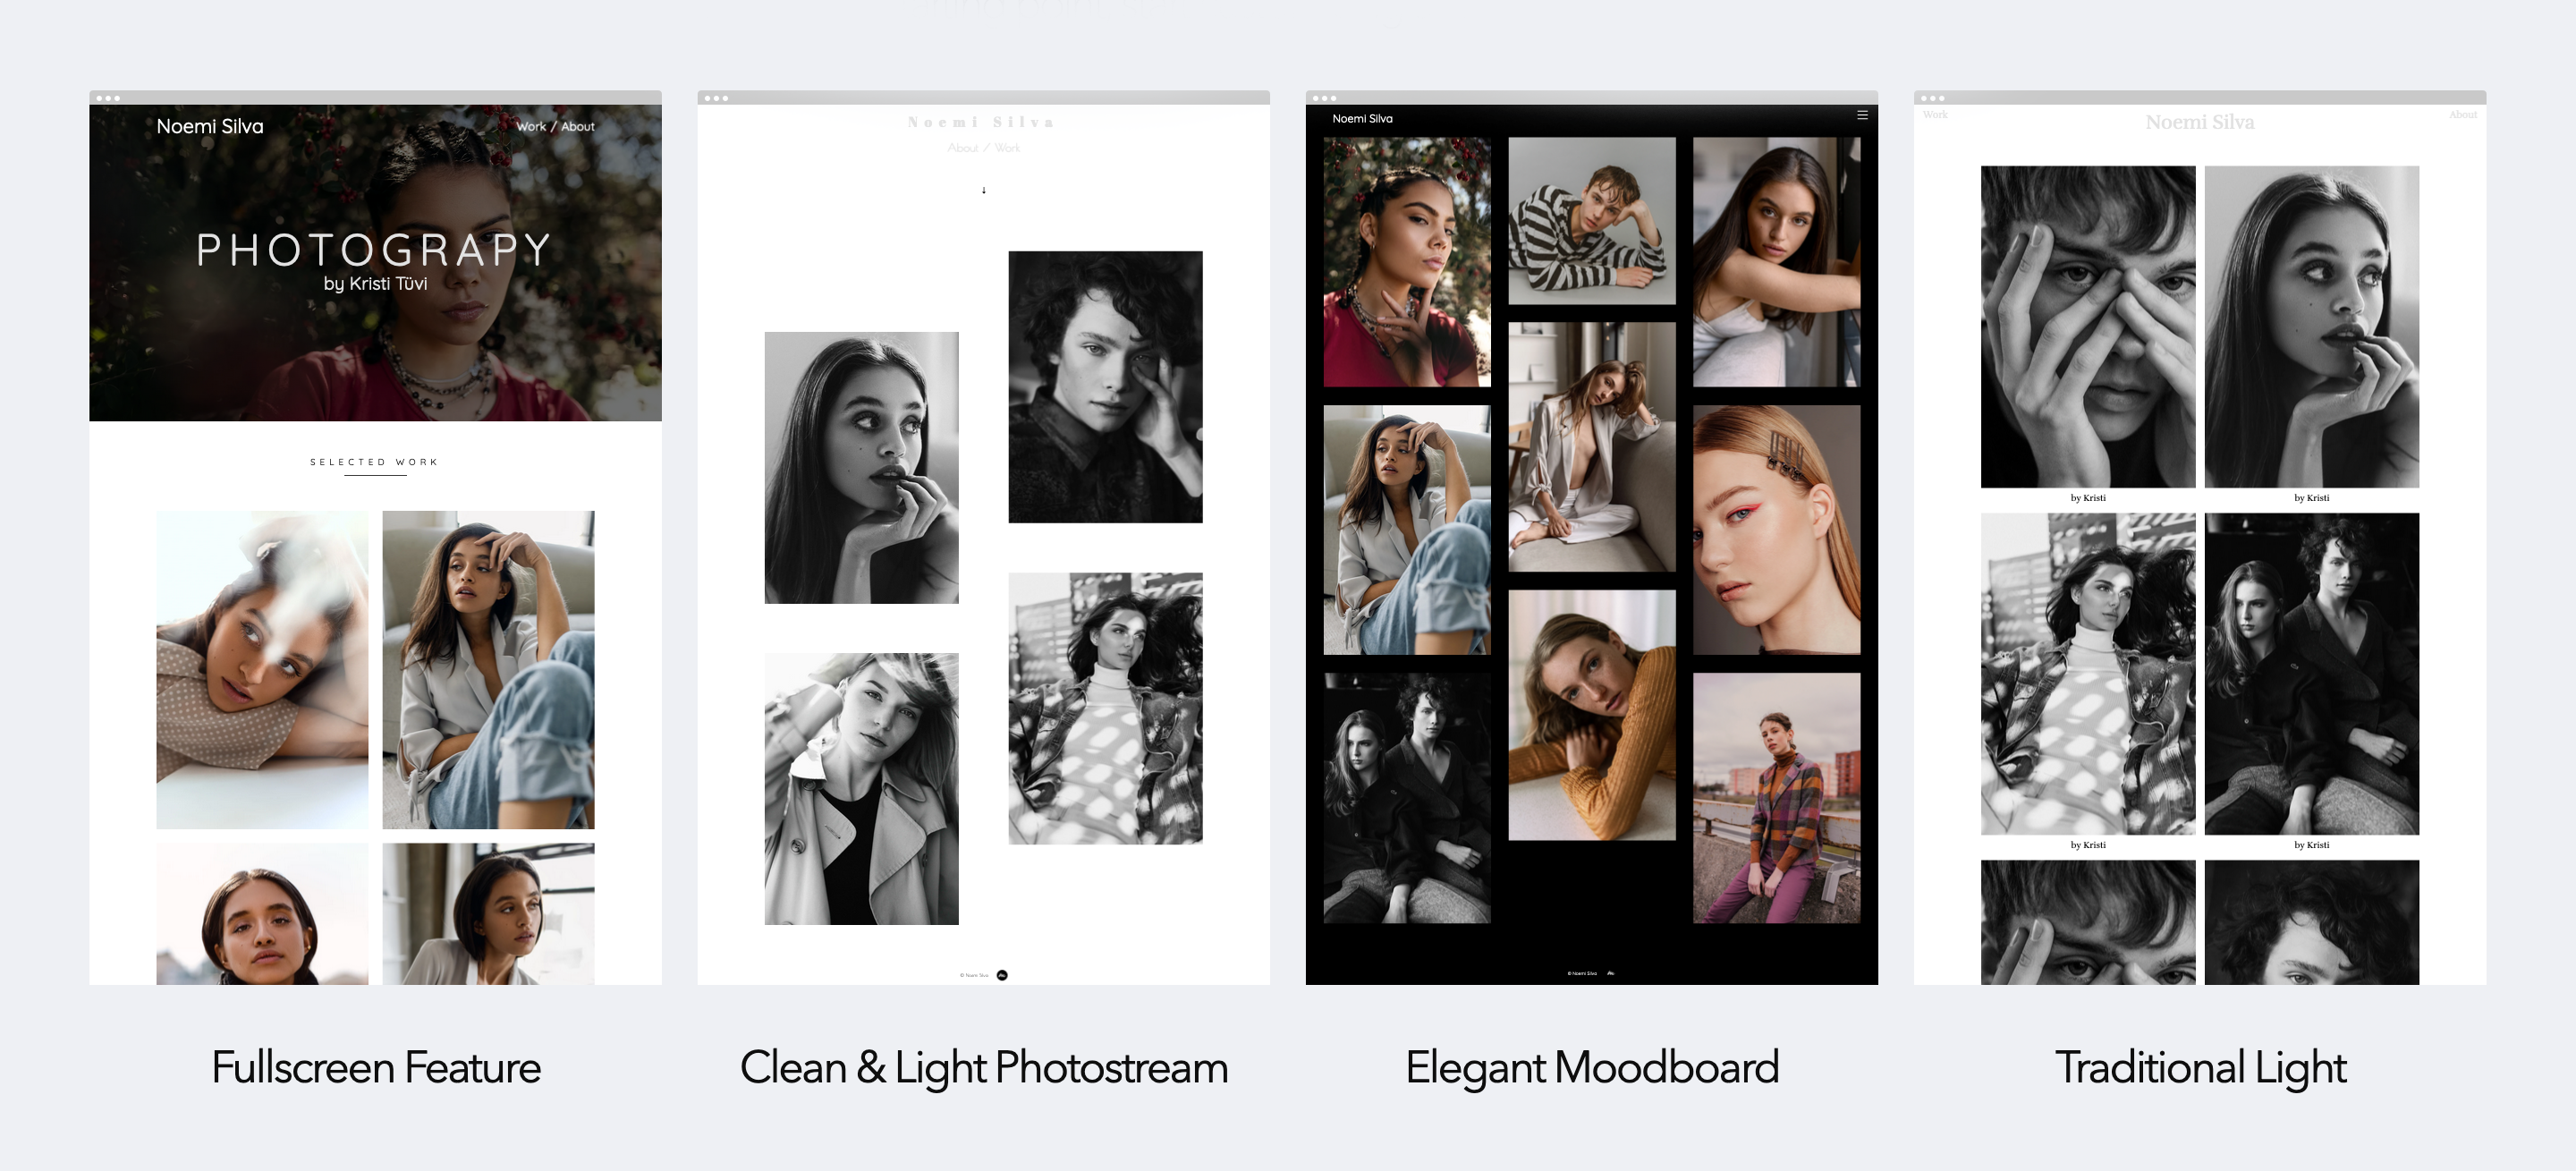
Begin by signing up for Carbonmade and pick a starting point for your layout based on your work and style. No pressure – this can be customized or changed later.
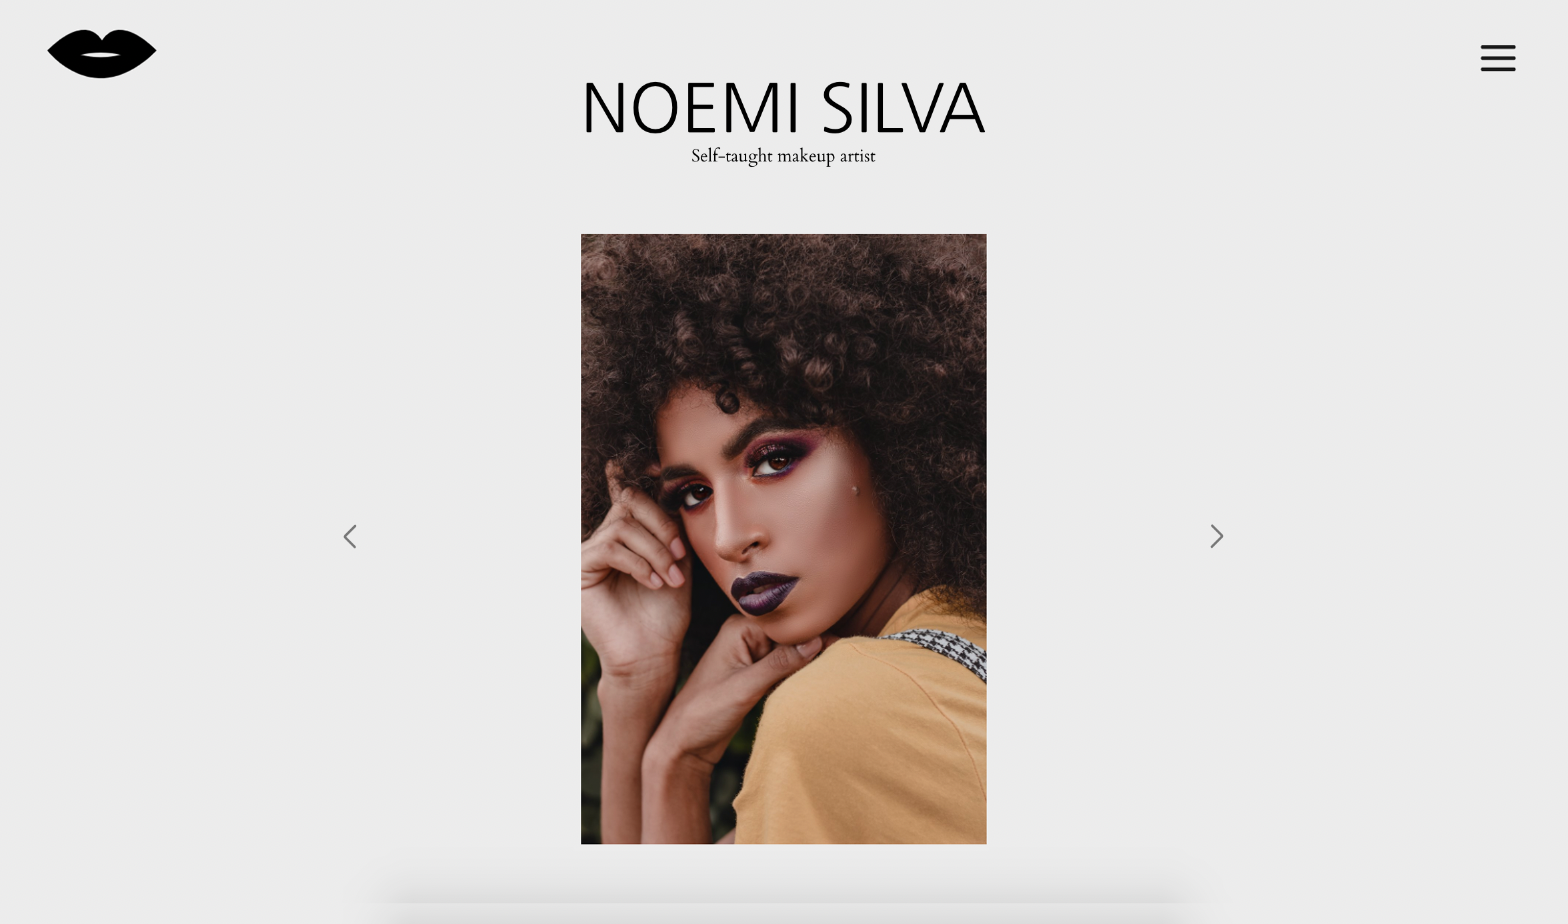
Step 1: Add an intro on your homepage
Start by giving yourself an introduction. Drag the “Title & Teaser” block and edit the headline with your name and the subhead describing yourself and the kind of work you do.
Step 2: Add images to your gallery
Now let's add your work highlights with the “Gallery Slider” block. Drag the block onto the page, then drag & drop five or so photos of your best work from your desktop right on to the block.
Next, drag the "Gallery Grid" block on to your page. Drag and drop your curated photos from your desktop onto the block. Your body of work will be automatically optimized and fall into place within the grid to display.
Adjust the grid by simply clicking the gear ⚙️icon in that section to switch up. Change the padding, image size and more as needed.
Optional alternative to the Gallery Grid: Creating projects to categorize
If you prefer organizing your photos into categories (ie. Editorial, Beauty, Bridal etc.), you can create Projects instead of using the Gallery Grid. Separate pages for each category will appear as a thumbnail link on your homepage.
If you're happy using the Gallery Grid to show individual images for now, meaning your photos won't click through to a case study page, delete the Projects block and skip to Step 3.
Step 3: Add your social icons
Next, let's link your social accounts. Drag the “Social Links” block and click on the gear ⚙️icon to manage links. Add them by selecting the social media networks and typing your @handles.
PRO TIP: Only link to active social accounts you want potential employers or clients to see. If you don't use Twitter regularly or haven't updated your YouTube channel recently, don't link them up.
Step 4: Upload your logo
Have a cute custom logo? Under the Design tab, drag and drop your logo under "Logo & Title" to upload.
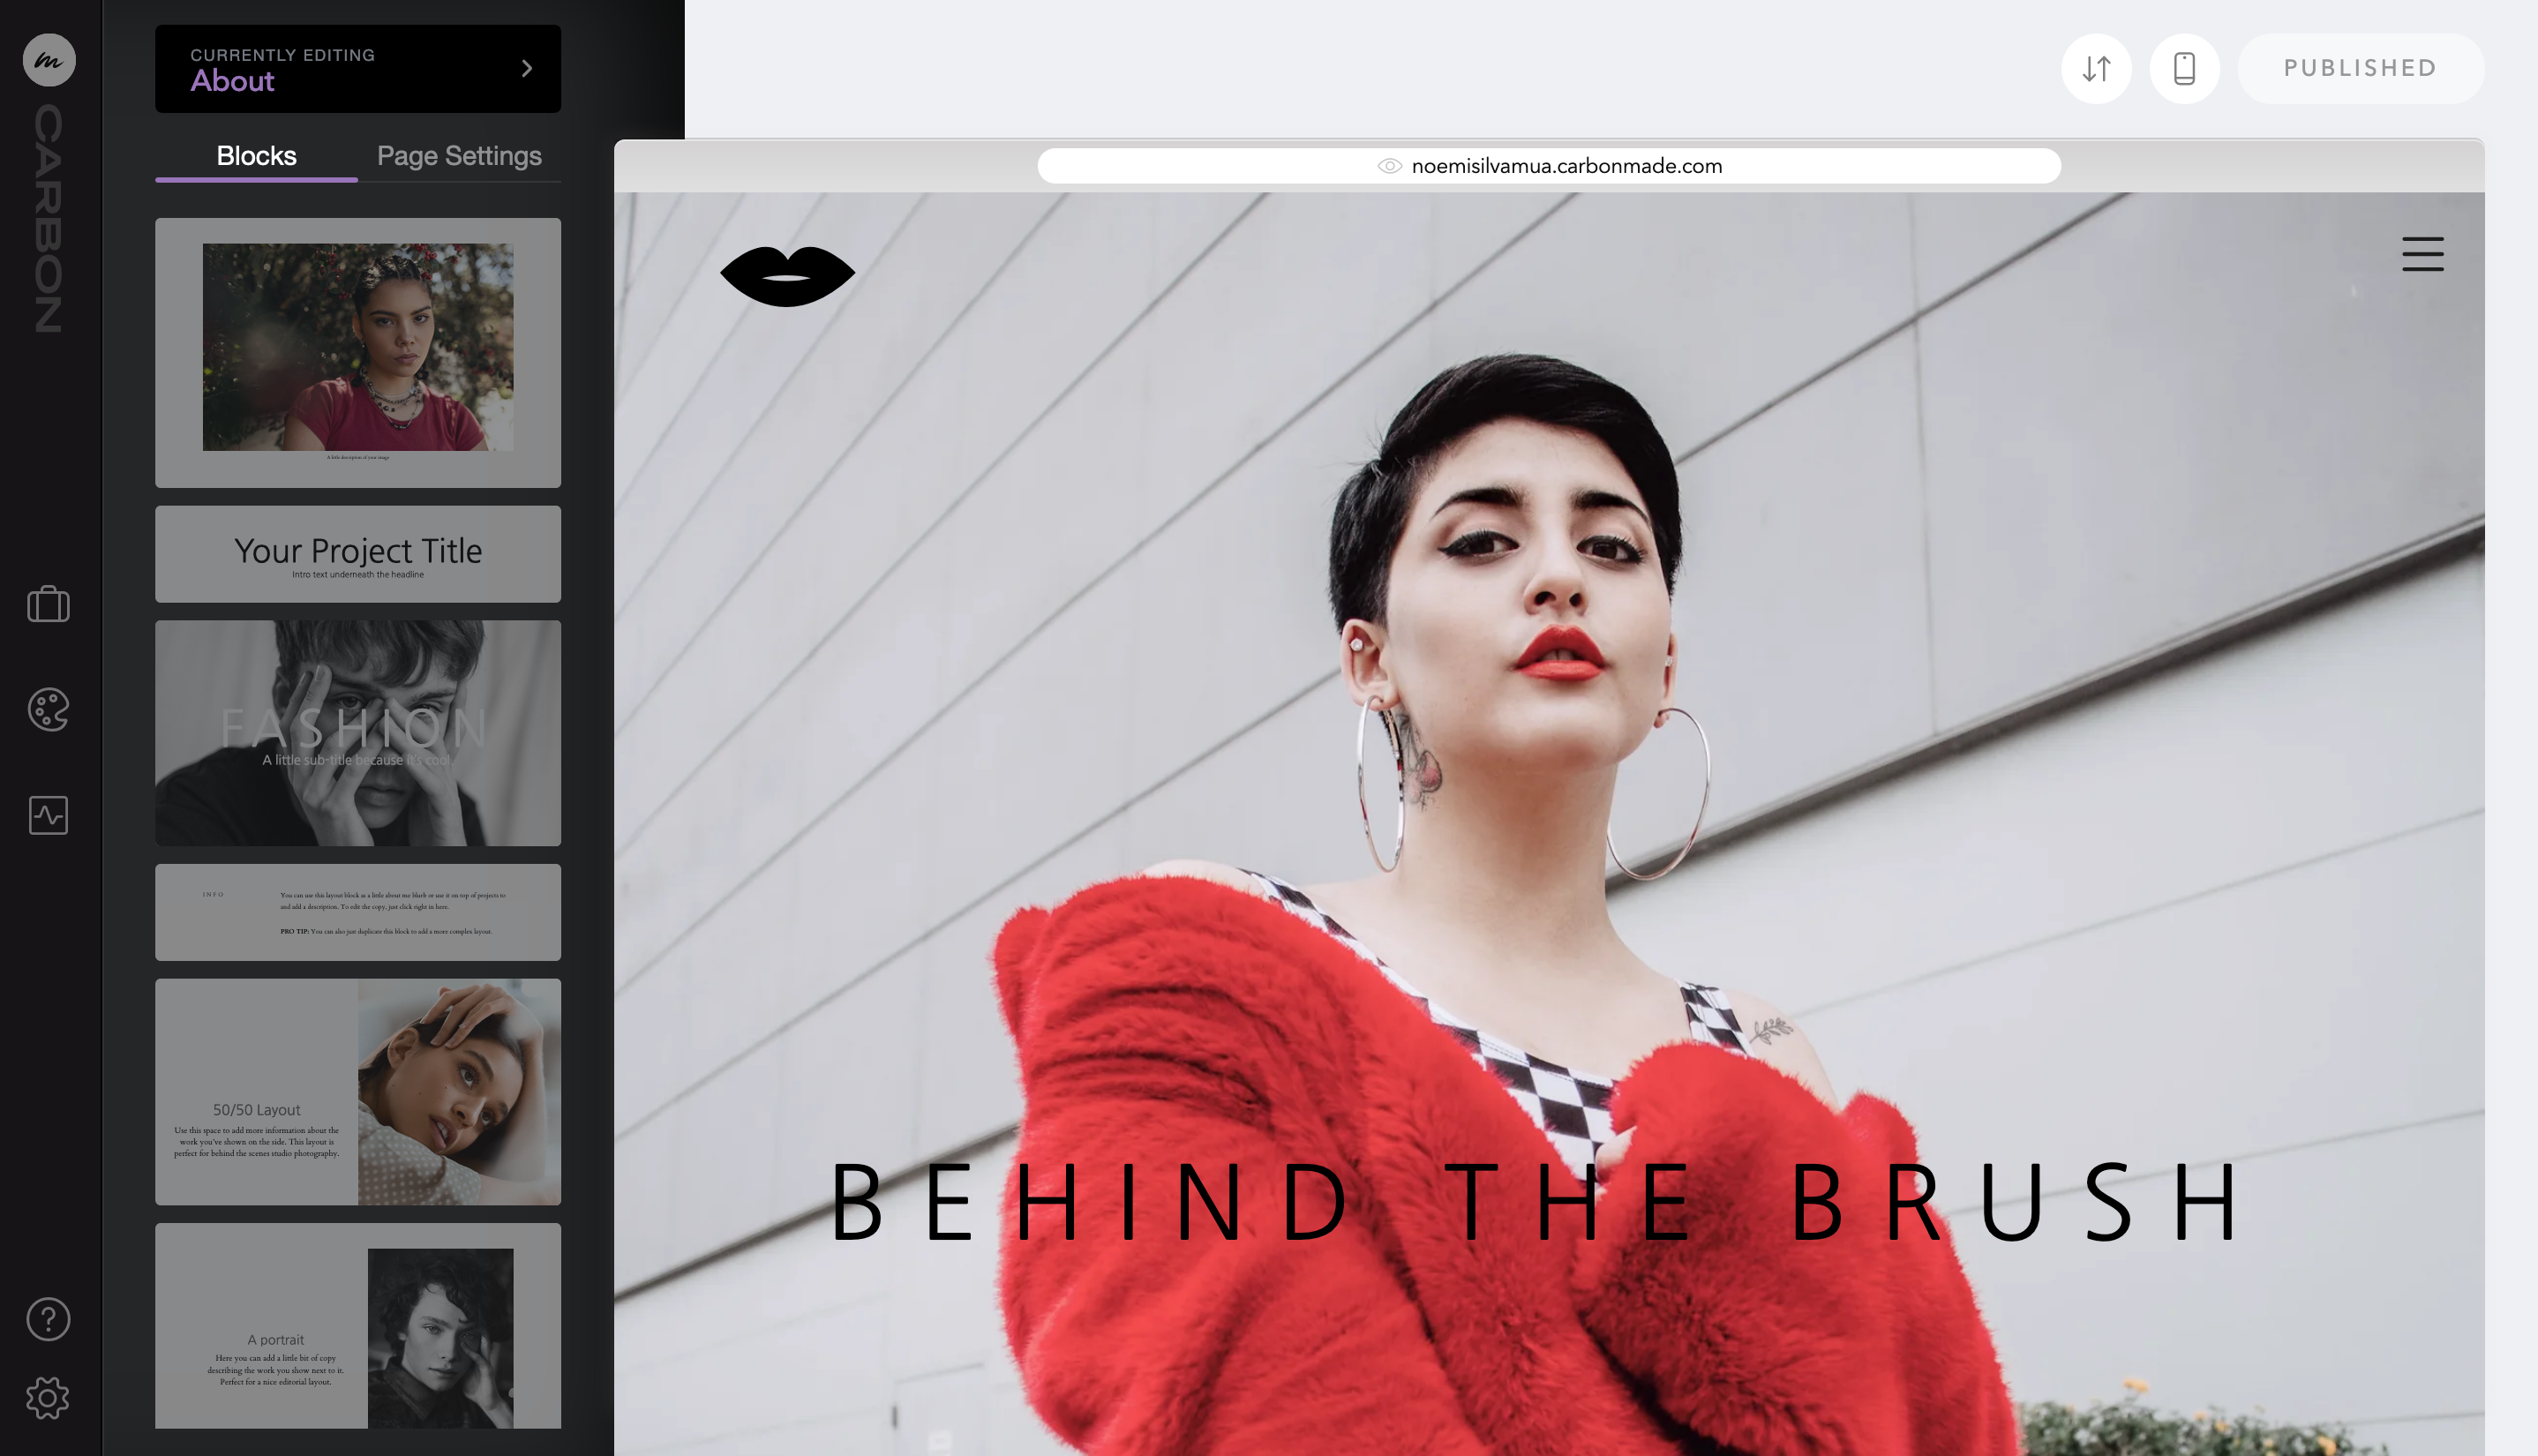
Step 5: Update your About page
Now let's get personal. Go to your default About page and paste in your work history, client list and headshot. Name drop those clients and brands to give yourself some credibility. C'mon, brag on yourself a bit here – we give you full permission!
Finally add your Contact details, simply drag in a “Contact” block and swap out the text with your name and email.
Step 6: LAUNCH IT!
Now's the best part: Launching. Simply click the GO LIVE button, add your payment info and choose a domain name, and you're live. In less time than it takes to learn the latest TikTok dance or make another dalgona coffee, you created a beautiful, personalized portfolio to showcase your makeup work. You should be proud.
Now flaunt it – share it with everyone!
__
Carbonmade is made for makeup artists. Upload a photo and it's automatically optimized and resized to fit your site perfectly. You can crop an image straight from the page instead of messing with photo editing tools. Carbonmade will even magically suggest complementary colors and effects based on your decisions as you build.
To see examples of other portfolios built with Carbonmade, visit this page. If you create your portfolio with this tutorial, let me know on Twitter. I'd love to see it.