July 21, 2020No Comments

Mastering the art of 3D lighting with Adobe Dimension

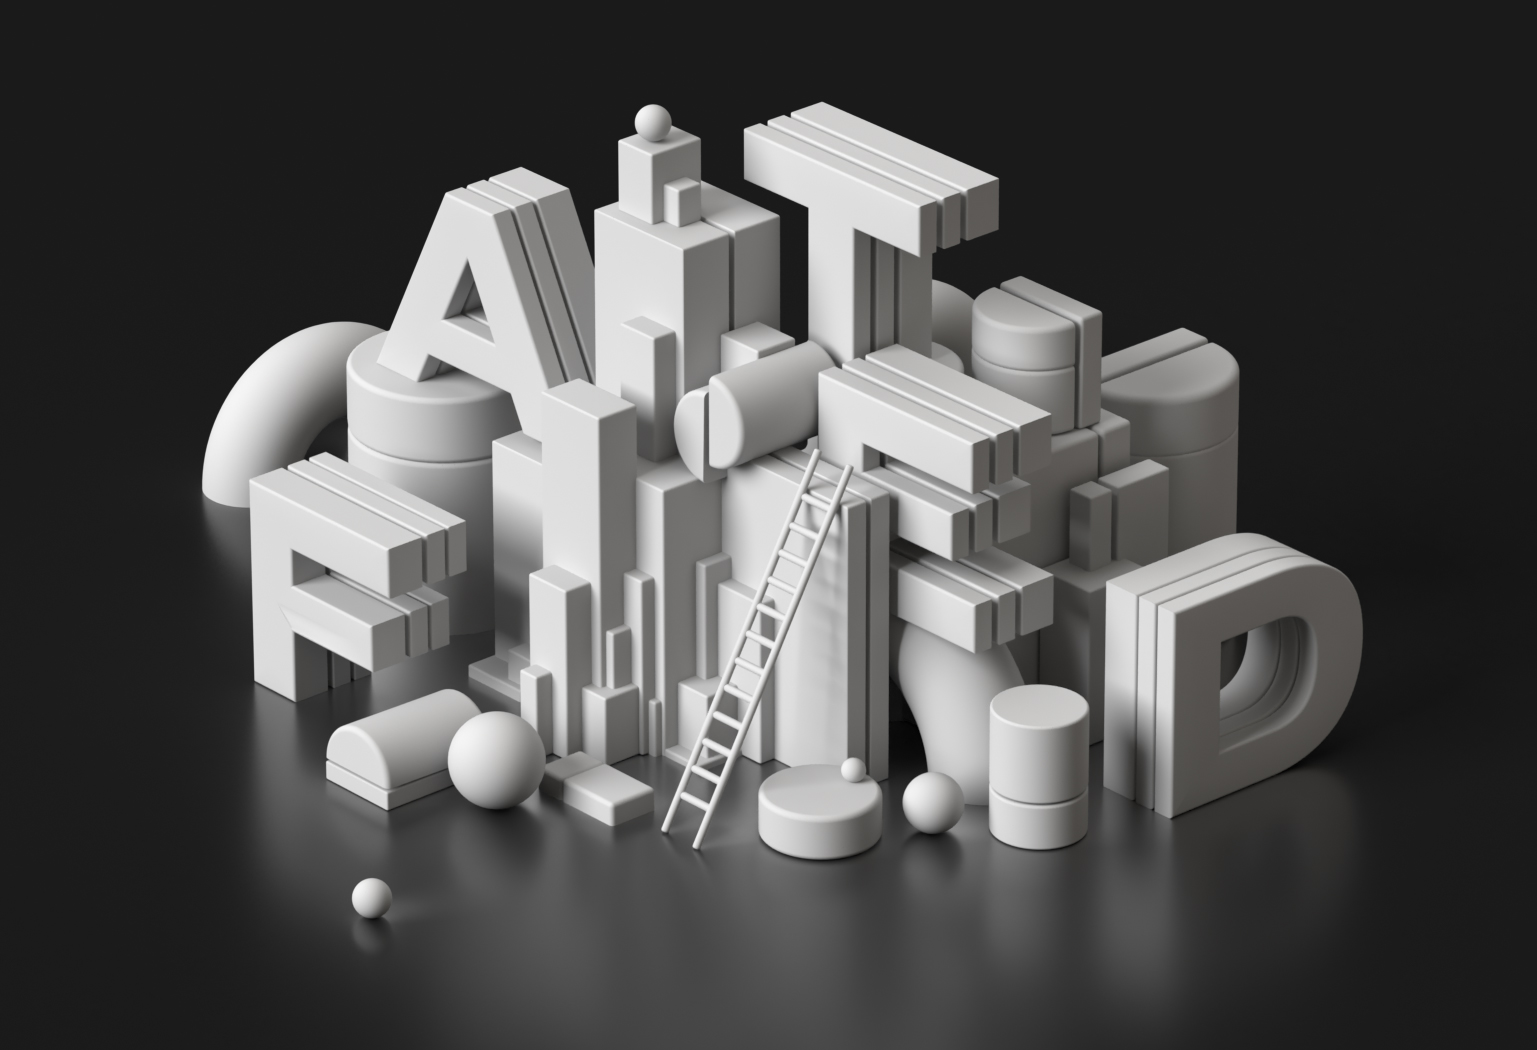
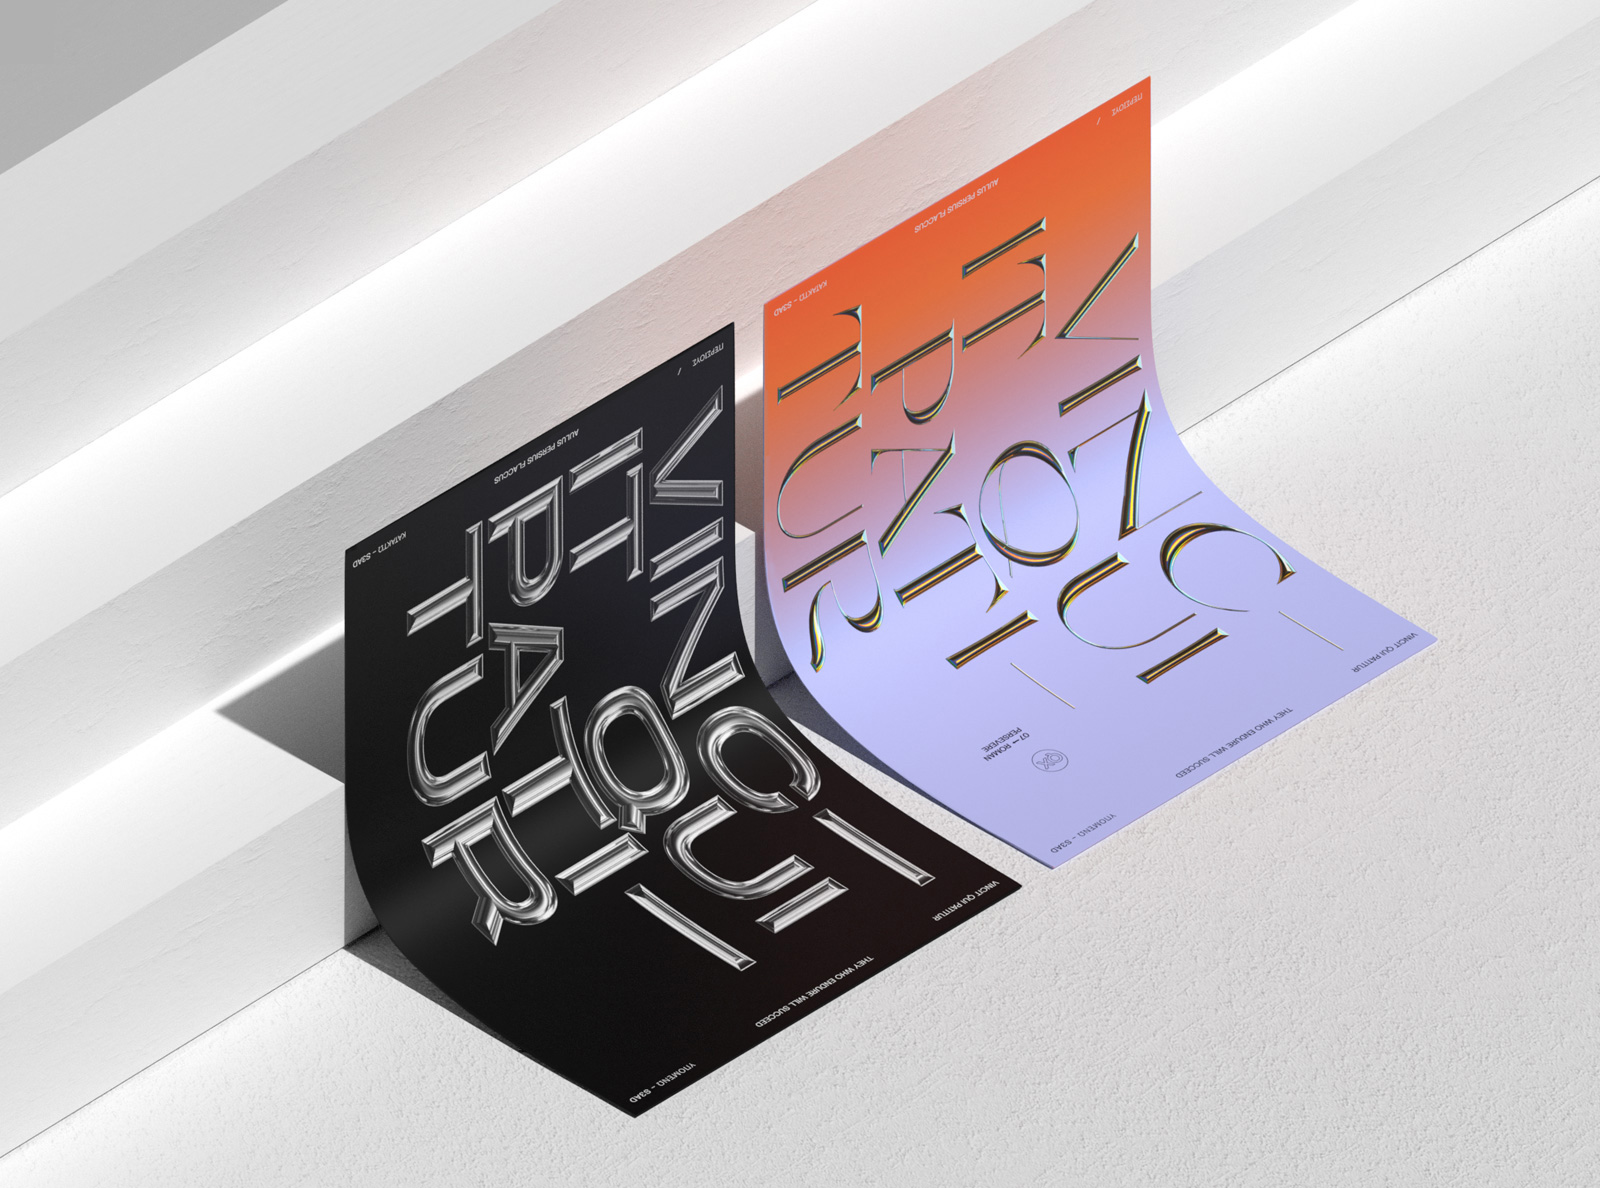
As we venture further into the world of 3D design, from abstract 3D art to 3D typography to creating geometric structures, we've arrived at a crucial point: lighting our 3D scene.

The difference between your standard 3D graphic and an image so cinematic and realistic, you wonder if it's a still from a movie, often comes down to lighting.

It's the glow from a streetlight. The reflection of light on water. The difference between direct overhead light and infused light from a window. The nuanced beauty of light that we experience every day, that takes effort and attention to perfect in 3D.

A cinematic 3D scene created using Adobe Dimension

Consider the fact that, when making an animated movie, it's usually someone's full-time job to focus only on lighting. Light is the essence of how we see and visually experience the world. The right lighting can set a mood, influence perception and evoke emotion. It's why it's impossible to leave lighting for last when setting up a 3D scene. Rather, your entire scene is centered around it.

Since our goal with 3D is to reflect the real world, some of the same principles we use for photography apply to 3D. Like photography, the right lighting as well as a keen awareness of your subject and composition are important. It all plays together to make a striking, believable image that resonates.

With this article, we'll share examples of various lighting techniques and give you general principles you can use in your own compositions. We will show you how you can get dramatically different results just from changing the placement of your light sources, and how you'll significantly improve the quality of your 3D work with purposeful, detailed lighting.

Setting the scene

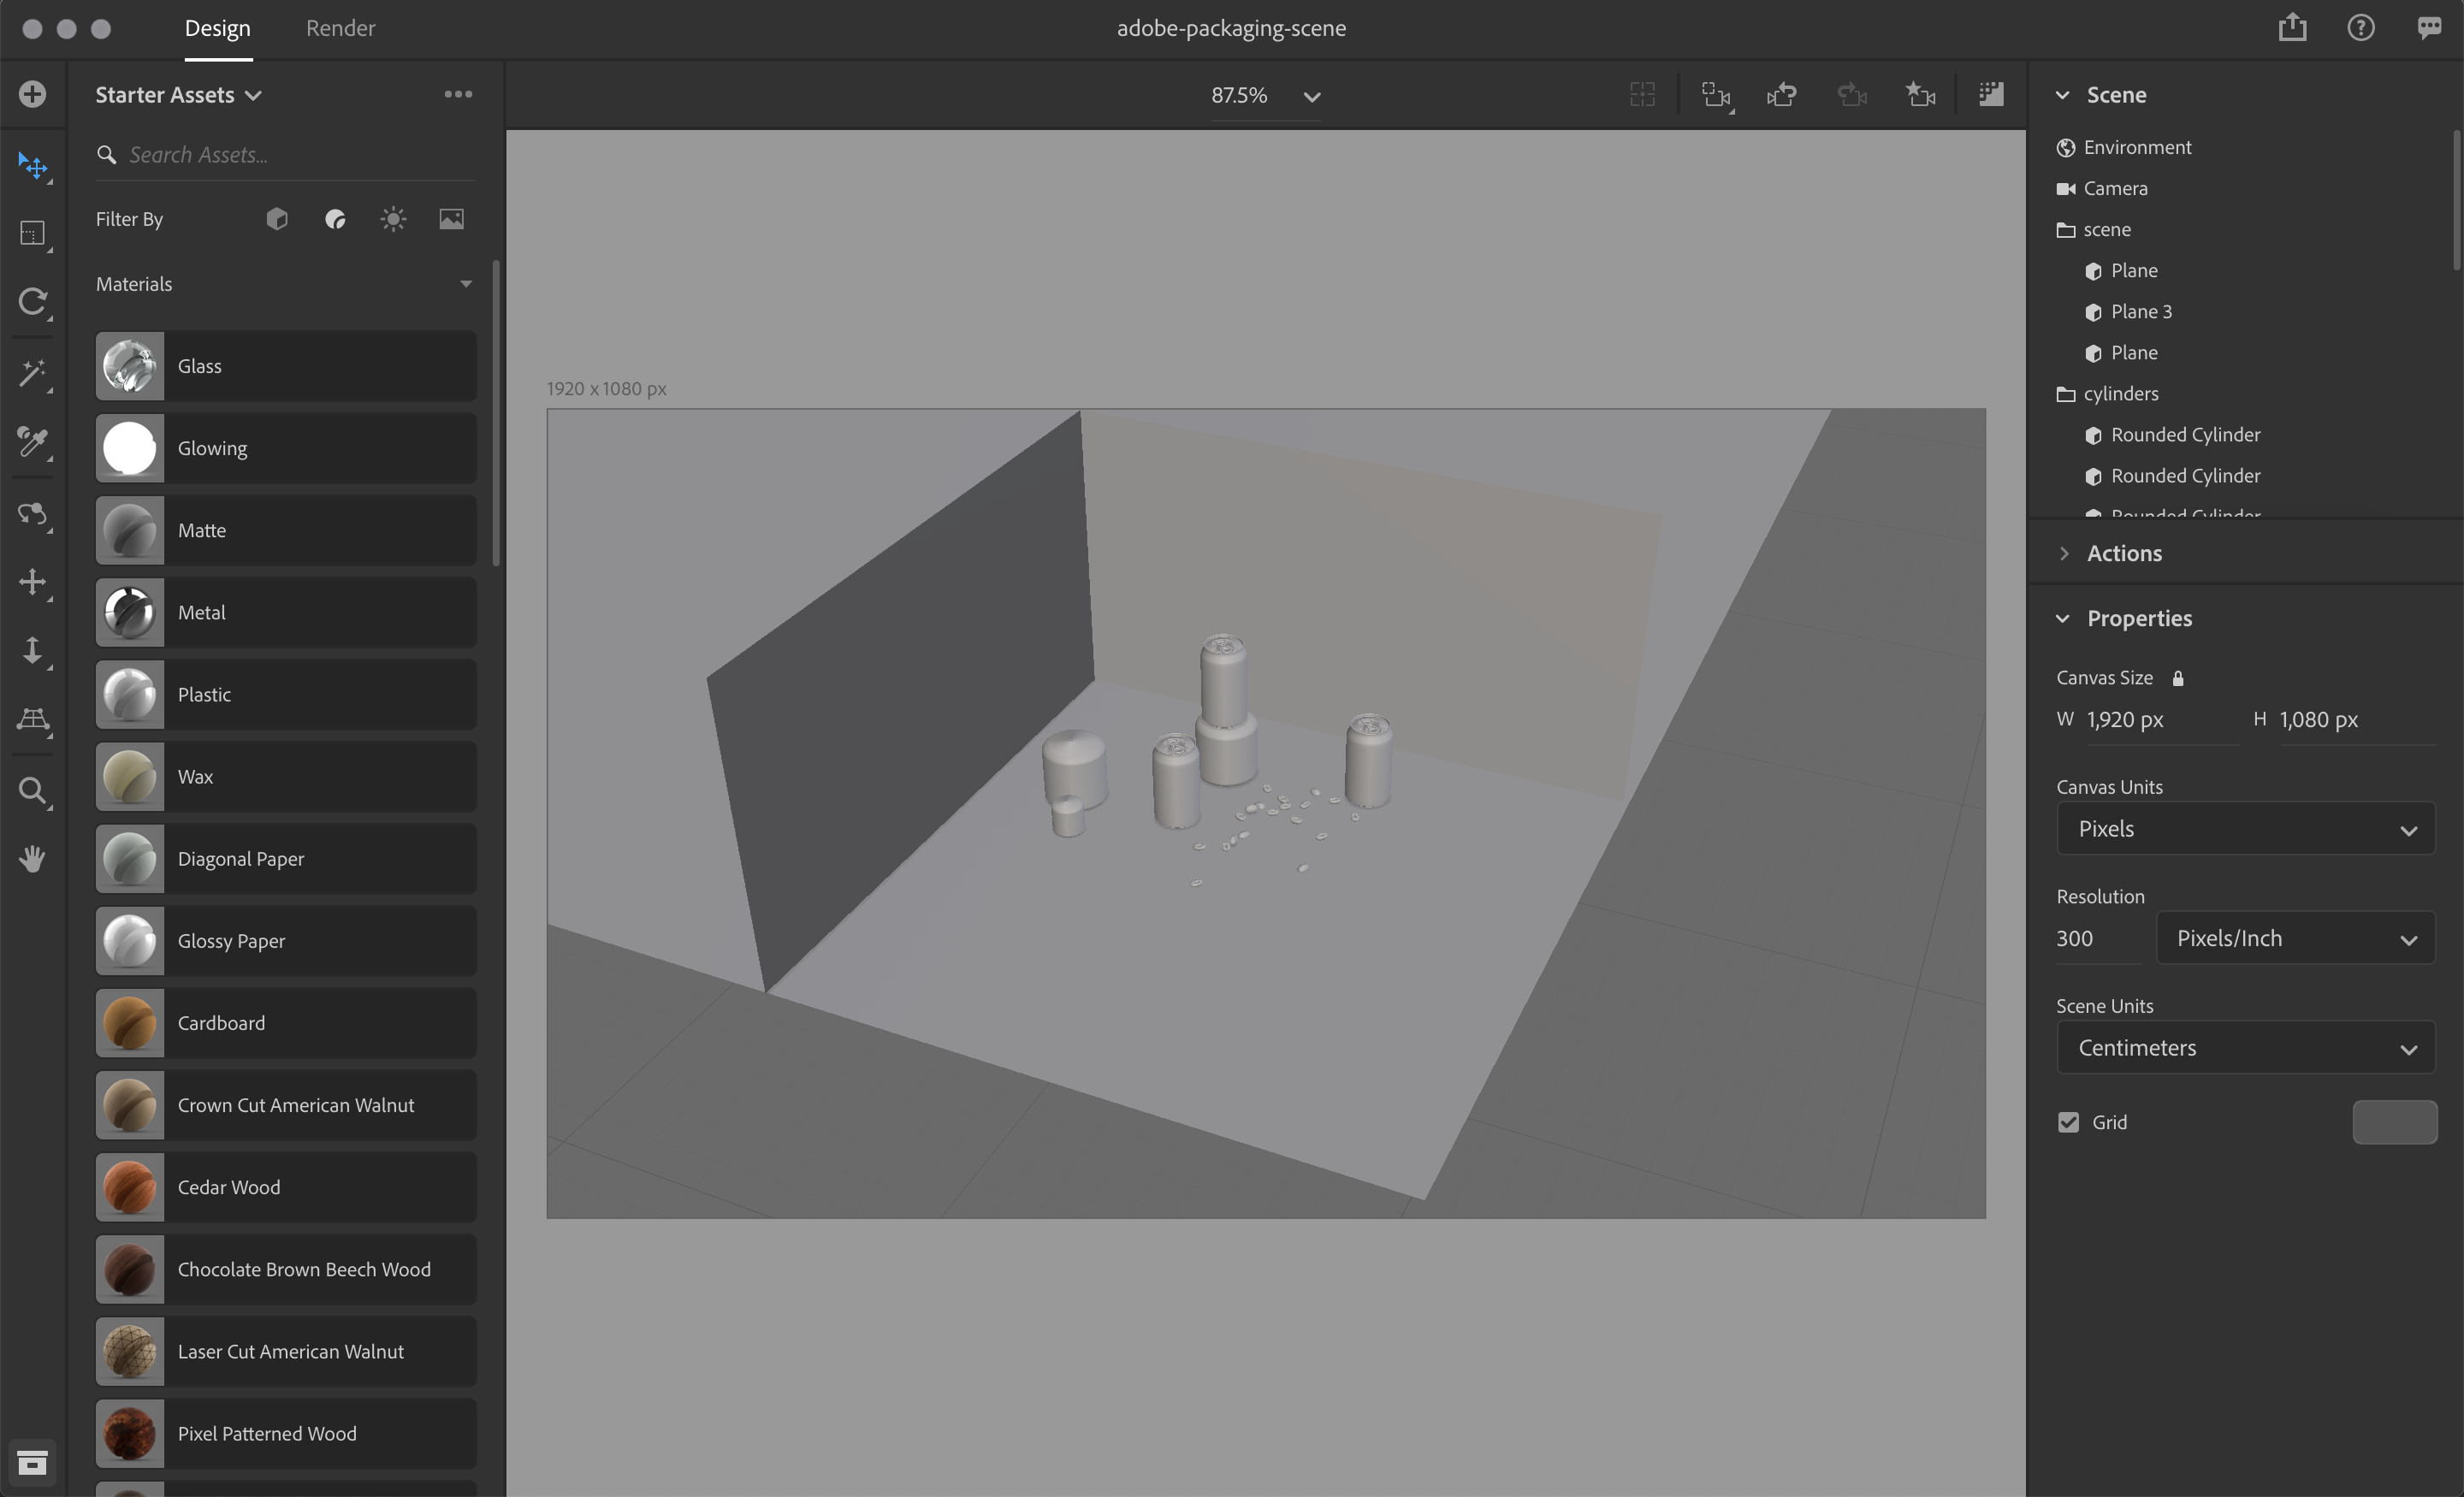
First, let's take a look at a series of images that I created using Adobe Dimension. If you're not familiar already from our other articles, Dimension is Adobe's 3D scene design tool paving the way for designers and traditional graphic designers into the 3D world. (If you're just hearing about it or stepping into 3D for the first time, start with this beginner's tutorial.) Dimension offers default lighting set-ups for your 3D work, but today we'll be focused on manual methods to create your own lighting.

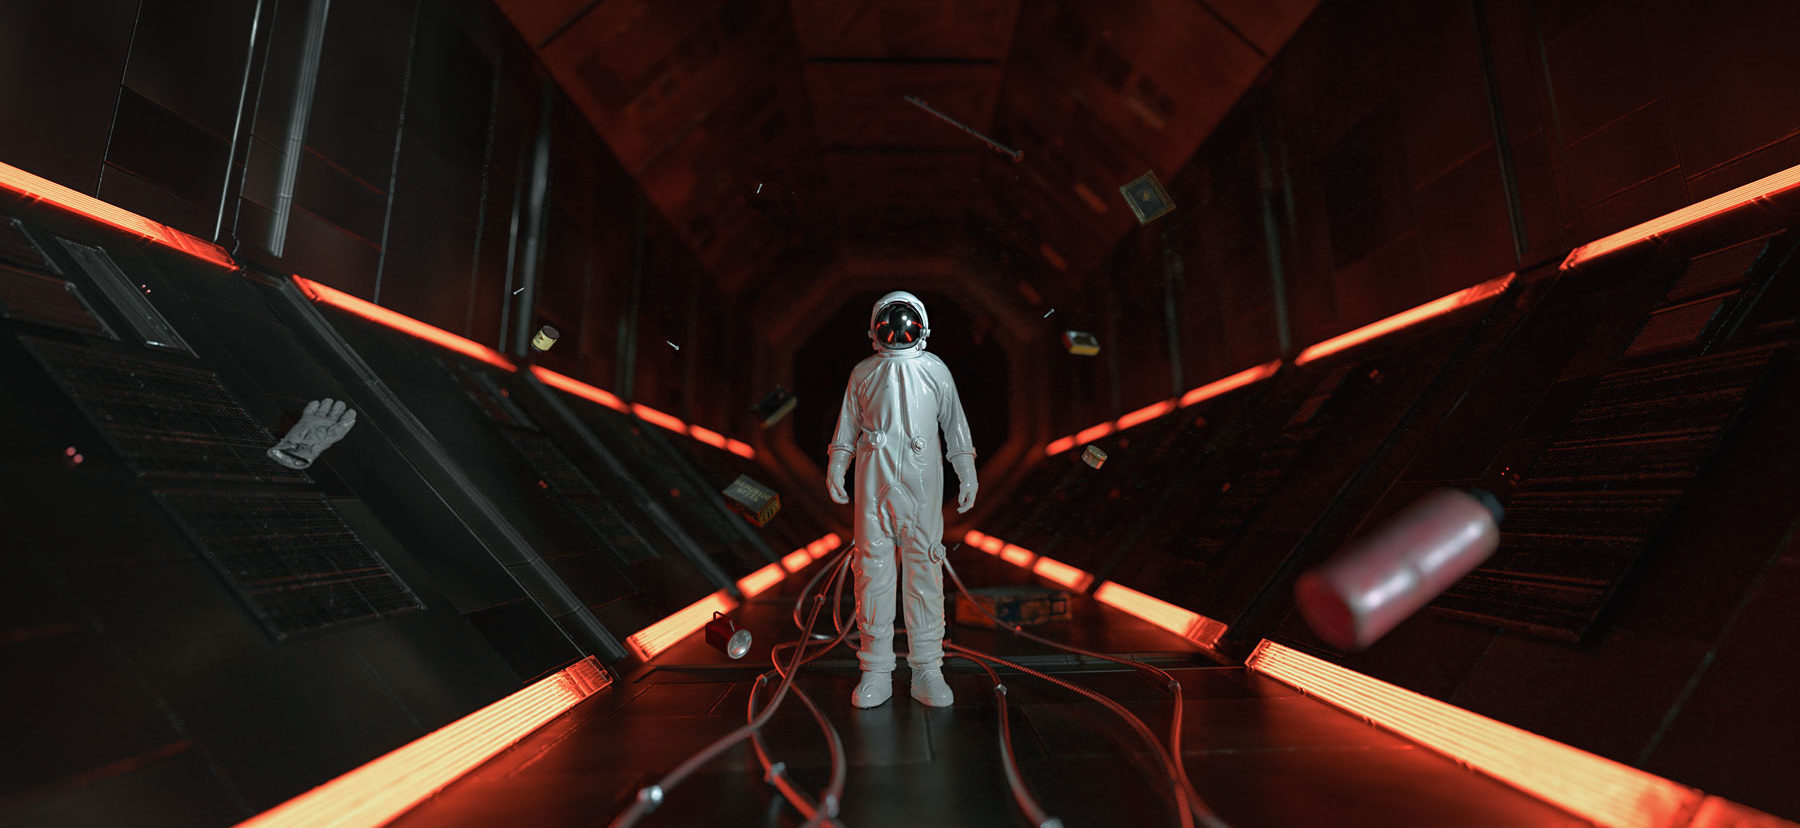
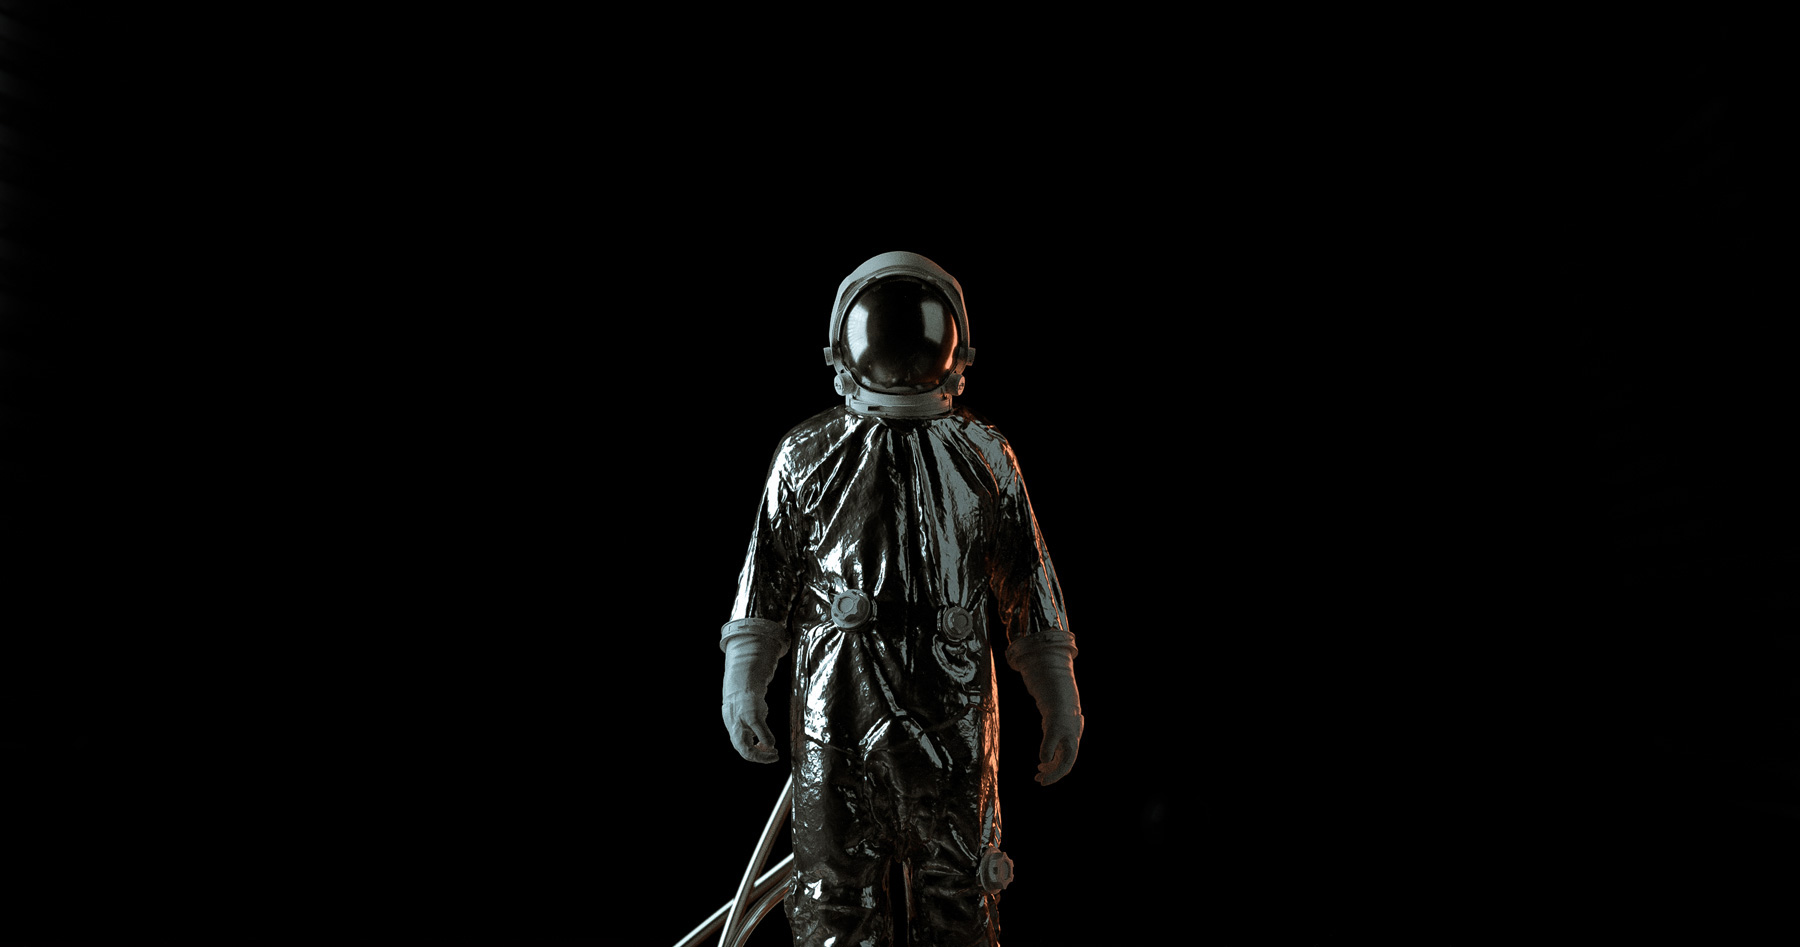
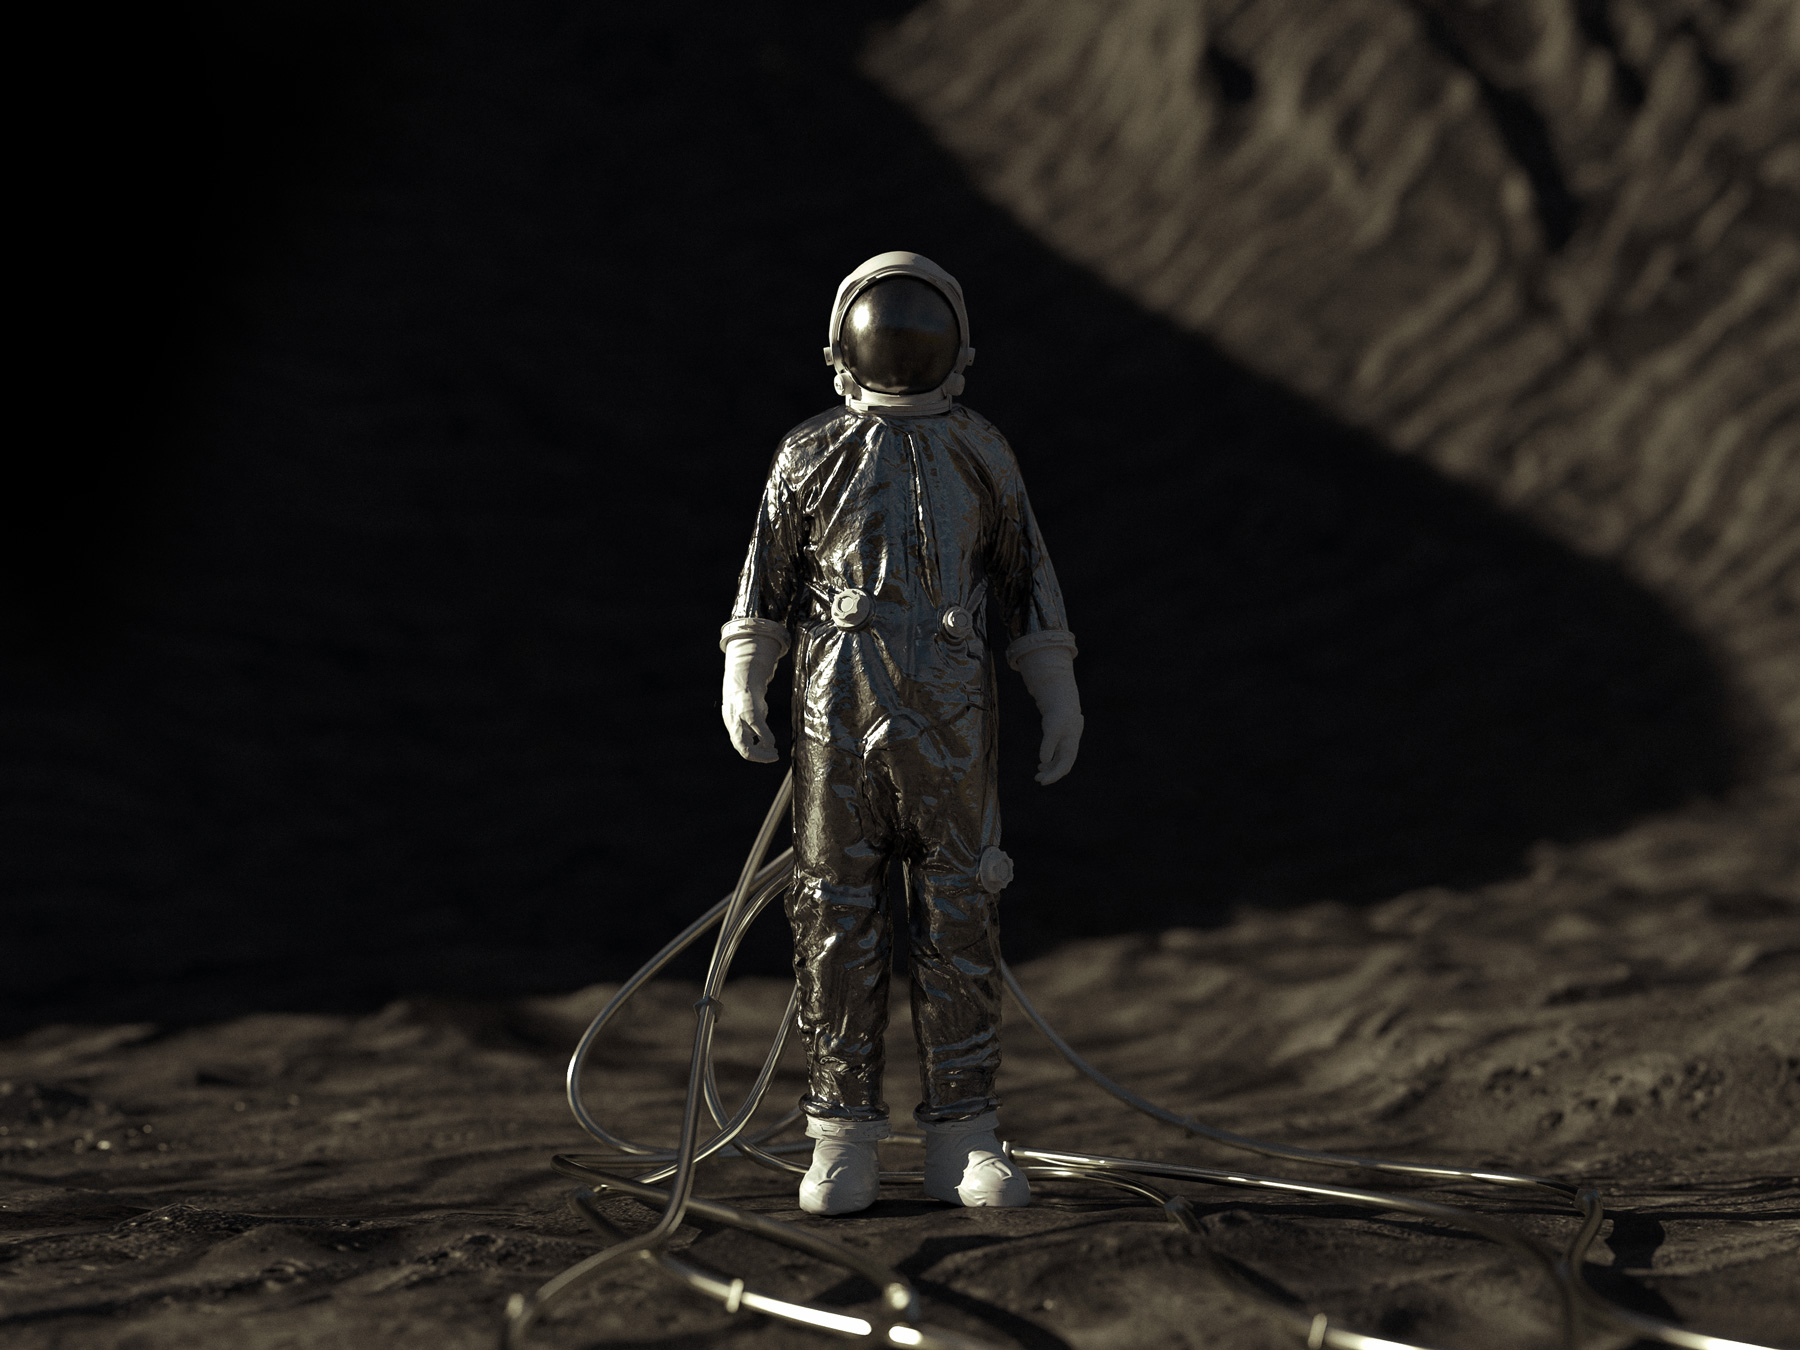
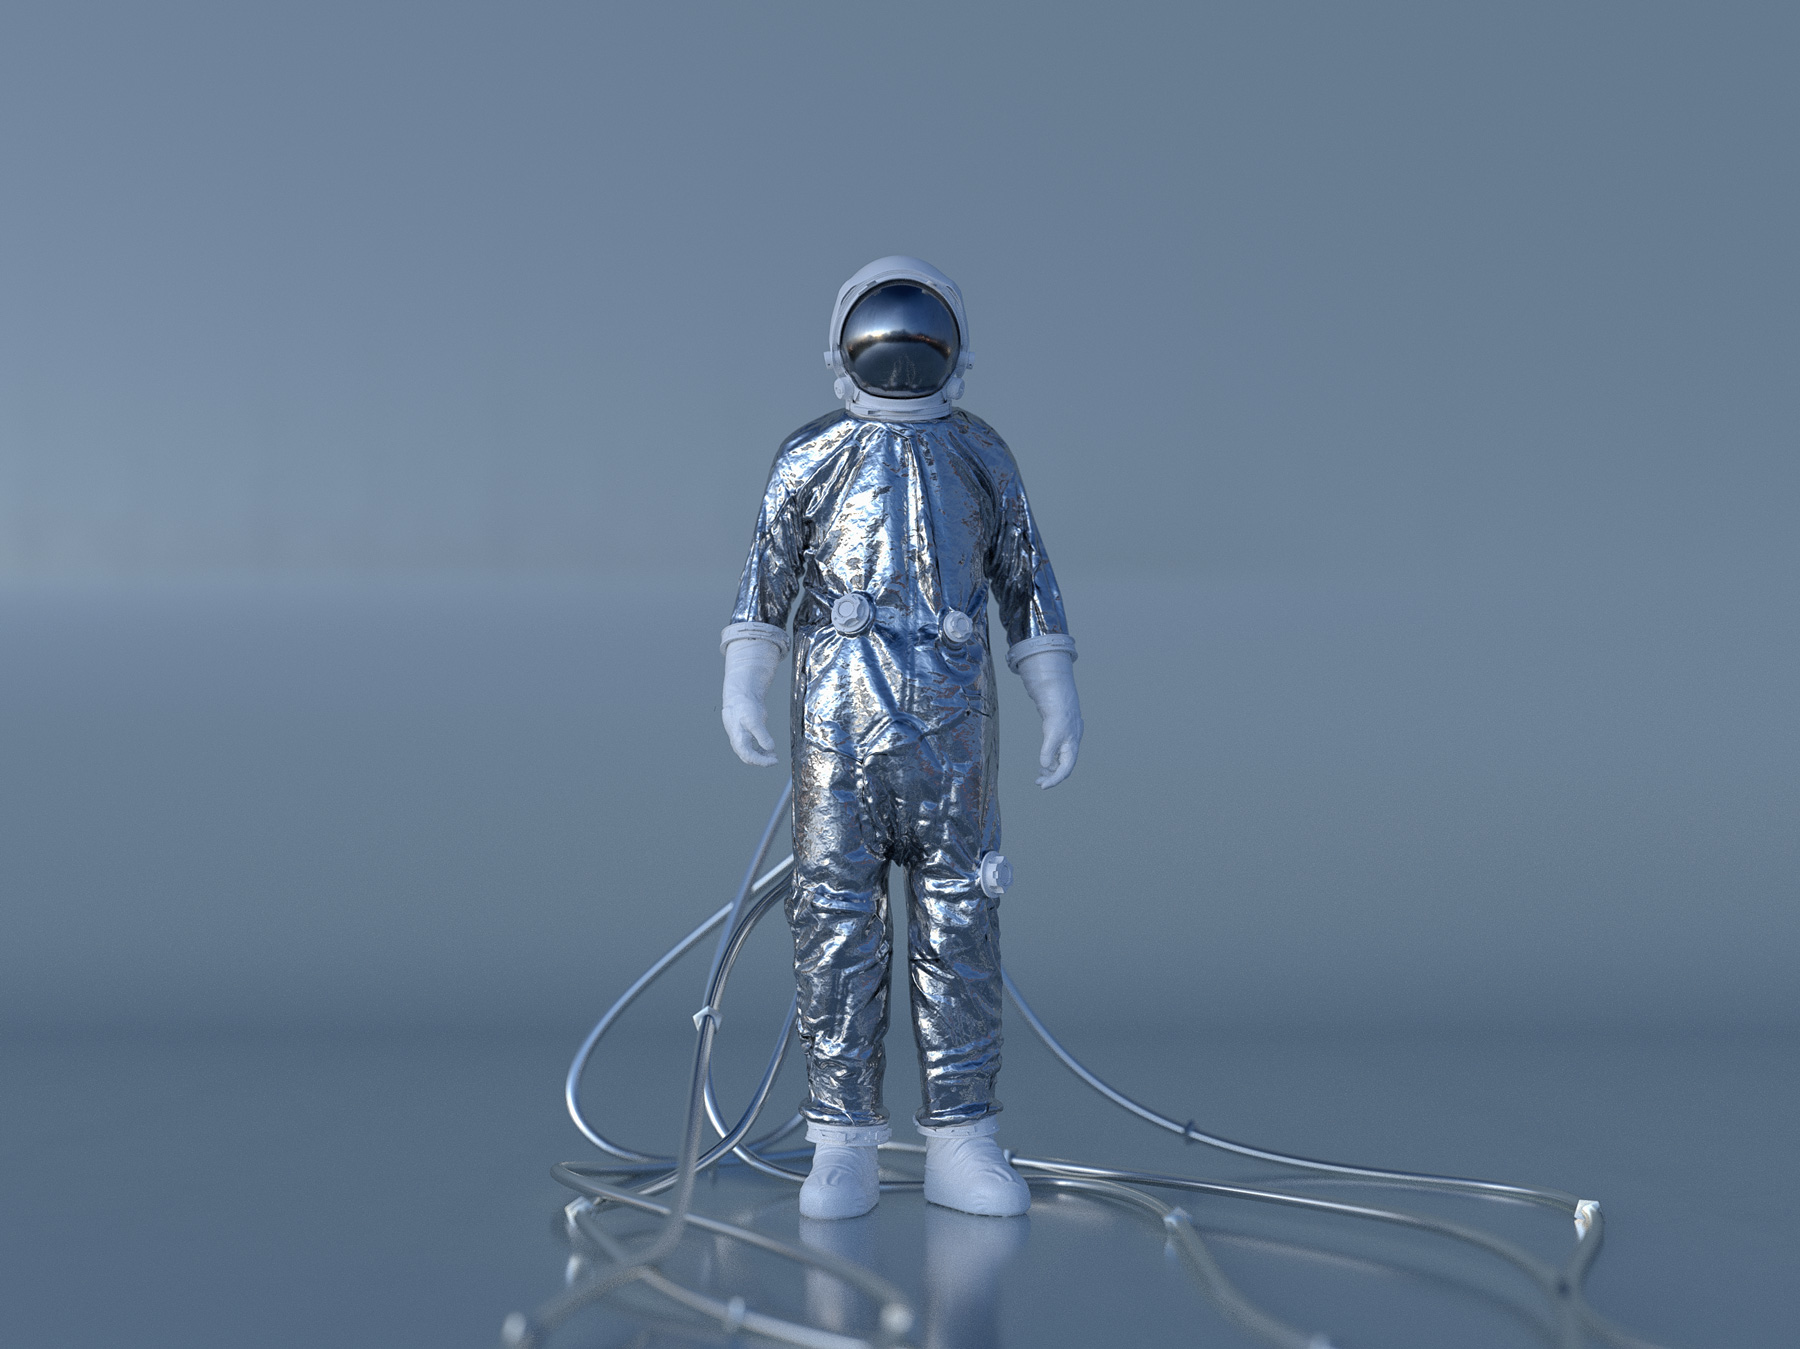
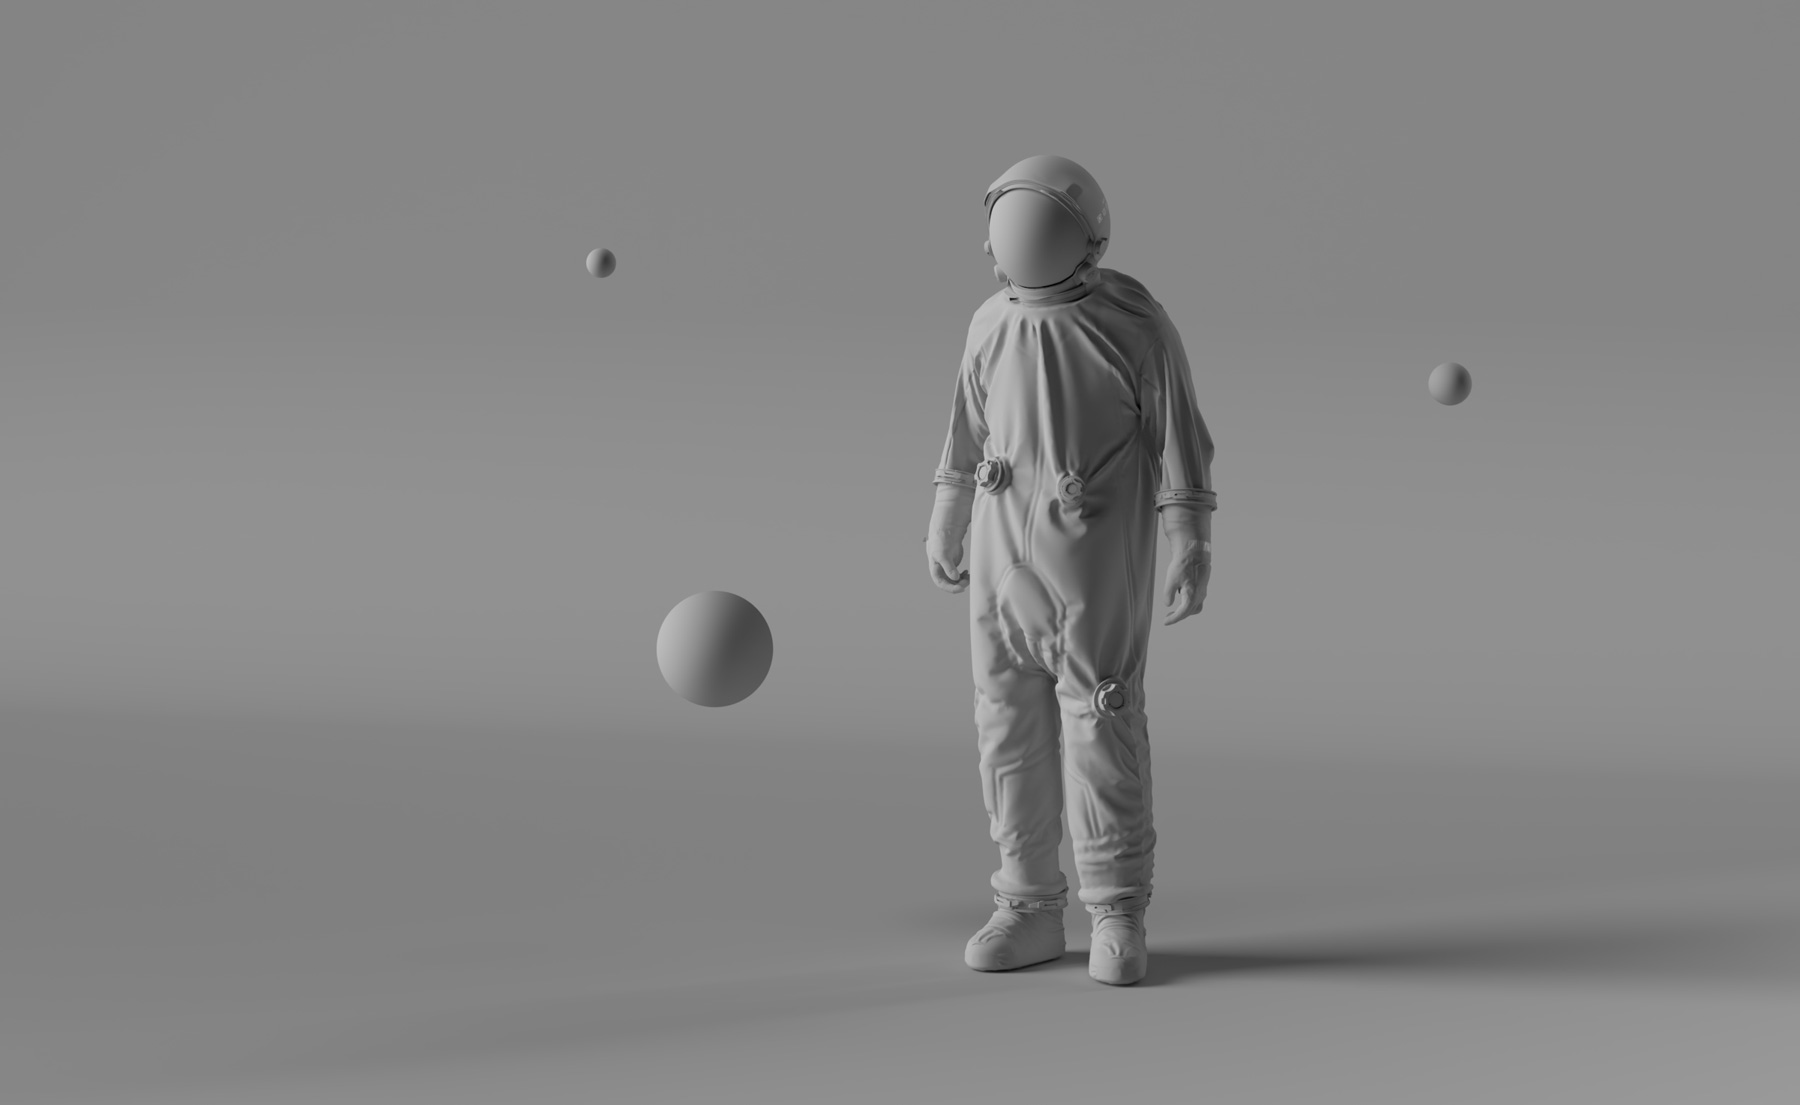
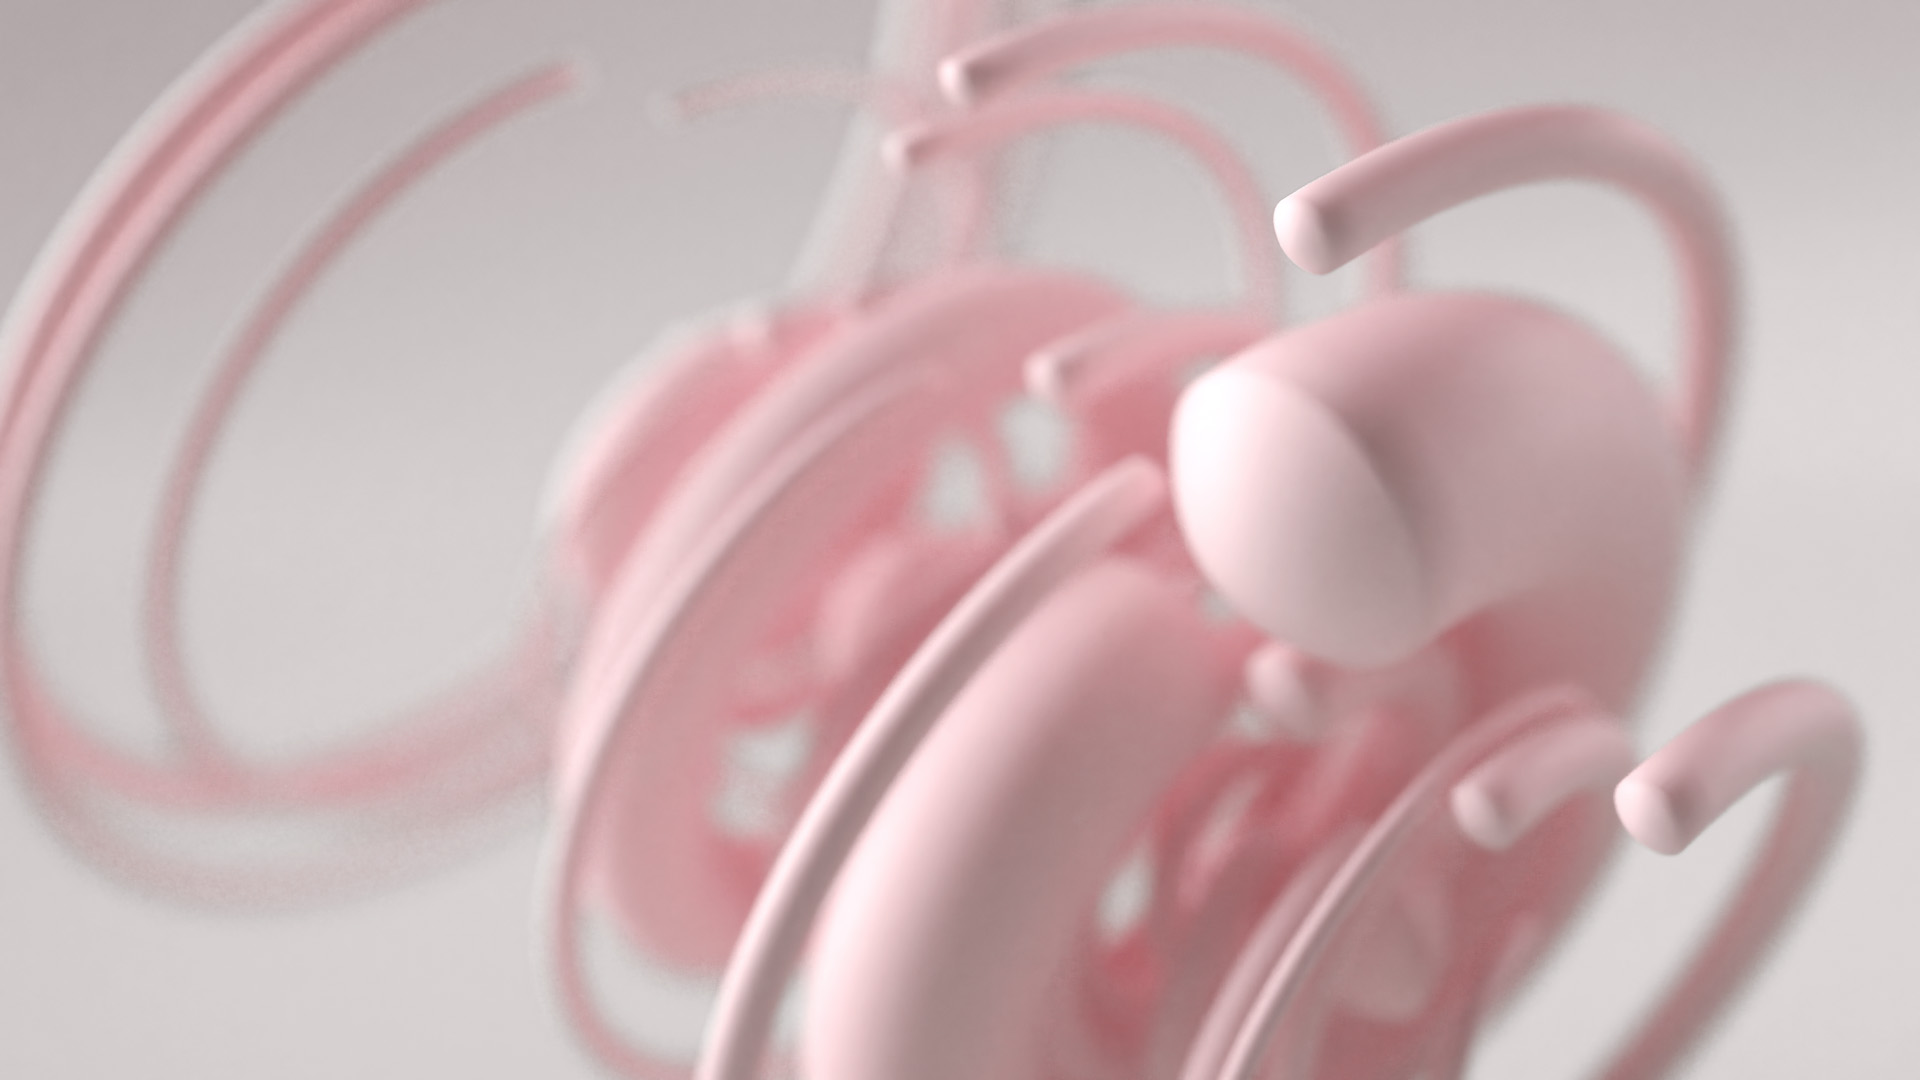
Being super inspired by the recent SpaceX launch, I wanted to create a simple scene with some sci-fi and space themes. Here is the result:

We'll use this image to examine the different types of lighting and how you apply them in 3D. Later, I'll show you how I achieved specific lighting effects for this image in Adobe Dimension.

The different types of lighting techniques

Just like the real world, there are many different types of lighting techniques that can create various effects. Placing a single light source in your scene, for example, results in dramatic shadows. Using only direct sunlight looks very different than soft, indoor light setup. Depending on the mood and feel you want from your image, you may have to experiment and find what lighting setup works best for your scene. So let's start with your main types.

Three-point lighting

A basic example of a three-point light system. From left to right: the key light, the rim light, and the fill light.

This is arguably the most important and commonly used lighting technique.

As the name implies, this technique uses three light sources to illuminate your scene: key, rim and fill. Each of these light sources play a unique role in lighting your scene.  Your key light is the primary light source that will illuminate your subject. The rim light illuminates the back of your subject, creating depth and allowing us to understand the shapes of the objects in your scene. Lastly, fill light is meant to eliminate harsh shadows in your scene and add some even lighting.

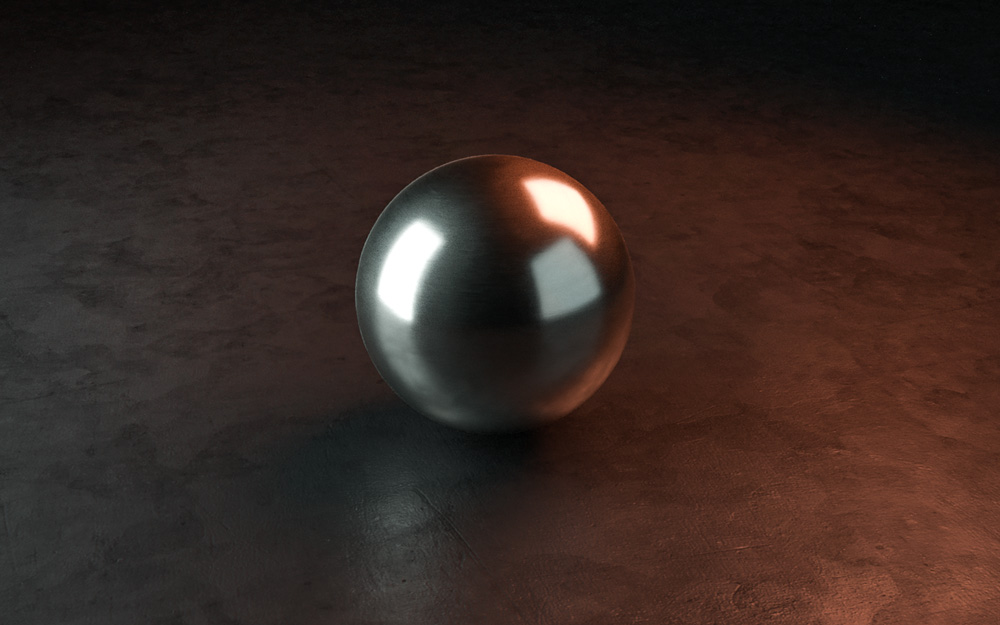
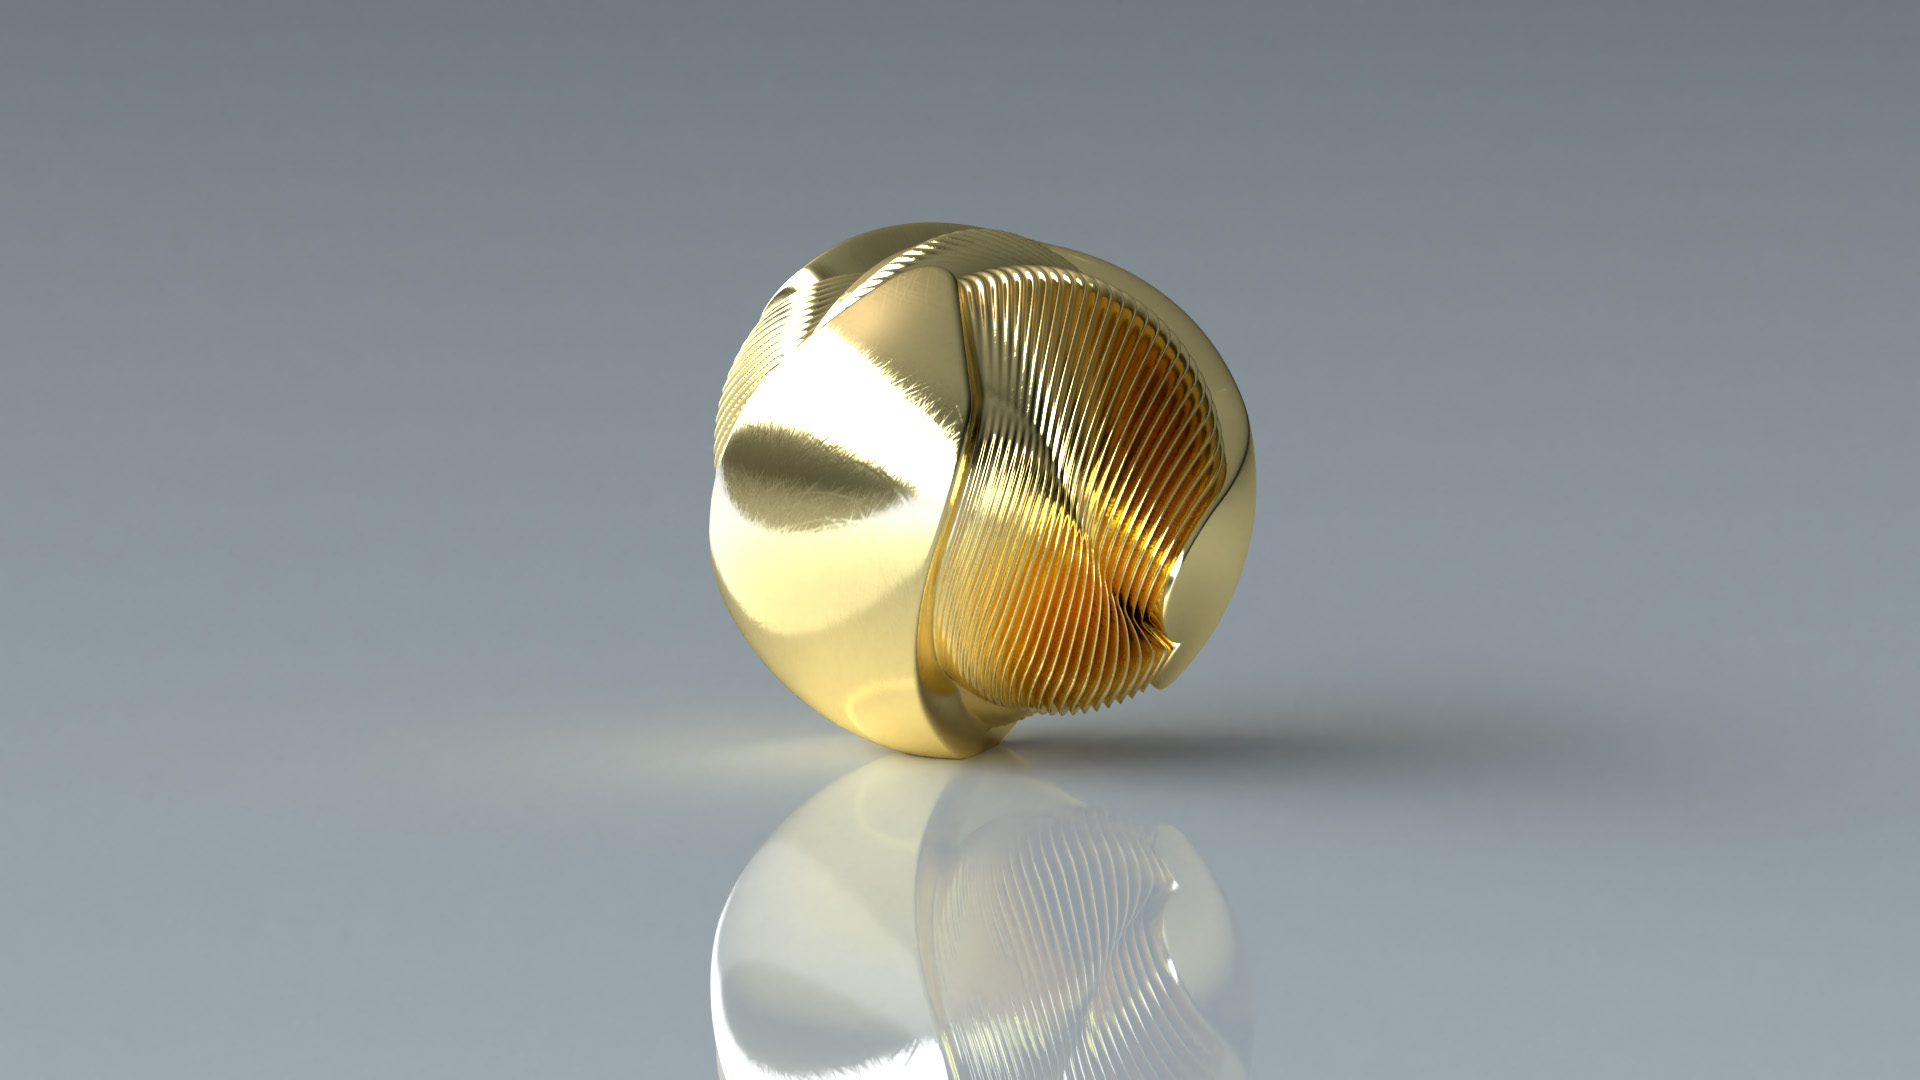
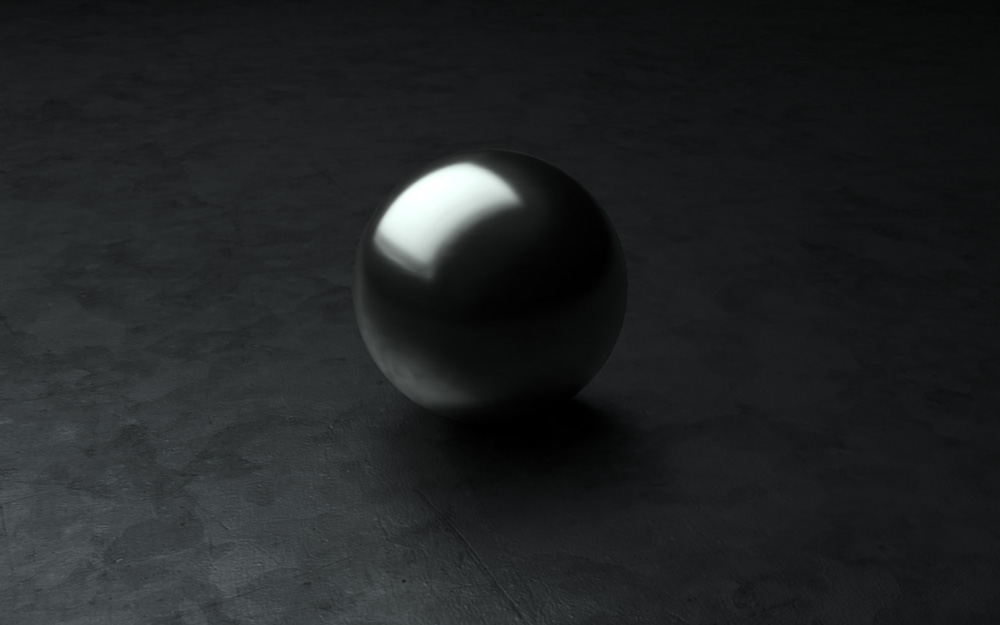
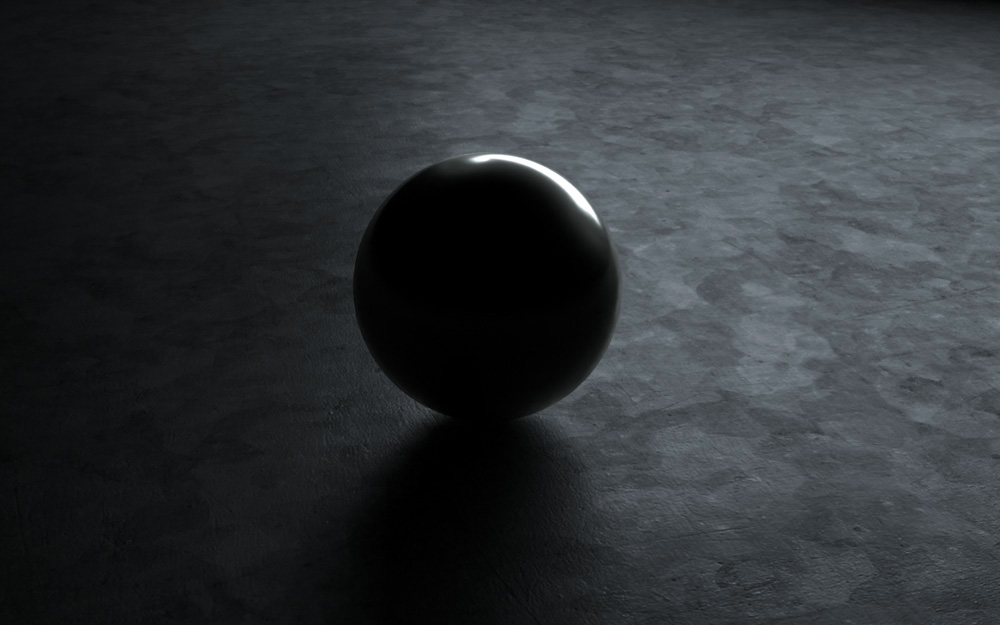
Placing a sphere is an easy way to view reflections in relation to our scene

Humans use light to understand objects and shapes with our natural eye, and three-point lighting gives us a full point of reference. This lighting technique is seen in every medium, including film, photography, product photography, event lighting and television.


Soft lighting

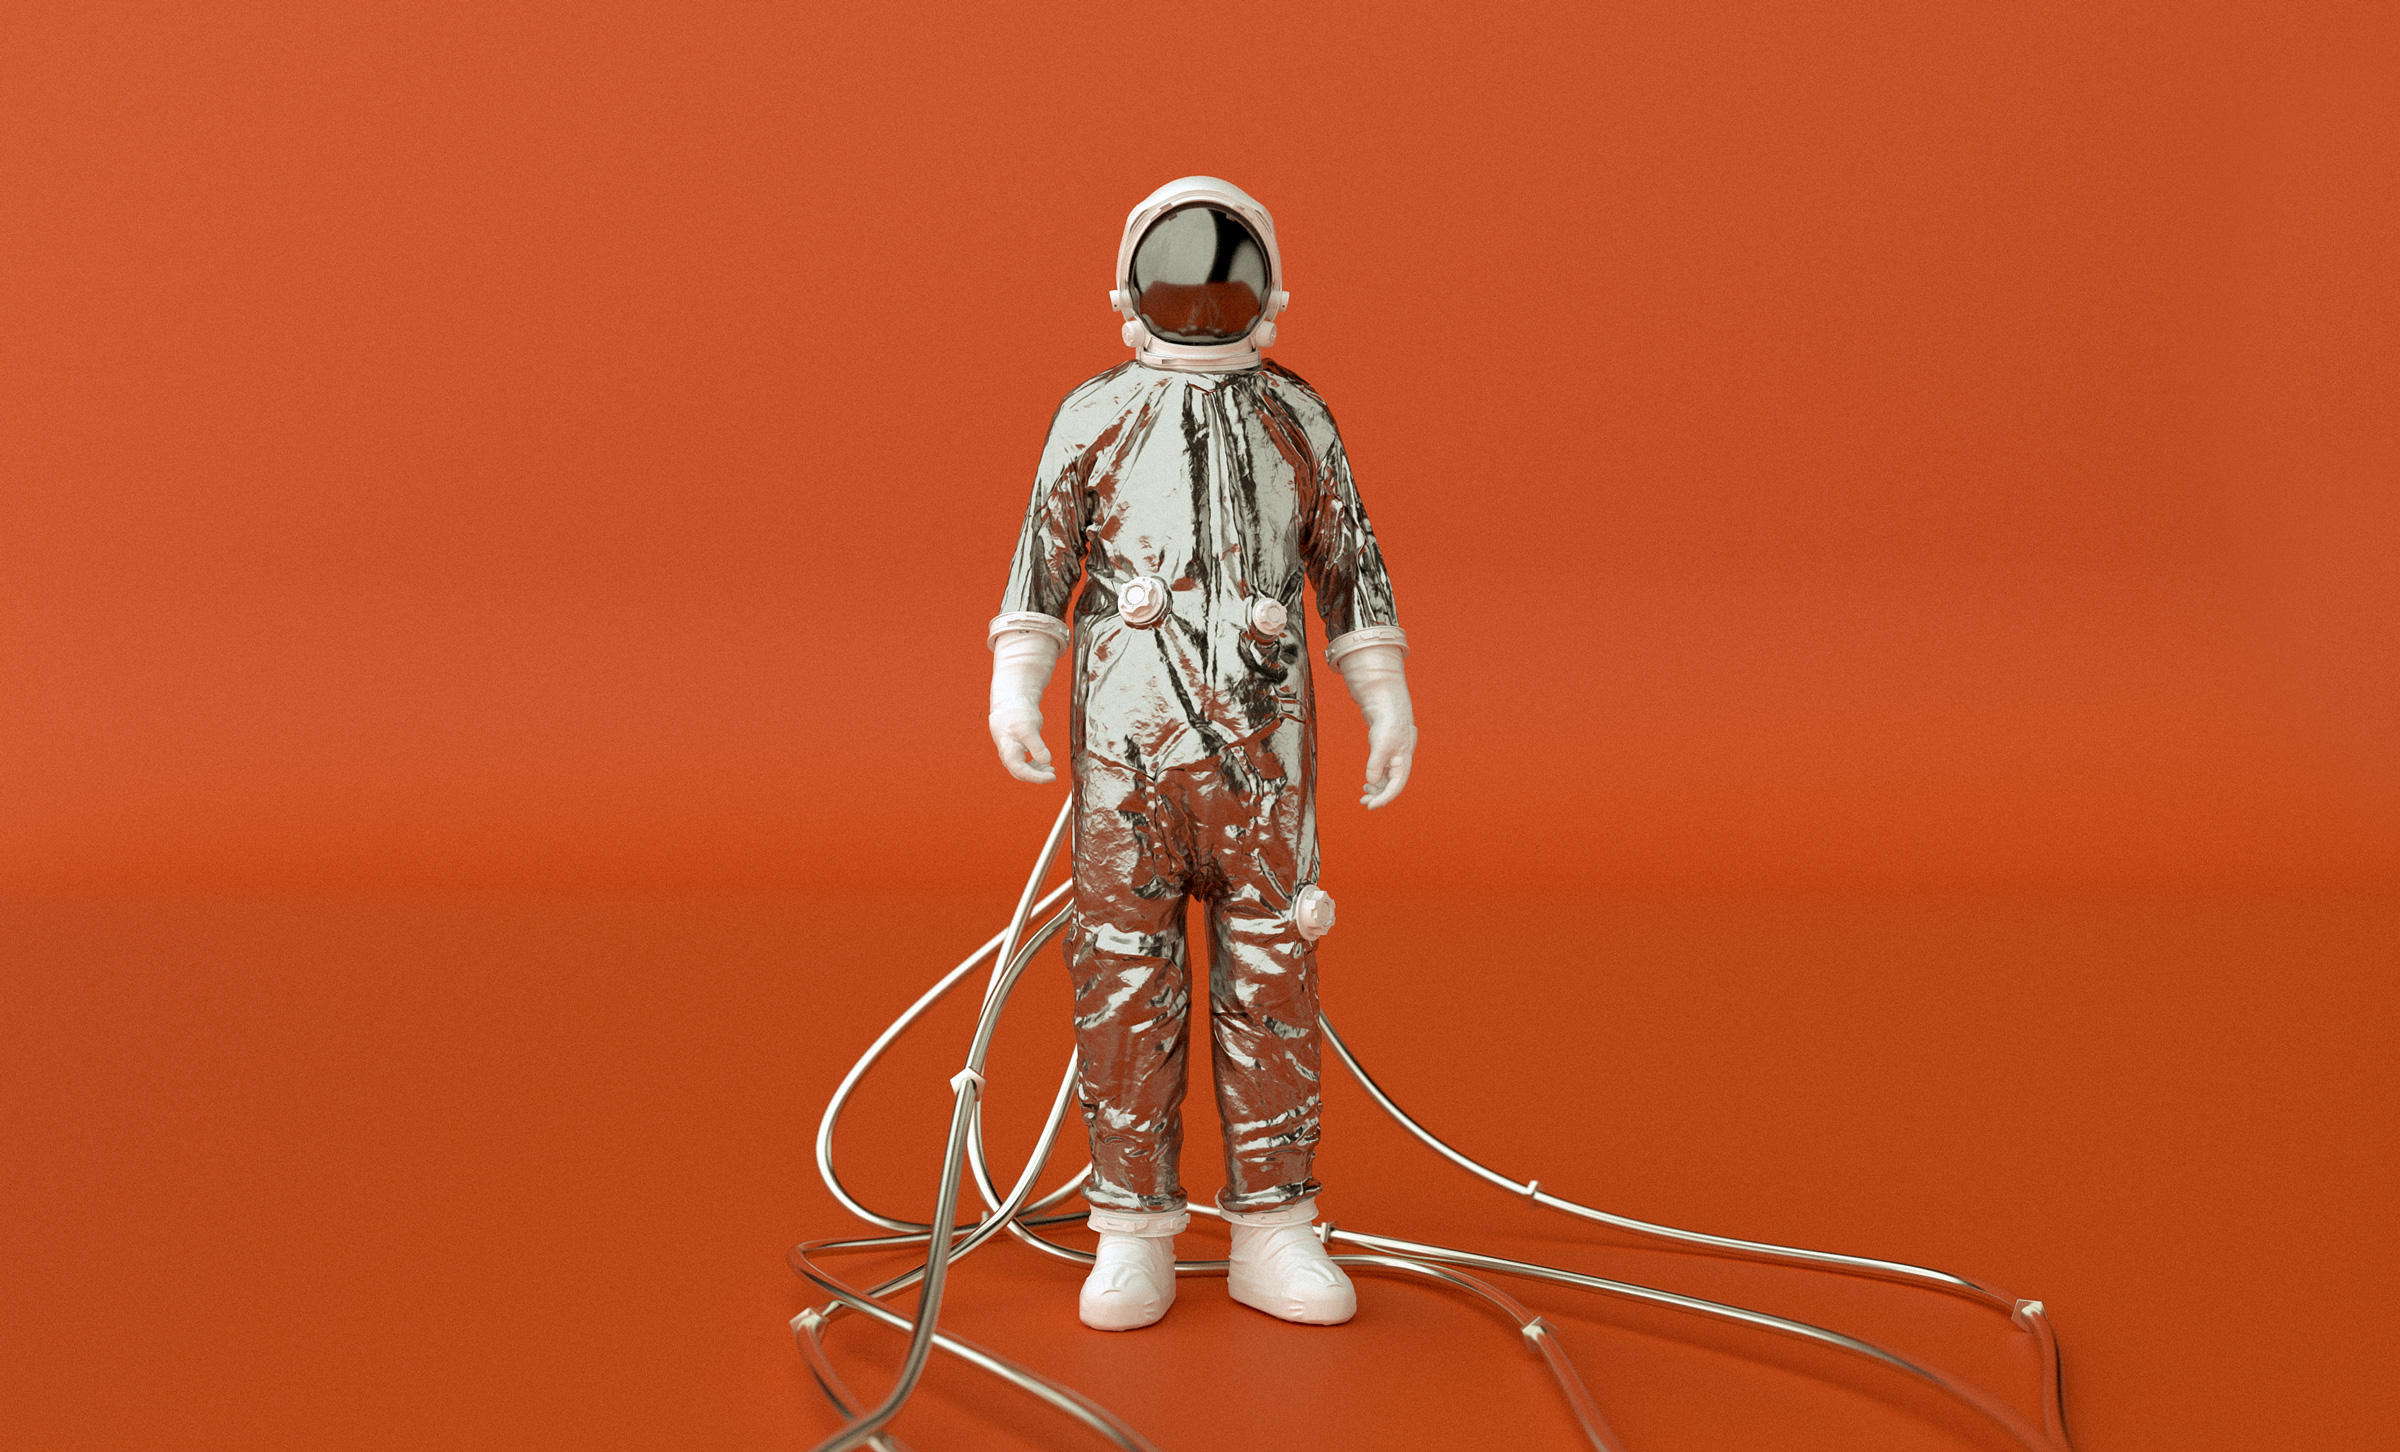
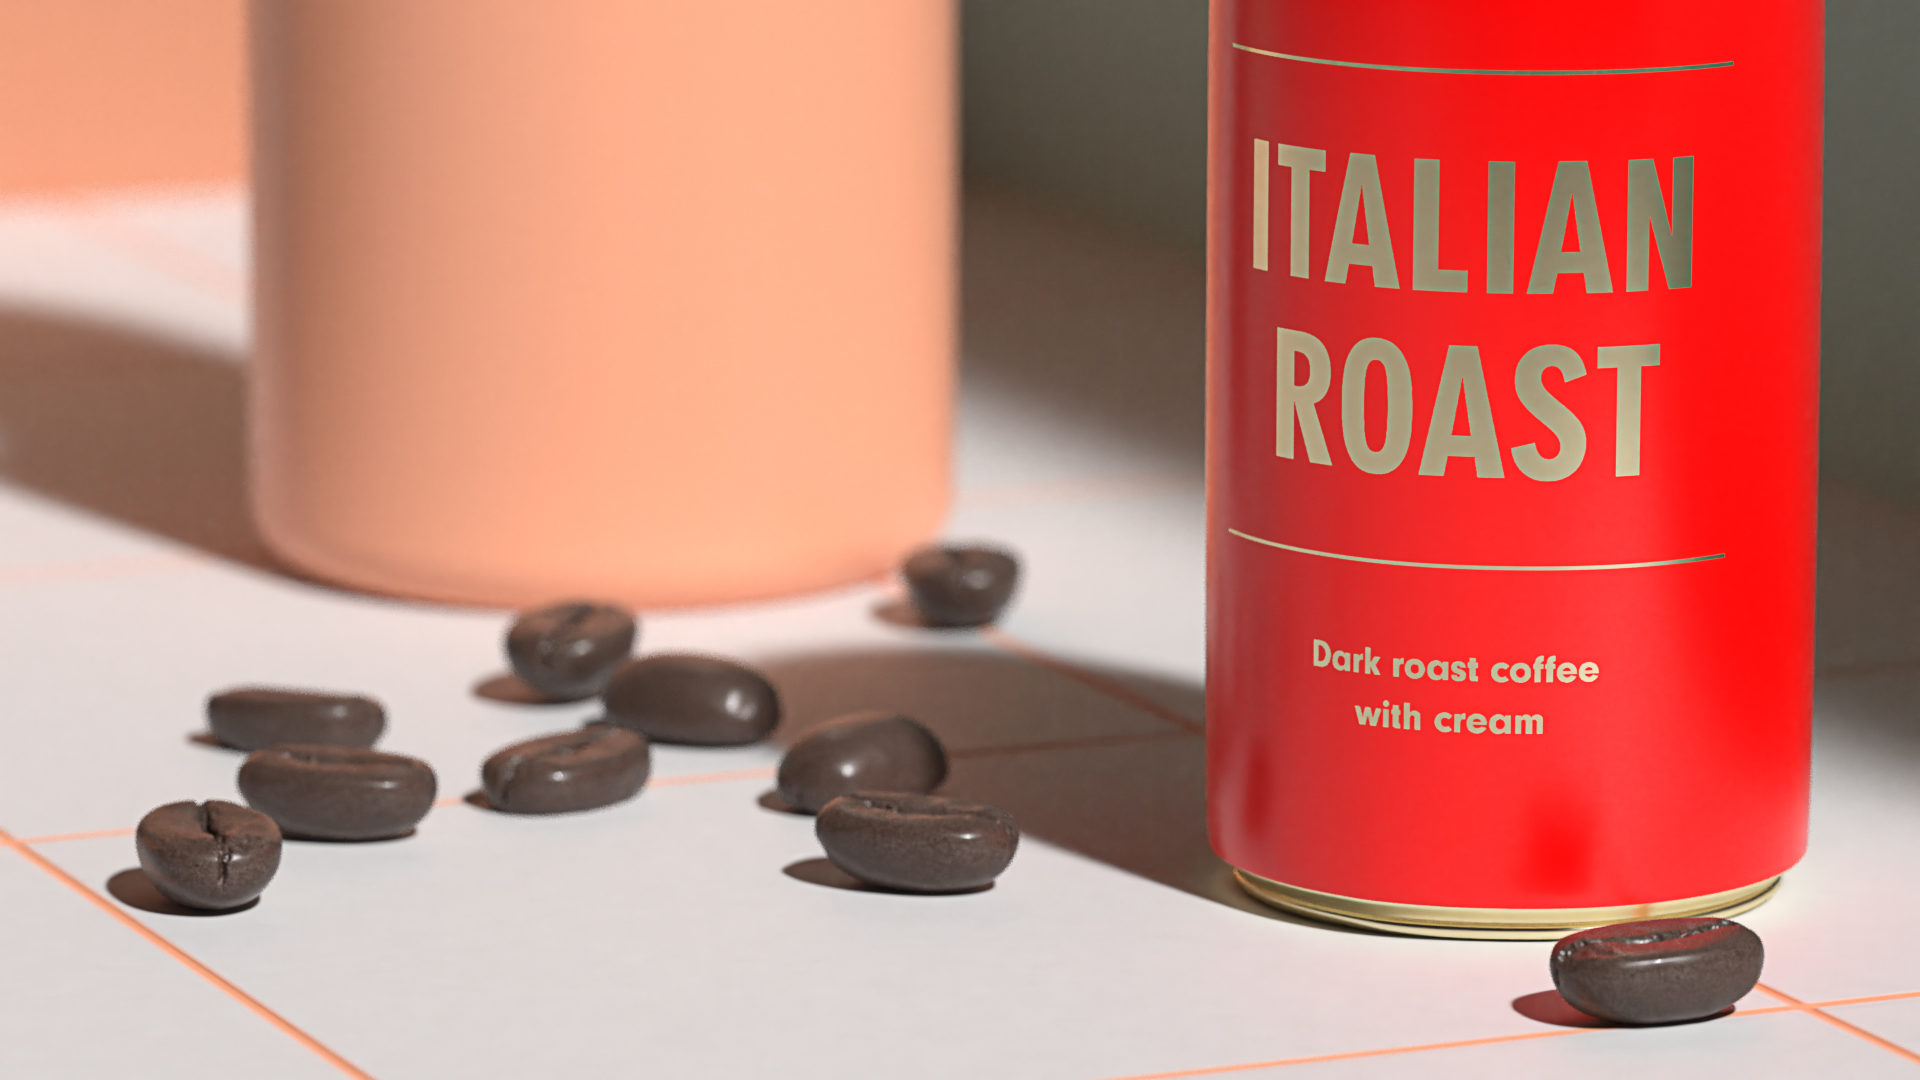
An example of a soft light setup. Note that the lights are placed far away from the subject, and are larger in size comparatively.

Soft lighting, as the name applies, means light is being distributed evenly throughout your scene. Harsh shadows are removed, creating a result that feels soft and balanced. This kind of lighting is commonly seen with product shots, or with traditional portrait photography. You can see in this scene it has changed our original image to feel much more calm.

To achieve soft lighting in your scene, simply place large light sources in your scene that are a good distance from your subject. The larger the lights, and the farther away from your subject they are, the softer your shadows will be. The default studio environment light when starting with Dimension is a form of soft lighting.
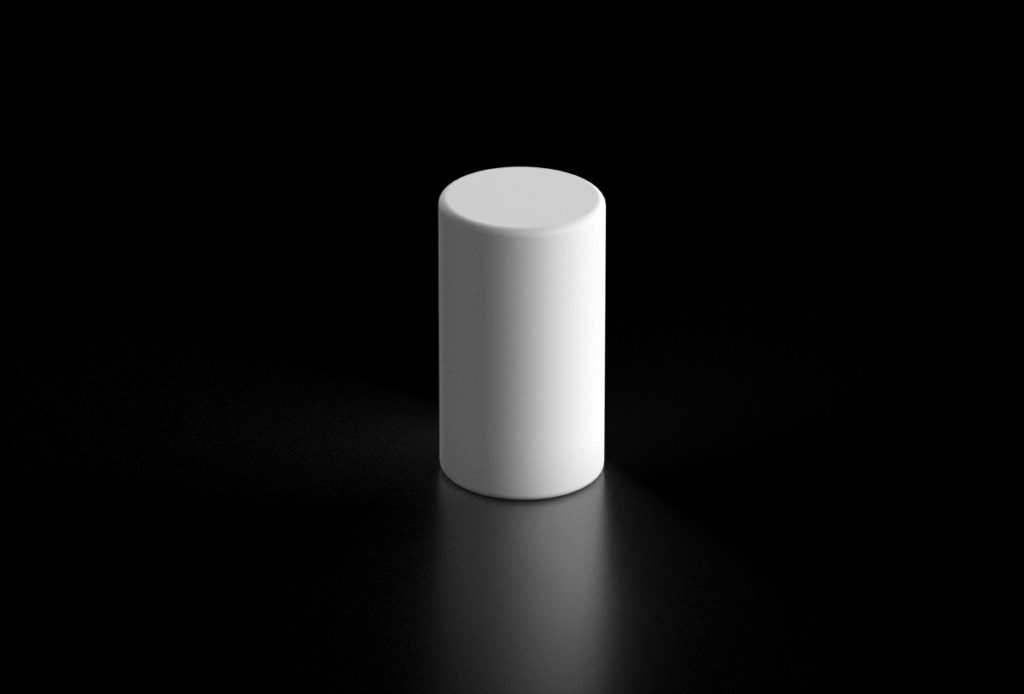
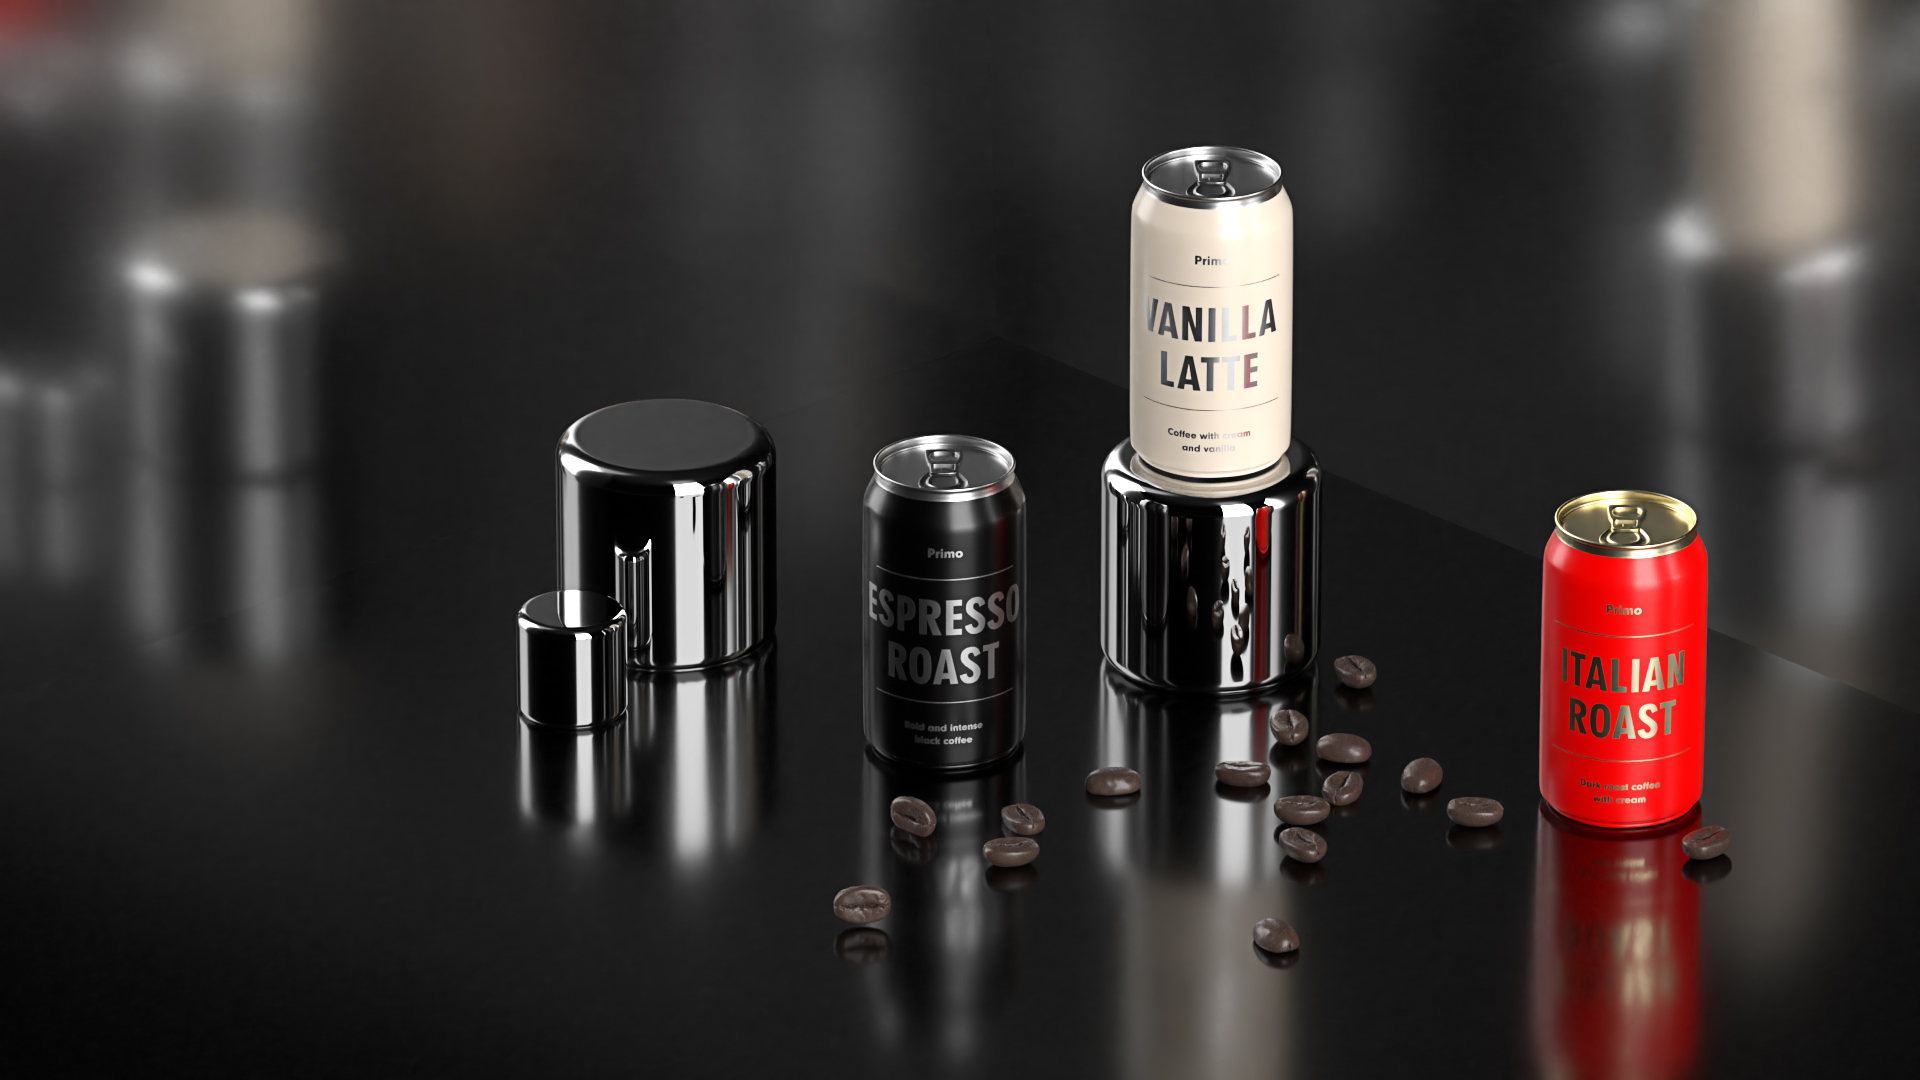
 

Single-light source

As the name implies, this technique uses just one light source. Single-light sources are typically used to create dramatic lighting, since having only one light means harsher shadows and areas where light is not illuminating your object. This creates a sense of drama and mystery.

This technique is used often in cinema as a tool to center your focus and set a mood. Use it to your advantage to create interesting moods, or where your subject does not clearly have to be defined. It's a simple method, but when used right can be the perfect lighting trick up your sleeve.

Direct sunlight

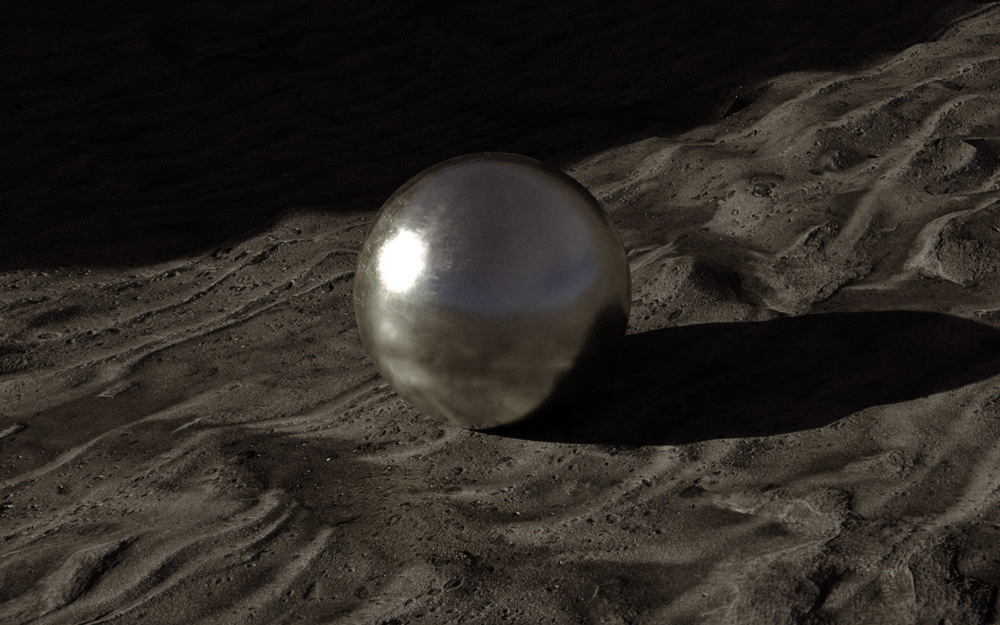
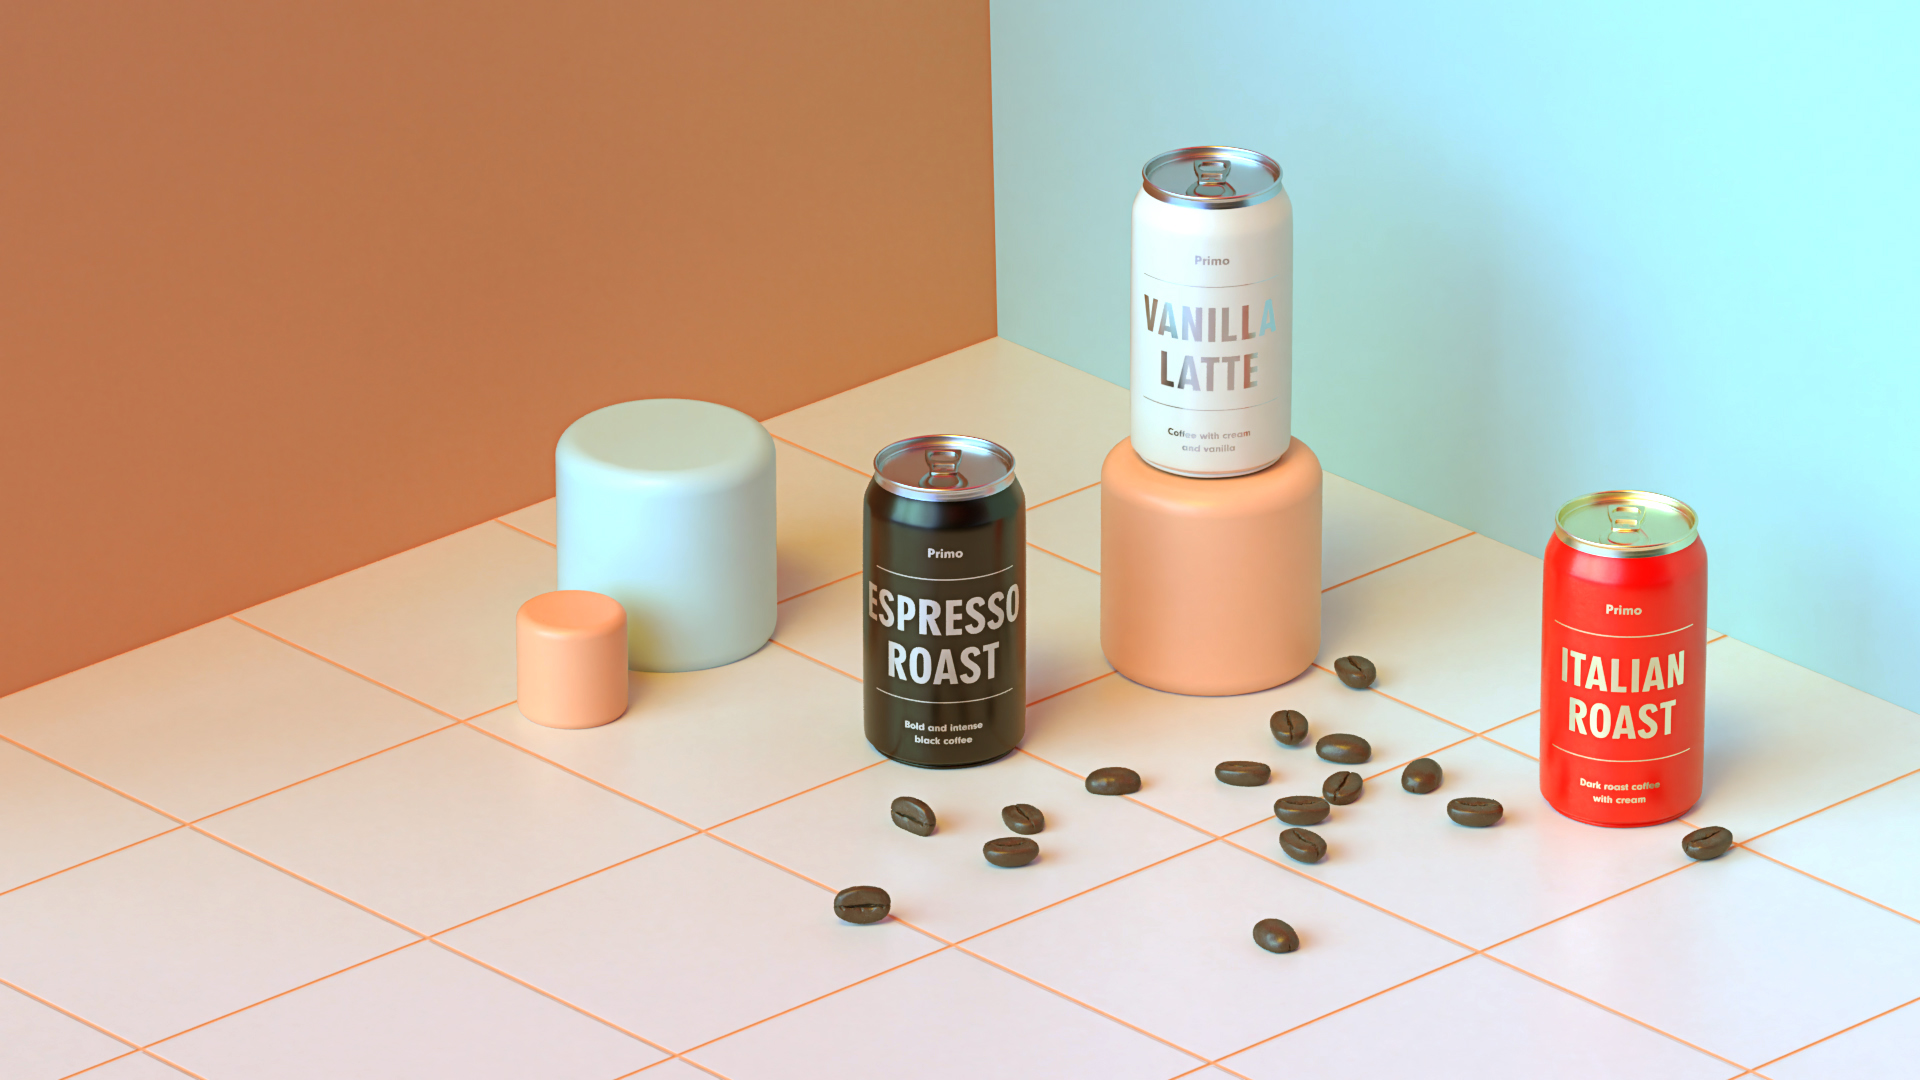
Sunlight is one of the easiest ways to light your scene. Note the harshness of the shadows due to the size and brightness of the light.

As the name implies, this lighting technique relies on a single light source: the sun. Direct sunlight is great when you want to replicate a natural outdoor scene. Using sunlight as your main light source will naturally result in harsher shadows, since sunlight is incredibly bright and the appearance of the sun is very small in relation to us on earth.

Using sunlight to light your scene is very popular for architectural lighting. Most 3D programs, including Adobe Dimension, include the ability to add a sun to your scene. These programs also typically aim to replicate the real effects of light from the sun based on it's positioning in the sky. For example, lowering the position of your sun will typically result in a "sunset" effect where light is much warmer and shadows are hugely elongated.

When using sunlight as a light source, I highly recommend using it alongside image-based (HDRI) lighting environment to get real-world reflections. This is because the sun exists within an “environment” or sky, and to get realistic results you will want to simulate both a sun and real-world environment.

More on environment lighting below.
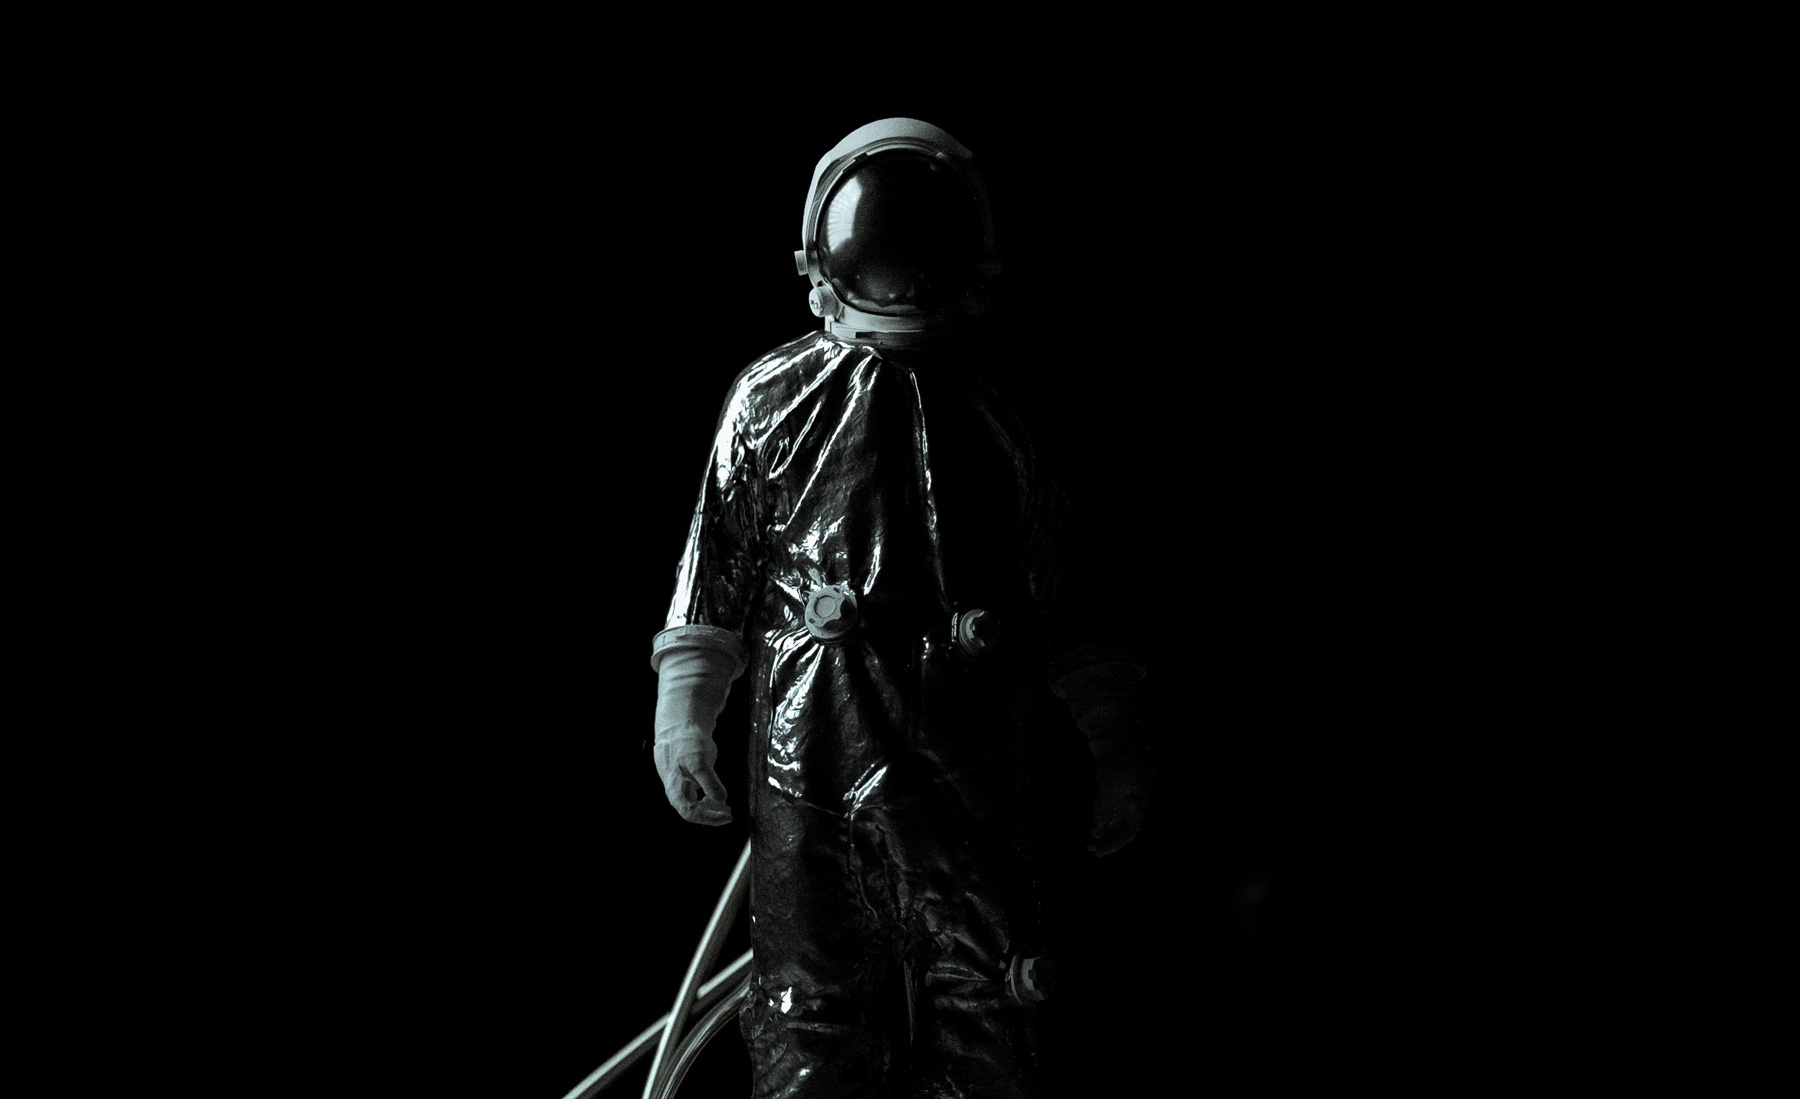
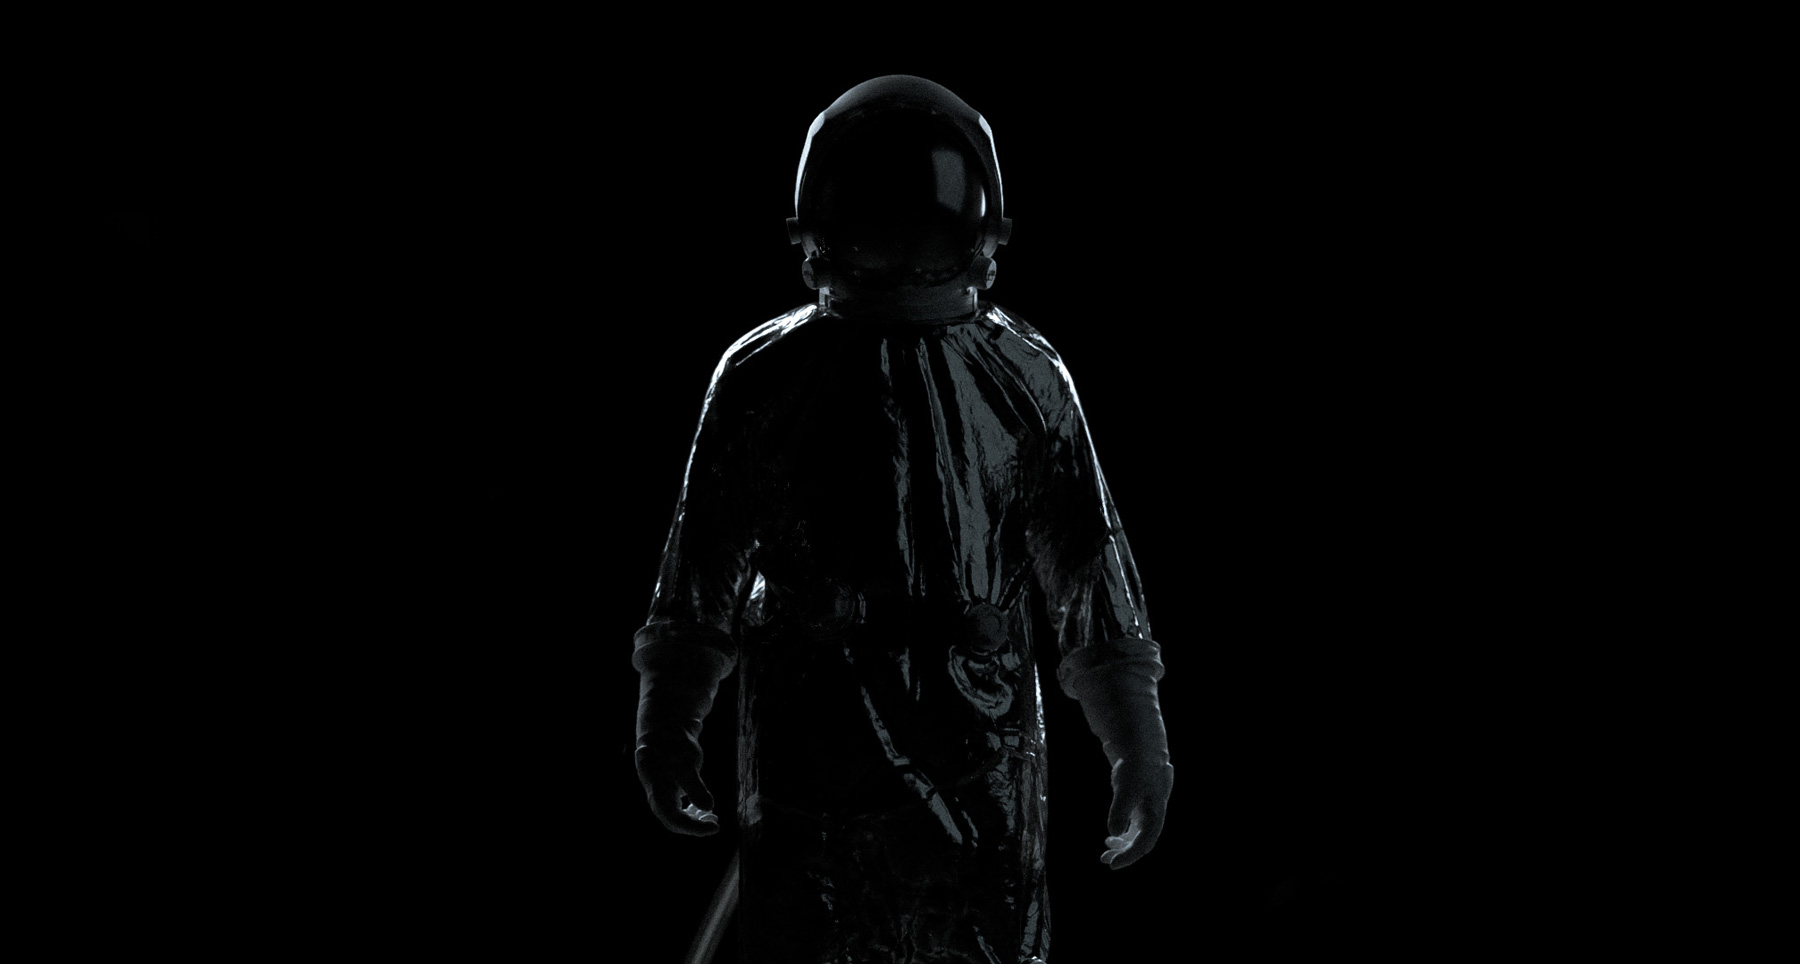
Backlight

Backlight pertains to placing your primary light source behind your subject matter. As with the single-light source technique, this method will also produce dramatic results. It also adds a sense of mystery as it obscures the details and shapes of your primary subject.

This type of lighting is typically seen in film and in promotional sports photography. Though this lighting technique is one of the more rarer ones used, it's a great one to have in your back pocket if you're going for a cinematic vibe.

Environment or image-based lighting

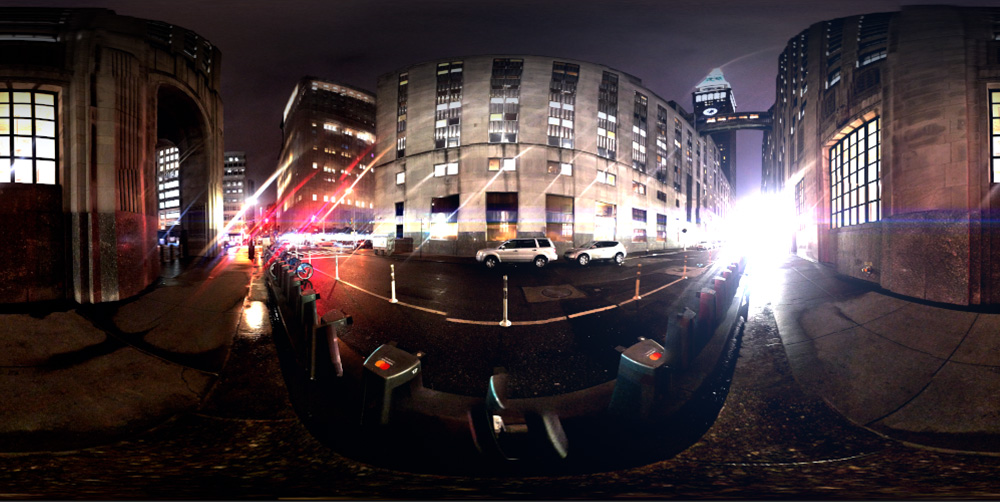
Environmental lighting generates light based an existing image, typically in the form of an HDRI (high dynamic range) image.

HDRI is a 32-bit image (meaning it contains huge amounts more of data) that stores a range of exposures, which is impossible to do with an 8-bit image. An 8-bit has pixel color values ranging from 0-1, whereas 32-bit can go as high as 100 (in case of the sunlight). This will differentiate a white object in the HDRI, for example, from a white LIGHT source. HDRI images can provide an incredibly rich source of light to your scene that replicates what we see with our naked eye.

Environment lighting is great if you want to quickly generate a simulated real-world lighting environment. Adobe Dimension includes these in the format of lighting presets, though you can use your own HDRI maps as well. The largest drawback to using environment lighting is you lose the ability to control the placement of your light sources, since the lighting is based on an image with predetermined light positioning.

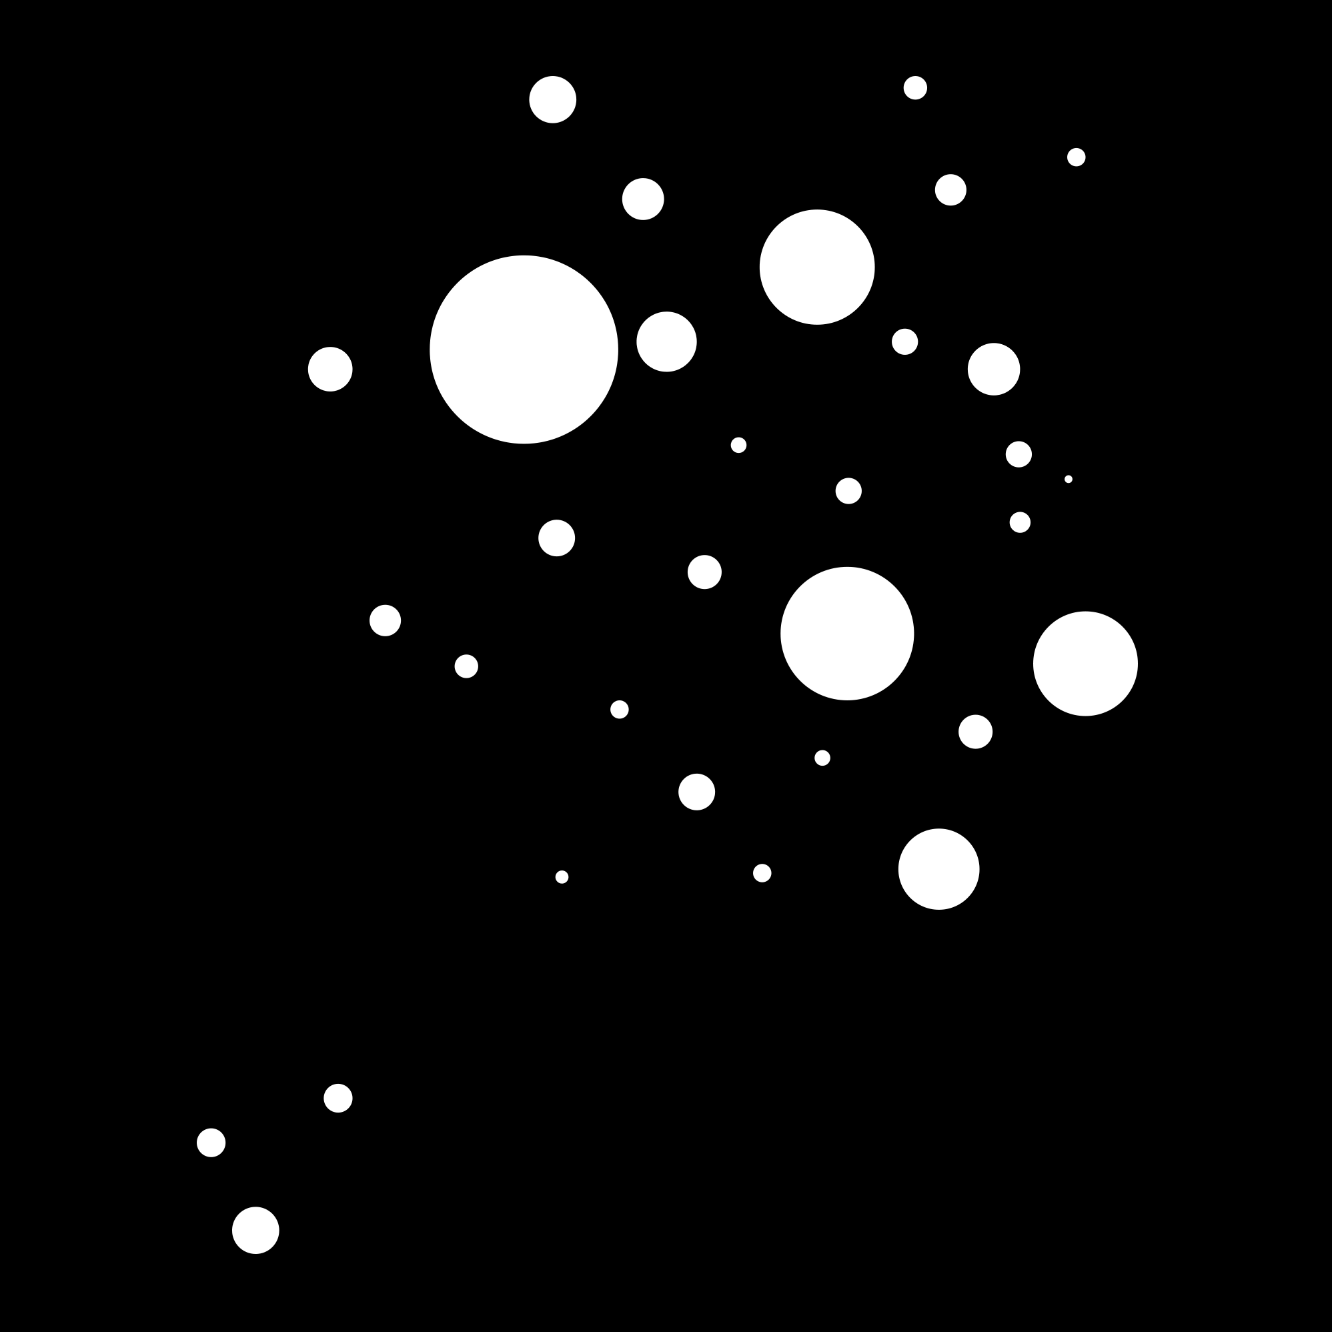
An example of an HDRI image:

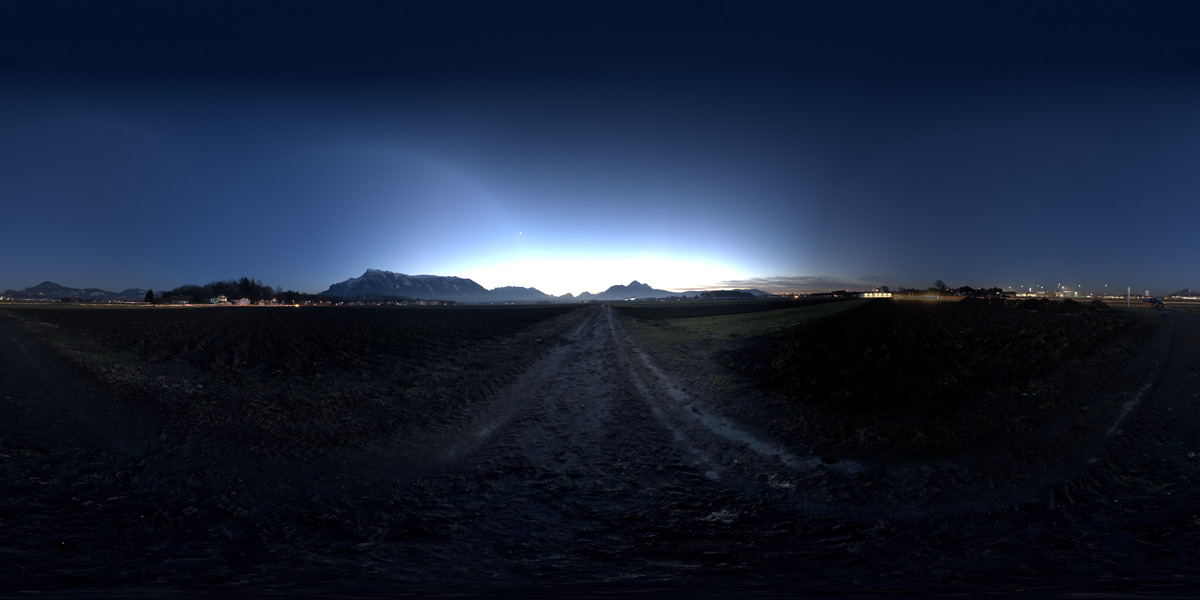
And now with that image applied to our scene:

In Dimension, HDRI maps can be applied under the Environment lighting options.

Different types of light objects within 3D programs

There are various different light objects you can use to light your scene in any given 3D program. Some use different names for the same type of light tools or objects, but it's helpful to know the difference between each.

Directional lights

A directional light object is one that emits light in a single direction, much like the sun. Typically, the light direction can be adjusting in the program as well as the edge softness.

Point light

A point light will emit light in all directions from a single, small point. Light will be cast evenly, despite the direction the point light is rotated. These type of light objects are typically used for things such as light bulbs or candles.

Area light

An area light emits light that is confined within a single object, such as a rectangle or sphere. An area light object will simulate an effect very similar to real-world lighting objects, such as fluorescent lamps or lighting studio equipment. In Adobe Dimension, you can recreate the effect by applying a Glow material to an object. You can then even add texture to the light by placing an alpha mask into the Opacity slot.

Sun

We've talked above about using sunlight to light your scene. To achieve natural sunlight, you will need to use a sun object in your 3D program of choice. Typically, you can adjust the sun positioning, angle, brightness, and cloudiness.

Breaking down our 3D scene

Now that we've covered the basics of 3D lighting techniques and light objects, let's break down what I did to I achieve the results from our sci-fi inspired renders.

For this simple setup, the lighting is based on a three-point lighting technique. There is a large "key" light illuminating our subject. This is lighting the majority of our spaceman, along with creating the largest reflection in the helmet.

Next, I've added a large, soft fill light with a red tint set directly behind the camera to fill in the harsh shadows. I then also created a rim light to illuminate the back of our astronaut.


Additionally, I've also added some environment (HDRI) lighting to create some reflections in my scene for added realism. The environment lighting will create some additional reflections on our astronaut's visor and suit. Oftentimes, I will combine environment lighting with standard lights. This allows me to still have control over my main light sources, but get those real-world reflections from the environment map.

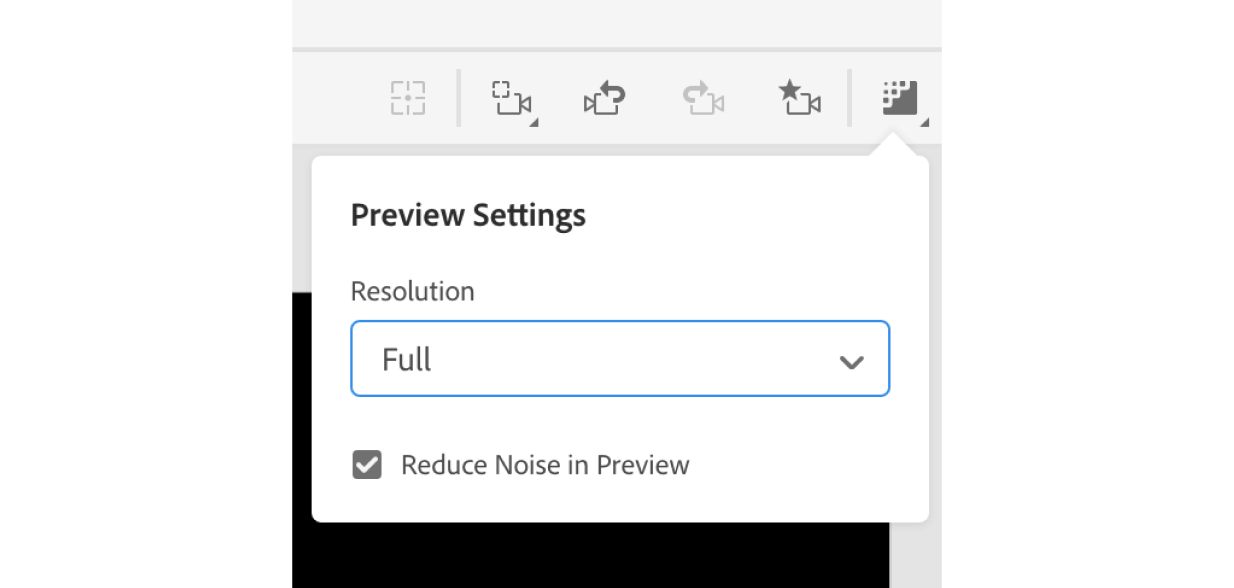
You can toggle on environment lighting in Dimension with a single click, and choose from a variety of presets.

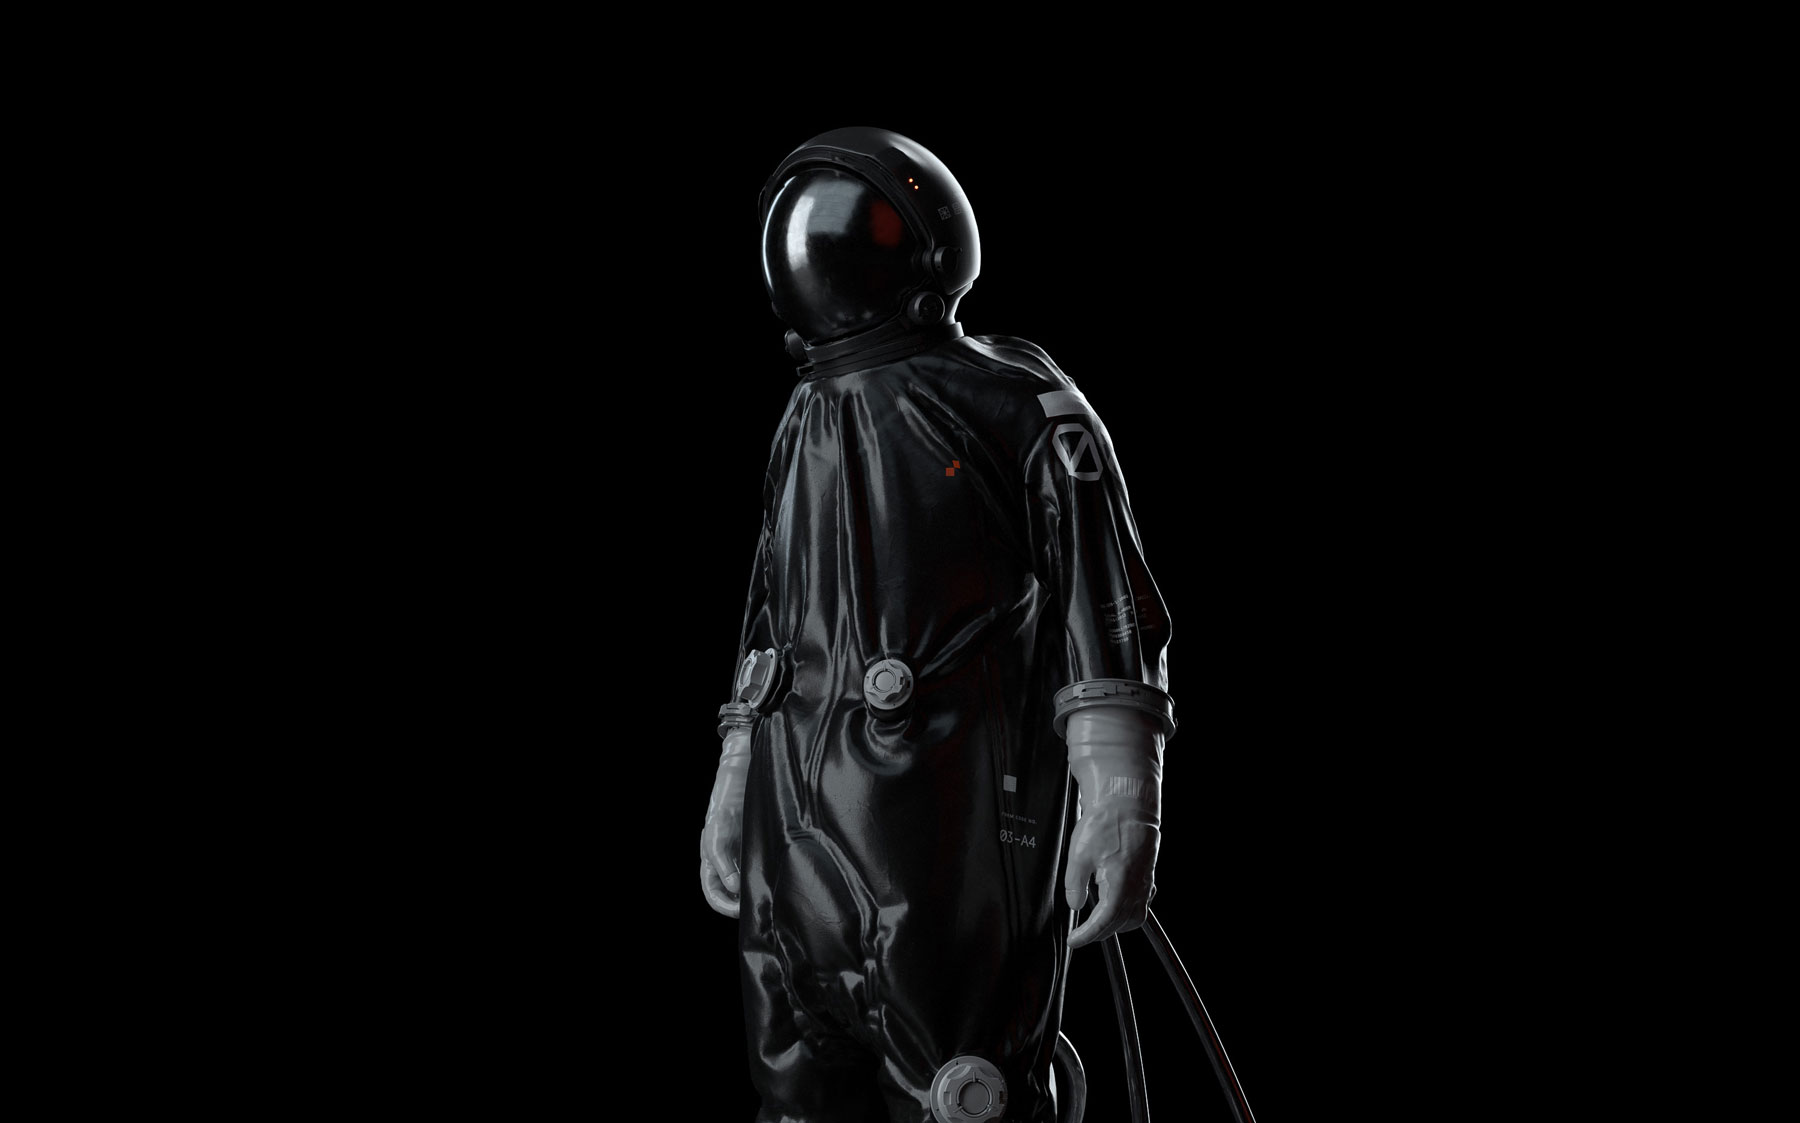
Finally, I've added a highly reflective material to the visor of our astronaut, as well as applied some darker plastic materials for the suit. I've also applied some normal maps to all of my objects for added texture, more on normal maps below.

Here is an interactive embed of our scene, for further analysis:

Pro 3D lighting tips

Use clay first

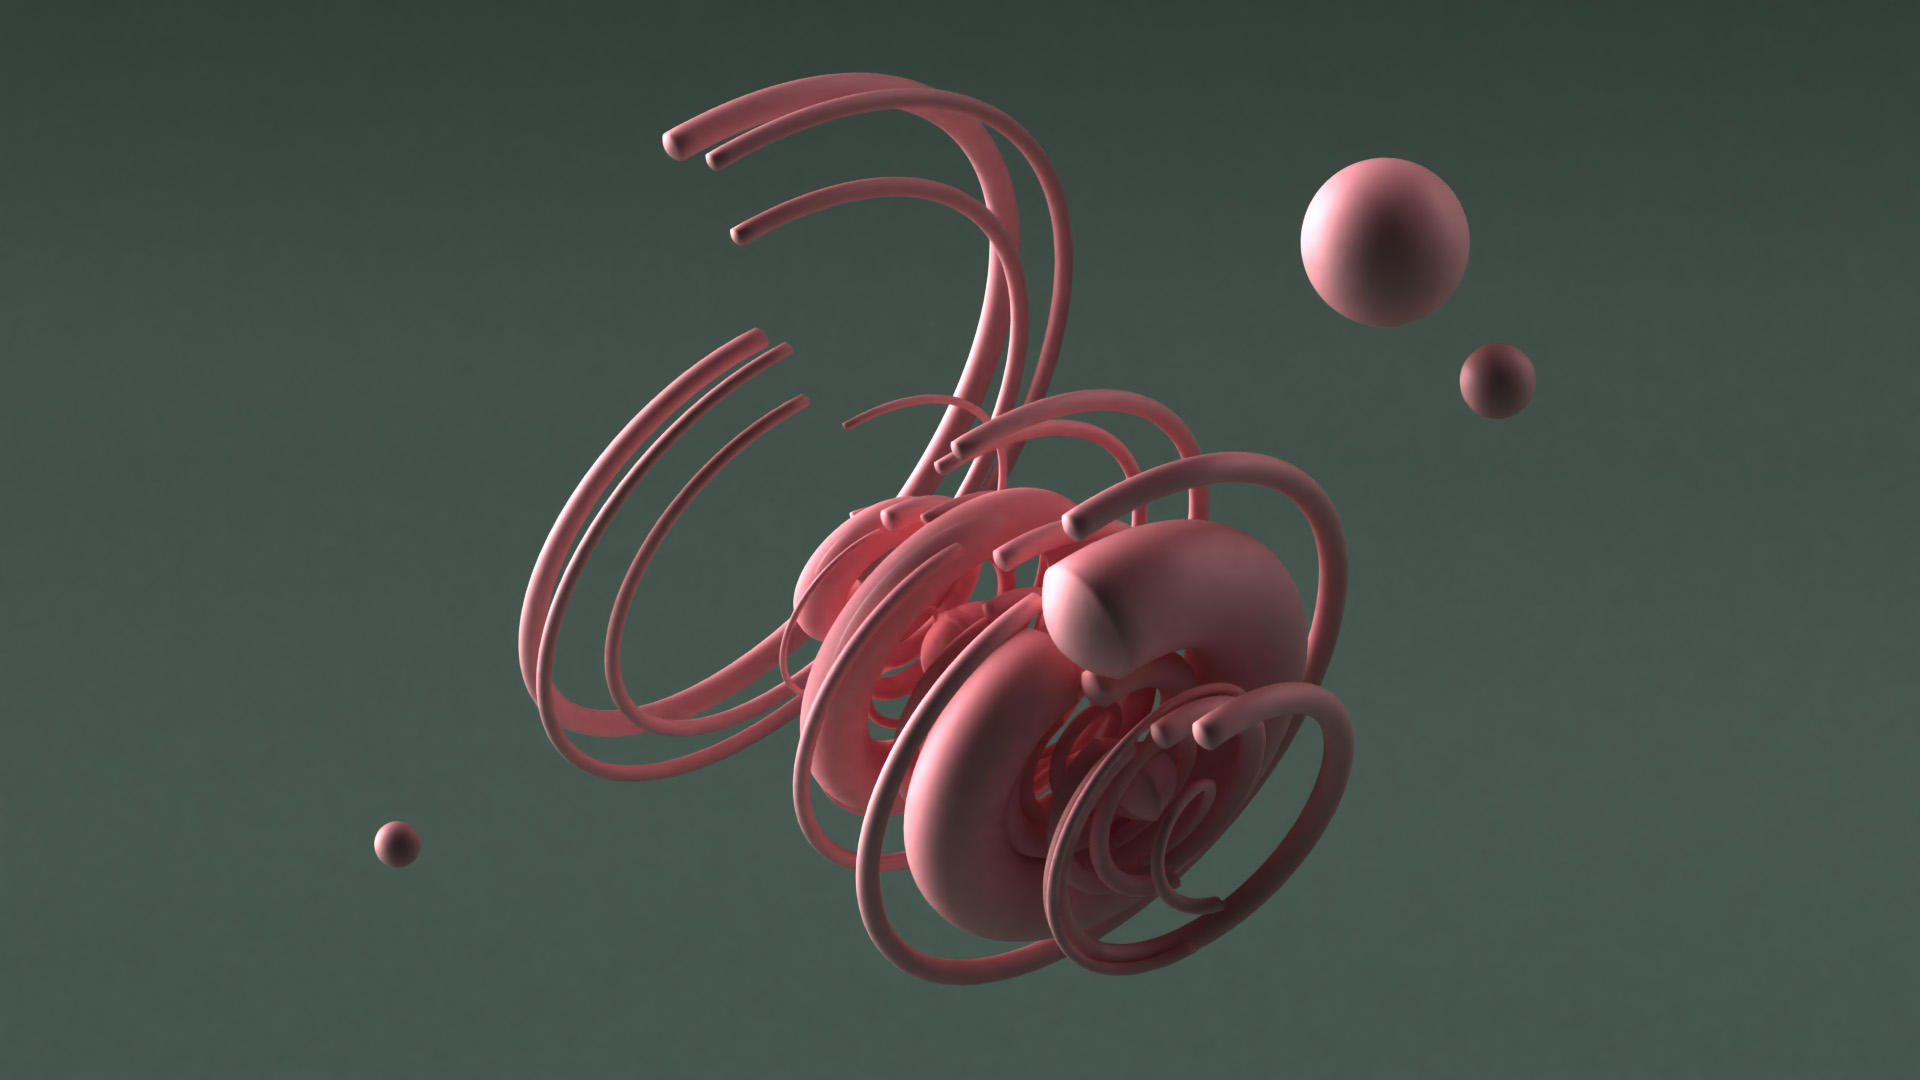
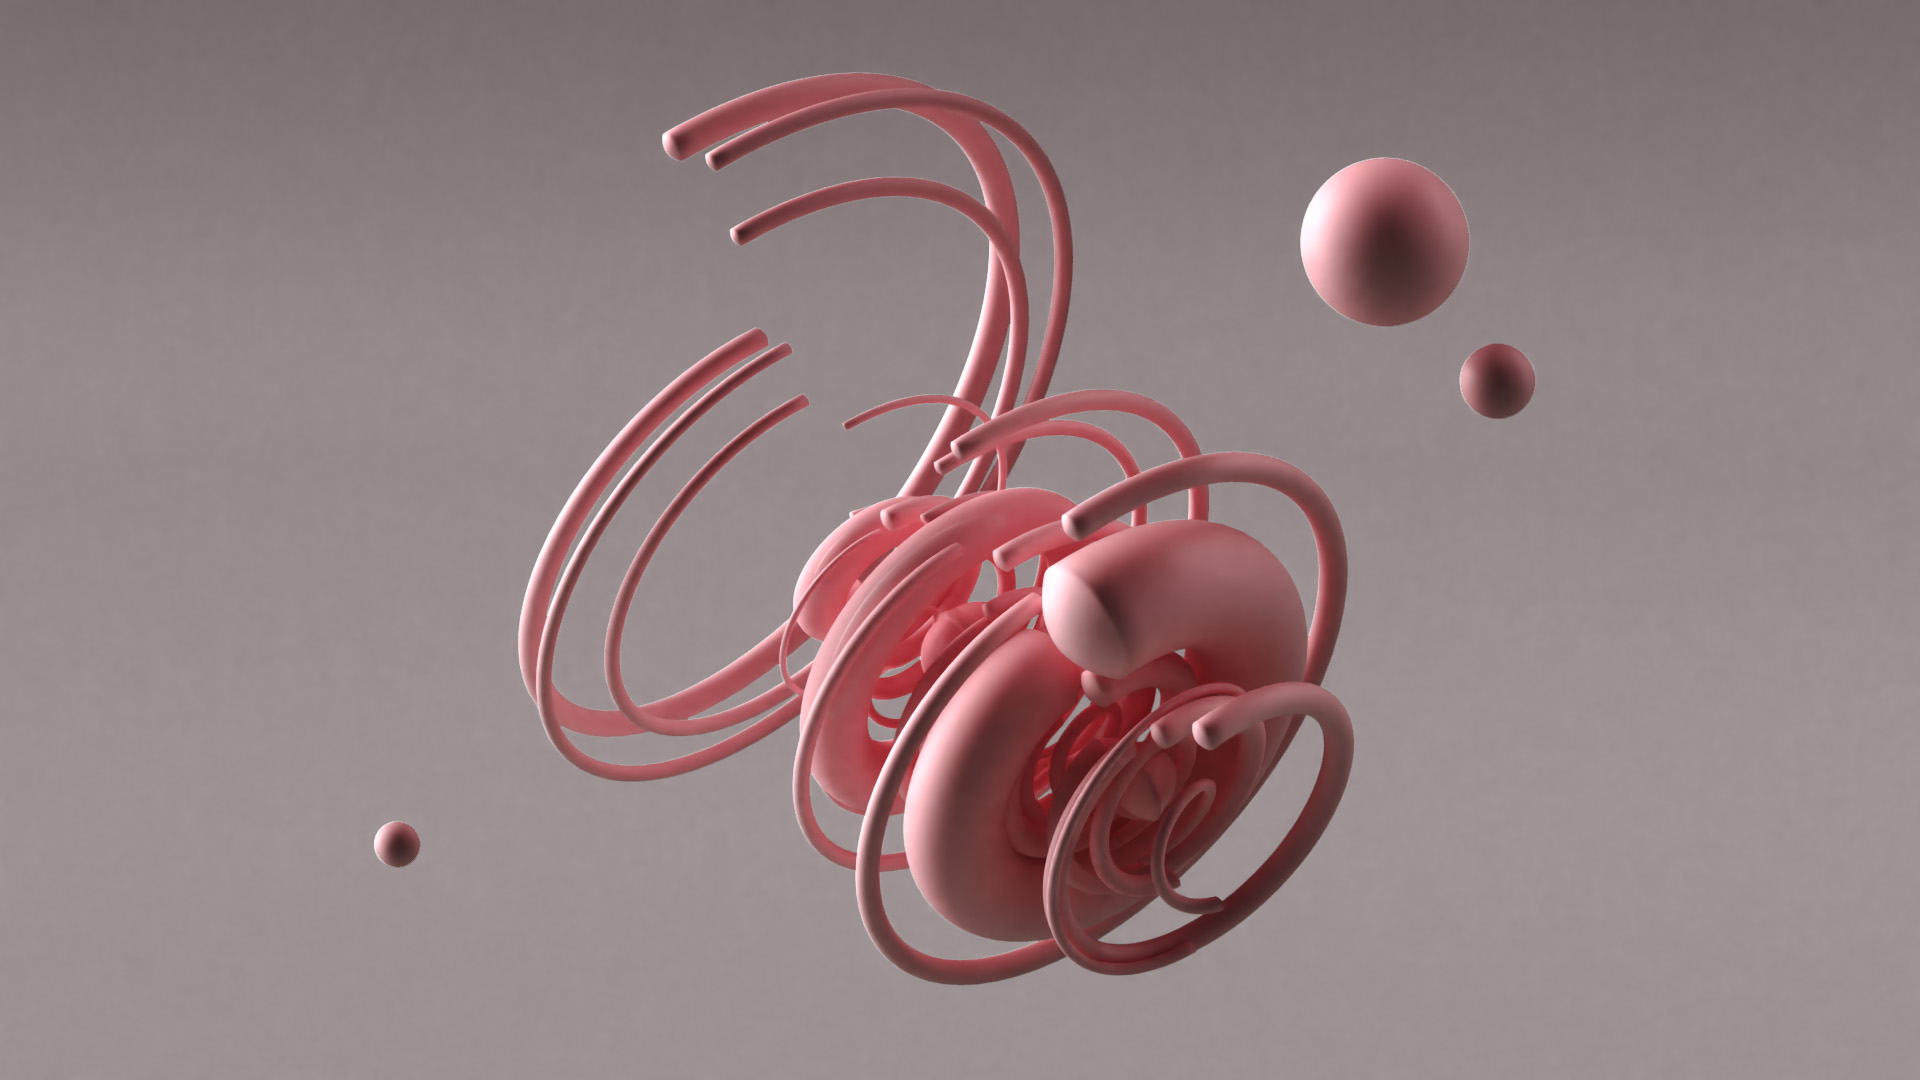
I'm not talking about literal clay. Rather, remove all the materials from your models when setting up your lighting. This will allow you to view the lighting without the distraction of reflections or color. Later, when you are happy with your lighting setup, you can apply your materials to your objects.

Removing materials allows us to see our lighting clearly, without distraction.

Composition is key

The placement of your lights is very important. It's also important to place your objects in a way that will allow you to easily light and manage your scenes. For example, if you want a particular subject in your scene to stand out, you'll need to light them properly and place them in such a way that will naturally lead our eye. Try placing your subjects in areas that are most well-lit, ensuring not to make areas of secondary areas brighter than your subject area. For areas you want to be less distracting, try reducing the light.

Toggle lights one at a time

To get the best idea for where your lights need to be placed, try turning off all of your light sources and only keeping one on at a single time. This will help you understand where you need to make your adjustments to your light placements without the distraction of other light sources.

Be mindful of reflections

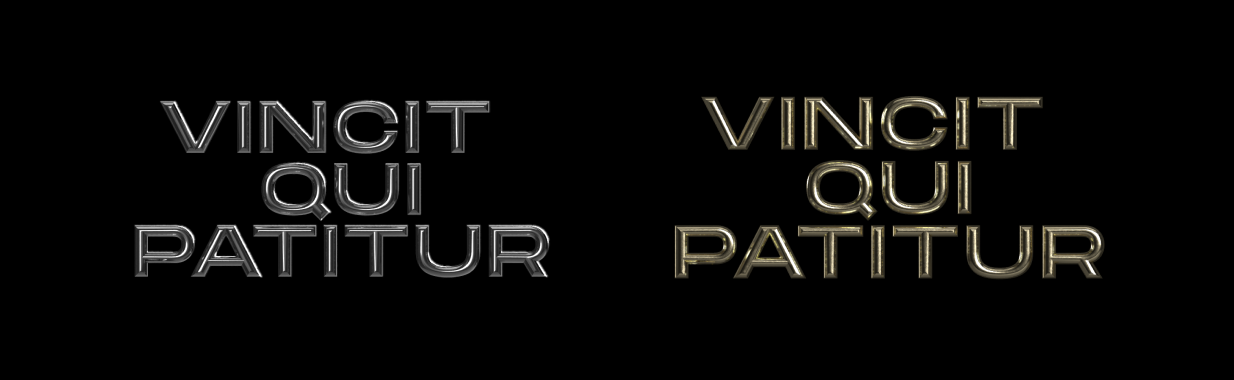
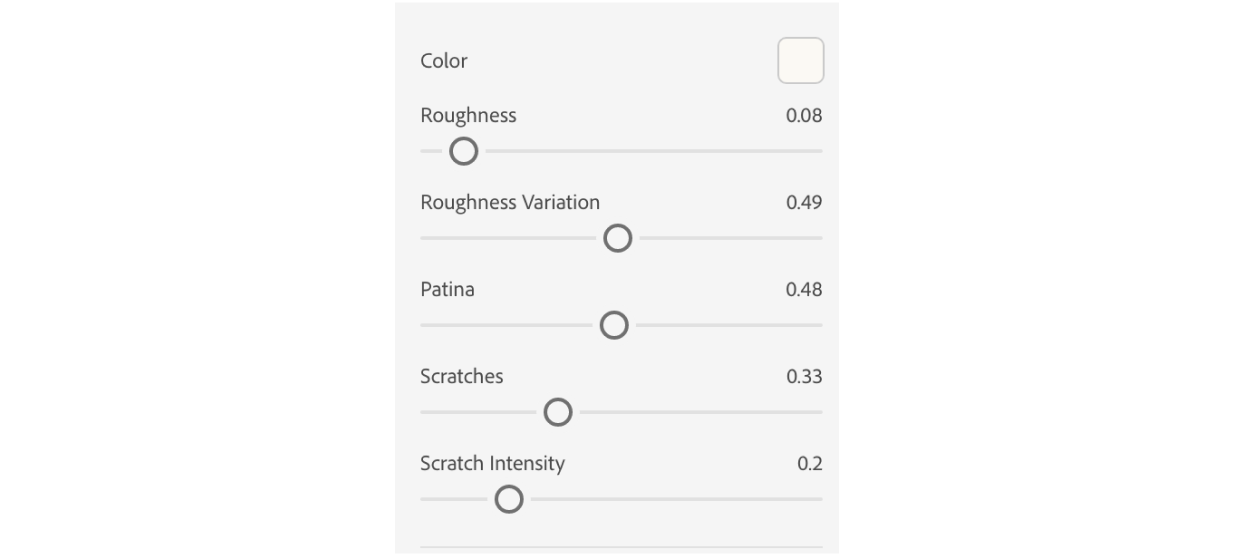
The materials you use in a scene can have a big impact on how your lighting reacts. Since some materials absorb light differently, such as metal as opposed to a fine cloth, you'll need to be intentional with your material choices. If you want a lot of reflections in your scene, consider using a lot of materials that are metal or contain a high amount of "roughness" or reflection. Sometimes, adding more reflective material to your scene can increase visual interest simply because of the light bouncing around and off of your reflective surfaces.

Sometimes it also helps to add objects to your scene that will bounce light and add additional reflections. An example of this is adding a floor object in your scene, or setting a "glow" value to objects you've strategically placed in your scene.

Use materials with normal (bump) maps

Another way to add realism and use lighting to its full potential is to create materials that have "normal maps." Normal maps, also referred to as bump maps, contain height information in the form of bitmaps that simulate textures or imperfections on the surface of your object, based on the way that light is hitting your objects. Since all real-world objects contain some sort of imperfections, they are incredibly useful for creating realistic scenes.

An example of a normal map.

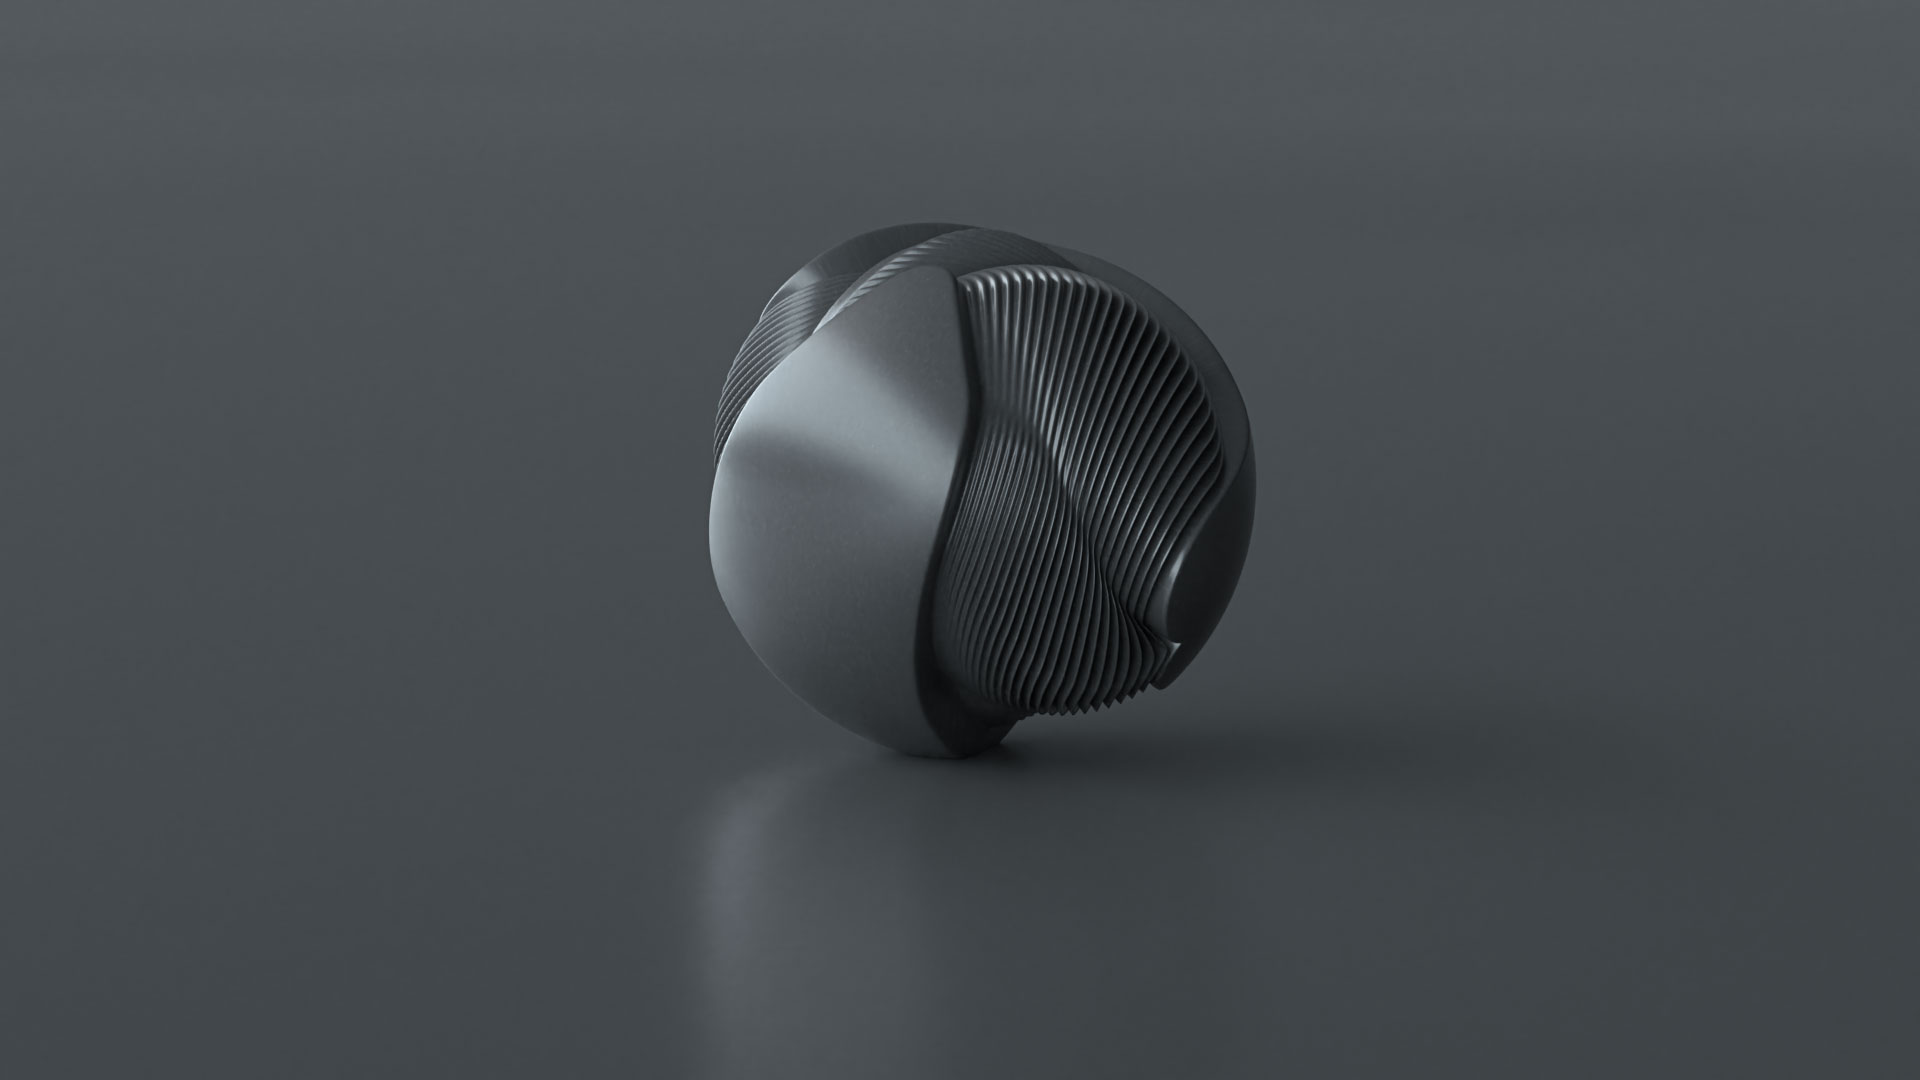
Here is a before and after of the same exact shot, with and without the normal map above being applied:

Adobe Stock has some fantastic materials that come pre-made and optimized for Adobe Dimension, with normal map information already included. I highly recommend using materials with bump maps applied over simply using the defaults of whatever 3D program you are using. You can also generate normal maps from images or textures in Photoshop as well. Personally, I find normal maps work best when scaled down, thus increasing the amount of tiled patterns and heightening realism.

Angles matter

Don't place lights directly in front of your subject. Avoid placing your lights in symmetrical positions from one another.  Instead, always tilt them at off-angles or 45-degree angles in relation to your subject. By doing this, you'll avoid "washing out" your objects and allow for more shadows to play in your scene.

The larger the light, the softer the shadows

The larger your light source, the more light will diminish shadows and create a softbox for your subjects. In contrast, using smaller light sources means harsher and more direct shadows. If you are finding your shadows too harsh in your scene, simply enlarge them.

Add color

You don't have to use straight up white light for your scenes. Sometimes, you can bring interest just by adding a color tint to your lights to give it a different feel or that cinematic touch. In most programs, including Dimension, you can change the color of the light source.

Experiment!

Sometimes to get that "perfect" shot you may need to simply play with the lights in your scene. Each object and composition is different, so sometimes you may have to play with your light placements and colors to get the perfect look you want. Don't be afraid to move things around or break the rules.

Note: special thanks to Raoul Marks, Angelo Ferretti, and IUPUI University for the 3D models featured in this article.

June 15, 2020No Comments

Tutorial: Creating geometric shapes & structures using Adobe Dimension

Since beginning our journey with Adobe Dimension, we've covered everything from creating three-dimensional typographic posters to making abstract 3D art as a beginner to creating packaging and product designs with Dimension.

Although Dimension is not a modeling tool, it continues to release features that empower designers to create their own 3D compositions – without any 3D experience. The latest update includes a feature I personally couldn't be more thrilled about: customizable basic shapes.

The shapes feature opens up a whole new way to play with geometric 3D designs and tailor them to your needs. No longer bound to the simple pre-made shapes that previously came with Dimension, you can now create and tweak your own shapes to your heart's content.

But enough talk. Let's jump into this tutorial!

What we'll be creating

For this tutorial, we'll be creating a geometric sculpture using the new customizable basic shapes feature. Here is what we'll create:

Getting started

As with any creative endeavor, it's helpful to get a rough idea of what you'll be creating so you aren't wandering around aimlessly. Sketching out your idea beforehand is a great way to get a starting point. Even if your end result is wildly different, it's always helpful to have a vision at the beginning.

I've recently been inspired by the Suprematism art movement, and particularly the Arkhitekton works by Kazimir Malevich. I wanted to use the new shapes feature to create similar sculptures using simple geometric shapes.

Work by Russian artist, Kazimir Malevich

For colors, I was also inspired by the works of Piet Mondrian.

Piet Mondrian, a dutch painter from the 20th century, is known for his abstract geometric art.

An easy way to "sketch" out your own scene is to block out your sculpture with simple shapes such as squares or spheres. You can also use tried and true pen and paper as well, of course.

I'm going to start by simply dragging shapes into my scene to block out the basic structure of my composition. Yours doesn't have to be exactly like mine if you want to do your own thing here. Have fun with it.

We will then modify the height, width and depth values of our shapes to get a nice variation in geometry.

Here is the result of placing some cubes, spheres and cylinders into a simple composition:

Setting our scene and camera

Now that we've laid out the basic sketch of our structure and blocked things out, let's quickly set up our scene and camera.

First, go to the Environment tab and turn "Ground Floor" off, since we will be using our own ground floor. Using our own floor will allow us to assign a custom material to it later for a more realistic final result. To add your ground floor, simply place a plane object onto your scene and resize as needed.

For this example, I've placed a plane object to create my ground floor. I then would like to create a nice aerial, isometric camera angle for my scene. To get an isometric view, just slide the Field of View value all the way to the left to 1 in the Camera Perspective properties.

Using custom shapes

Now that I've got my simple scene blocked out, it's time to start refining the shapes and working in the finer details.  You can then start adding some more intricate shapes to fill in around the larger blocks. This will help our composition feel more intricate and visually interesting.

You can choose from a variety of shapes to manipulate and play with in Dimension. For right now, I'm using mostly spheres, cylinders and square objects with a few torus shapes.

Shapes also have a set amount of sides by default. Increasing the number of sides will increase the edge geometry of our shapes, but at the cost of slowing down our scene. It's best to limit the number of sides as much as you can, especially if you have a lot of objects in your scene. The smaller the object, the fewer sides you'll need.

Beveling our edges

An exciting new feature with the latest Dimension update is the ability to bevel the edges of your shapes. Since no real-world objects have truly sharp edges without some sort of rounded edge, the ability to even slightly round the edges of your shapes will greatly increase the realism of your objects.

Let's go ahead and add some beveling to our shapes.

Slicing shapes

In addition to adding a beveled edge, we can also slice our shapes to reduce geometry. Here, I'll create a half-cylinder shape by slicing this cylinder. Let's reduce it to 180 degrees.

Filling in the details

I've now added bevels to all my shapes, as well as half cylinders to make the scene more interesting. I've also added more shapes from the provided shape options, as well as a ladder I created myself from multiple custom cylinder shapes.

For some added visual interest, I'm also going to add some text extrusion shapes. If you haven't already, check out our previous tutorial for creating 3D typography to see how easily you can make these letters.

Setting up our lighting

Now that we've created our geometric structure, it's time to light our scene. Lighting is key to achieving great and realistic 3D results, so it's crucial we get this right.

If you have any experience with photography, you may have heard of a 3-point lighting system.

3-point lighting consists of three key elements: key, rim (backlight) and fill. Key is your main light source. Rim light serves to outline the back of your subject and create depth, and fill light serves to reduce harsh shadowing.

An example of this type of lighting system below:

Left to right: key light, rim light, fill light

Combined light sources for an evenly lit scene

Luckily, Dimension comes with a way to light your scene exactly this way, and this is what we'll be using.

To get started, go to the lighting area and create a new 3-point lighting setup. You can turn off the environment lighting now if you'd like. I also recommend keeping your materials to the defaults so you won't be distracted with the materials you have set.

The key light will illuminate the front of our object, with the backlight illuminating the outer edges. The fill light will help break up any harsh shadows and provide a nice, soft light to our scene.

PRO TIP: A good trick is to only keep one light on at a time, so you can see how each light is interacting with your scene.

You may need to play around with your lighting values and positions to get the results you want. I will often look at real-world photography as a reference and compare this to my own scene.

Here is the result once I'm happy with my light positioning:

The progression of our lighting

Applying materials

Now that we're happy with the lighting, we can start applying materials to our structure.

For the base, I've applied a polished chrome material I downloaded from Adobe Stock 3D. For the most realistic results, I recommend using materials from either Adobe Stock or Substance Source. Substance Source materials include additional texturing effects that heighten the realism of your objects. Dimension also comes ready with some rich materials, including Substance Materials, in the Starter Assets panel.

To add the material, select all of our objects at once (or the group, if grouped) and apply the material from our Adobe CC material library or by going to File > Import > Place Material on Selection.

I've now also applied multi-colored plastic materials to my objects that I found on Adobe Stock. This red plastic material is a nice base material for my original vision for this scene. I've also added a similar blue plastic material to my ground floor.

If you want to take it even further, you can add additional light reflections to your scene by adding glowing plane objects to your scene. This increases the realism as it allows you to control the size of the light source and create diffused light effects.

Render time!

Now that we've applied our materials, let's get rendering. Rendering means turning your 3D information into a finalized image. Just hit the render button under the Render tab and go!

The result of our render:


Experiment away

As with any of our tutorials, we encourage you to take things further and have fun creating your own designs based on what you've learned. Here are some other examples of what you can do just by playing around with various materials and lighting effects in the same scene:

Don't forget: If you do create something with Dimension, be sure to share your designs to Behance, selecting Adobe Dimension under “Tools Used” in the Basic Info tab. On Instagram, tag #AdobeDimension and #CreatewithDimension. This allows the Dimension team to find and promote your work.

And be sure to tag DESK on Twitter as well, if you create something cool using this tutorial. We'd love to see it!

__

Read our other 3D design tutorials with Dimension:

Your first 3D design tutorial with Dimension
Creating packaging & prototypes with Adobe Dimension
A beginner's tutorial to creating 3D typography 
The unexpected addition to our creative workflow

May 12, 2020No Comments

Tutorial: Creating 3D typography with Adobe Dimension

You may have been browsing some of your favorite designers or artists on Instagram or Twitter, or perhaps you jumped online to find some inspiration and noticed a new trend in the design world: 3D text.

It seems that 3D design is taking the design world by storm. Designers are wishing to use the power of 3D design to complement their traditional design work, and 3D typefaces are a fun place to start.

I've seen these kinds of 3D text effects most often in the portfolios of some talented designers I admire, in most cases purely for play and experimentation.

Work from left to right: Stefan Hürlemann, Bryan Bernard, Martin Naumann, Sergio Abstracts, BestServedBold

Until recently, such effects have been limited to costly and difficult-to-use 3D programs, or the occasional Photoshop tutorial. For the average designer, including myself, this style seemed to be reserved for "the experts," those who specialized in 3D.

Not so anymore. If you weren't already aware, Dimension is Adobe's 3D design tool. We've written previous Dimension tutorials for creating 3D visuals, and today we'll be bringing you a new use of Dimension: creating 3D text.

What you need

Everything we're doing today, you can do with Adobe tools:

  • The latest version of Adobe Dimension (free with your Adobe Creative Cloud subscription, depending on your plan). This latest version will now include a variety of new features, Text Extrusion.
  • Photoshop
  • Adobe Illustrator, or your preferred 2d design tool

What we'll be doing

In this tutorial, we will be using Dimension to create a poster with 3D typography. Using the new text extrusion feature in Dimension, you'll be able to create your own 3D text and customize it with bevel effects, materials and most importantly: lighting.

For our final effect, we'll be rendering 3D text to create typographic posters like the ones below:

3D typographic posters, created using Adobe Dimension's text extrusion feature

3D text extrusion, rendered with Dimension and animated in Photoshop.

We will then use Dimension to render out layered PSD files of our 3D text that we can then effortlessly apply to our design concepts. Let's do it!

Step 1: Design your layout in 2D

I recommend designing in 2D first, so you can cement your idea and have a reference when you're designing the 3D text in Dimension. I've first created my design as a 2D typographic poster in Adobe Illustrator.


Step 3: Create your scene in Dimension

With the latest version of Dimension installed, go ahead and create a new scene. In the project settings, input your document dimensions. I've opted to set mine at 3000 x 2250px to get a nice, high-res image.

With your scene created, select Environment from the scene area in the top right corner and set a black background color (or whatever your artwork background color is).

In the same environment area, uncheck "Ground Plane" so we don't get any unwanted reflections or shadows from the simulated ground floor.


Step 4: Extruding the text

Now that our scene is set, we are ready to begin creating our 3D text extrusion. From the objects tab, drag a new Text Extrusion object onto your scene. You can now see with the default settings that our text object already has 3D dimensionality to it.

We can now select our Text object and adjust the default settings. You'll see options to input your own text, change the font, adjust the extrusion depth, set font sizings and kerning, as well as a bevel effect for added realism. In my example, I'm using a wider sans-serif typeface (Dimension's 3D Text feature will work with any font installed on your systems operating system). I've set the depth value to 2cm.

Now that we have our basic properties, we can start experimenting with the bevel options to achieve a realistic result. There are several options for the shape of your bevel. For our purposes, I will use the Round option.

Now let's adjust the bevel width and angle. You can have fun and experiment with this part more on your own later, after we've adjusted our camera and lighting.

Step 5: Adjusting the camera

Now that we've got a nice 3D text effect (see how easy that was?), let's adjust the camera and place it in a way that will give us the front-facing angle we need for our poster. Of course, you don't have to create this flat effect, but it will work well with the poster we're designing today.

Next, let's set the camera field of view to 1. This will give us a very flat, isometric feel to the text. Now rotate the camera so that your text is completely front-facing with the camera. You can use Dimension's grid lines to ensure alignment.

Now that we've got the camera setup, let's go to the bookmark tab to bookmark our camera position. This will allow us to adjust and rotate our camera, but come back to our front-facing view at any time later.

Step 6: Adding materials

Now we can apply real-world, photorealistic materials to our 3D text. In the example below, I've added a Clean Gold material to the text object.

You can of course apply different materials for different effects – play around with this to see what you personally prefer. Adobe includes a variety of options here and you can download additional materials from Adobe Stock, if needed.

Left: metal material. Right: brass material.

For our poster, I will use Silver Gold from the Substance Materials list for a nice chrome-like effect. Since this is also a Substance Material, we have additional options to adjust the reflection amount or increase scratches for added realism.

Now, in the material options, you can tweak your material's appearance. For my example, I've set my Silver Gold material settings to the following:

The roughness value determines how reflective your material will be, with a lower value resulting in a more reflective object. The rest of the material settings I've left at the default.

Step 7: Adjusting the lighting

Now that we have our camera adjusted, we can now work with the lighting in Dimension.

Lighting is one of the most nuanced and important aspects of believable and realistic results in 3D design. Thankfully, Dimension takes the headache out of this and includes several lighting presets we can use.

For our purposes, I will use image-based environment lighting. Environment lighting generates real-world lighting systems based on the light and dark values in an image. It's an incredibly easy way to achieve photorealistic results, since you are using a real photo to generate light and reflections. Adobe includes several environment lighting presets with Dimension, as well as additional ones for download from Adobe Stock.

In addition to the presets that come with Dimension, you can also use an image file of your own to generate light for your 3D scene. For this tutorial, I'm using an HDRI image from the Neon Dreams HDRI pack from TFM.

I first downloaded the image into the Environment Light option in Dimension. I can now adjust things such as lighting intensity or rotational values. Rotational values will change the position of the lights in accordance with our scene, and is crucial in some cases to achieving realistic lighting.

Sometimes it's a matter of adjusting and playing with different rotational values to get the desired result.

Now is a good time to go back to your 3D text options and experiment further. You may want to adjust the bevel amount or bevel settings to get it just how you like it. Have fun with it!

Step 8: Rendering our image

In 3D, rendering your image means taking your 3D design information and turning it into an image.

PROTIP: You can preview your final render result in the Dimension viewport with the Render Preview option:

With our camera set and our lighting adjusted perfectly, we can hit the render tab to bring our 3D artwork to life and into layer-separated PSD files. In the render options, choose Medium for your render preset ("Low" present means it is quicker but lower quality; "High" means higher quality but the rendering will take longer.) You then have the option to set the final result as a PSD file or png. I've set mine to PSD.

Then, all you have to do is hit the render button. Your 3D render may take a while depending on your machine's particular setup, but for a simple composition like this, it should be relatively quick.

Keep in mind, if you have a slower machine this will use a lot of system resources and you may experience a significant slowdown until the render is finished. If you'd rather work on other projects while your render is being processed, you can use the Cloud Rendering (Beta) option to have Adobe render the images for you.

The final result

With our render complete, here is the final result:

Final result, front-facing

You can now open up this render in Photoshop for any post-processing work you'd like to do, and your 3D text will already be on a transparent background. Dimension includes 3D information as hidden layers when you render, and you can make post-processing adjustments as needed after your render has completed.


Mockups created with Adobe Dimension.

Experiment further

Now you've seen how simple it is to create 3D text effects that you've always wanted. Now you can go wild with it using the exact same process.

Have fun and play around with different fonts, materials, camera angles or lighting effects to create a variety of results. Here are some different designs and experiments I've made using the same process:

I hope you enjoyed this tutorial! If you do create something with Dimension, be sure to share your designs to Behance, selecting Adobe Dimension under “Tools Used” in the Basic Info tab. On Instagram, tag #AdobeDimension and #CreatewithDimension. This allows the Dimension team to find and promote your work.

October 8, 2019No Comments

Creating packaging and prototypes with Adobe Dimension

Presentation is the key to success as a designer. The most outstanding designs fall flat if not presented well. It's why we build Semplice.com, to help designers present themselves and their work better. And now, it's why we're using Adobe Dimension.

If you're not familiar, Dimension is set to change the way designers use 3D forever. It's made 3D design accessible to those who may not have access to expensive 3D programs or technical knowledge to use them. (We already shared our beginner's 3D design tutorial using Dimension, and it's been awesome seeing what people are making with zero previous 3D experience.) The best part is, Dimension is included with an Adobe Creative Cloud subscription.

With Dimension, you can take a design, whether it's a logo or an abstract illustration, and put it into context for your audience. We've used it to mock up our product packaging, to prototype quick examples for a project, to visualize abstract concepts – basically, to bring any 2D work into 3D space and make it feel real. With Dimension, we can breathe 3D life into our designs.

Adobe Dimension, Semplice 3D renderings

3D hot sauce bottles we designed and created in Dimension to use in a Semplice.com demo.

A 3D rendering created of our Semplice product packaging, created in Dimension.

Our packaging and prototyping workflow with Dimension

It's surprisingly easy to get started with Dimension. It comes with lighting presets, 3D objects and realistic real-world materials you can use to quickly bring your work into beautiful 3D space. To show you my typical workflow for 3D prototyping and package design, I've created an example scene with packaging for a non-existent coffee company. So instead of presenting the logo and packaging design to this company on a flat page, I can mock it up as it's intended to appear: on the curved shape of a can.

Here is the flat artwork we will be applying to our 3D objects:

2D flat artwork to be used in Adobe Dimension packaging design example

Here is the final scene, which we'll now re-create together:

3D renderings of packaging design using Adobe Dimension

What you will need

1. Setting up our scene

When creating a 3D visual, I first place flat planes at right angles to create a floor and walls for my scene. You can use the 'Plane' model from the Models panel to add flat planes. I then arrange all of my objects within this space. In this case, I used the 'Beverage Can' model Dimension provides.

From there, I added cylinders and coffee beans for additional visual interest.

If you are looking for 3D assets to use in your scene, Dimension provides lots of options in the Starter Assets Panel on the left. You can find more Dimension-ready assets, both free and paid, on the Adobe Stock 3D website. Websites like CGTrader or TurboSquid also offer free 3D assets.

2. Setting the camera view

Now that I've placed all my objects, I'm going to set up my camera view. Dimension uses real-world camera attributes, and if you're familiar with basic photography principles you'll know that visual placement is crucial to a well-balanced visual scene.

Use the rotate (1), pan (2) or zoom (3) tools to position your camera within the scene and put your object in frame. You can use the Field of View to either reduce or increase camera perception and simulate lens distortion. For this scene, I've set my camera Field of View to 5 for a very isometric-like result.

3. Assigning materials

With my camera set up, I then assign materials to my objects. For my walls and structural objects, I've set a colored matte material. The matte material will serve to absorb excess light and reduce reflections in our scene. I've then set my floor to a ceramic tile material, and assigned custom colors to my tile in the material options. My cylinders have been set to plastic, with 35% roughness. Roughness just means how specular or reflective your object will be, so setting a roughness value of 35% will provide some glossiness to our object.

I've assigned my cans a metal material with a 30% roughness value. This metal material will serve as the base material for our cans, with our design being overlaid on top to allow the metal to show through. You could also easily use a vector graphic made in Illustrator.

4. Adding our designs

Now that we have assigned a metal material to our cans to serve as the base material, let's add a design to our cans. We will lay our artwork on top of the base material, and use transparency to allow the base metal material to show through.

We'll do this by adding our design as a graphic in our materials editor. I've created my flat packaging work in Photoshop and then saved them as transparent PNGs. The transparent areas of the PNG is where our underlying metal material will show through.

I will now add the PNGs as a graphic to my can. In the material options, look for the 'Add Graphic to Model' option. You can then use the graphic scale tools to scale the PNG on the 3D object, along with your cursor to re-arrange the placement of the graphic on the can. Lastly, I've set my graphic to have a roughness of 20%.

5. Setting our lighting

Great! We've built out our scene. Now comes one of the most important steps: our lighting. Lighting is key to creating photorealistic and visually pleasing results, and thankfully Dimension takes the legwork out of this step with its lighting presets.

You can choose from a variety of lighting presets depending on the mood and style you want. In Dimension, you'll first choose either image-based environment lighting or sunlight and adjust to your liking from there. For a nice studio look with soft shadows and even lighting, I chose Studio Light Pillars Dark A. I then used the rotate tool to change the direction of my lighting.

And here is the render. We have some very soft shadows and even light:

We can achieve a more naturally lit scene by choosing sunlight as the light source. This is our same scene, with environment lighting turned off and sunlight (with a height value of 45 and cloudiness set to 38%, and colorize set to white) as the light source:

3D renderings of packaging design using Adobe Dimension for Van Schneider blog

6. Experiment!

Now that we've set up our basic scene, this is where the real fun comes in. You can tweak and experiment with various lighting techniques, object materials and camera angles to get a variety of images and moods.

For example, you can adjust the camera angles of your scene to get varying results. Here is a simple front-facing shot of our scene, with the camera Field of View set to 30 and 'sunlight' for the lighting. This is the equivalent of using a 30mm camera lens:

3D renderings of packaging design using Adobe Dimension

You can also turn on Depth of Field in the Camera options to achieve some nice focusing effects for those closeup shots:

In this example, I've set my Depth of Field to 56 with my Field of View at 12:

You can also drastically change the feel and mood of your scene with lighting. Here is an example where I've set the environment to Studio Color Stage A, with some soft sunlight colorized to orange:

Here is another example where I've used sunlight as the light source, with a low height value for some intense shadows and moodiness:

3D renderings of packaging design using Adobe Dimension

Lastly, playing around with the materials can also dramatically change the look of your scene. Here is one example where I've set the floor to valencia marble, and the cylinders to brass. You'll notice it's already given our scene different look and feel. You can find even more rich materials on Adobe Stock.

3D renderings of packaging design using Adobe Dimension

We can go even crazier and set all of our structural materials to metal:

3D renderings of packaging design using Adobe Dimension

Final thoughts

When you compare a flat logo design with seeing a logo on a 3D object, the value of Dimension is obvious. Whether you're creating a brand identity, a simple mockup or detailed prototype, Dimension elevates your work and makes it more tangible.

I highly recommend checking out their support articles to get the basics on how to use the program. And if you haven't already tried out our 3D illustration tutorial, do that next. Start playing and creating with Dimension and it will quickly become an indispensable part of your design toolbox.

If you do create something with Dimension, be sure to share your designs to Behance, selecting Adobe Dimension under “Tools Used” in the Basic Info tab. On Instagram, tag #AdobeDimension and #CreatewithDimension. This allows the Dimension team to find and promote your work.

For more 3D design inspiration, visit the Dimension Behance gallery

September 23, 2019No Comments

Your first 3D design tutorial with Adobe Dimension

For many creative folks, 3D design is still considered a final frontier. In our minds, it's a landscape marked with steep learning curves, expensive software and overwhelming interfaces. Little known to most of us, Adobe has been quietly changing that story.

In recent years, more designers are seeking to break into 3D design and more clients are asking for it. Yet for many of us, it still seems daunting and inaccessible. Only designers who have dedicated years of their life to the trade can master the complex tools and techniques required for it, or so we tell ourselves. Until a couple months ago, I'd see an artistic or hyperrealistic 3D image in someone's portfolio and couldn't fathom how they even began to create something like it.

With Adobe Dimension, Adobe has removed the barriers (real or imagined) between designers and 3D design. Originally created for 3D mockups and brand visualizations, Dimension has evolved into a powerful 3D rendering tool that allows you to create rich 3D visuals. What's more, it's easy.

Our team at Semplice.com recently released Warped Universe, a collection of abstract illustrations creatives to for their work. This was our first deep dive into Dimension. We began experimenting with Dimension's rendering tools and Photoshop's built-in 3D features to see how we could take these illustrations out of the two-dimensional world and into the dimensional space. We were both impressed and excited with the results, and so was our audience. Designers wrote us asking how we turned the flat illustrations into 3D, and we were thrilled to realize we could easily teach them.

In this tutorial, we will show step-by-step how to take your own designs and finally break into the wonderful world of 3D design.

What we're making

With this easy 3D design tutorial (including a video option, if you prefer it) we will create an abstract 3D illustration using Adobe Photoshop and Dimension. We'll use Photoshop to create our basic 3D shapes, then switch over to Dimension to setup our 3D scene, create beautiful, realistic lighting, apply real-world materials and finally render out our 3D visuals.

While this tutorial walks you through creating a specific visual, the technique and steps can be applied to any design. Once you get a feel for Dimension by following these steps, I encourage you to experiment on your own and see what else you can create.

Here's the image we'll be making today, rendered out to show different angles and perspectives.

3D abstract tutorial illustration created with Adobe Dimension and Photoshop


What you will need

Optional video tutorial

If you prefer following along visually rather than following the steps below, watch this video tutorial. It goes through the exact same steps with the same result.

Step 1: Creating our shapes in Photoshop

We'll start by taking flat artwork and converting it into 3D objects. We will then bring these 3D objects into Dimension (in the future, you can expect Adobe to bring some of the native 3D creation functionality into Dimension itself). For simplicity's sake, we will convert flat circular shapes into 3D objects, but you are free to introduce more complex designs.

OK, let's do it already.

First, create a new document in Photoshop. Set it to 2000 x 2000 pixels with the background set to black.

Now let's create our circular shapes. With the Ellipse tool in Shape mode, start laying out some circles on your canvas. Be sure your Shape options are set to 'Combine Shapes', so all your shapes are created in one layer.

When laying out your circles, add both large and small circles. This will create a nice variation in your shape later.

Pro tip: It also helps to have your shape set to 'Circle' instead of 'Unconstrained' in the Path Options.

Your circles should look something similar to this:

Step 2: Extruding the Shapes

Now we will take our two-dimensional shapes and magically transform them into 3D. From the 3D menu up top in Photoshop, choose the 'New 3D Extrusion from Selected Layer' option. You should now see all your circles change into cylinder shapes.

Caution: avoid circles that are too small, or too closely spaced together. If your shapes are too complex, you will get an error message during the extrusion process.

Pro tip: You can use the camera tools in the lower-left corner of your screen to orbit the 3D canvas and get a better view of your object.

Next, with your scene selected, look for the Deform options under the 3D Properties window. (If you don't see this option, you probably selected the 3D mesh layer is selected and not your scene.) We will use these options to create, bend and twist our cylinders into abstract objects.

These are the options I've set below to create our abstract shape, but feel free to play around with these settings to create your own unique shapes and effects.

Here is the result these exact settings will give you:

Don't fret if yours doesn't look exactly like mine. If you used different extrusion depths, twists or tapers in the previous step, you will see your own unique shape.

Now, let's give our tube shapes a nice rounded cap. Still under Properties, simply go to the cap options and set a cap. Here is what I've used to create a nice beveled edge.

And here is the latest result with our new cap settings:

Optional: Optimizing our 3D object

As an optional step, you can use a free tool called MeshLab to improve the geometry and clean up any jagged edges in your 3D mesh. Use the subdivision tools to add additional geometry, smooth out your edges and do some general cleanup. You can view their documentation for more information on how to use the tool.

Step 3: Exporting our 3D shape

Hurray! We've got an awesome looking 3D shape already. But we're not done yet. Now we need to export our 3D object so we can bring it to life in Adobe Dimension.

To export your object from Photoshop, go 3D > Export 3D Layer and choose 'Wavefront OBJ' from the 3D File Format option. You can leave all the options set to the default.


Step 4: Setting up our scene in Dimension

Next, let's set up a nice little studio scene for our happy little objects to live in (thanks, Bob Ross!)

Open Dimension and go to File > New. Set your document to 1,920 x 1080 pixels with 300 DPI.

First, we'll add a nice curved plane. You can download one for free here. Once you've downloaded the file, go to File > Import > 3D Model in Dimension (or use the plus sign in the left-hand menu) and import your 3D plane.

With the curved plane selected, set the position X, Y and Z values to 0 if it isn't already.

Step 5: Importing our 3D abstract artwork

Next, import your 3D object by following the same steps as above.

With the 3D model selected, use the Move, Rotate and Scale tools to put the object in the middle of your curved plane and move it into position.

Use the rotate (1), pan (2) or zoom (3) tools to position your camera within the scene and put your object in frame.

Pro tip: For an even faster method, hit the (F) key to zoom the camera to your object's current position.

Now let's add a few more elements for fun. If you are looking for 3D assets to use in your scene, Dimension provides an array of options in the Starter Assets Panel on the left. You can also find additional assets, both free and paid, created to work perfectly in Dimension on the Adobe Stock 3D website.

From the Models panel, let's add some spheres surrounding our abstract tubes. Looking pretty cool, right?

Step 6: Setting our materials

Now we can start having fun with our object materials. This is where our 3D design starts coming alive.

From the materials panel, select the Plastic material. Now set a color of your choosing with the roughness set to 50%. Setting the roughness to 50% will give our object a nice sheen without too many reflections.

Now go ahead and apply materials to the rest of your scene. You can also find more high-quality materials to use on Adobe Stock.

Pro tip: You can apply the same material to several objects by selecting all of your objects and applying a material.

Step 7: Creating our lighting

The difference between an obvious graphic and a photorealistic 3D image comes down to lighting. Adobe Dimension's lighting presets makes it simple to create lighting that reflects off your object in a realistic way.

Dimension uses image-based lighting, so you can either upload your own image or use one of their own lighting presets. For our purposes, let's choose 'Studio Light Pillars Dark A.'

Next, you can play with the rotation values to get a lighting effect that looks best to you for your scene. Lighting is key to great 3D imagery, and finding nice contrast with your shapes may take some tweaking.

Pro Tip #1: It helps to use the render preview to see how your scene is looking in real-time.

Pro Tip #2: More lighting options can be found on Adobe Stock 3D.

Step 8: Setting our camera

Now we can use the camera tools to get some interesting angles and depth with our illustration. This will also add some depth of field for a more dynamic image. Just play around with settings like Field of View, Focus and Rotation to see what you like.

PRO TIP: You can use the bookmark tool to save different camera views within your scene.

You can also use the focus option in the Camera settings to add some depth of field to your view.

Step 9: Rendering our scene

We're almost done! Now we just have to render our scene.  I recommend using the Low option in Dimension to get an idea for how your scene looks, and then using an option like Medium or High when you're happy with the results. I chose PSD as my output type.

Pro Tip: You can also export via a weblink to share 360-degree views with stakeholders or embed on your portfolio.

And here is the result of our render. Take a close look at those reflects, the shadows, the textures and shapes. You made that from mere circles just minutes ago!

And now, after some post-processing adjustments in Photoshop (because what designer ever knows when to stop):

Adobe Dimension tutorial abstract 3D visuals

Experiment even further

Now that you've learned the basic principles for creating 3D objects in Photoshop and rendering your objects in Dimension, you can use these same principles to experiment further with more complex designs.

As I mentioned at the beginning of our tutorial, we've been doing this with our Warped Universe illustration pack. For example, here's a 2D image from Warped Universe:


Here's a 3D topographic shape I made with that illustration using Photoshop and Dimension:

For this one, I used the "3D extrusion from depth map" option in Photoshop. Depth maps create 3D geometric based on the light and dark values of an image. The lighter the area of the image, the higher or more intensified the 3D extrusion effect will be.

So I simply took that flat illustration above and generated some clouds on top. I then darkened and blurred the imagery.

Now here's the result in Photoshop after converting the flat image to a 3D extrusion depth map:

And here it is in Dimension:

You can also use the depth map option with the 'sphere' preset to render your flat images to spherical objects. Below is the result of a Warped Universe illustration I converted to an abstract spherical object:

You can experiment with various light presets and materials to give it different textures and styles, basically turning it into a completely different image:

Adobe Dimension tutorial abstract 3D visual

Now that you know the basics, how you use and experiment with them is really up to you. Take one of your own flat illustrations or designs and walk it through the steps, see what it turns into. This opens up endless possibilities for your work and hopefully soon, your career.

As Bob Ross also said, "There's nothing wrong with having a tree as a friend." Oops, wrong quote. He said: "Talent is a pursued interest. Anything that you're willing to practice, you can do.” Thankfully, with Adobe Dimension, this interest is now easier to pursue.

If you do create something with Dimension, be sure to share your designs to Behance, selecting Adobe Dimension under “Tools Used” in the Basic Info tab. On Instagram, tag #AdobeDimension and #CreatewithDimension. This allows the Dimension team to find and promote your work!

For more 3D inspiration made with Dimension, visit the Dimension Behance gallery

__

Read our other 3D design tutorials with Dimension:

Creating packaging & prototypes with Adobe Dimension
A beginner's tutorial to creating 3D typography 
The unexpected addition to our creative workflow