January 6, 2021No Comments

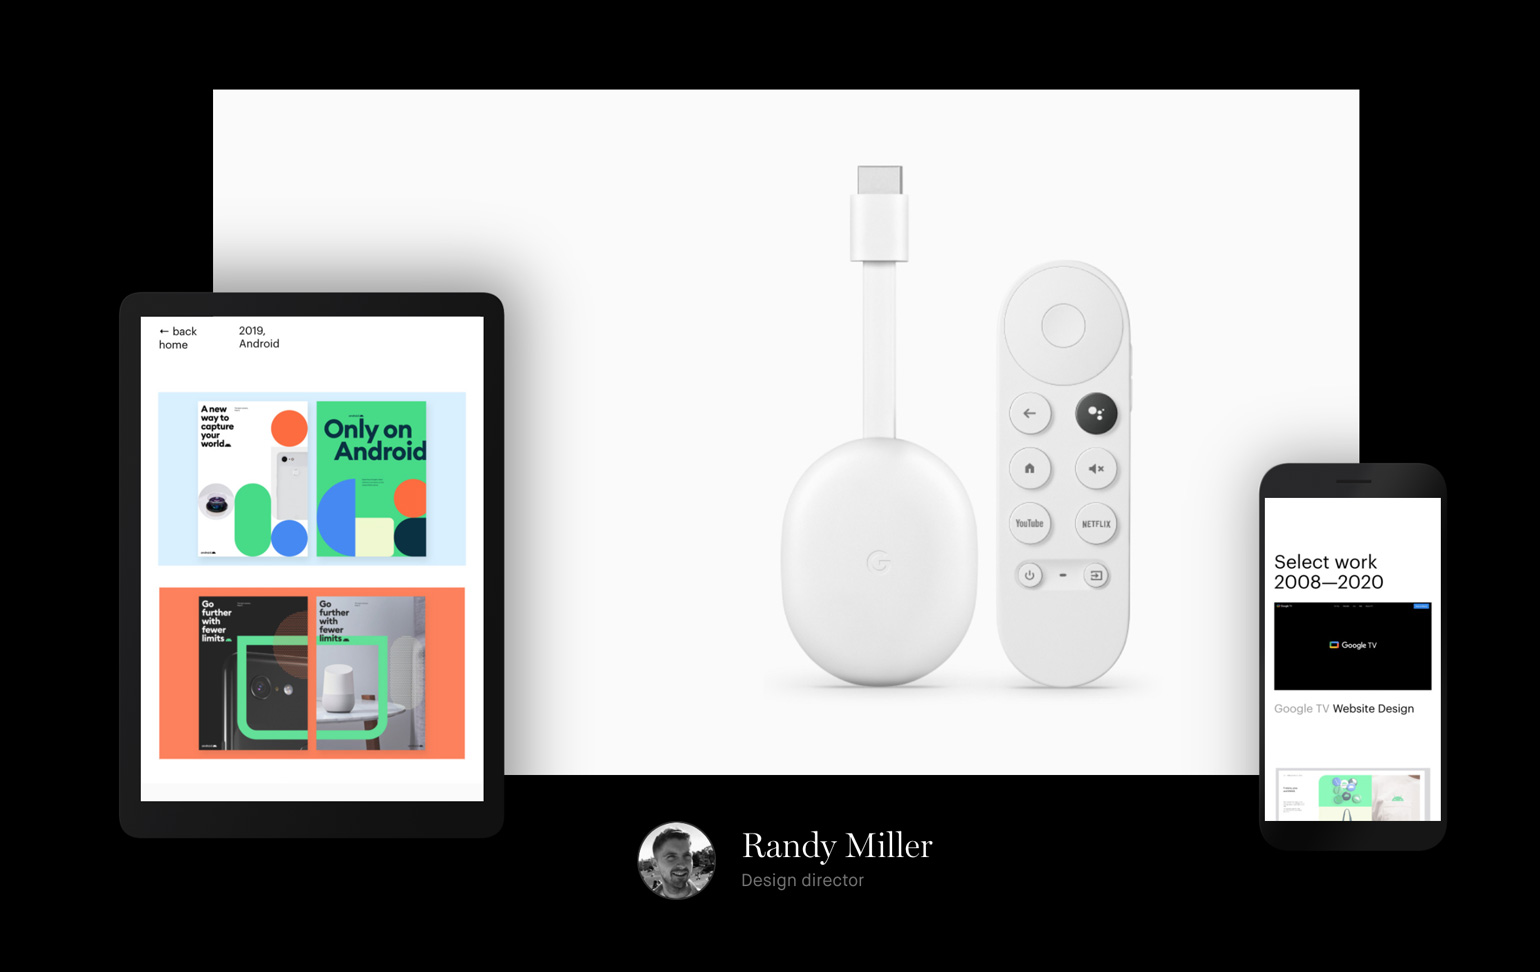
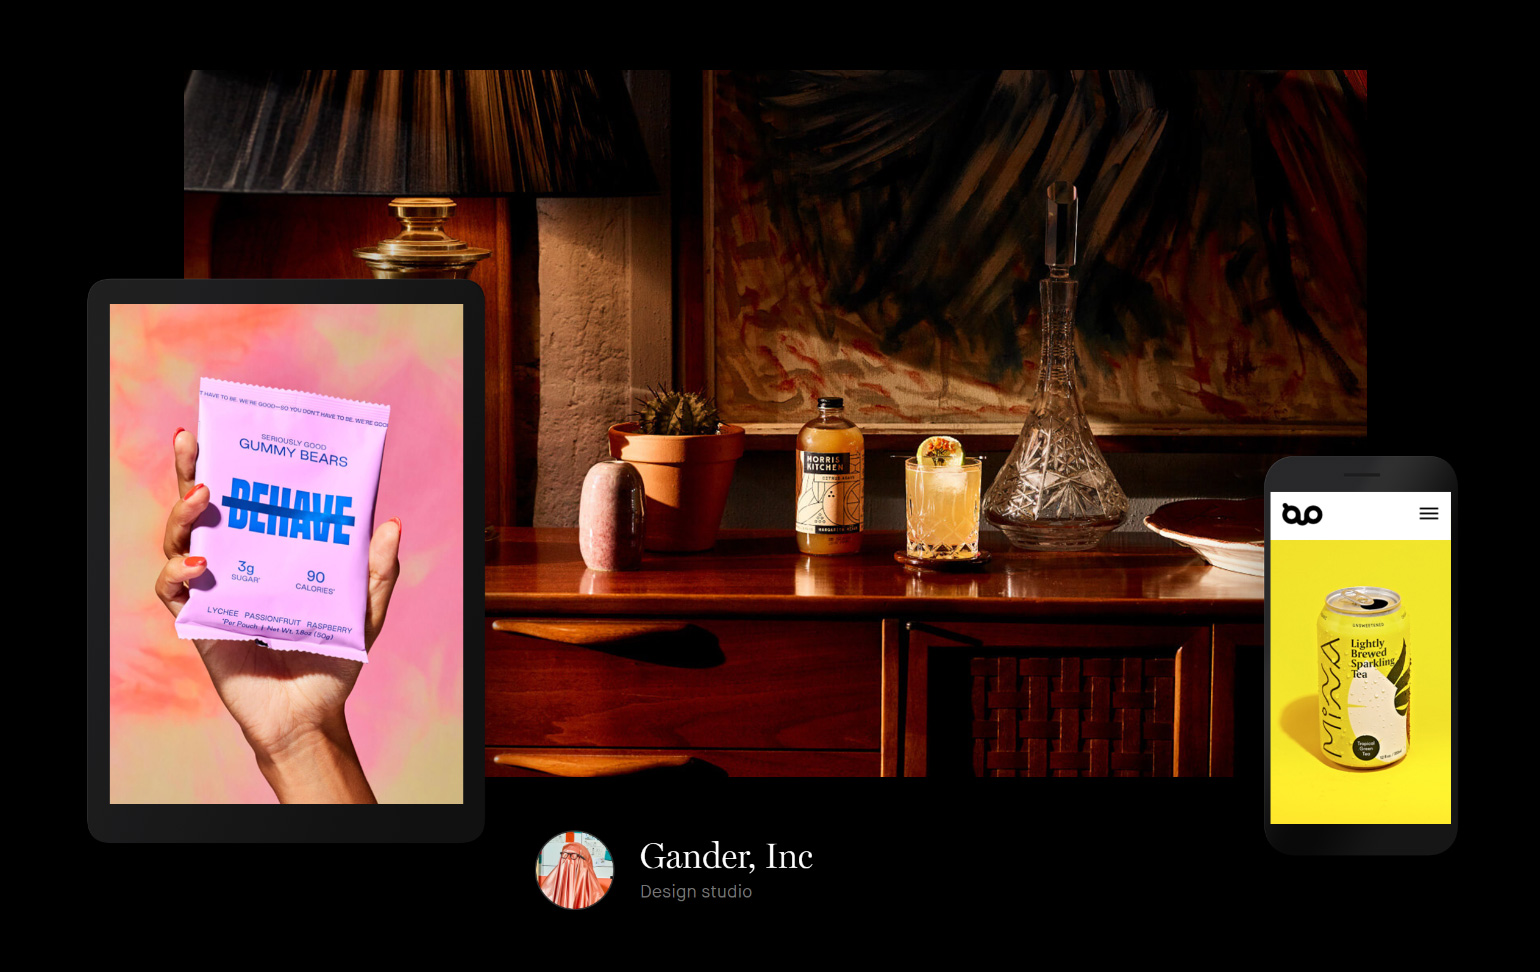
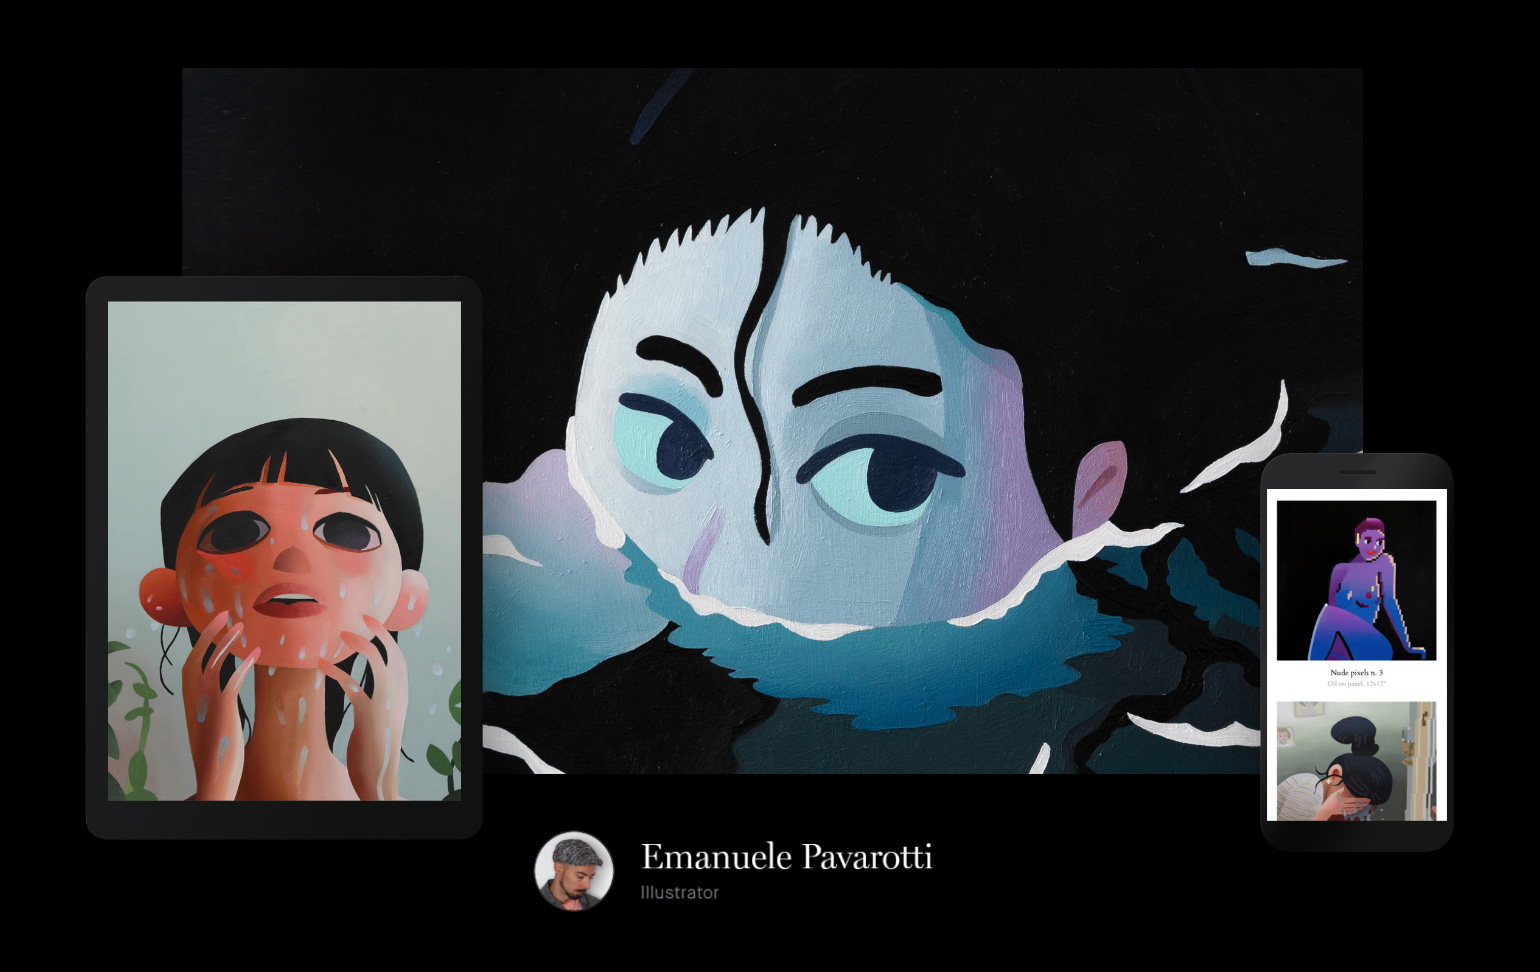
The best design portfolios of December 2020

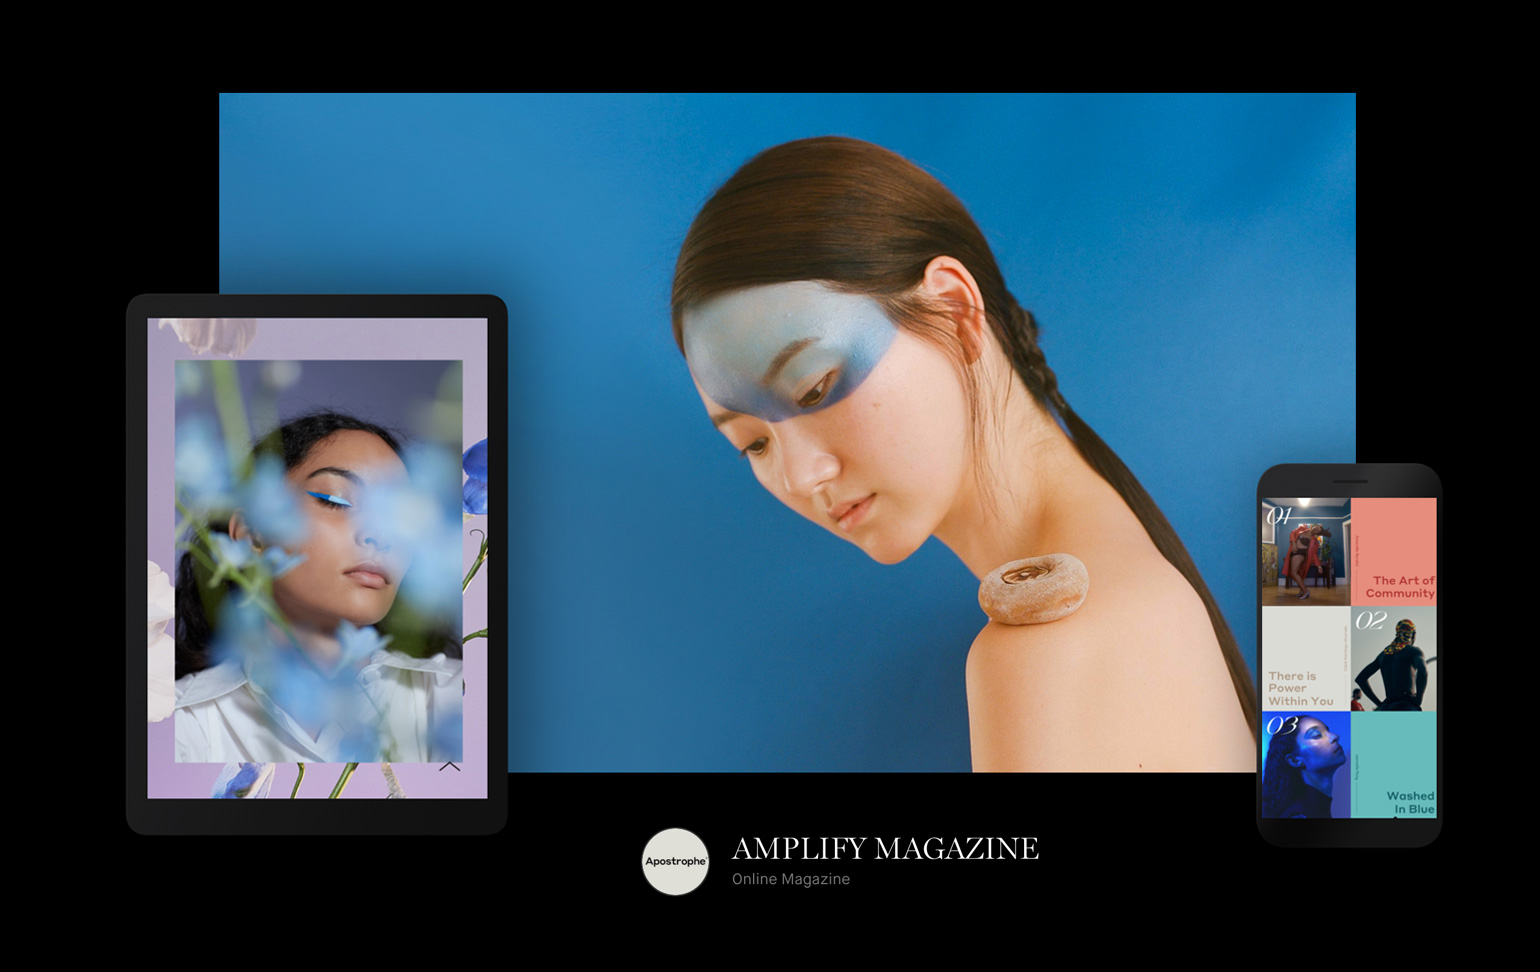
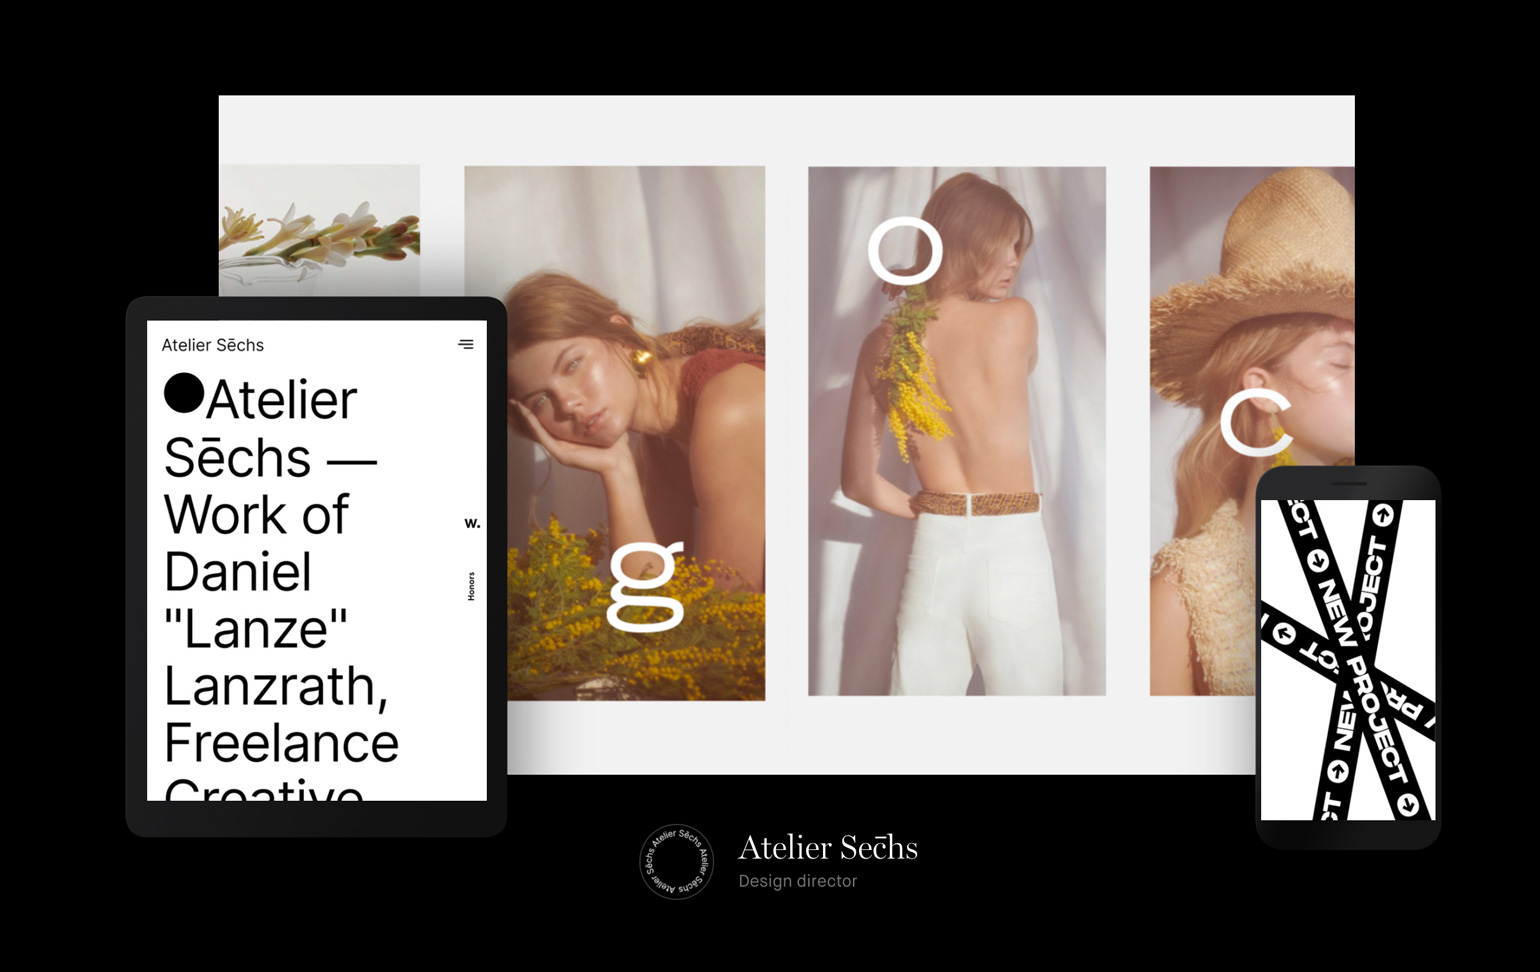
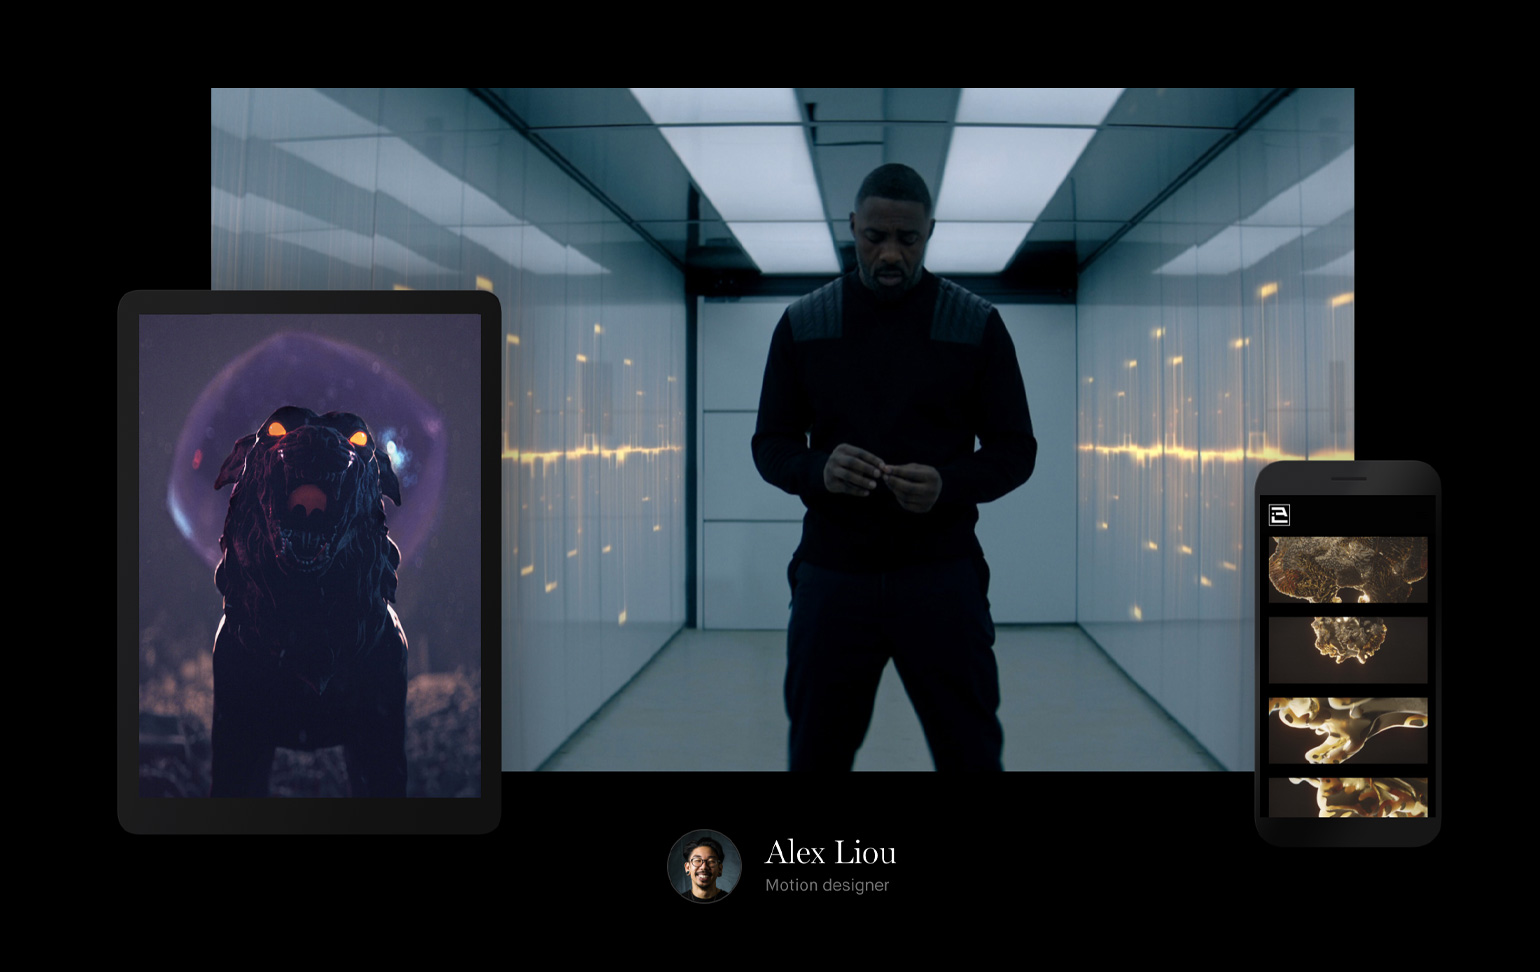
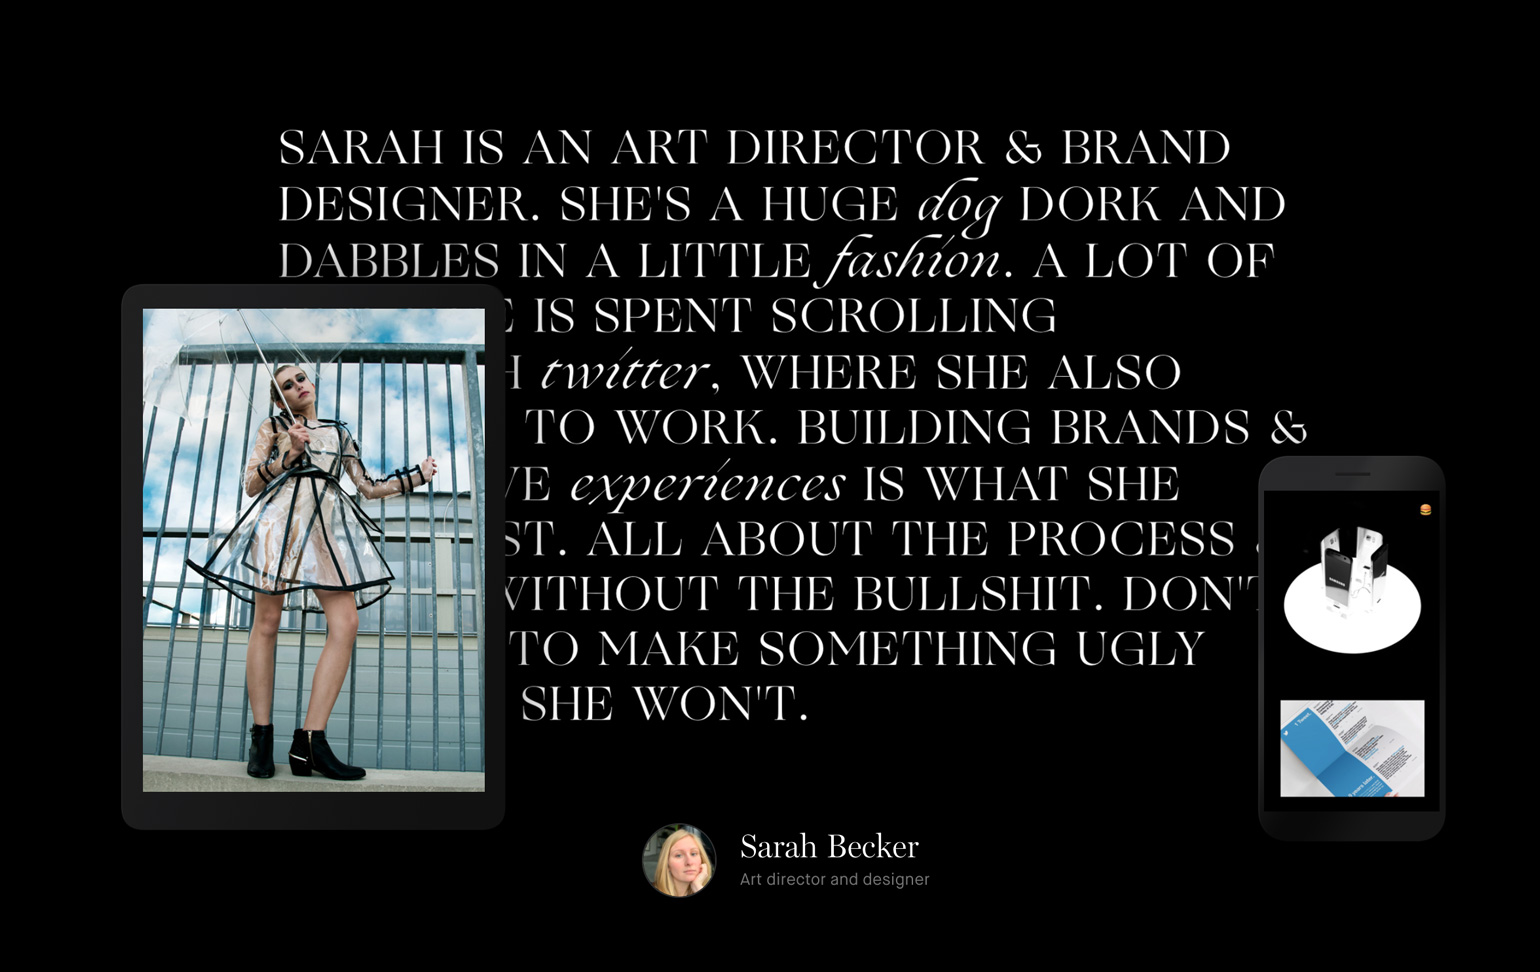
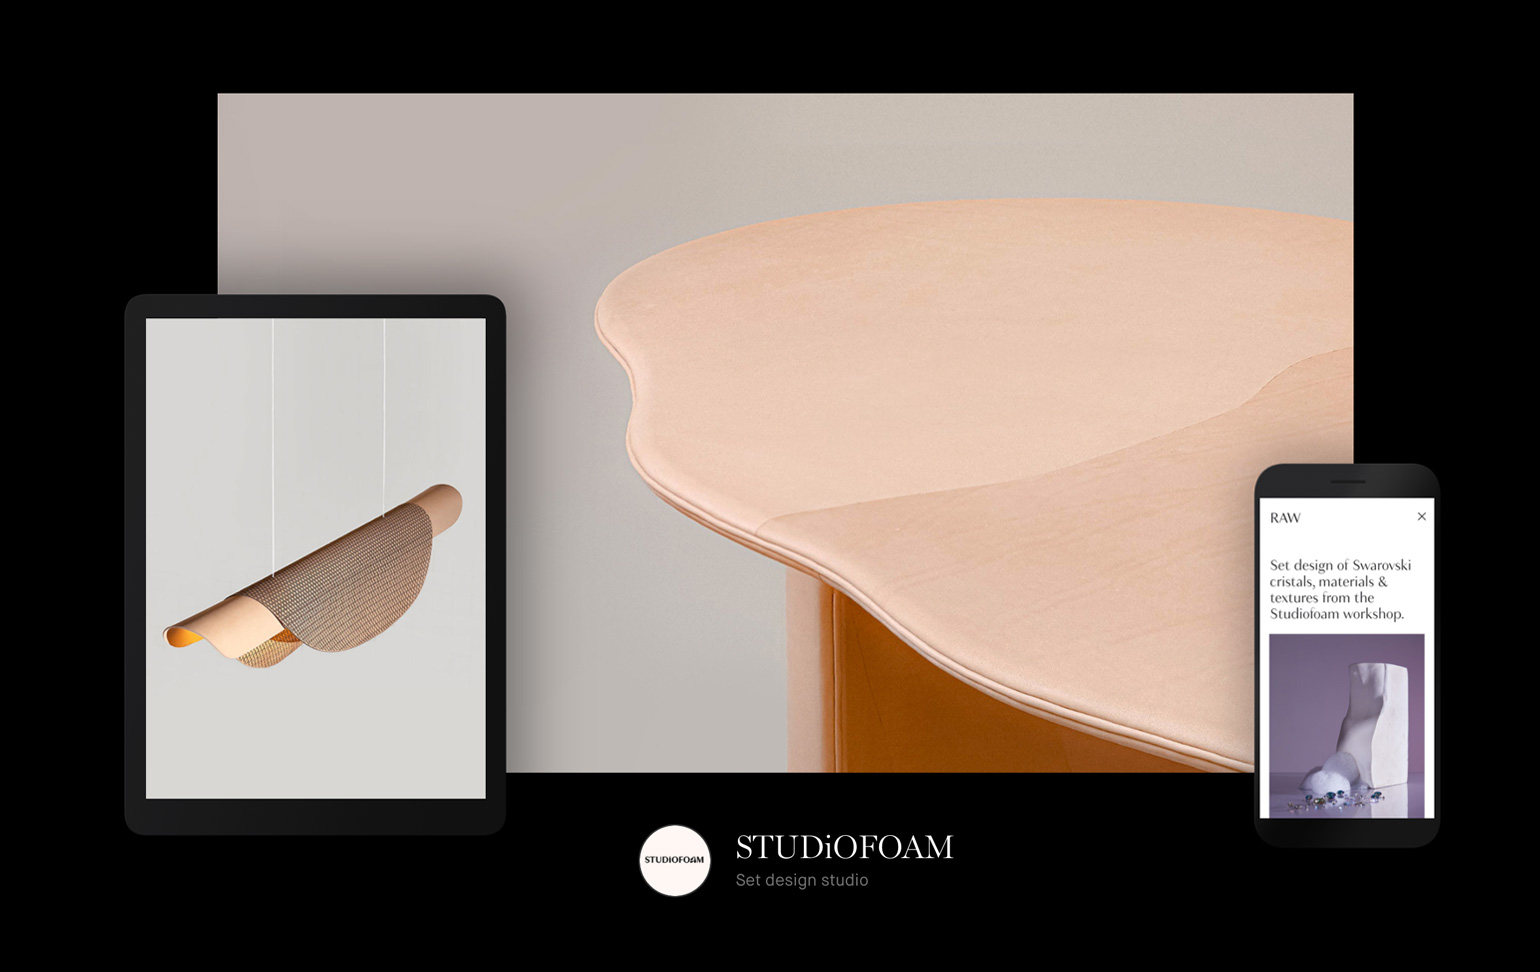
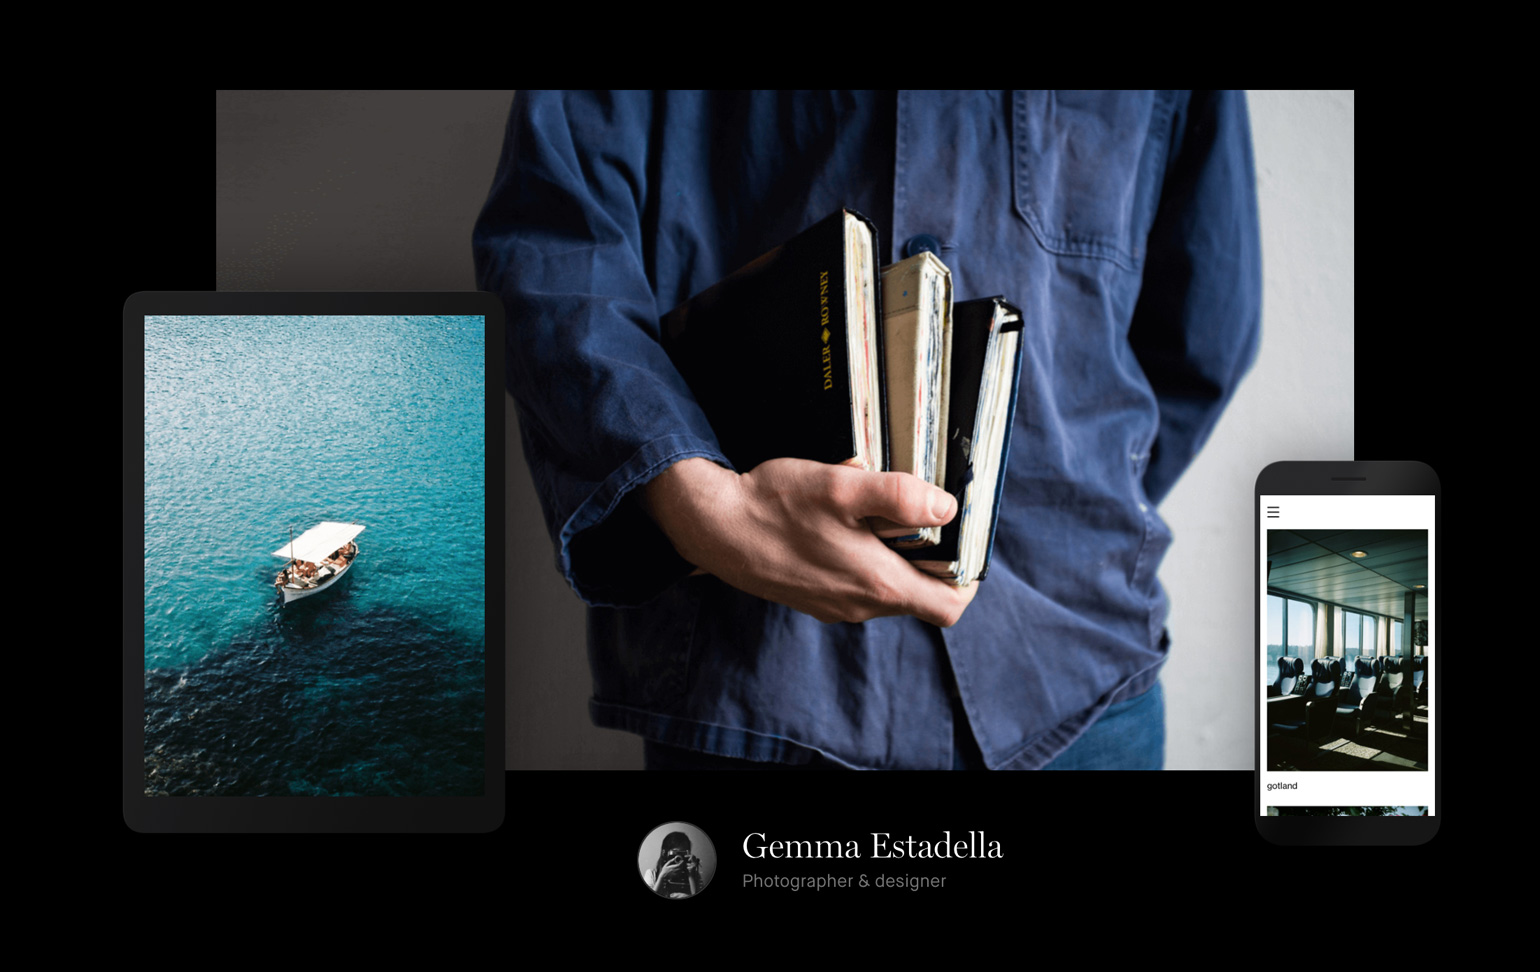
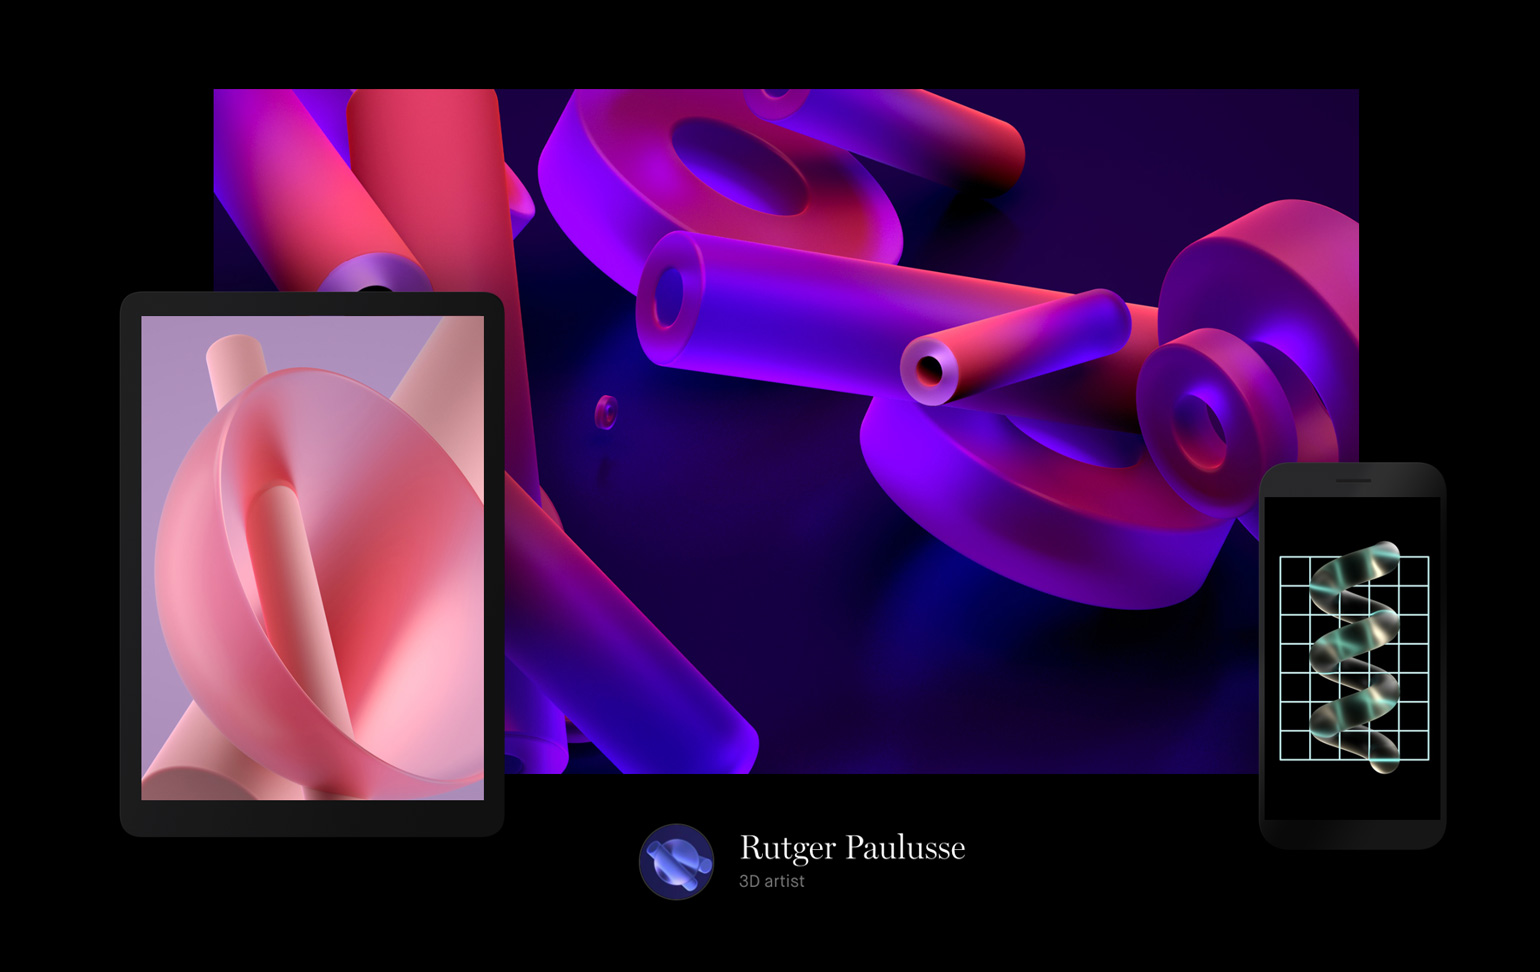
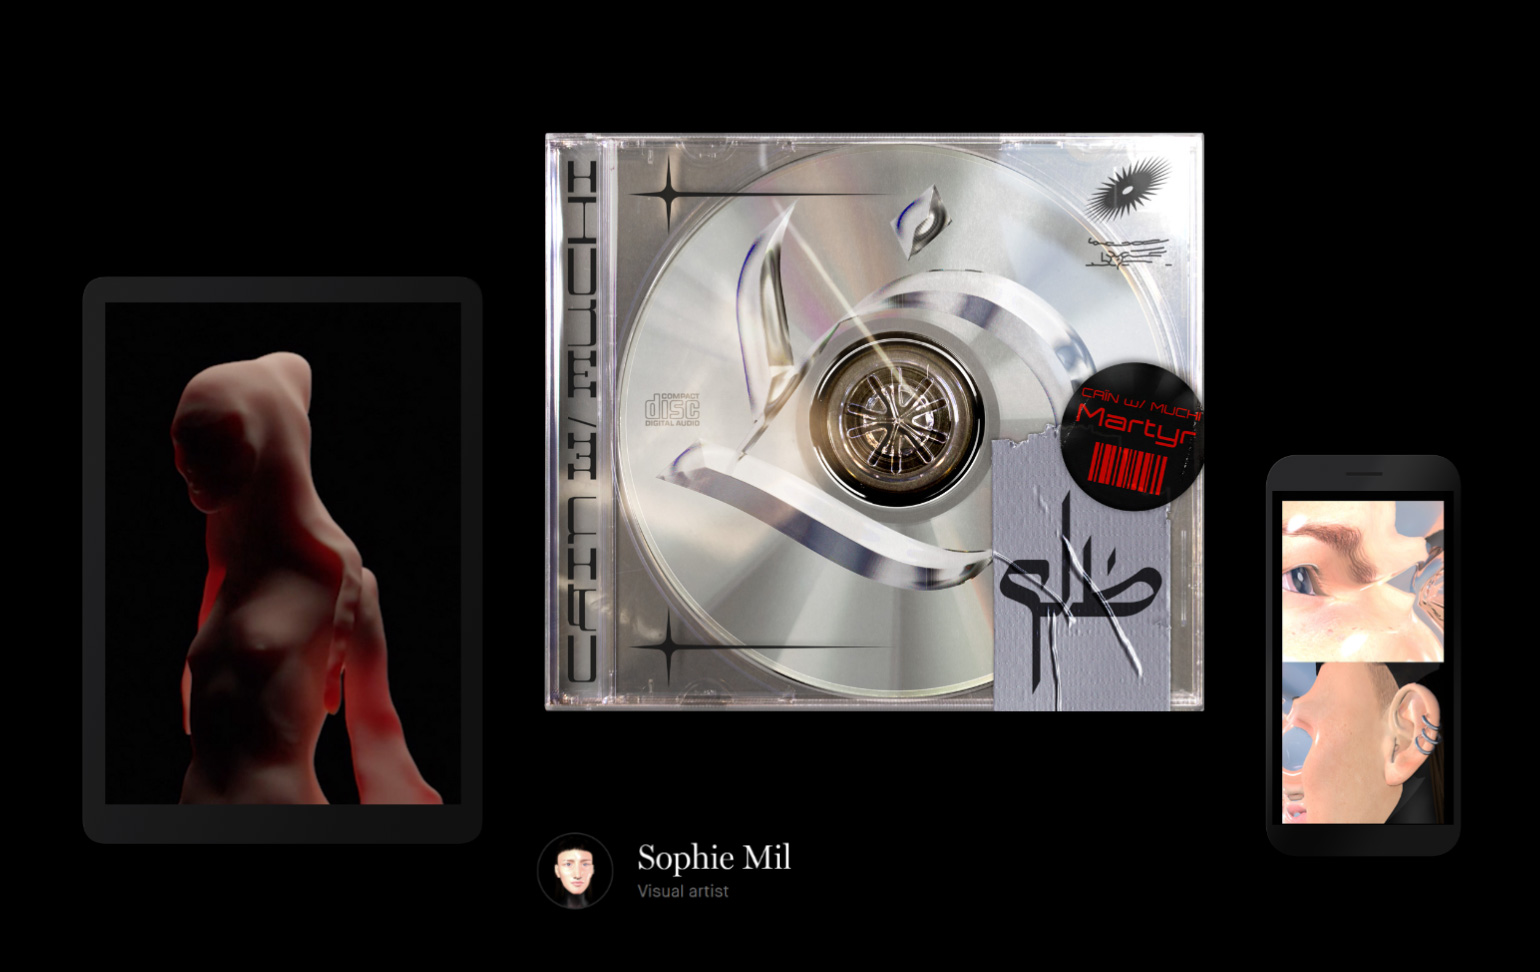
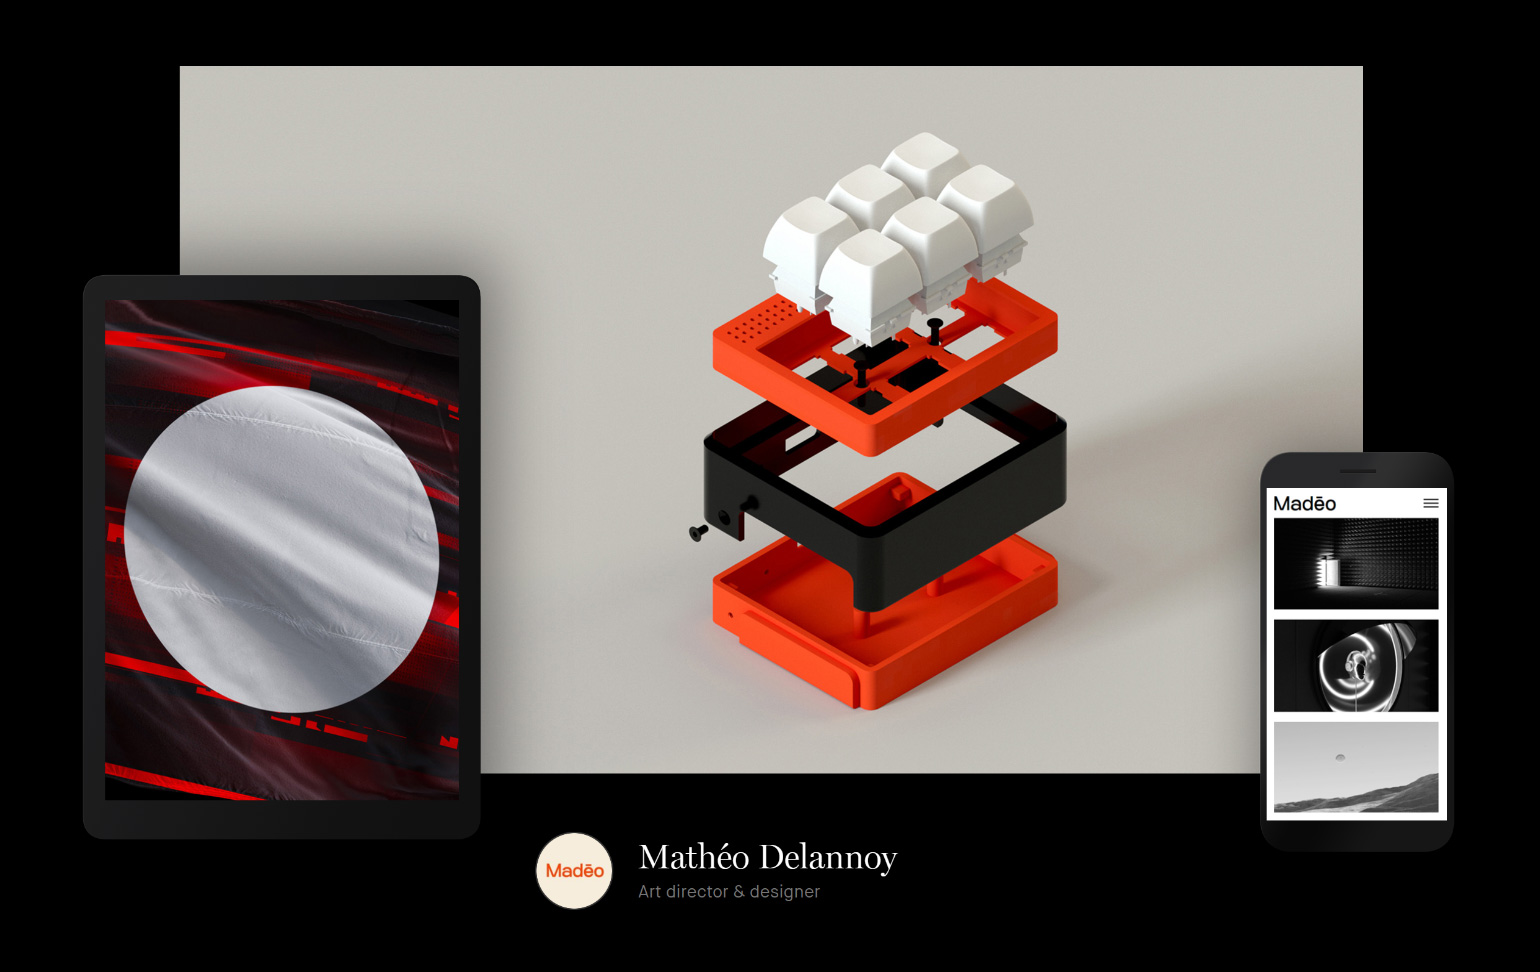
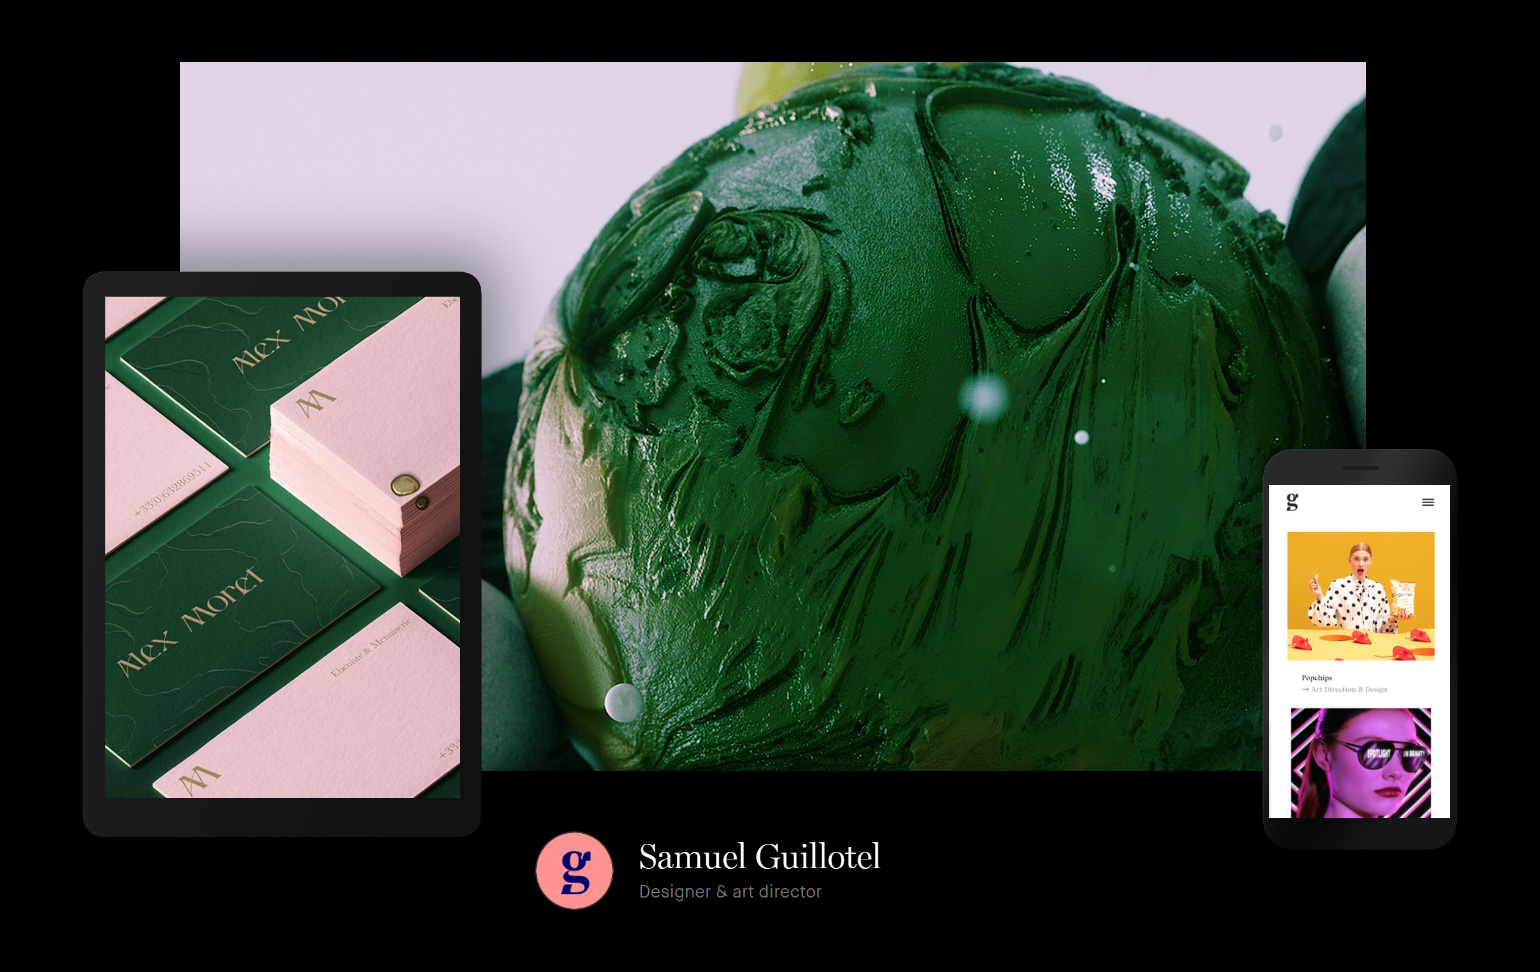
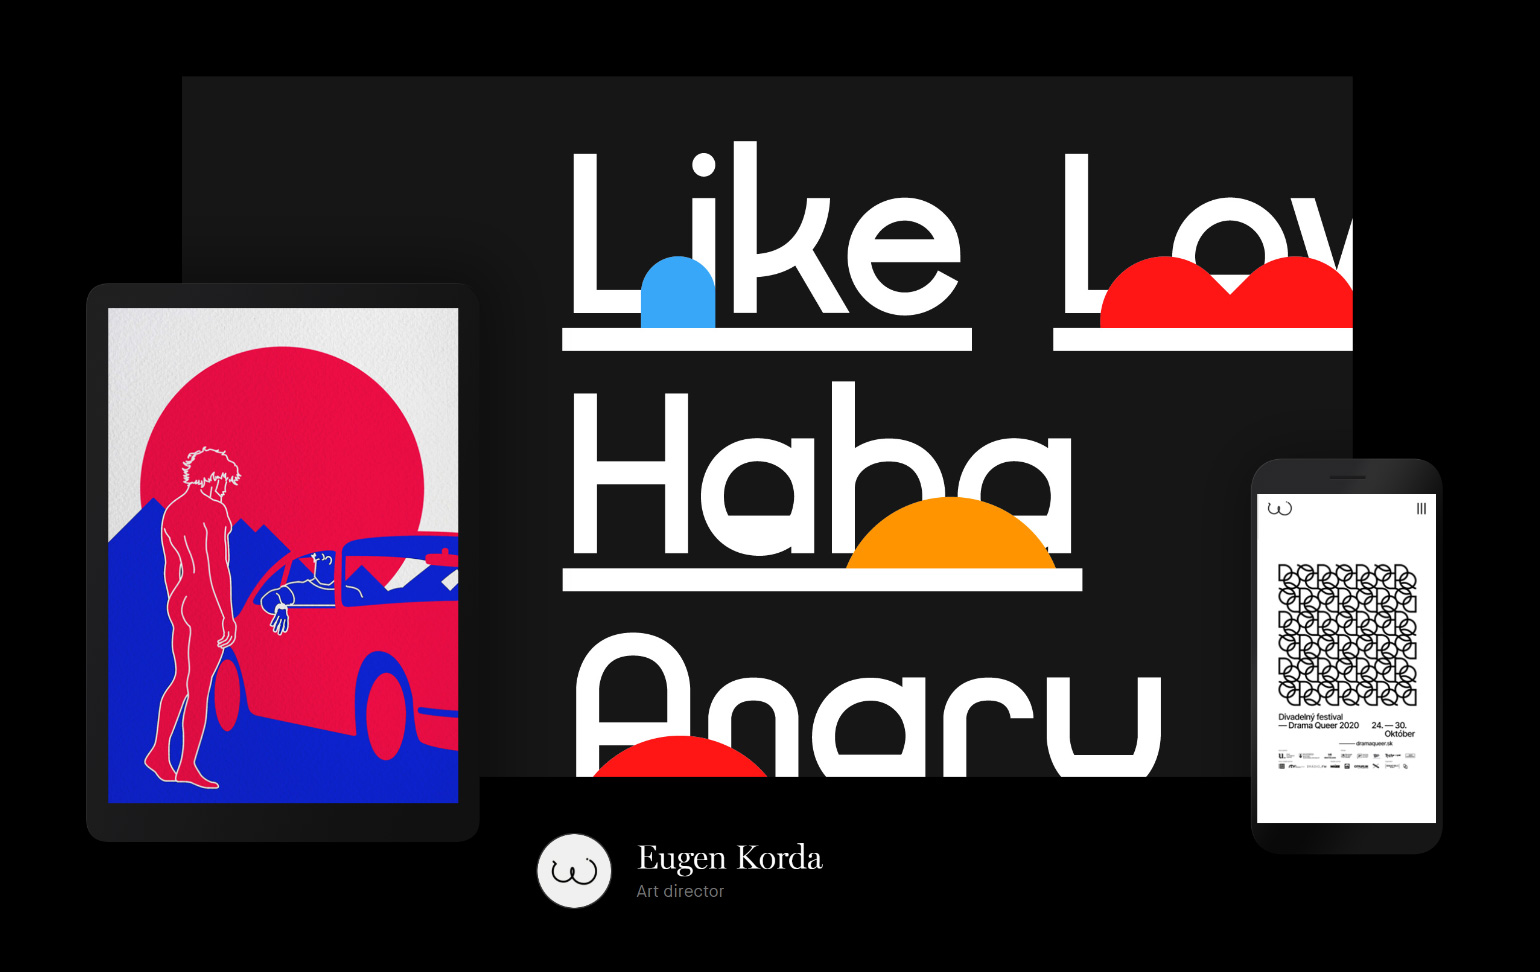
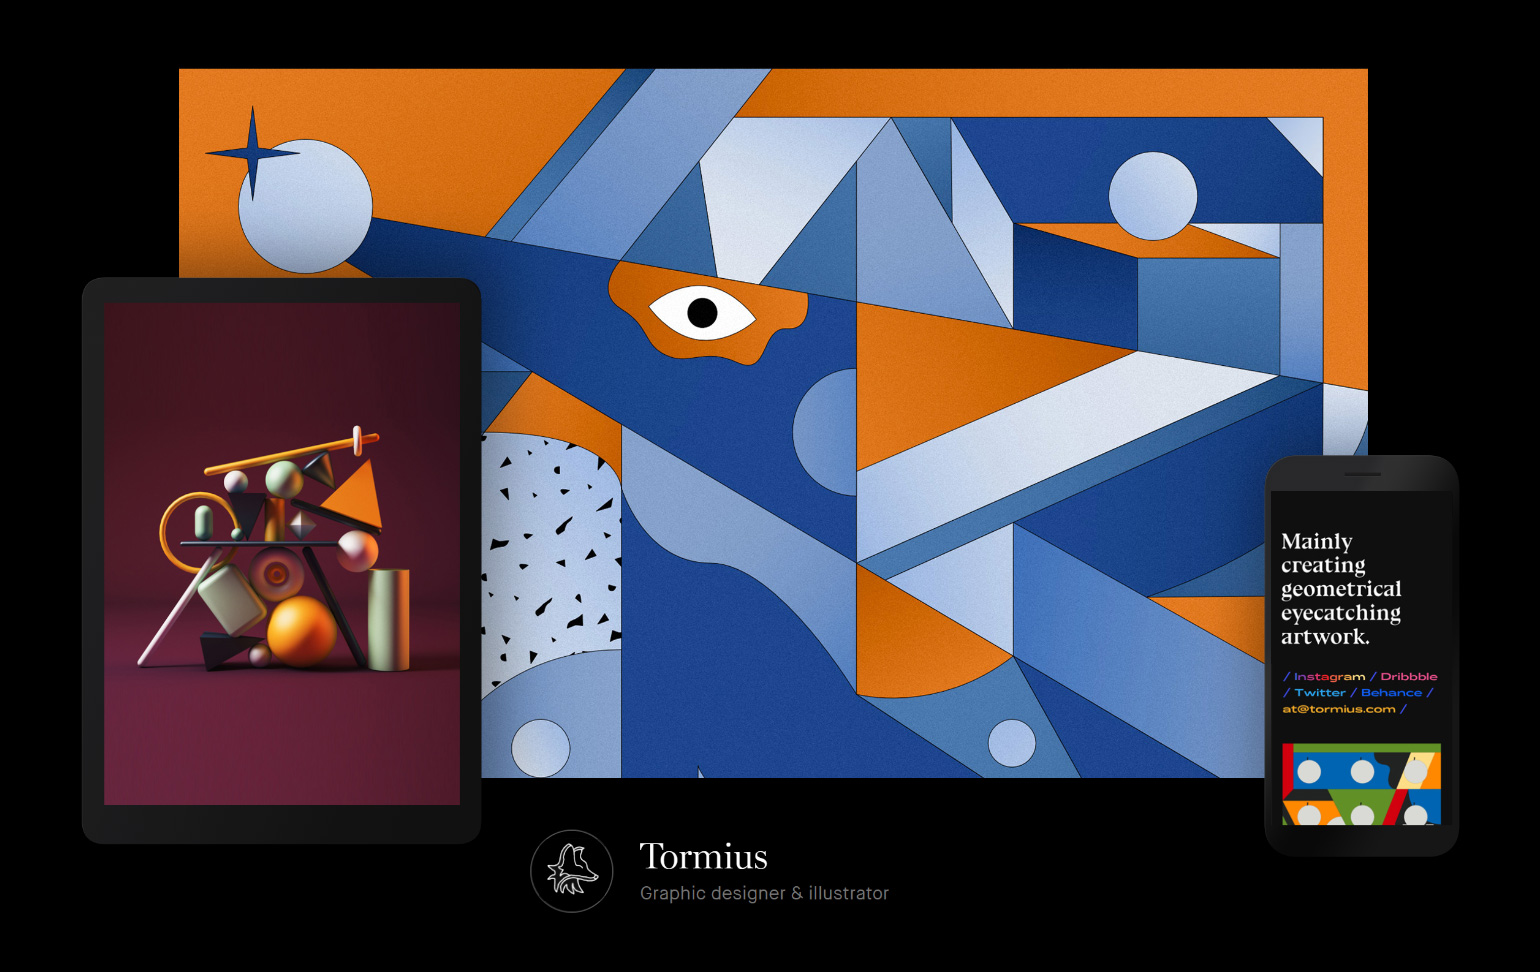
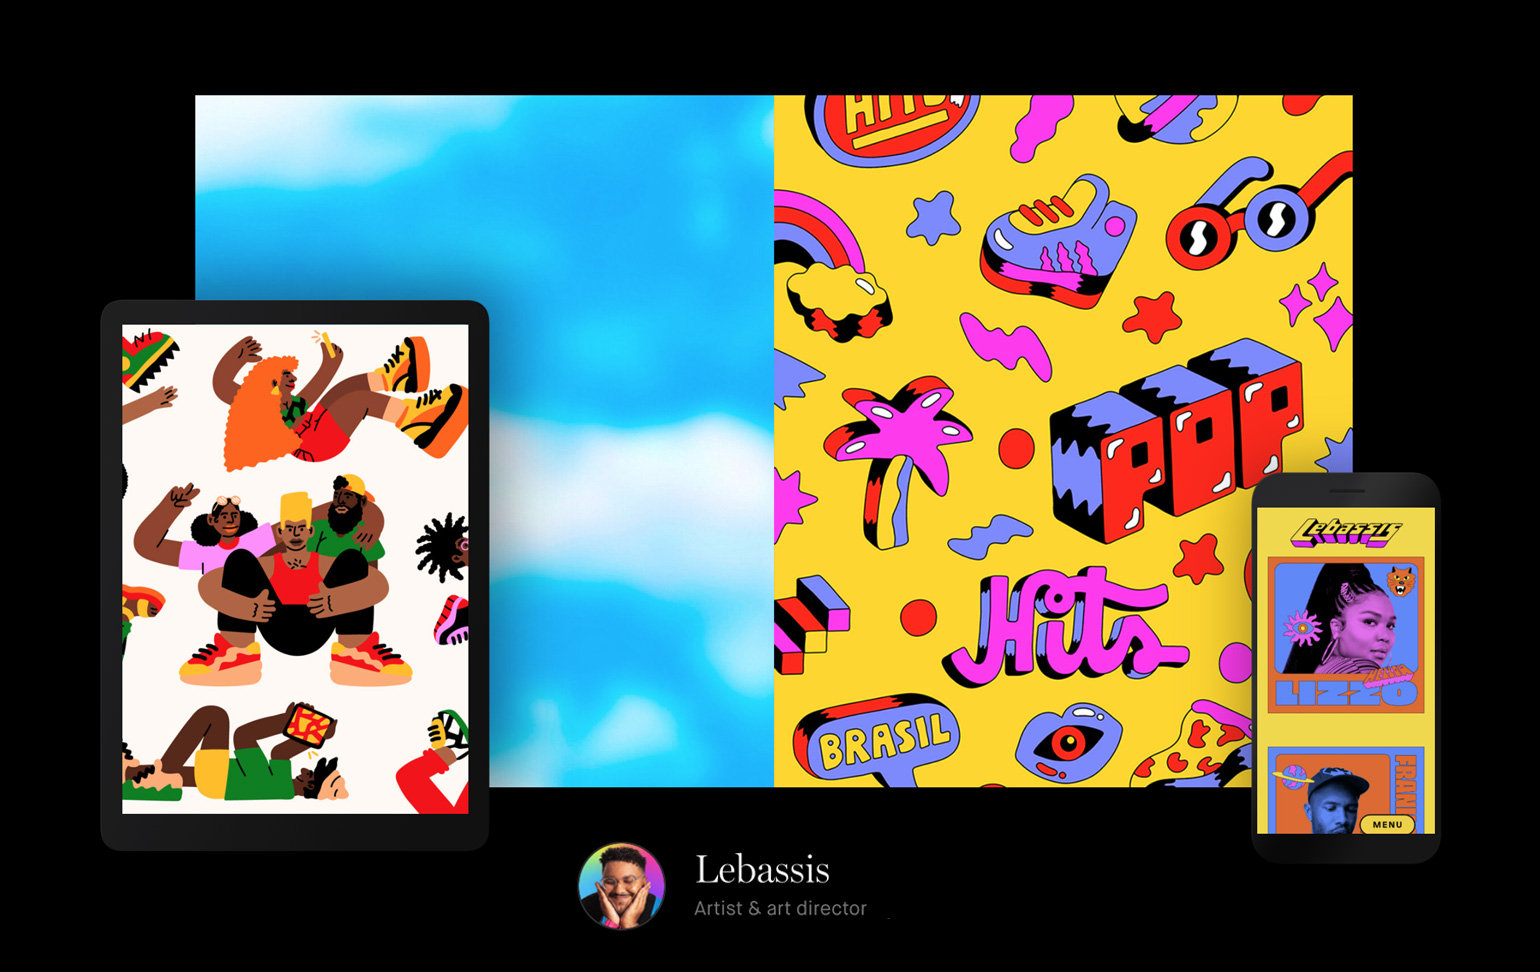
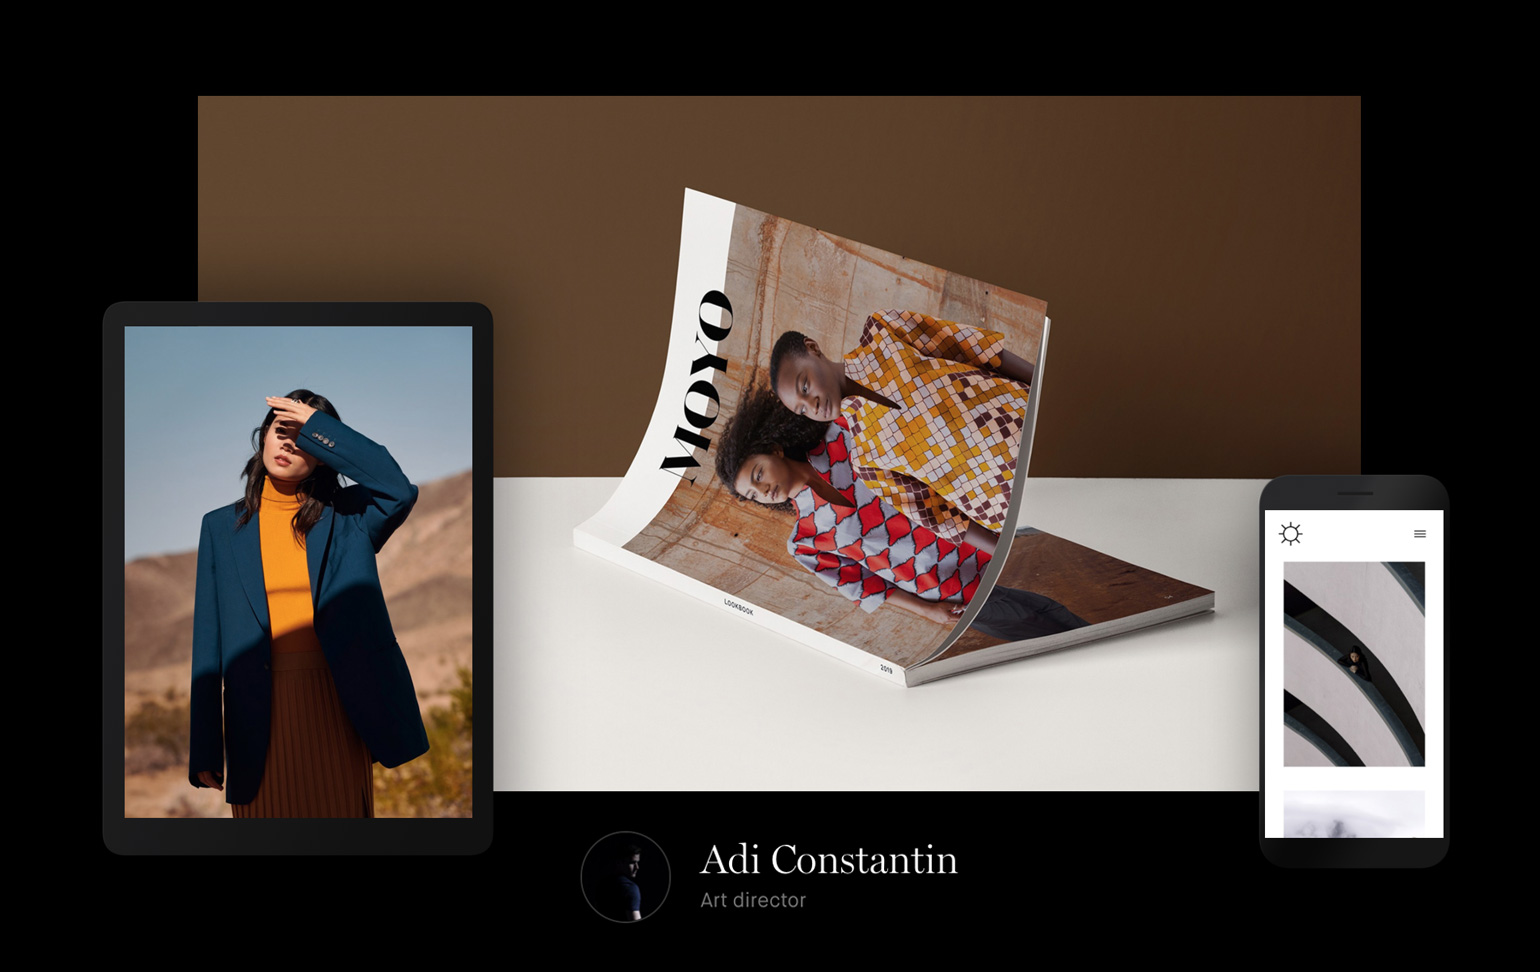
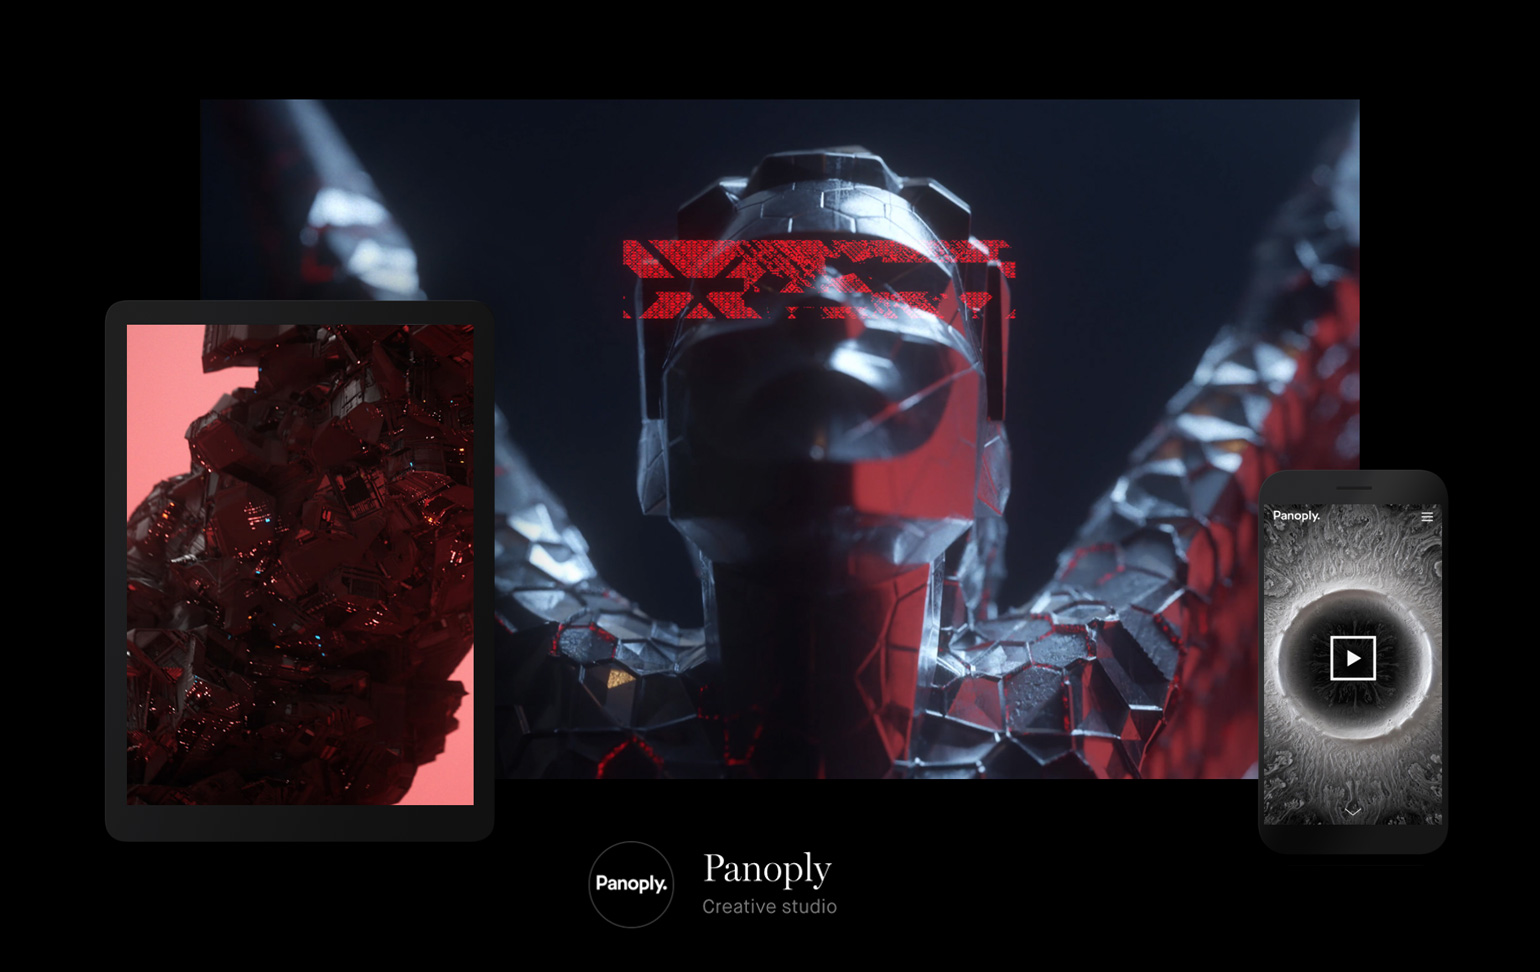
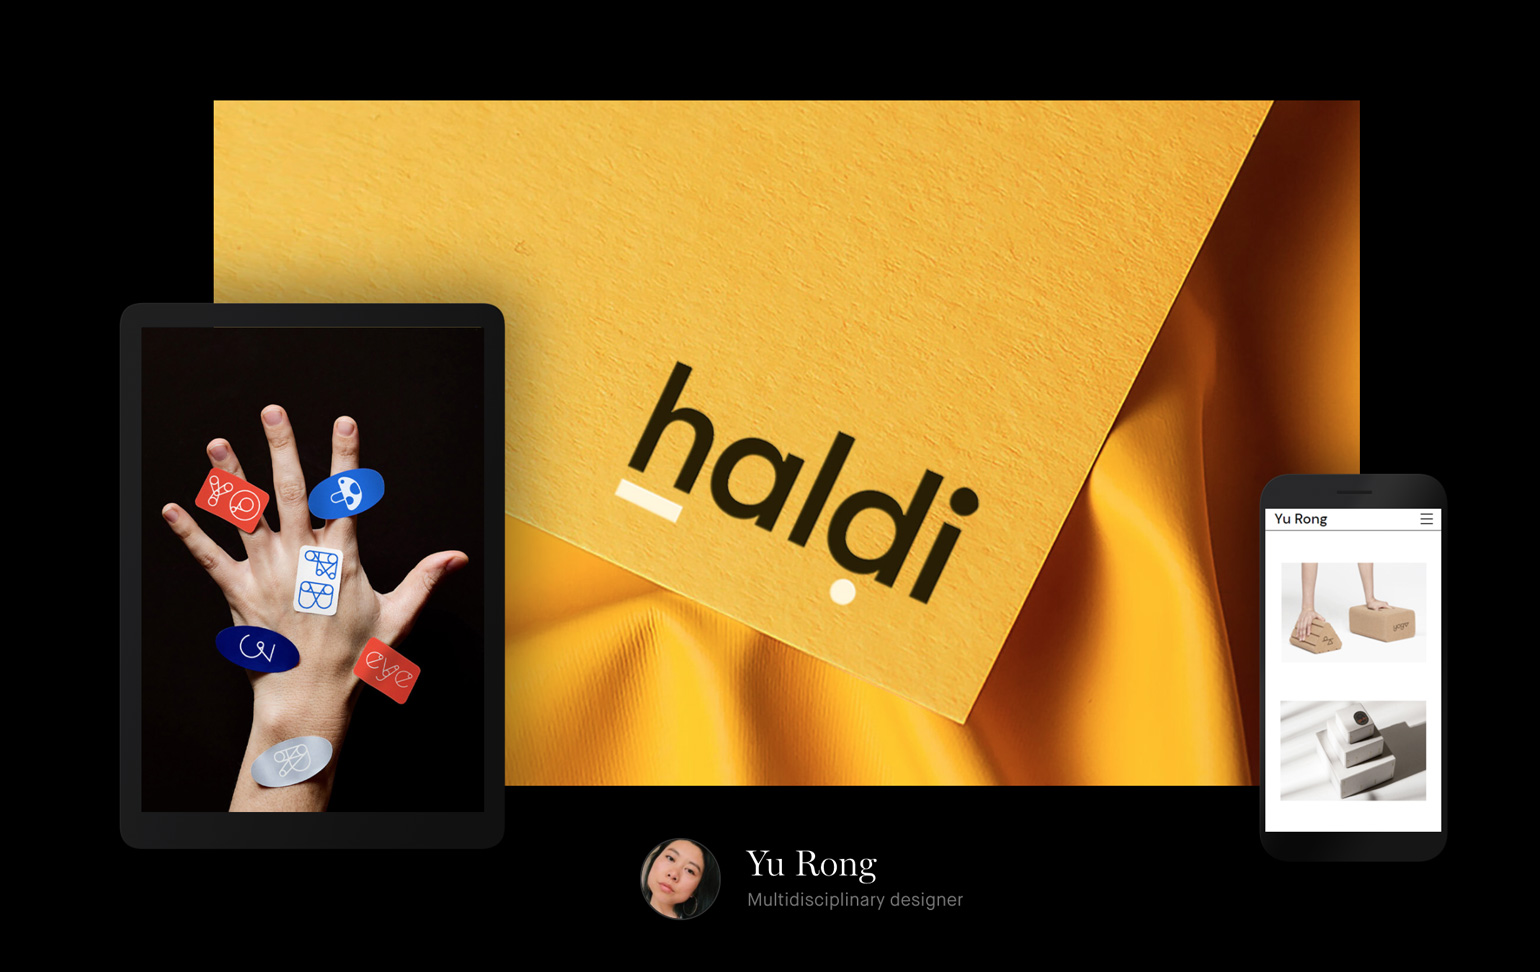
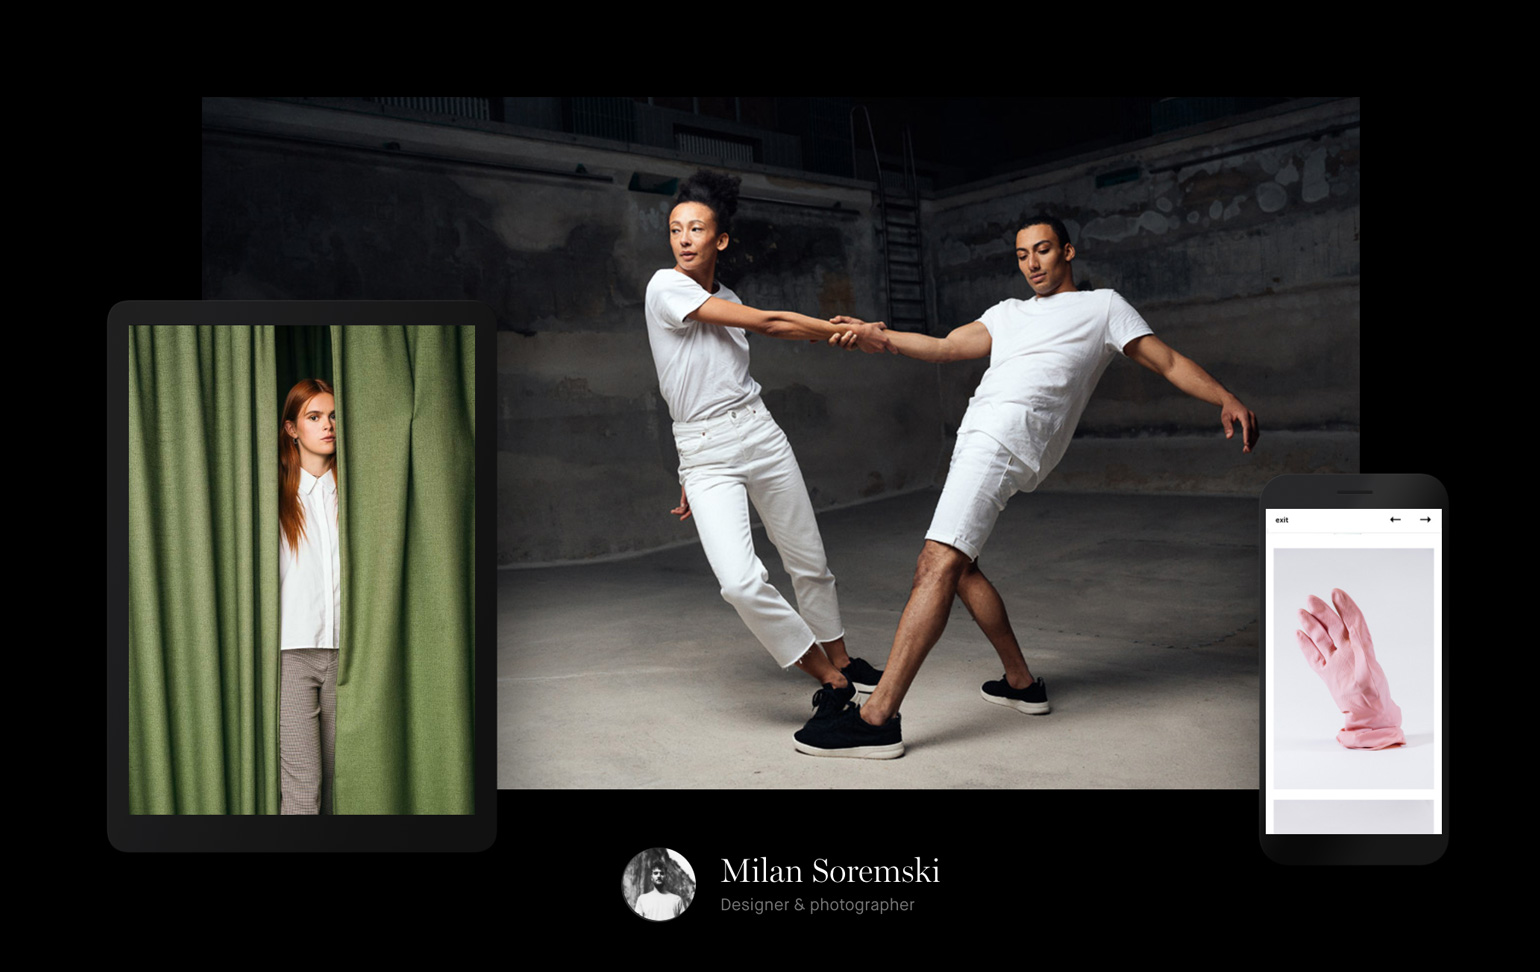
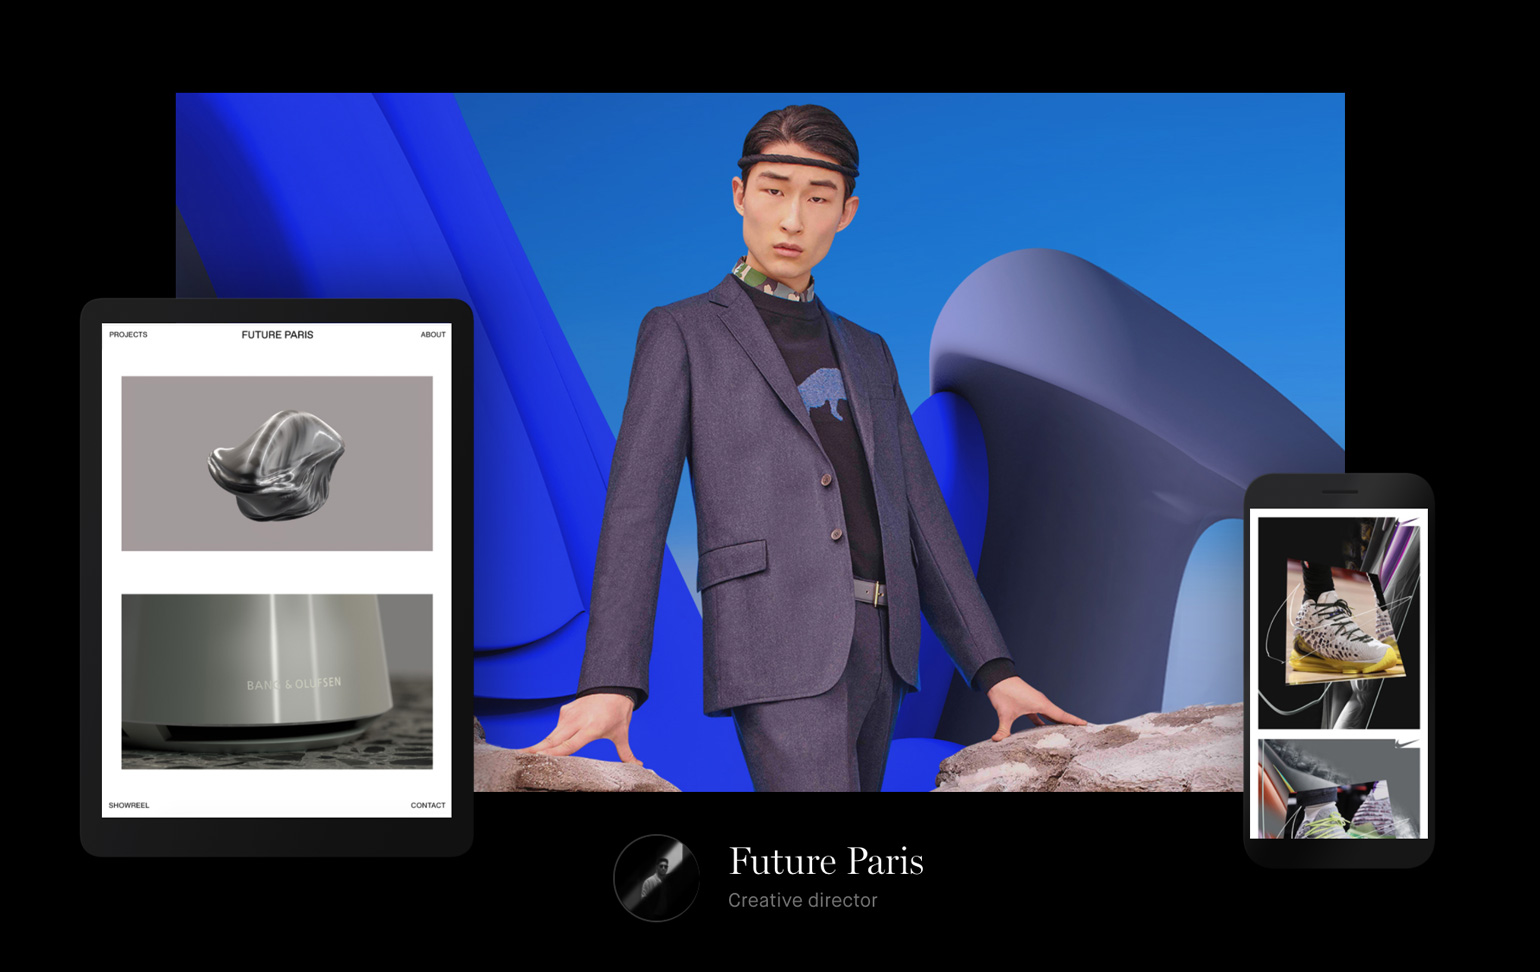
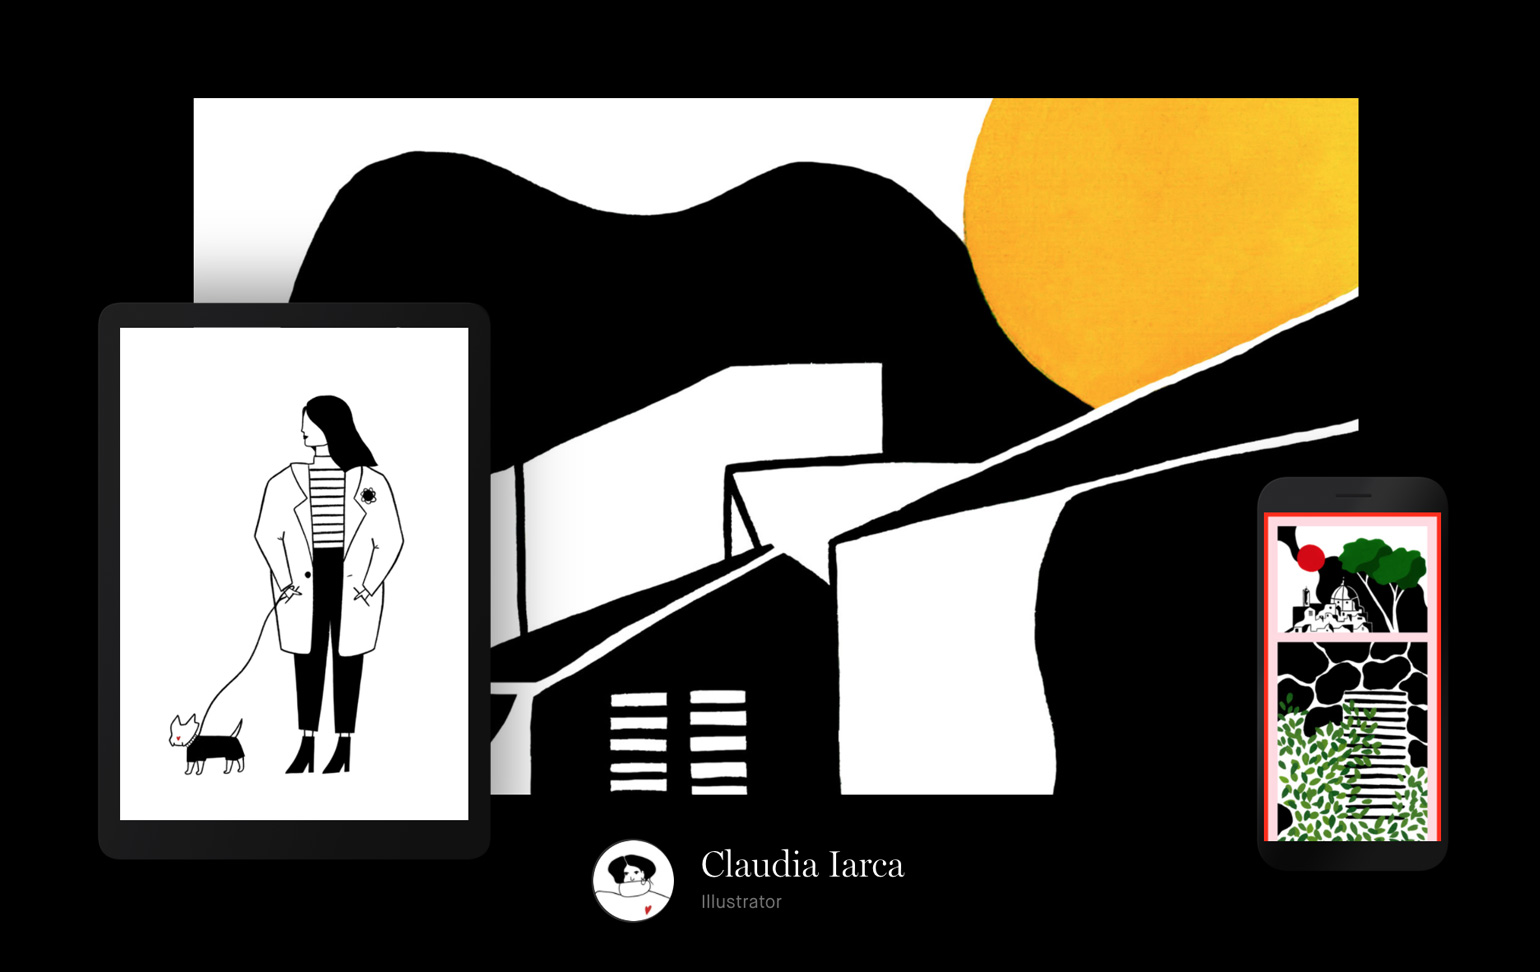
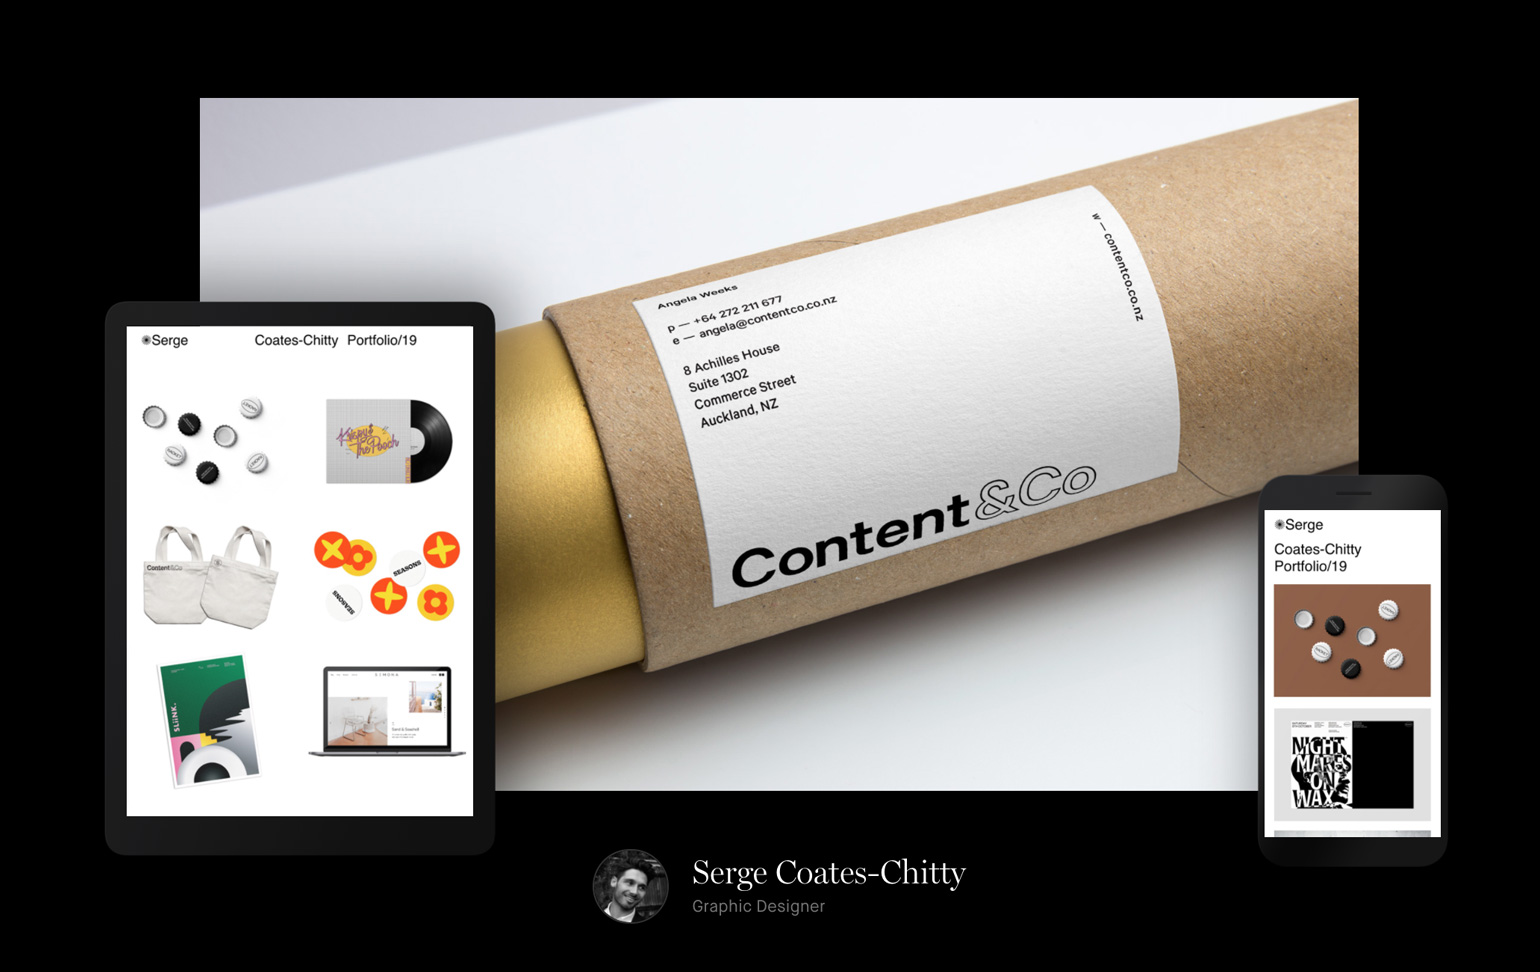
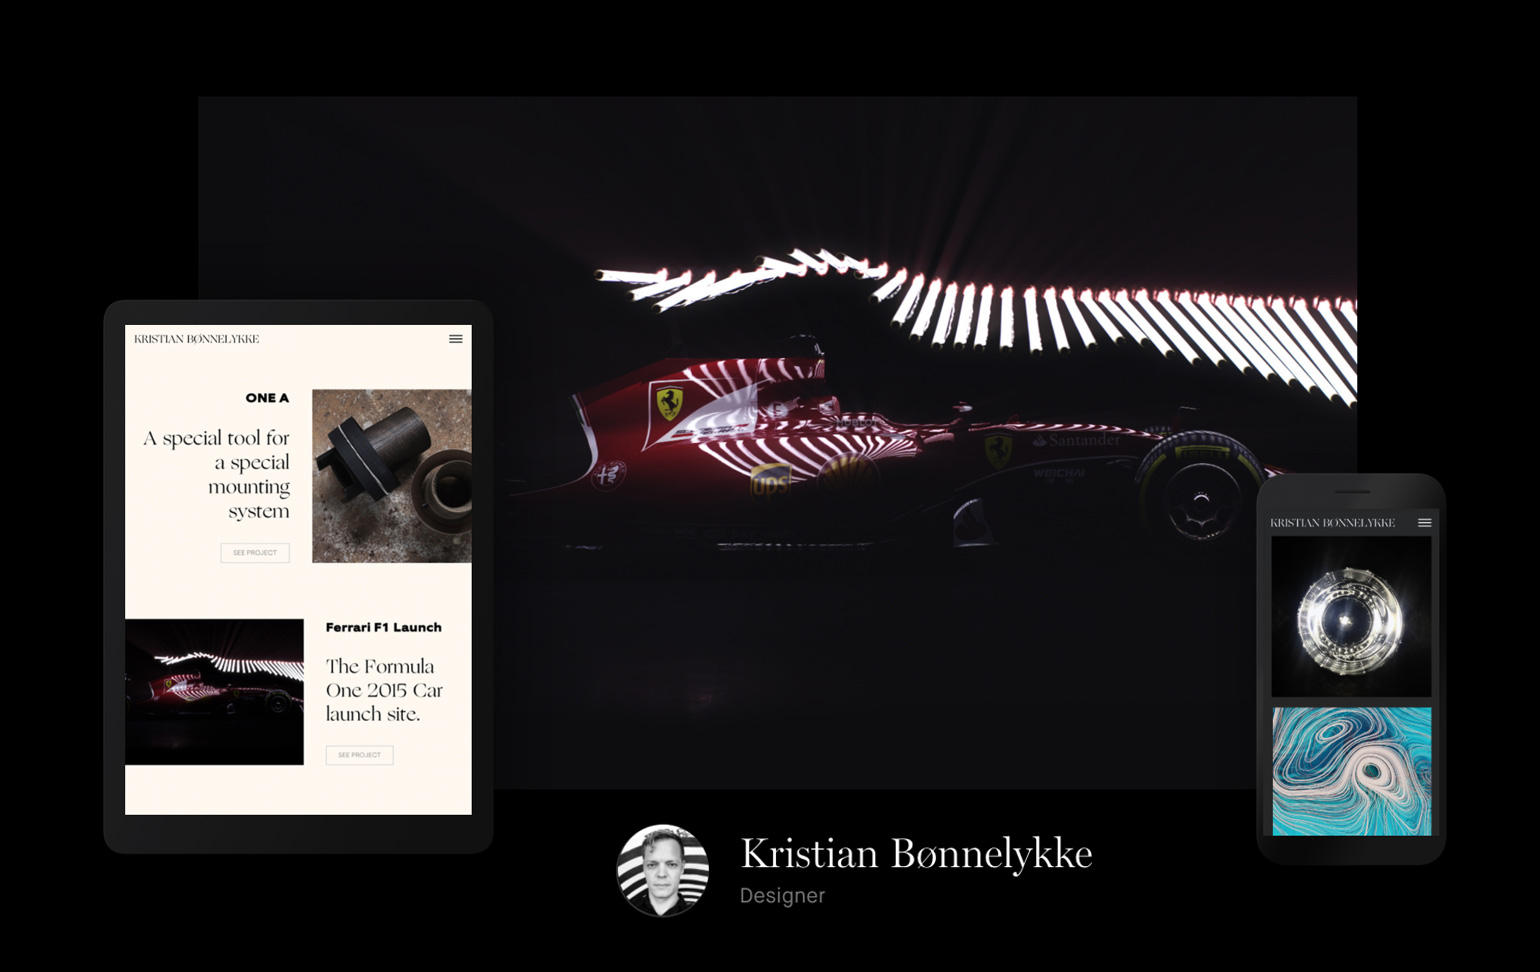
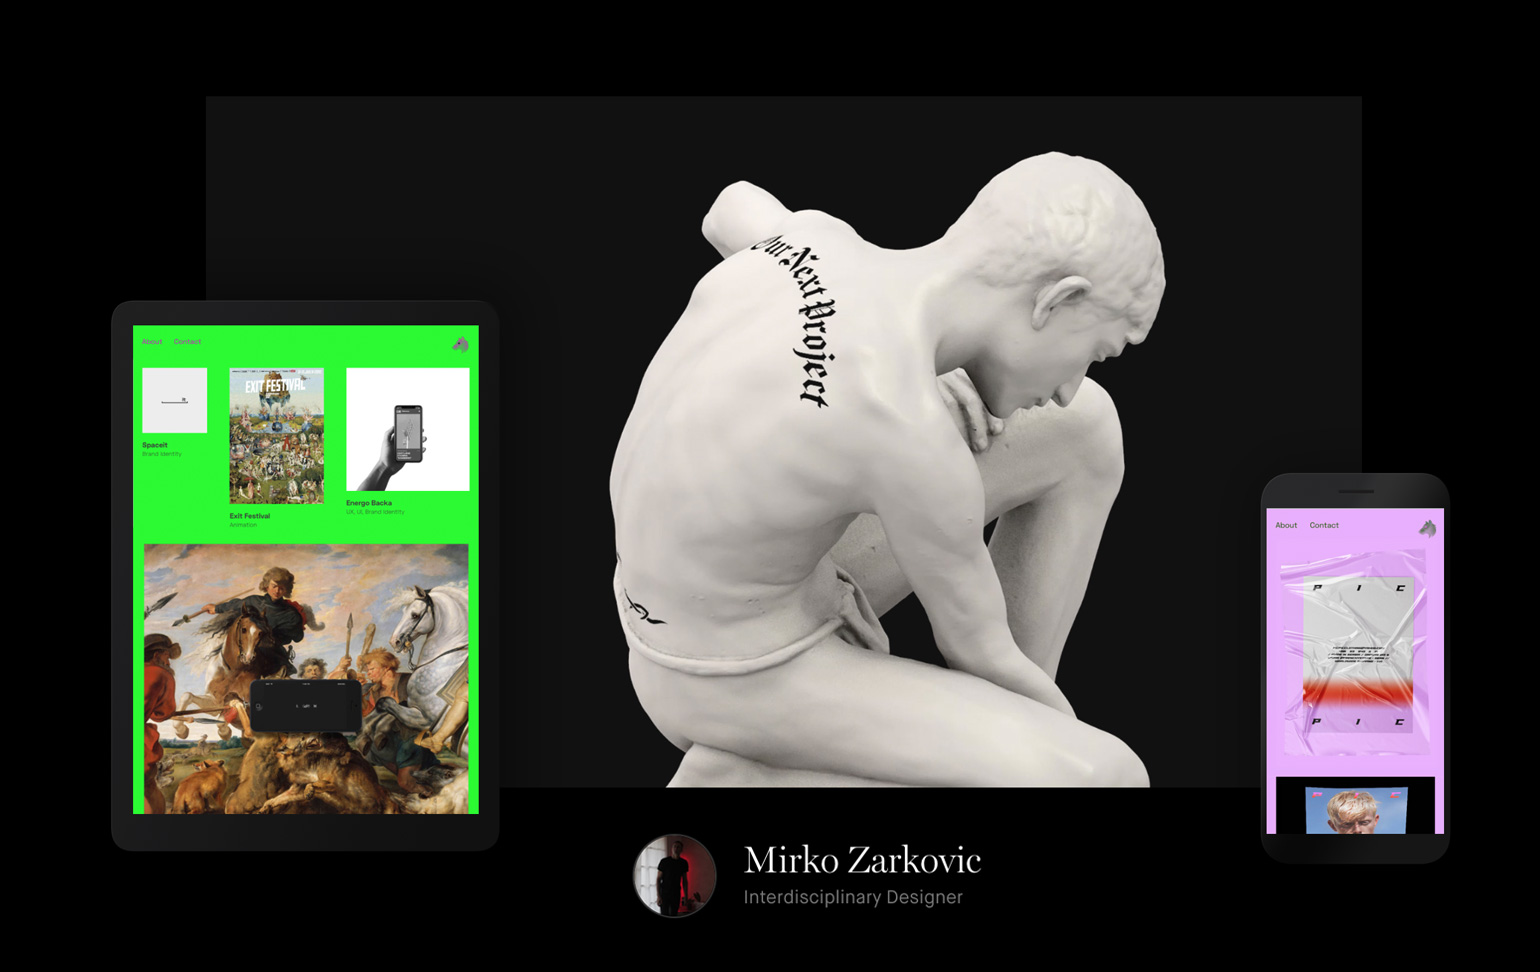
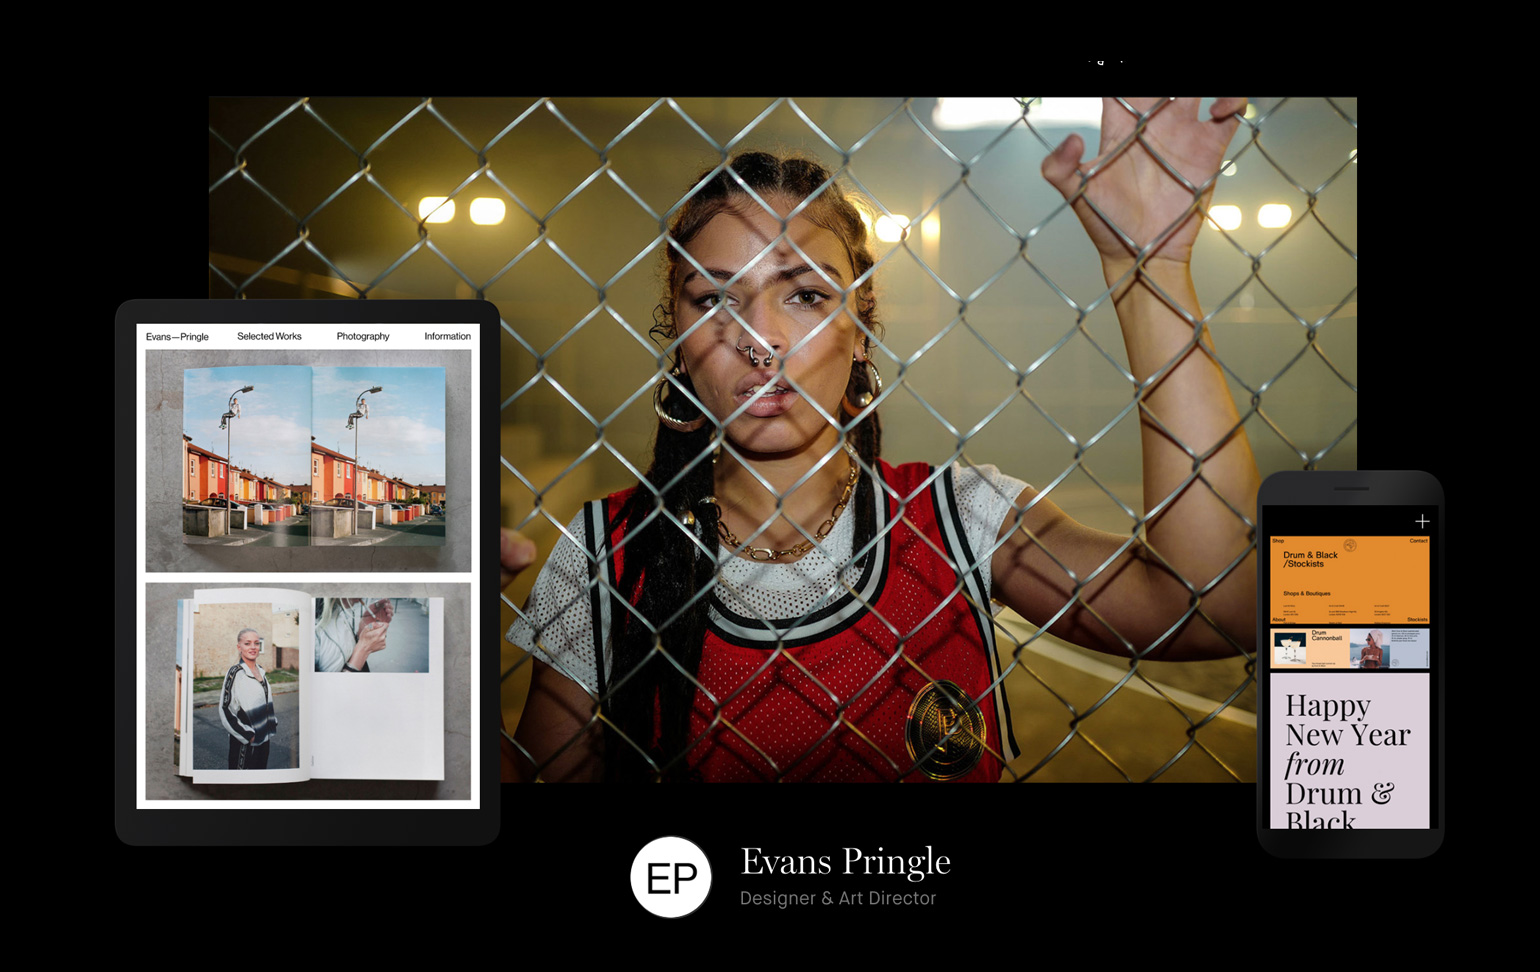
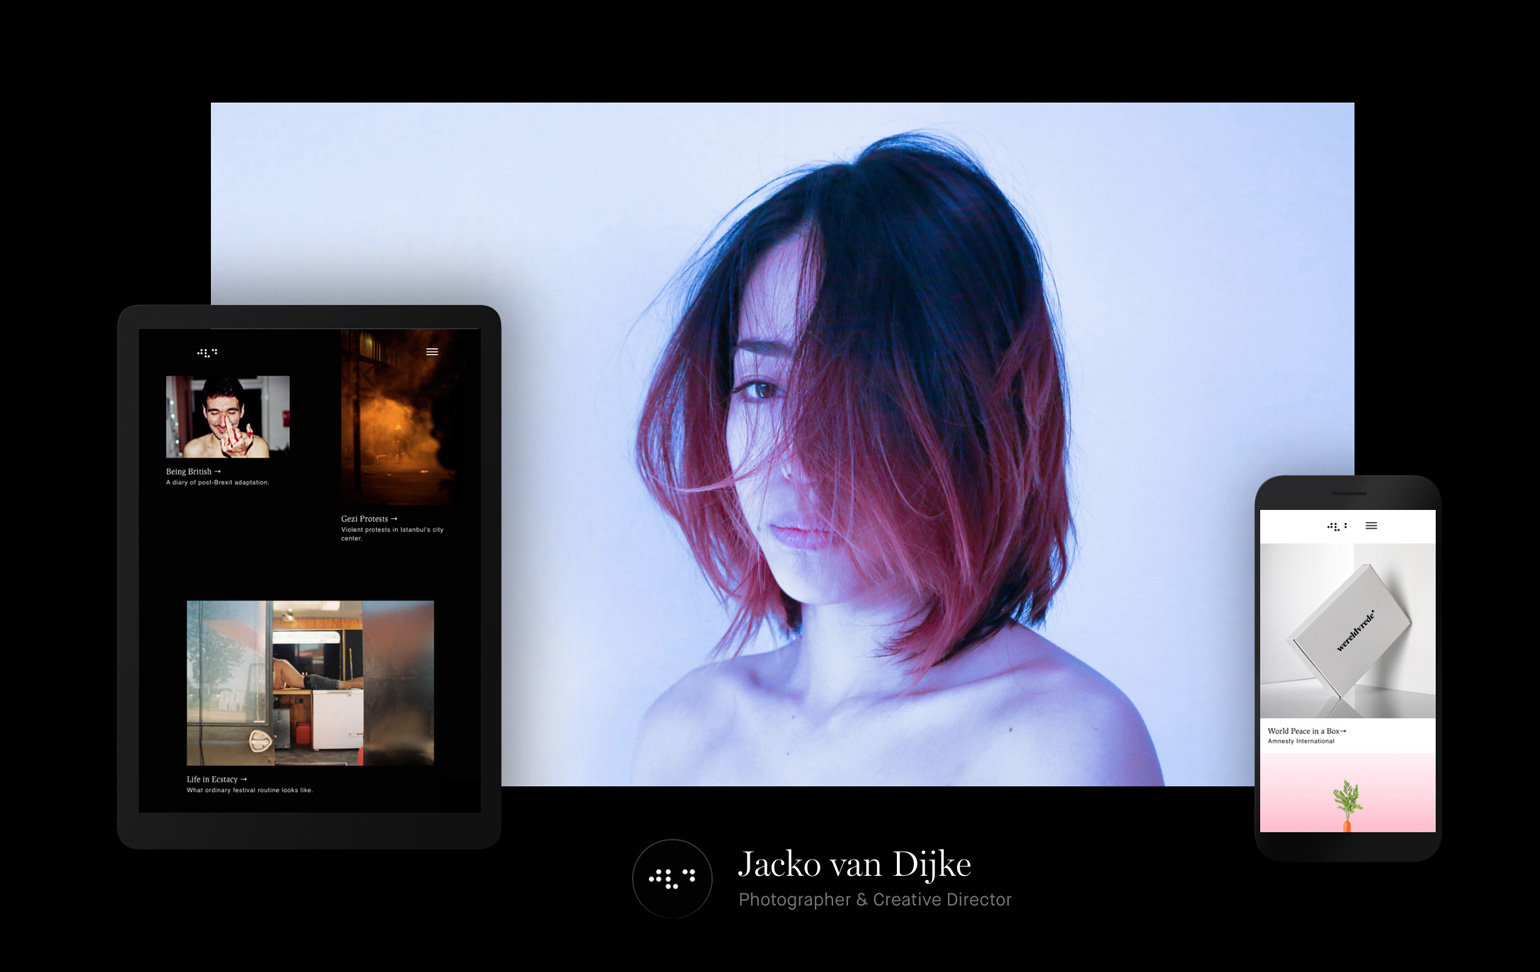
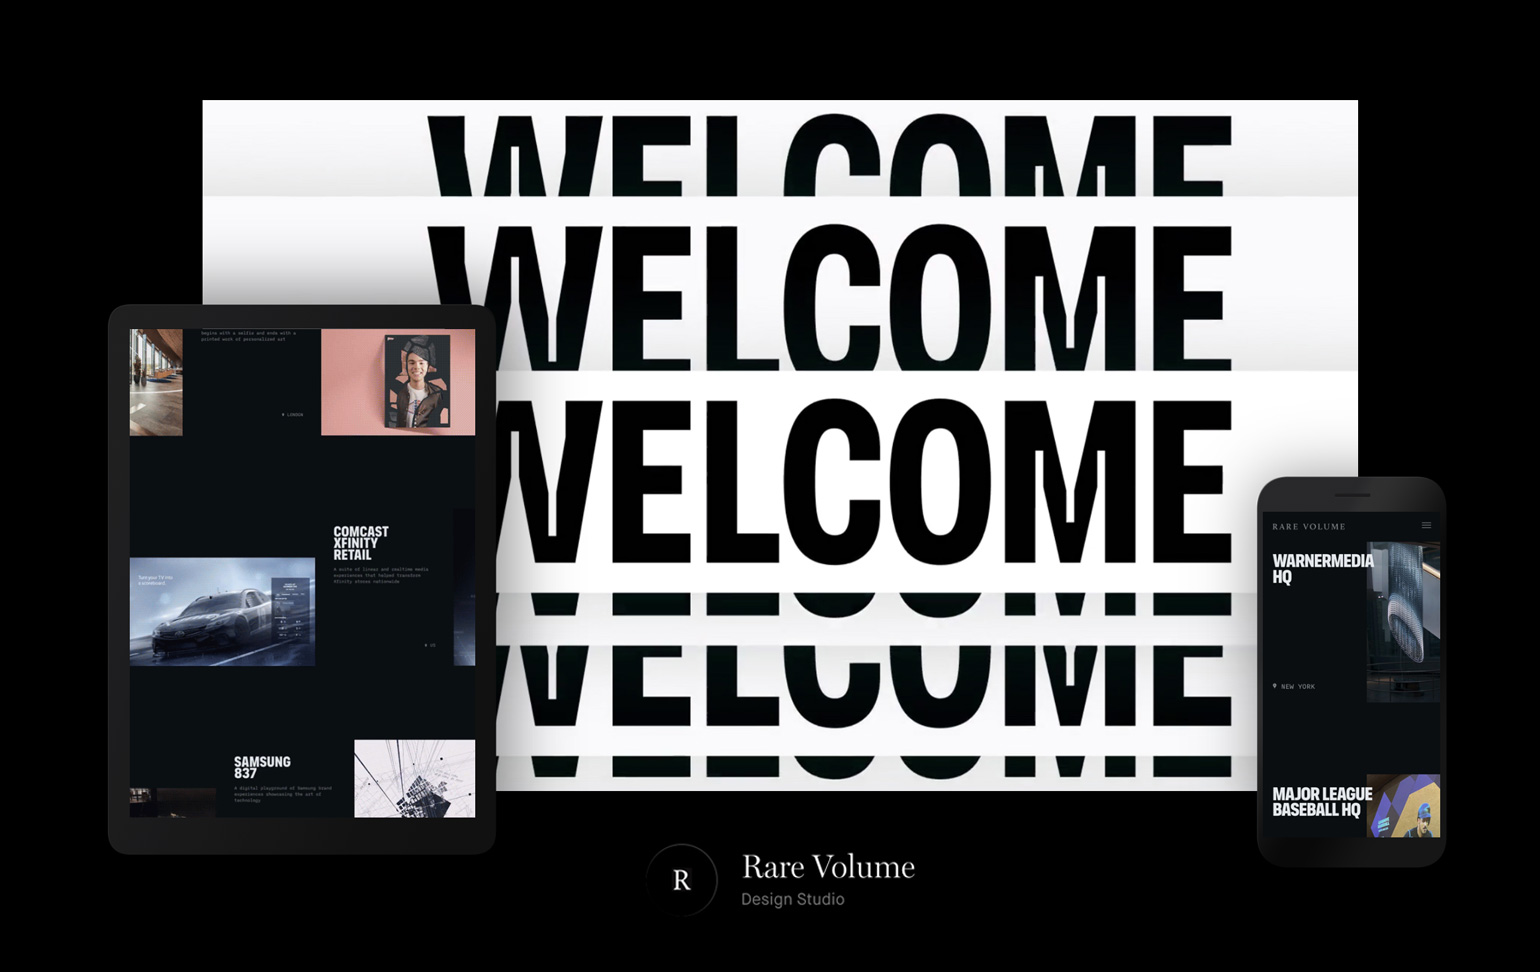
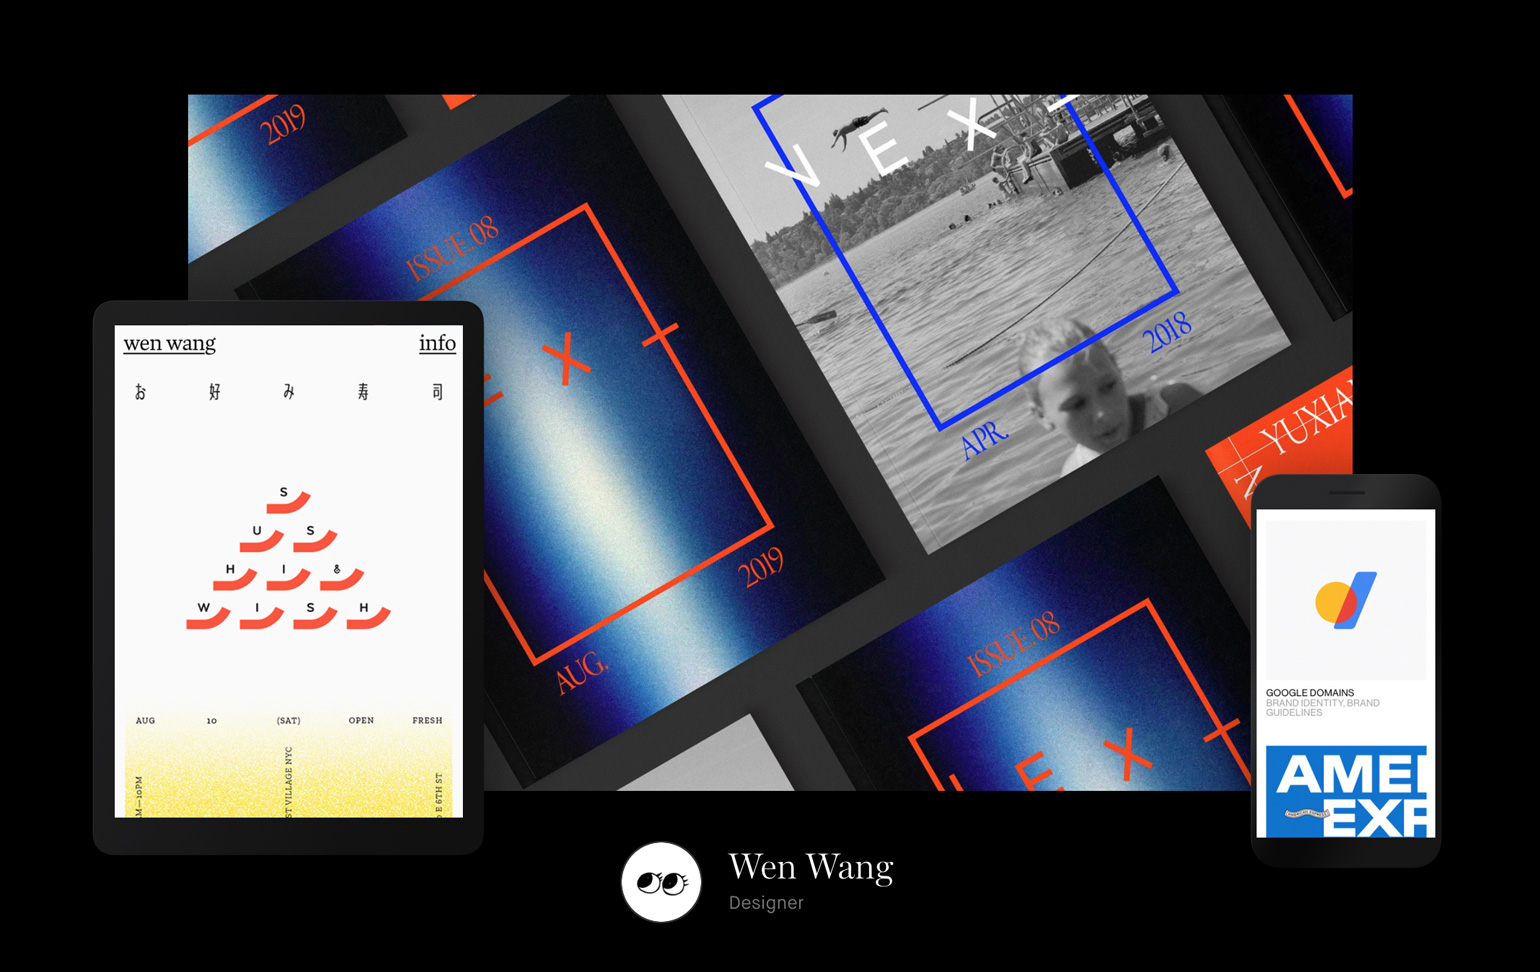
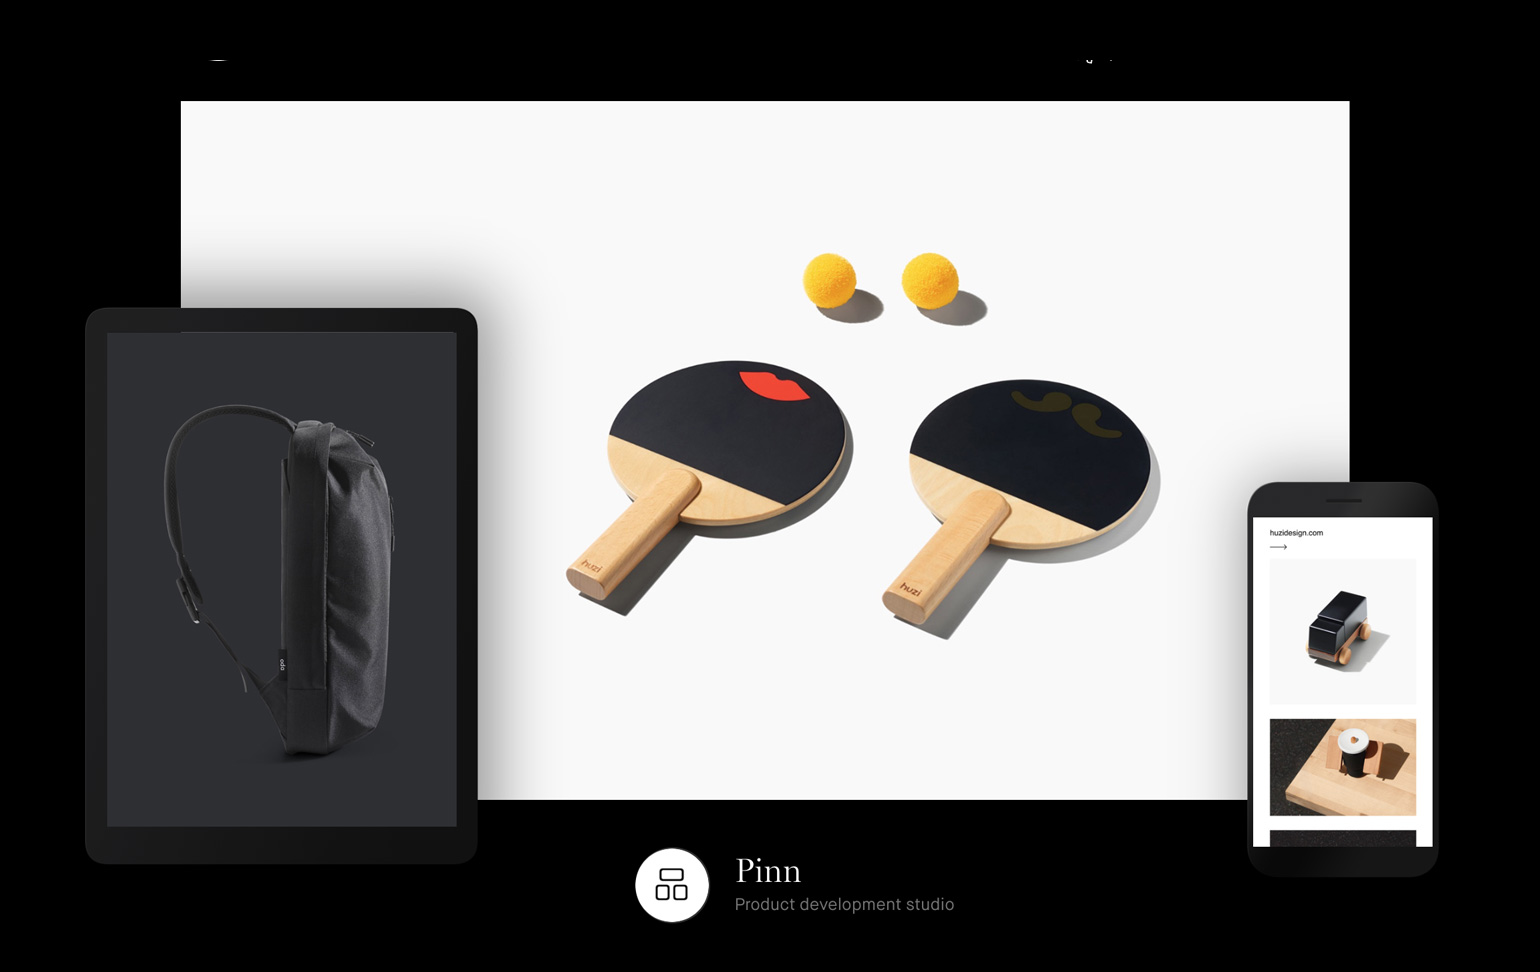
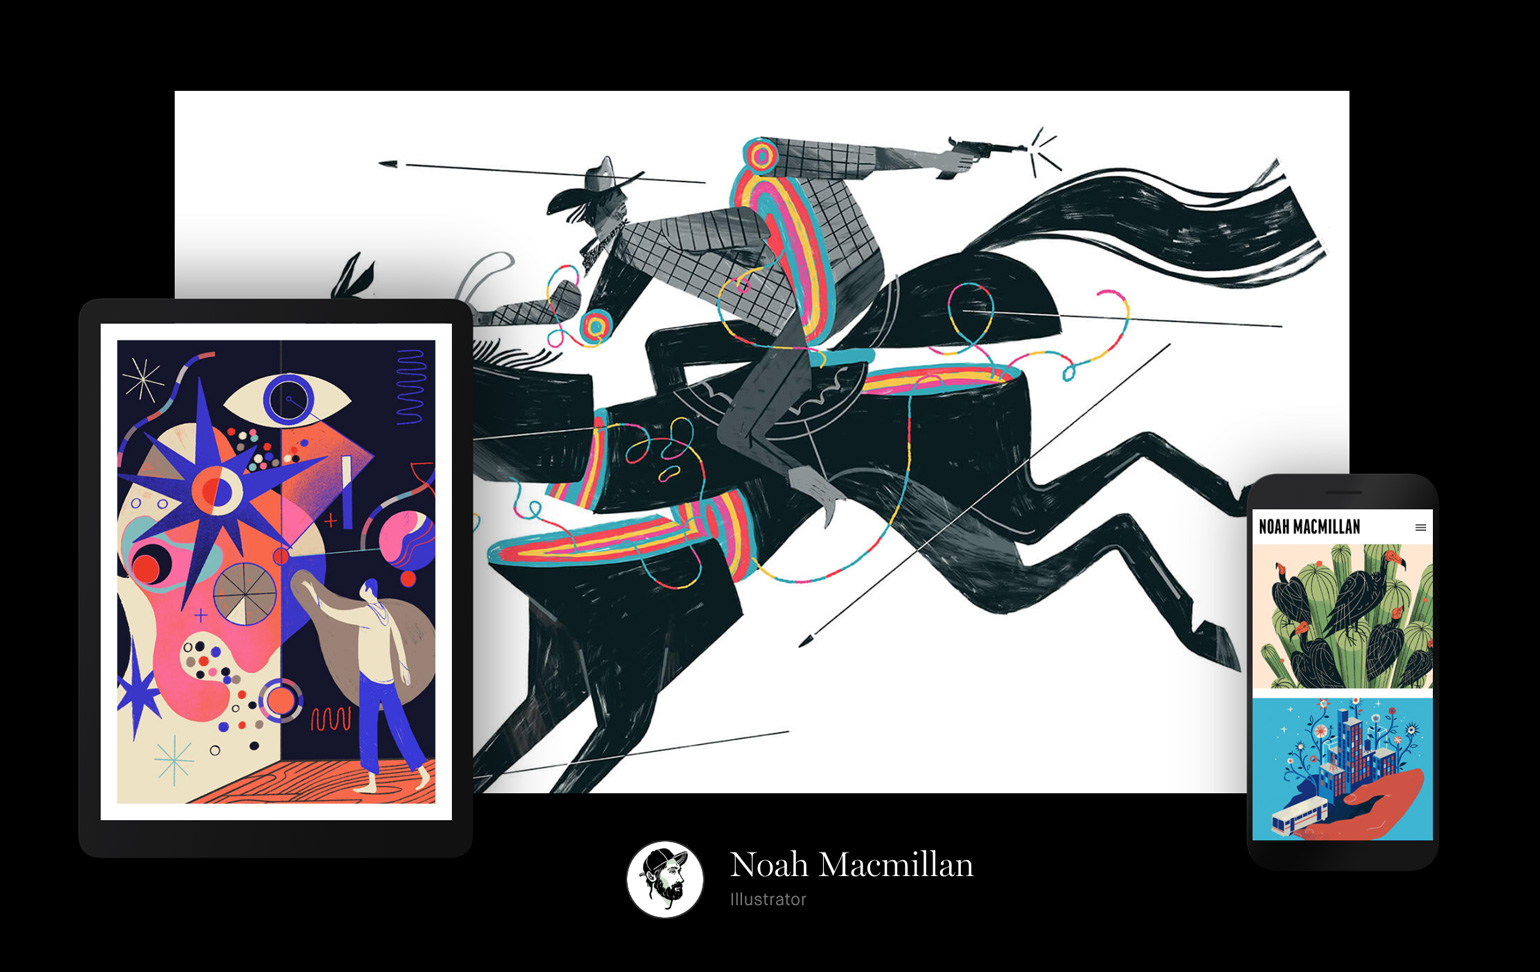
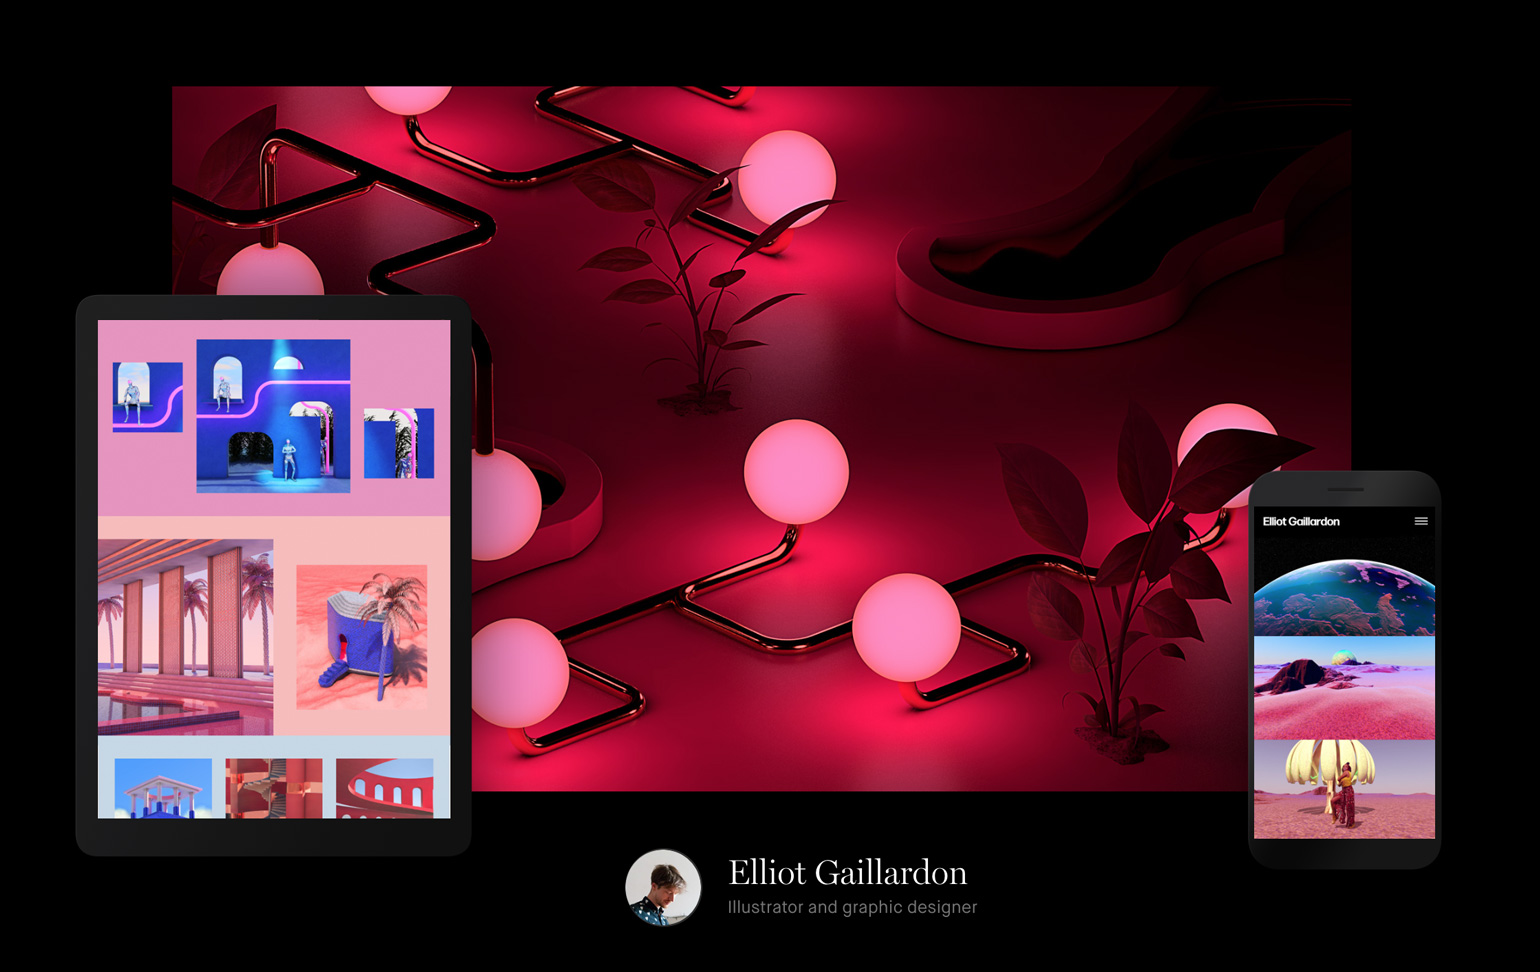
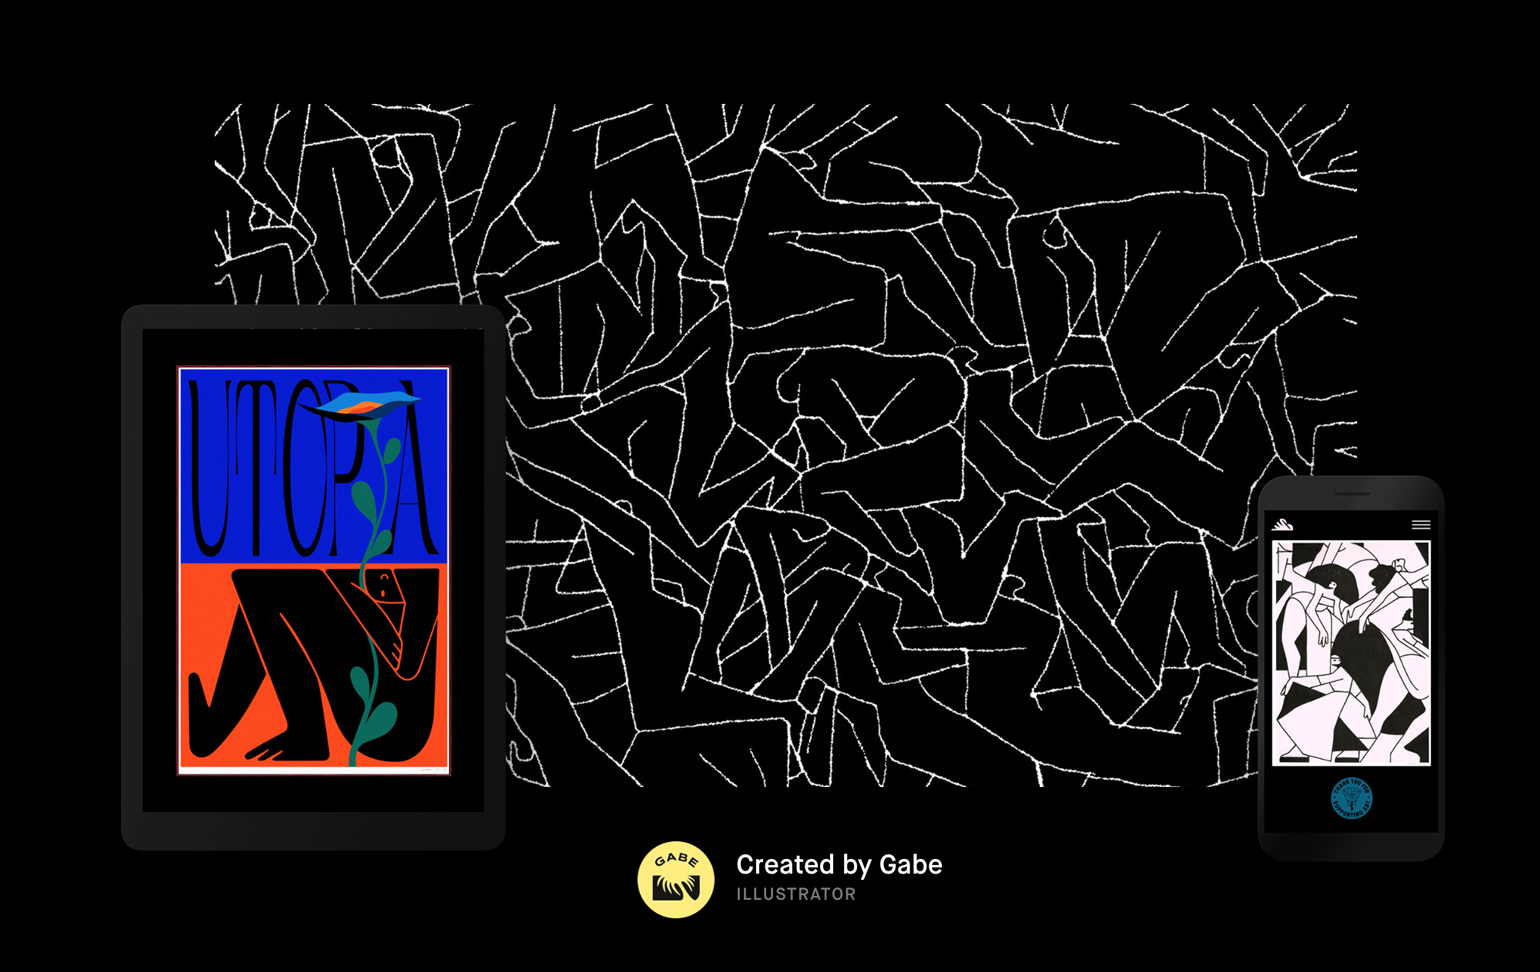
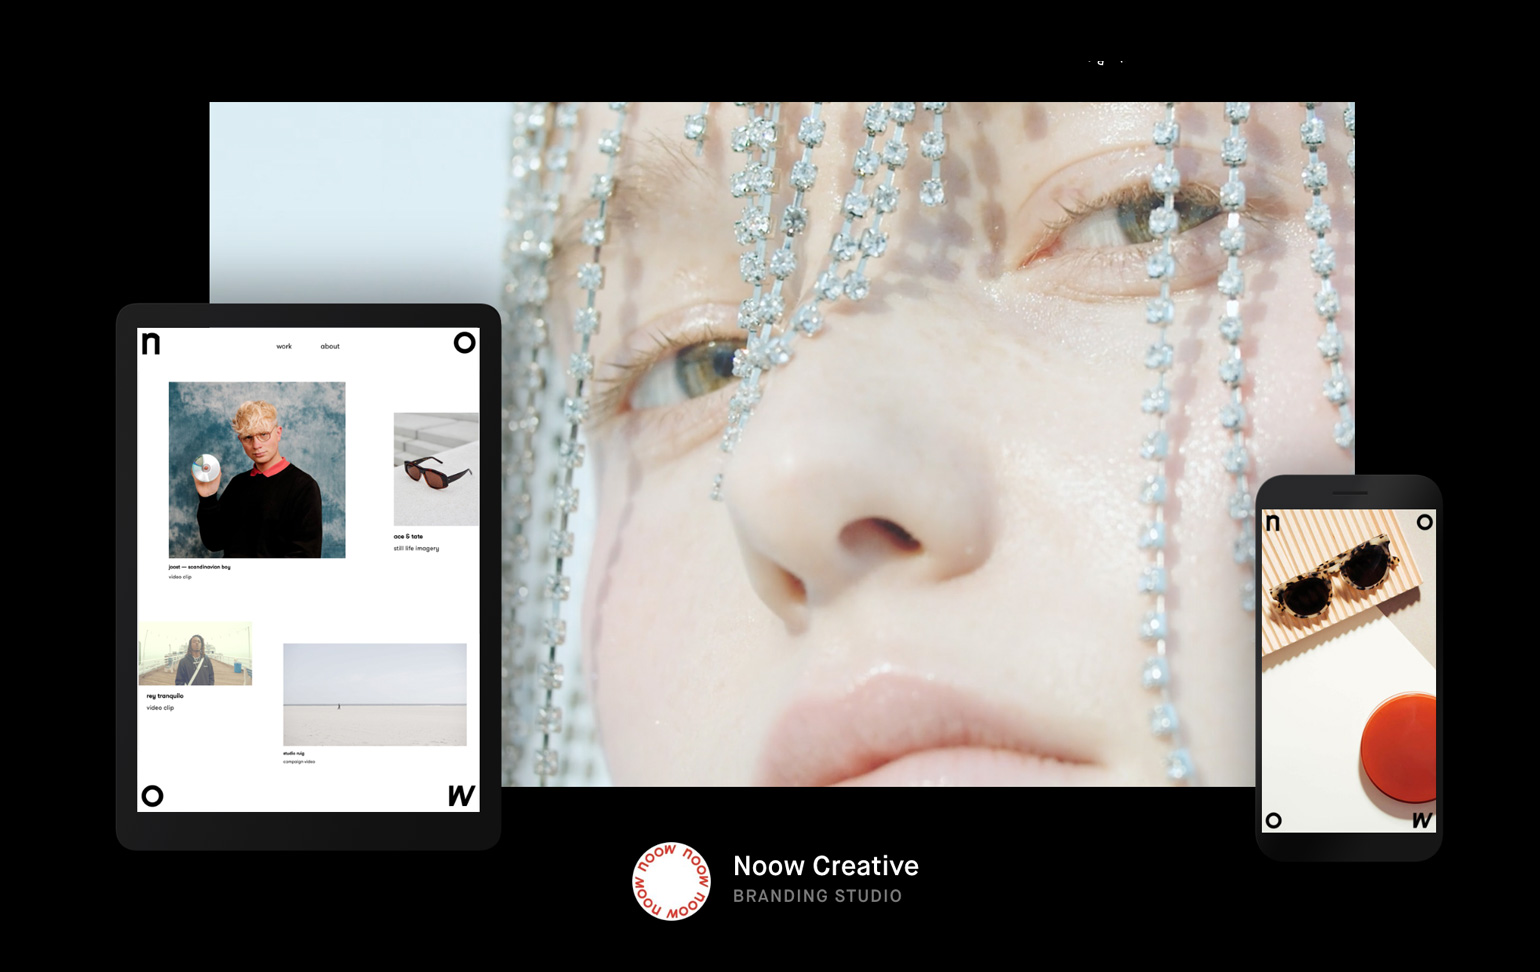
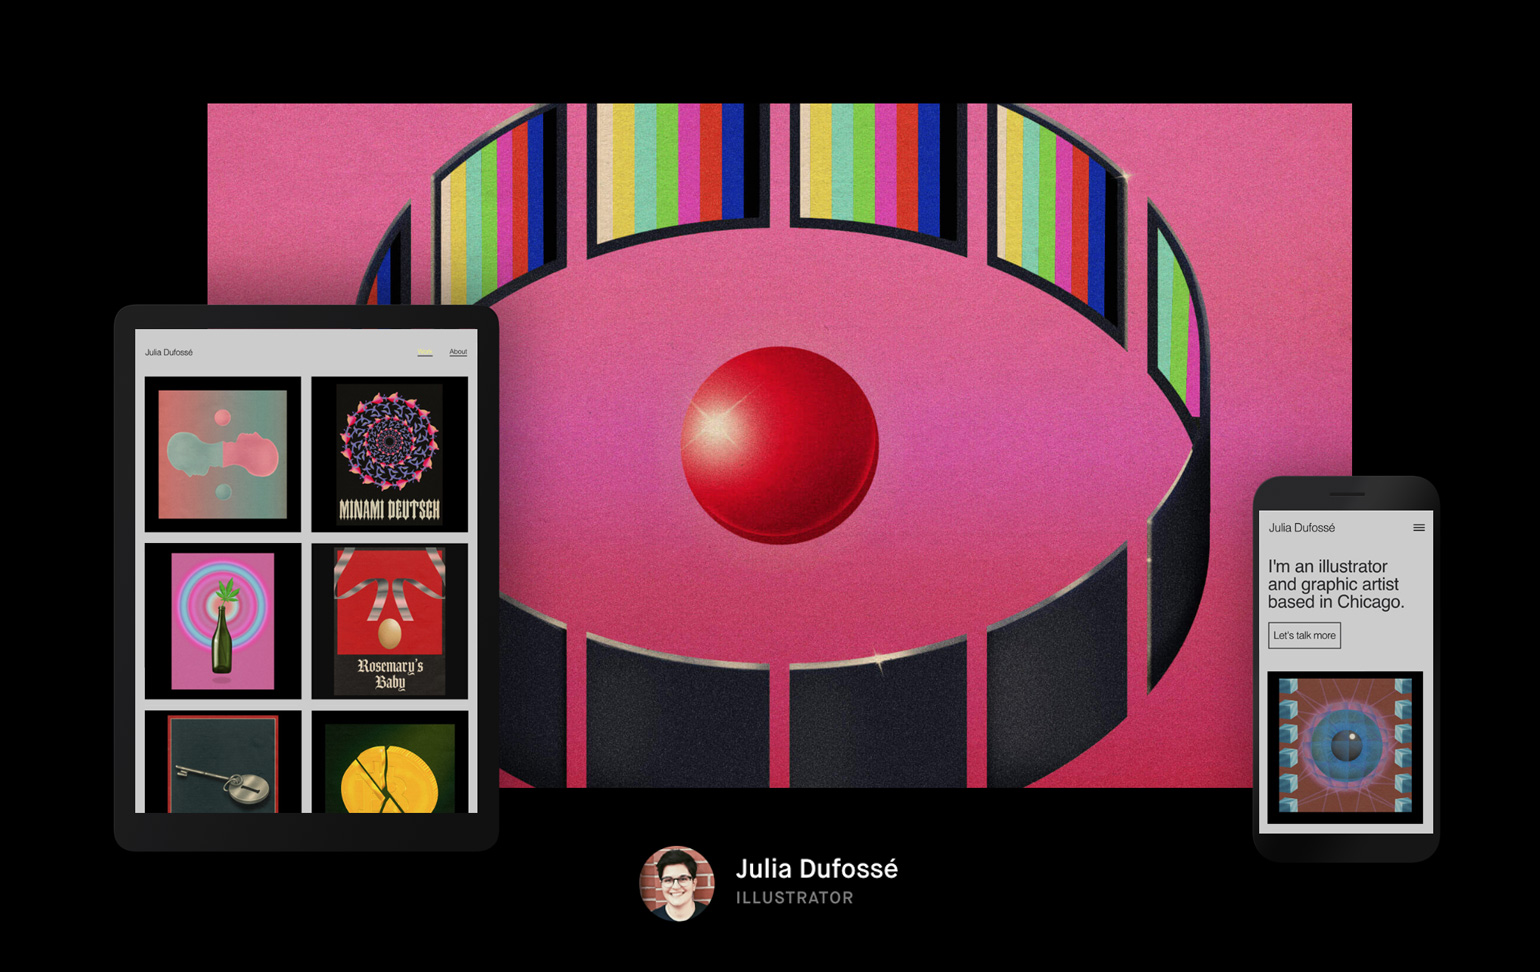
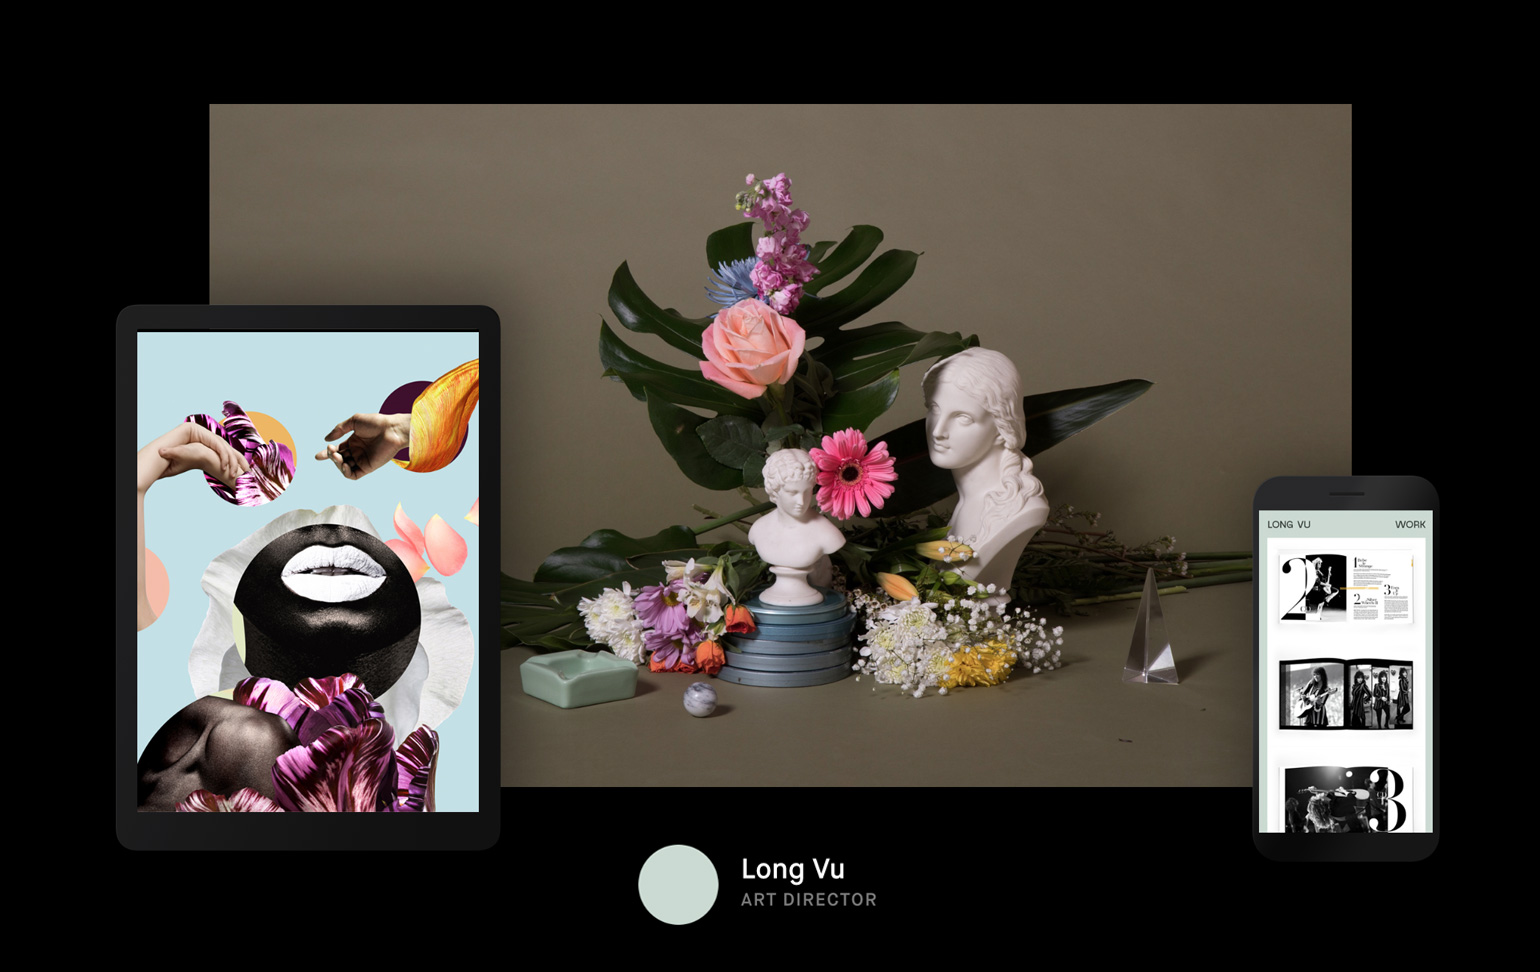
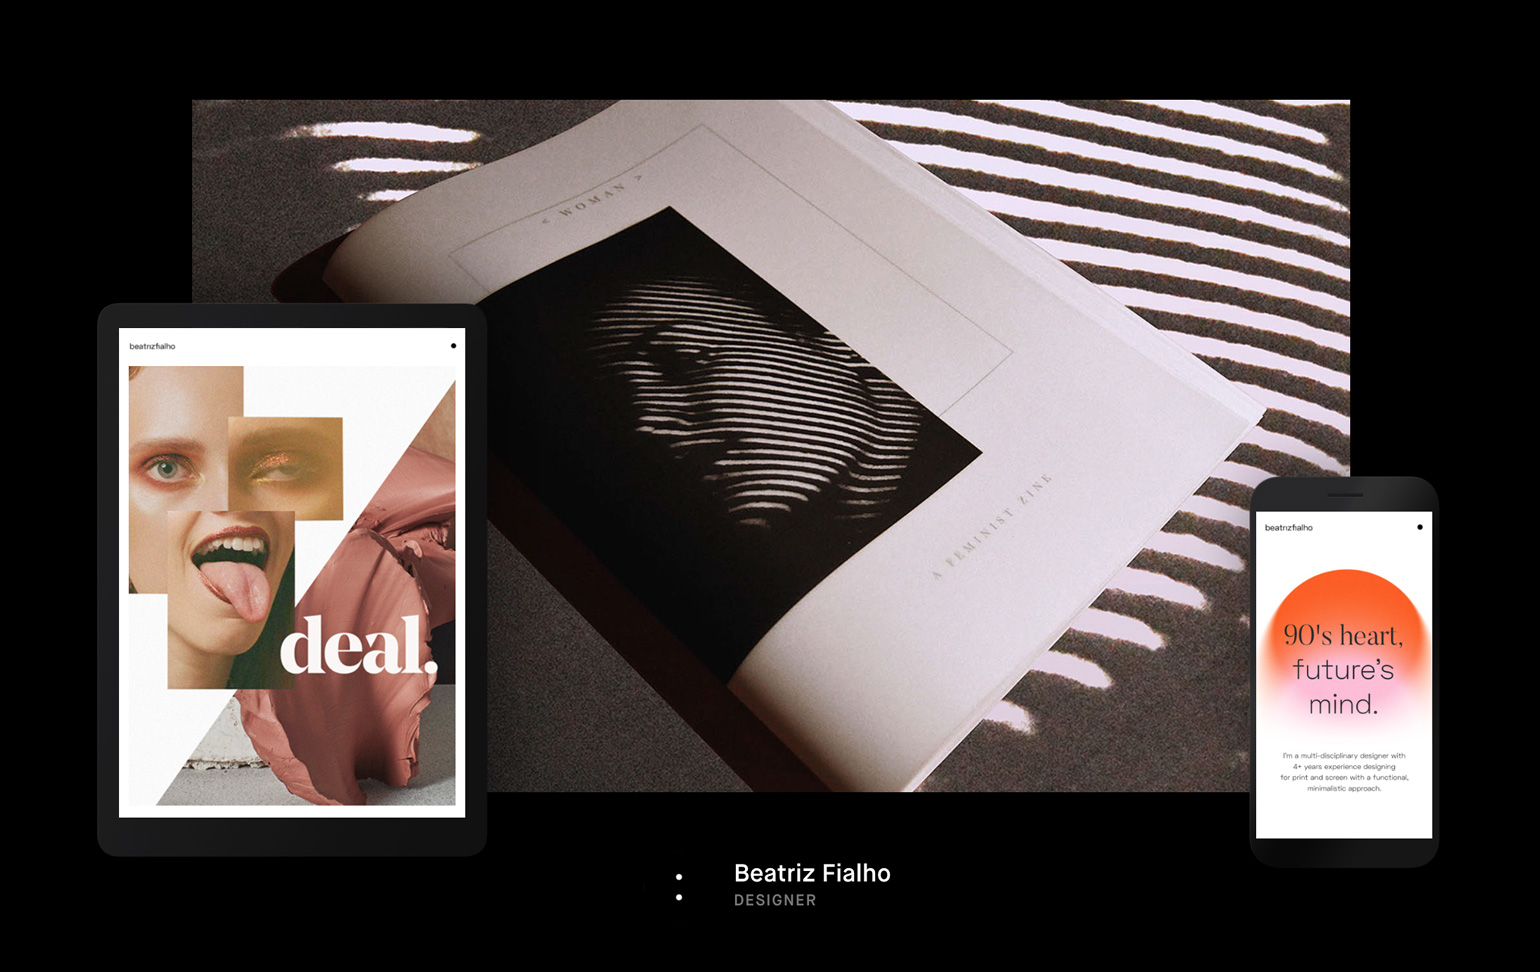
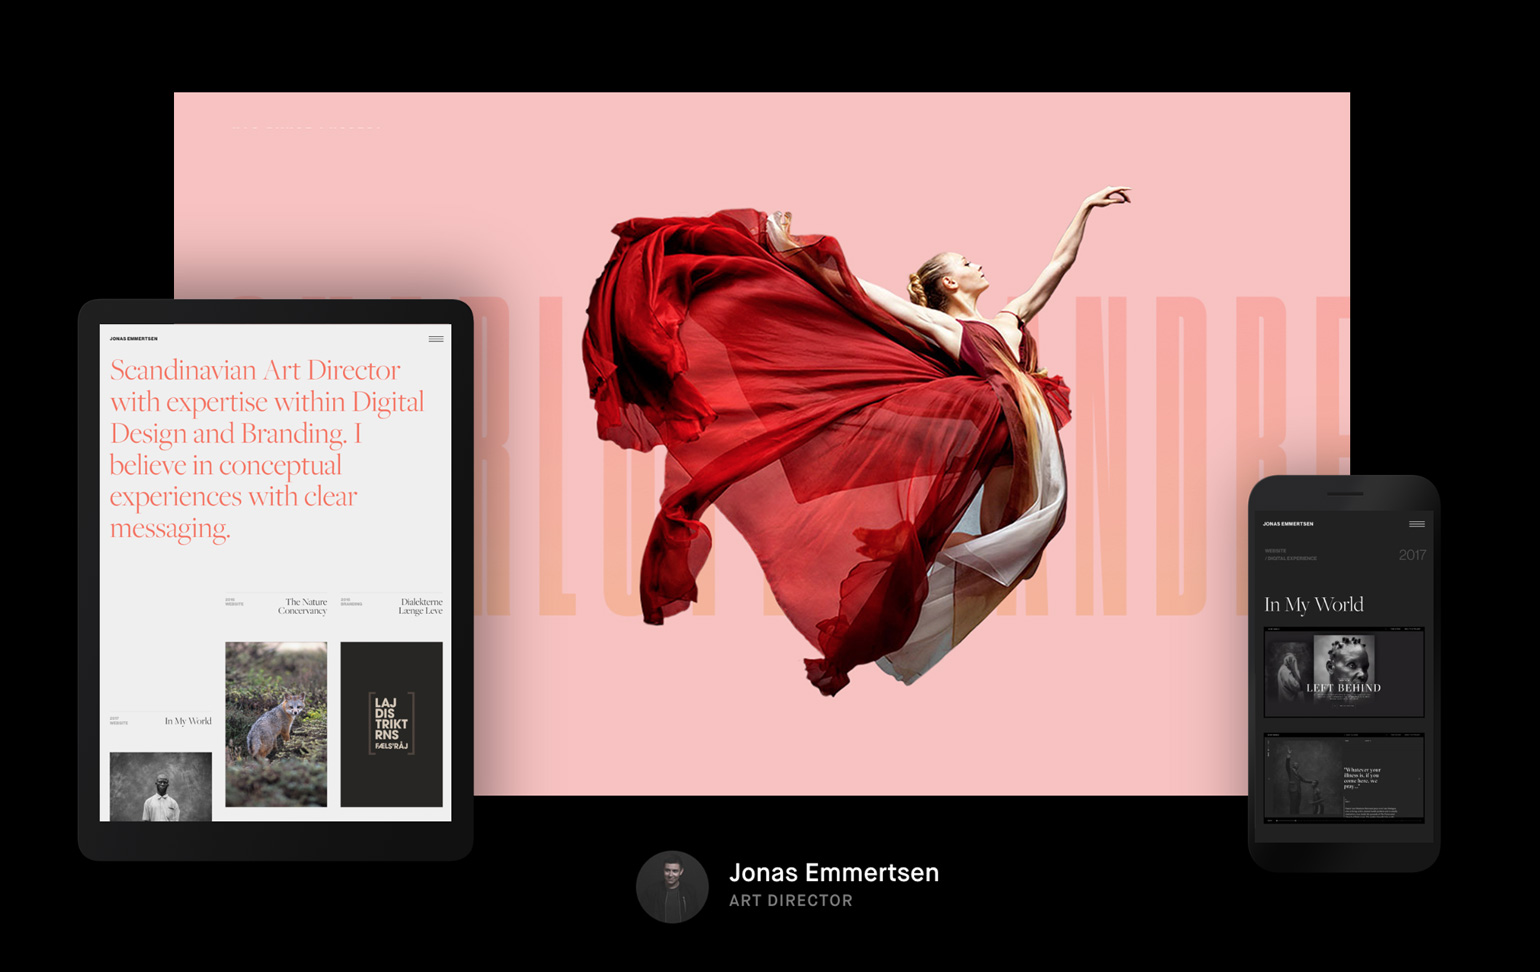
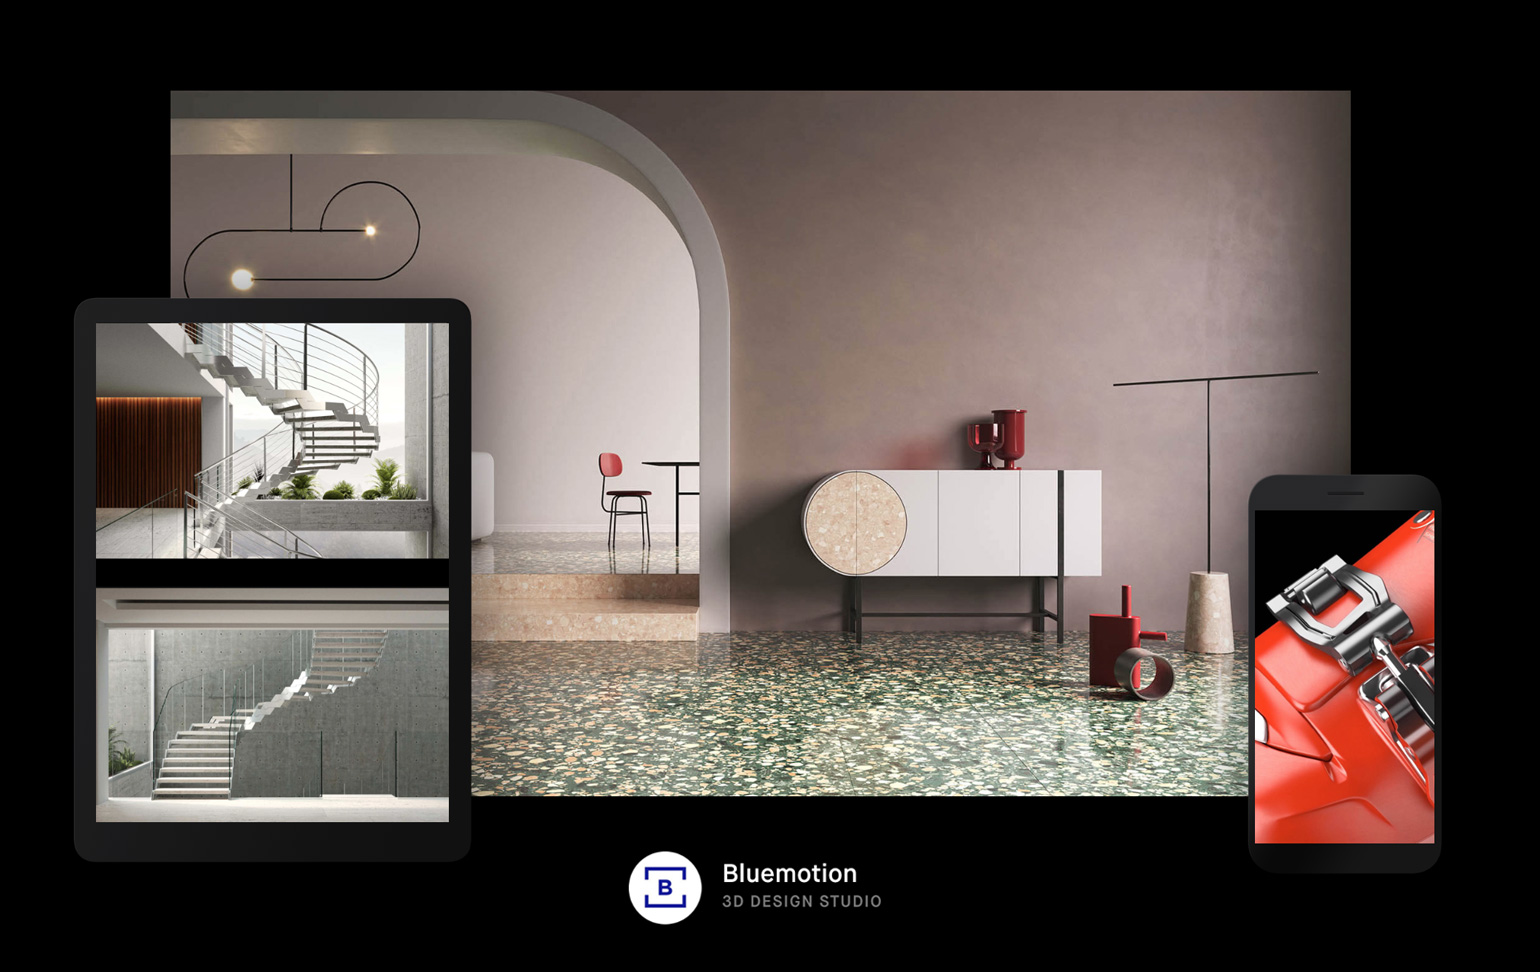
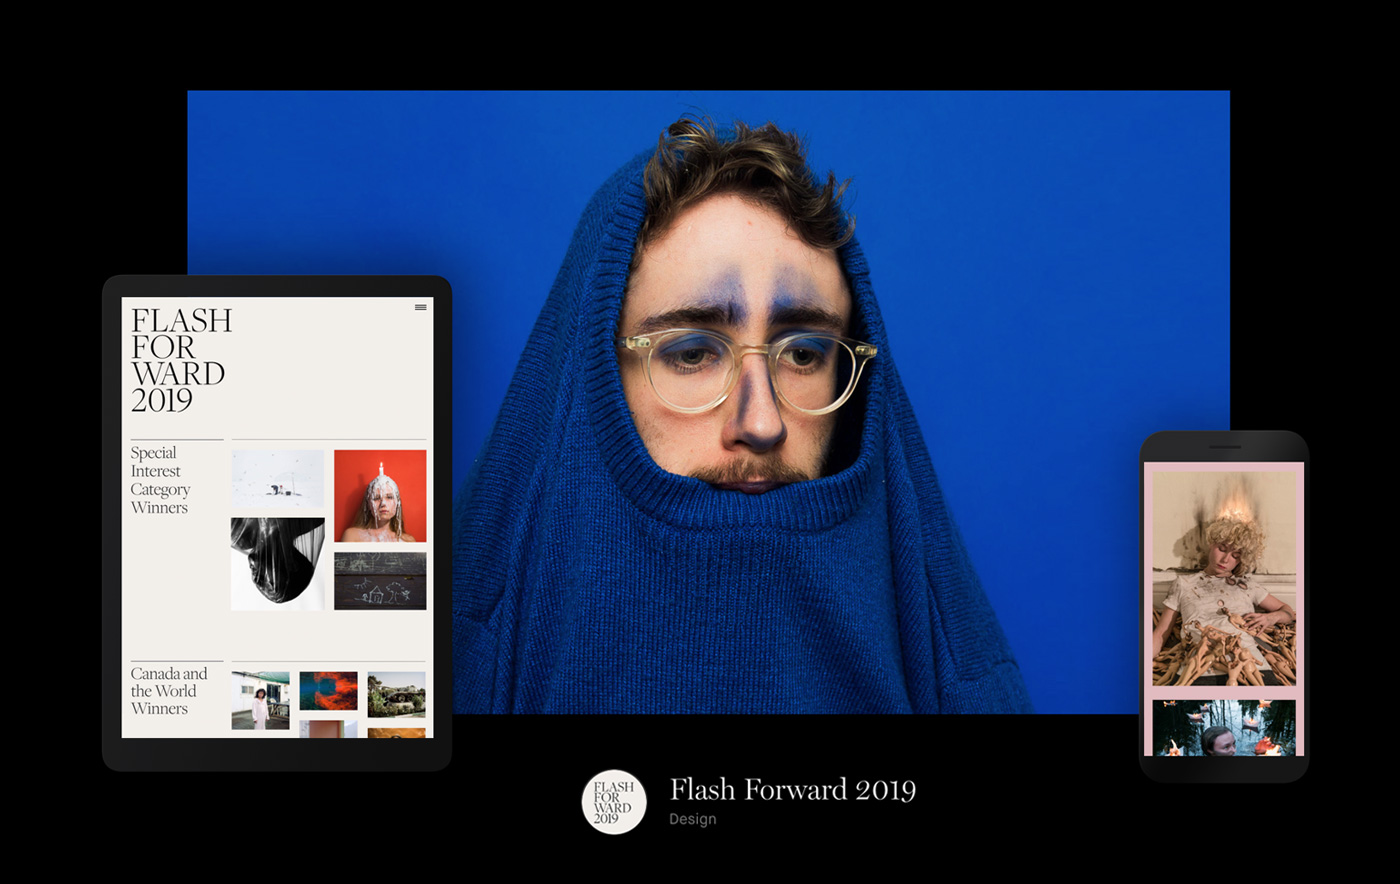
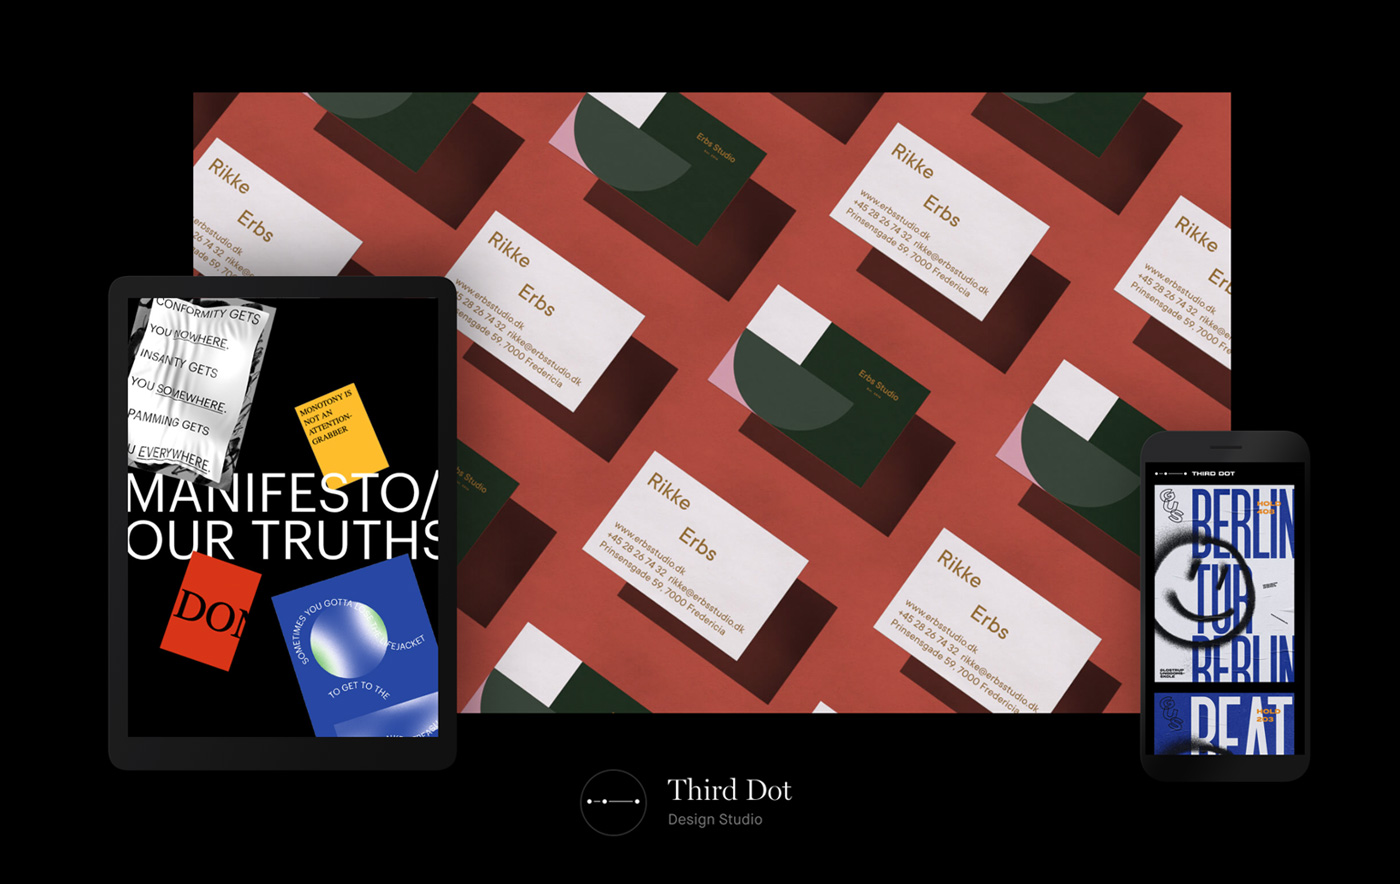
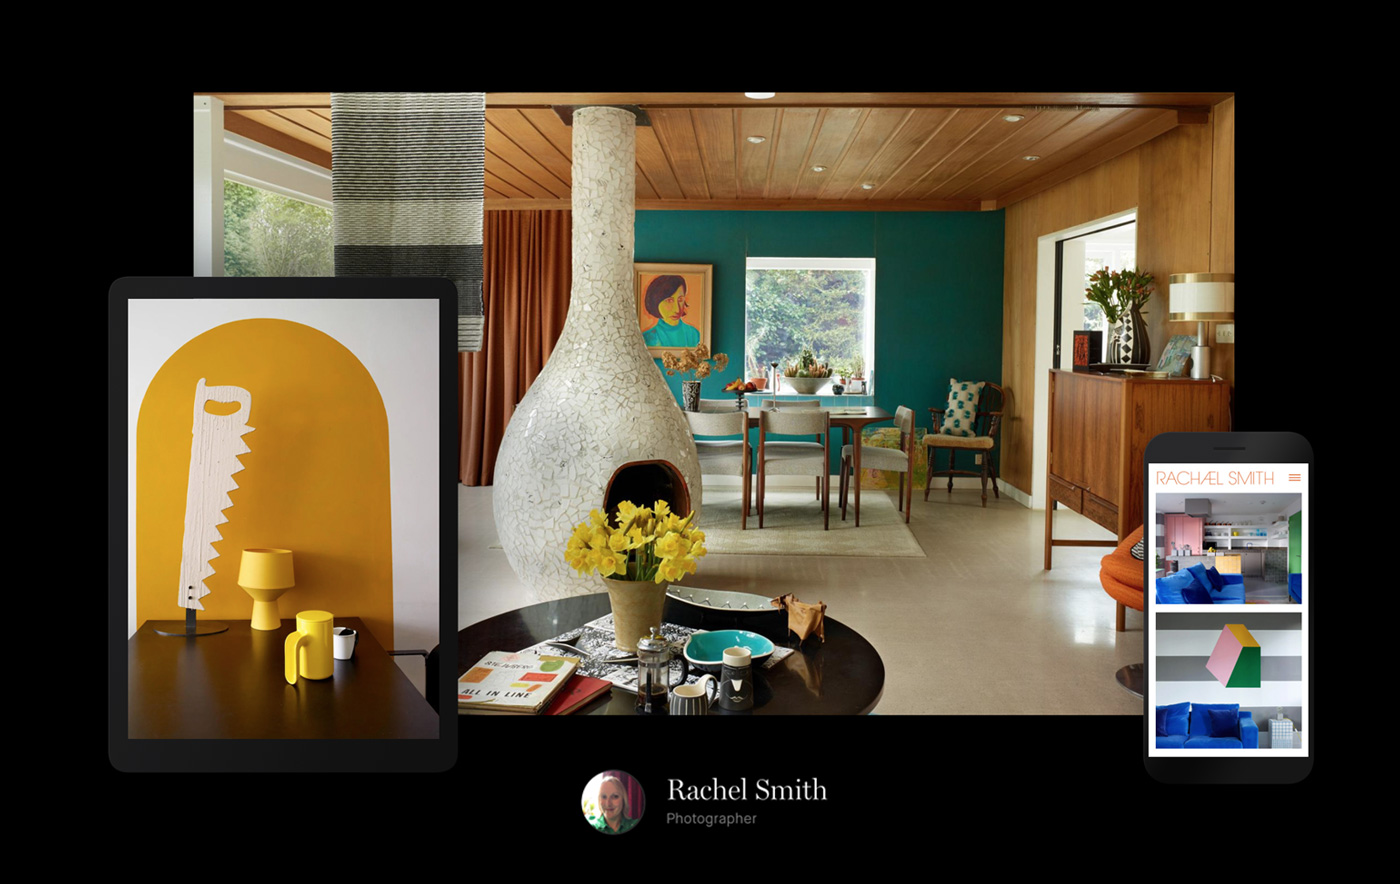
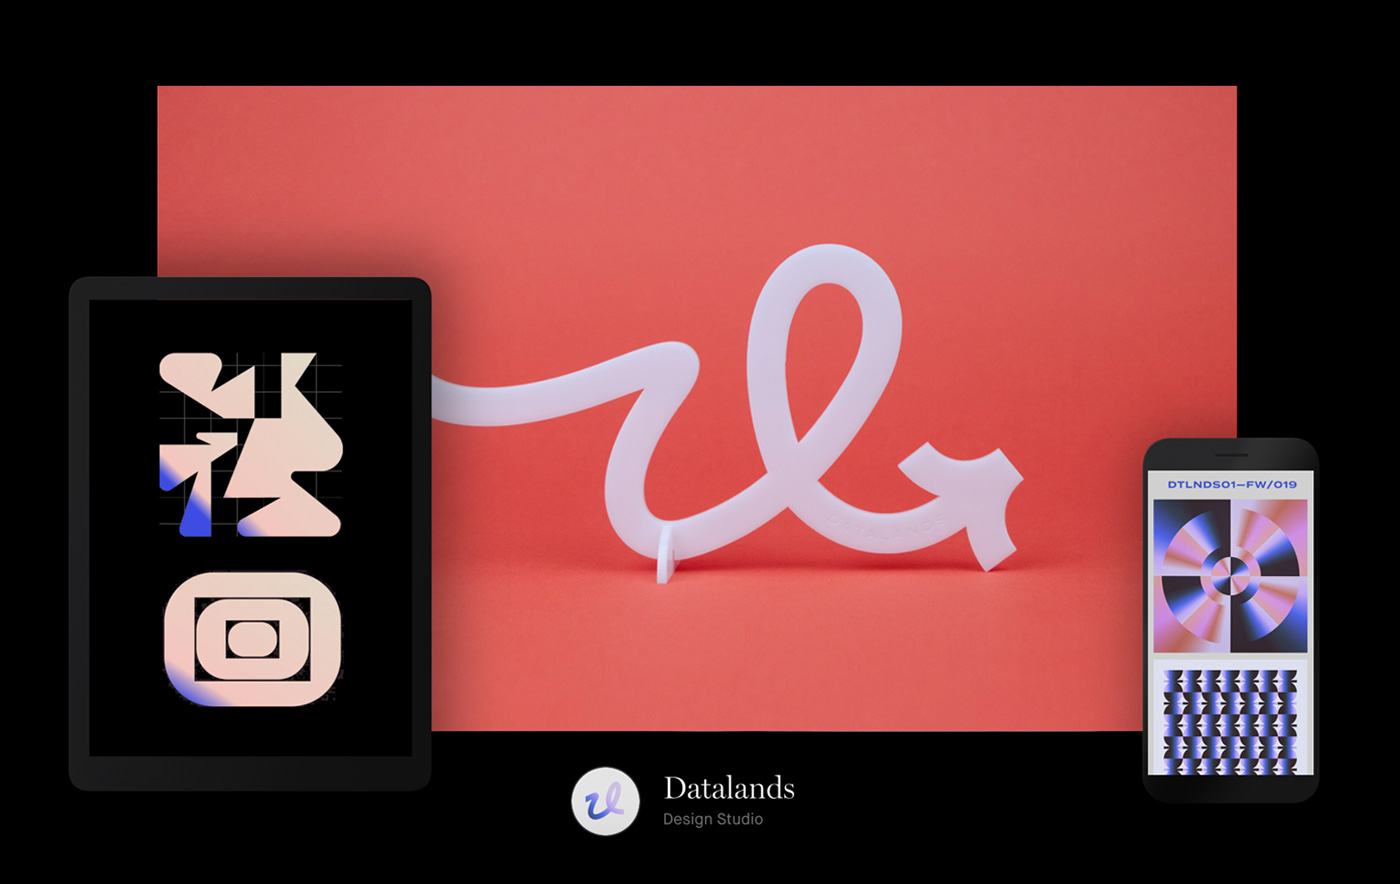
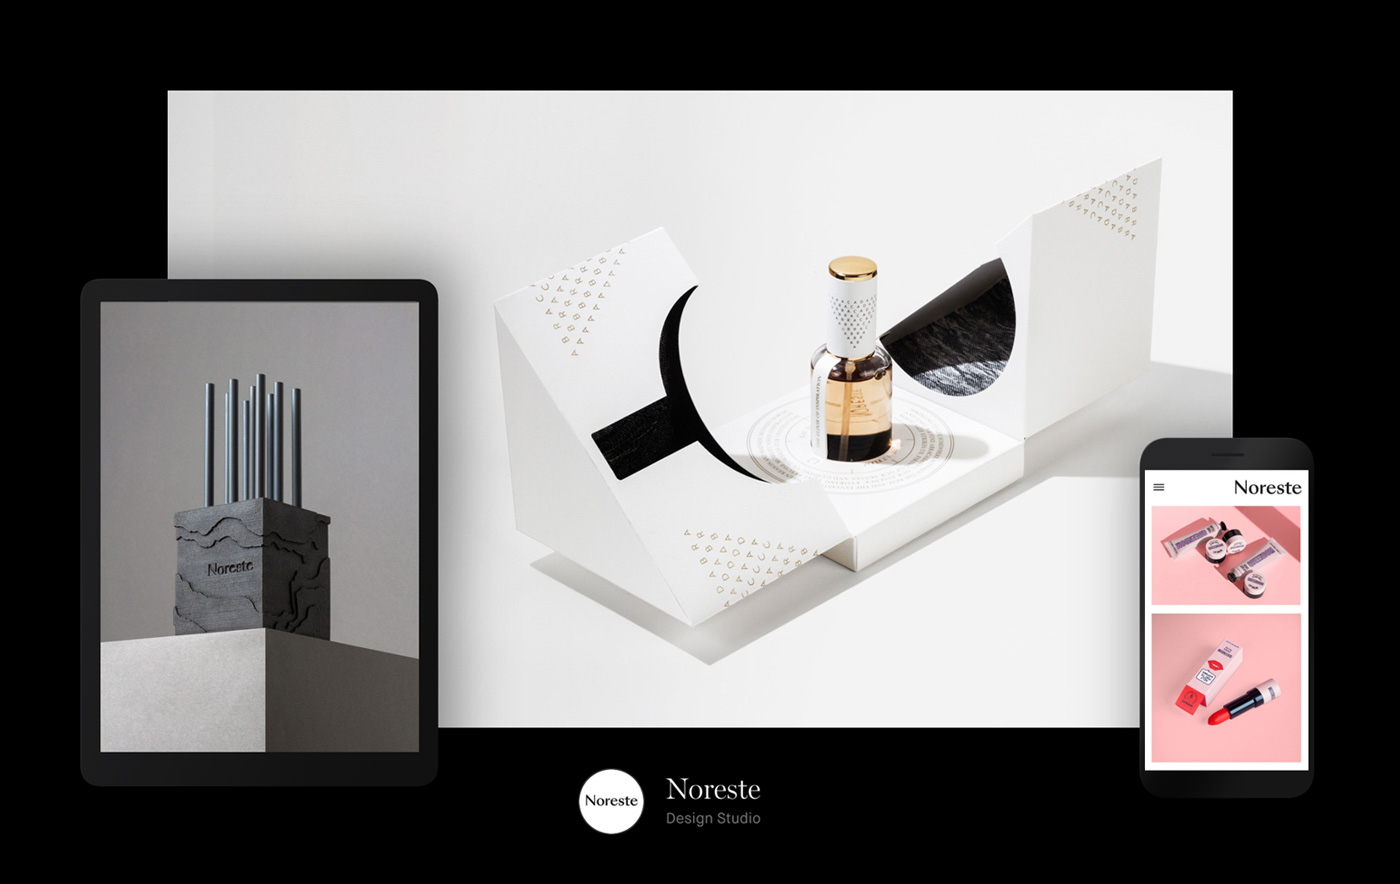
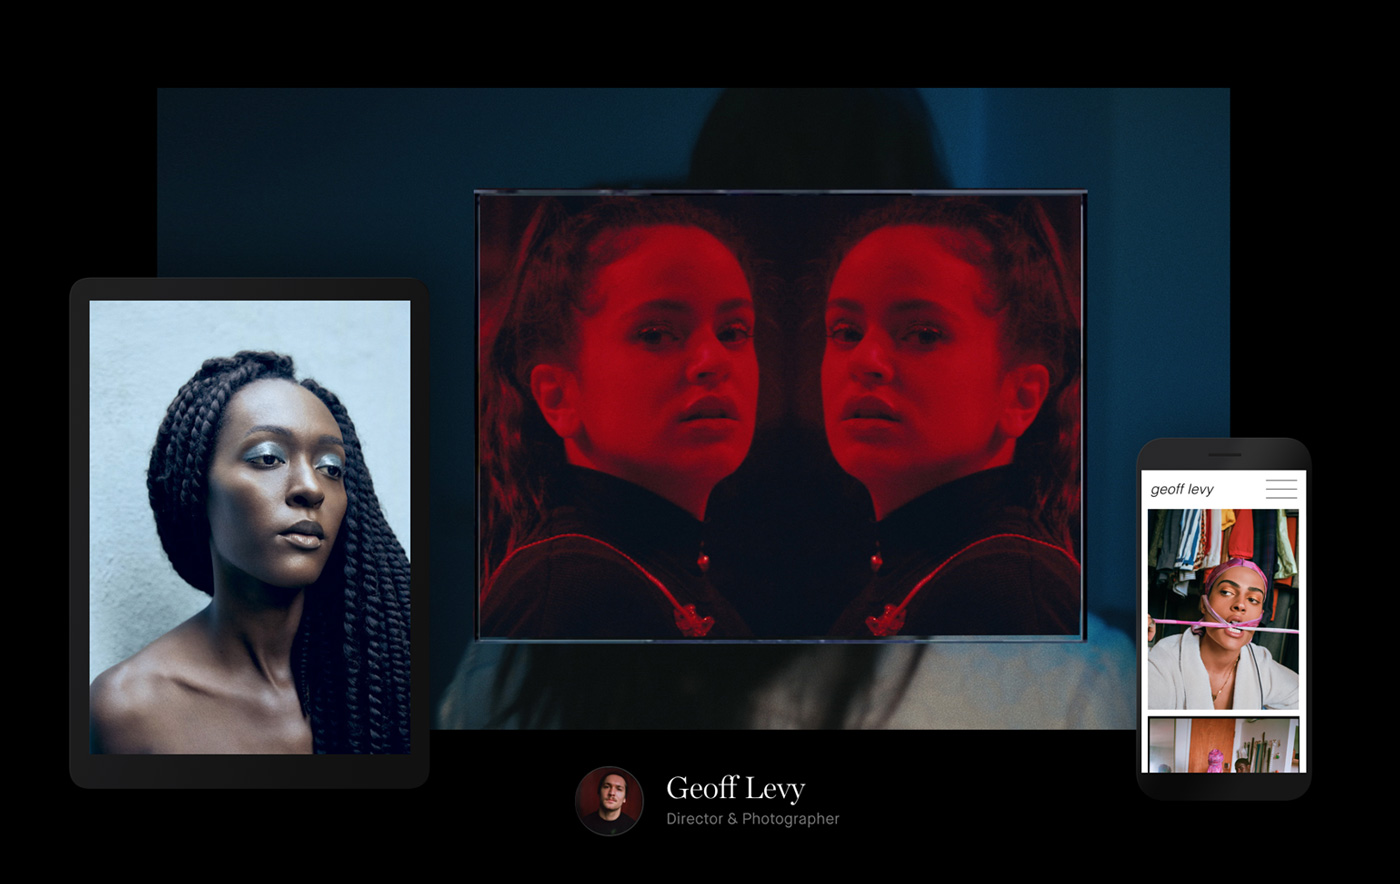
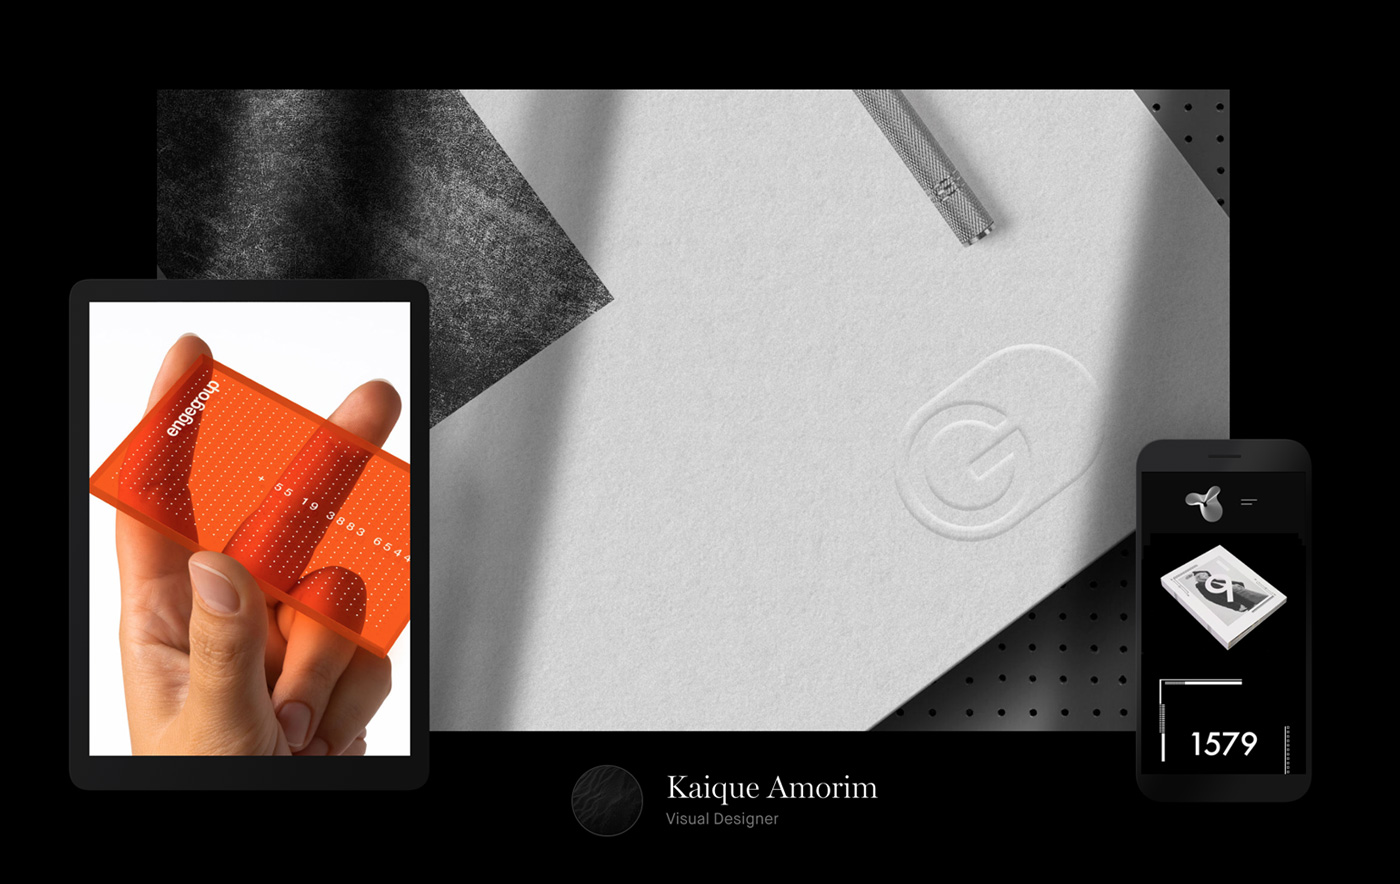
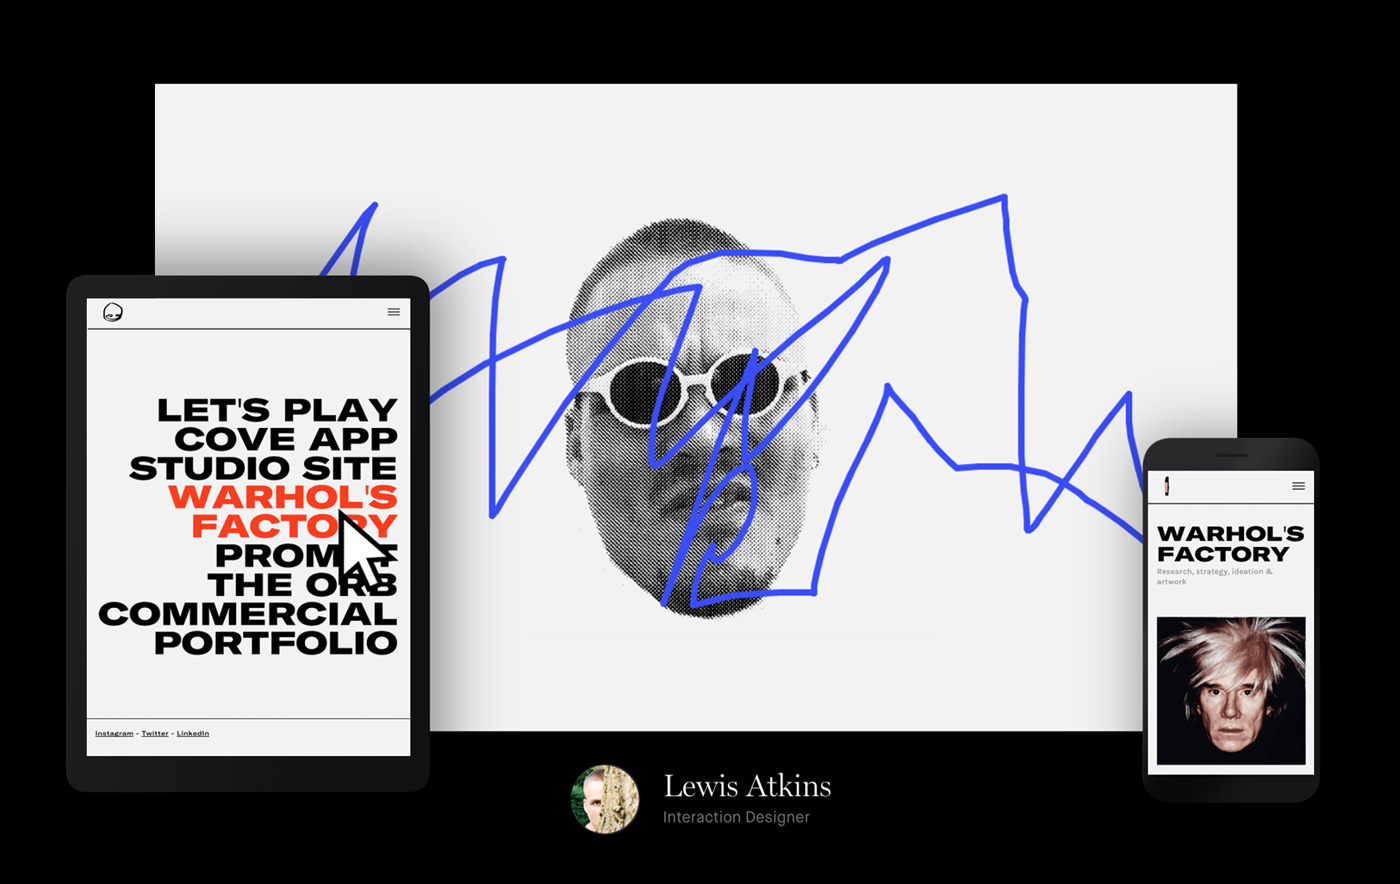
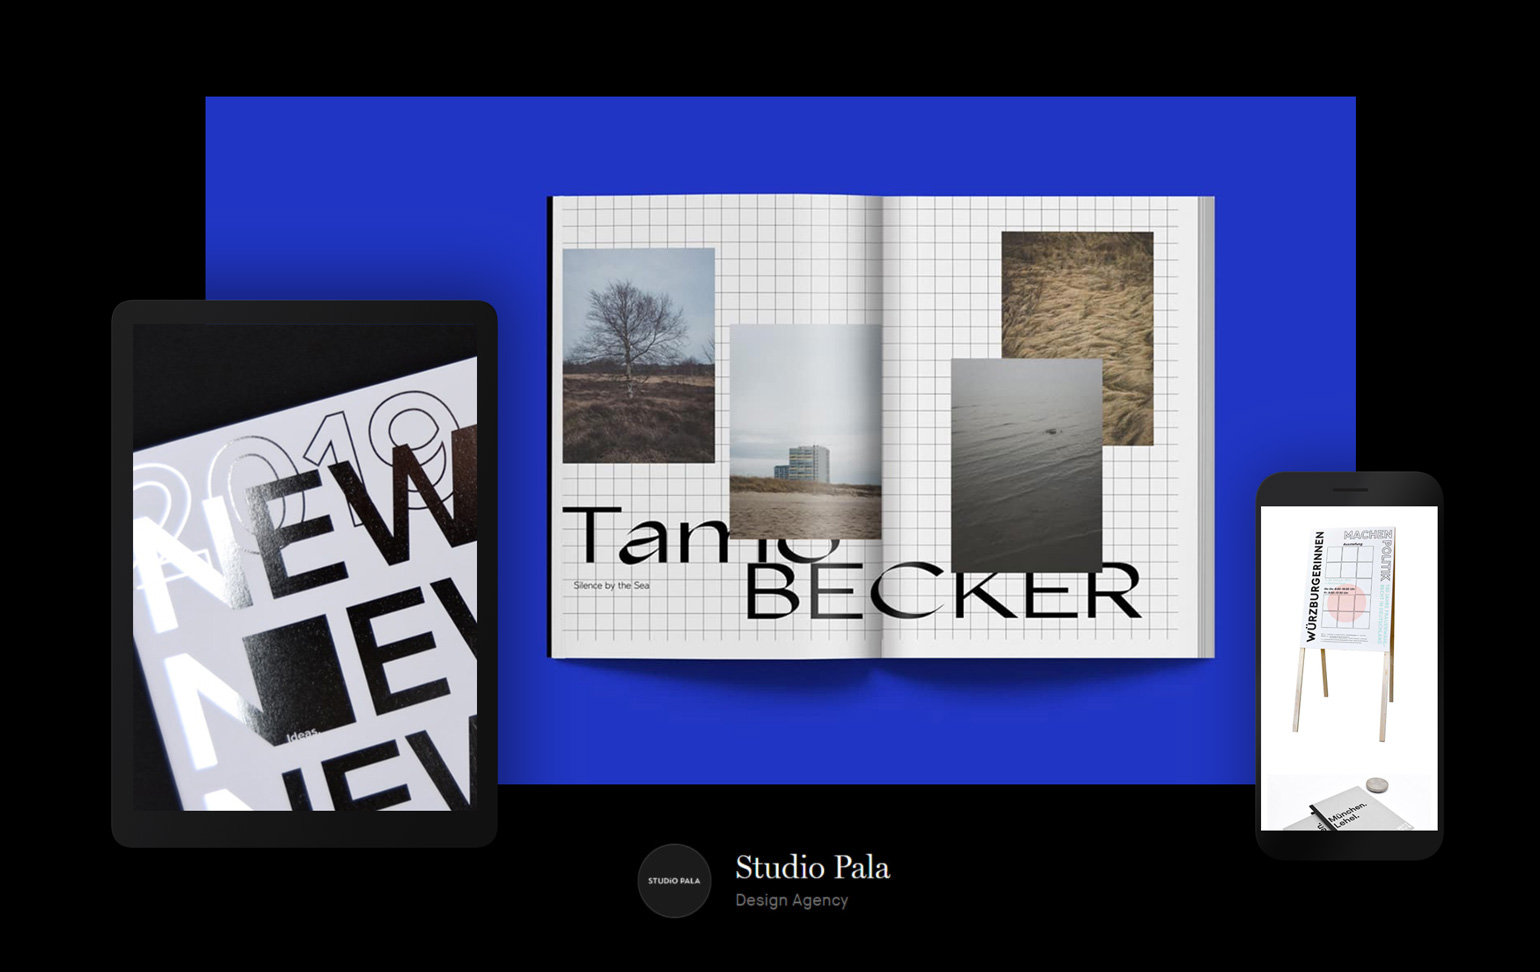
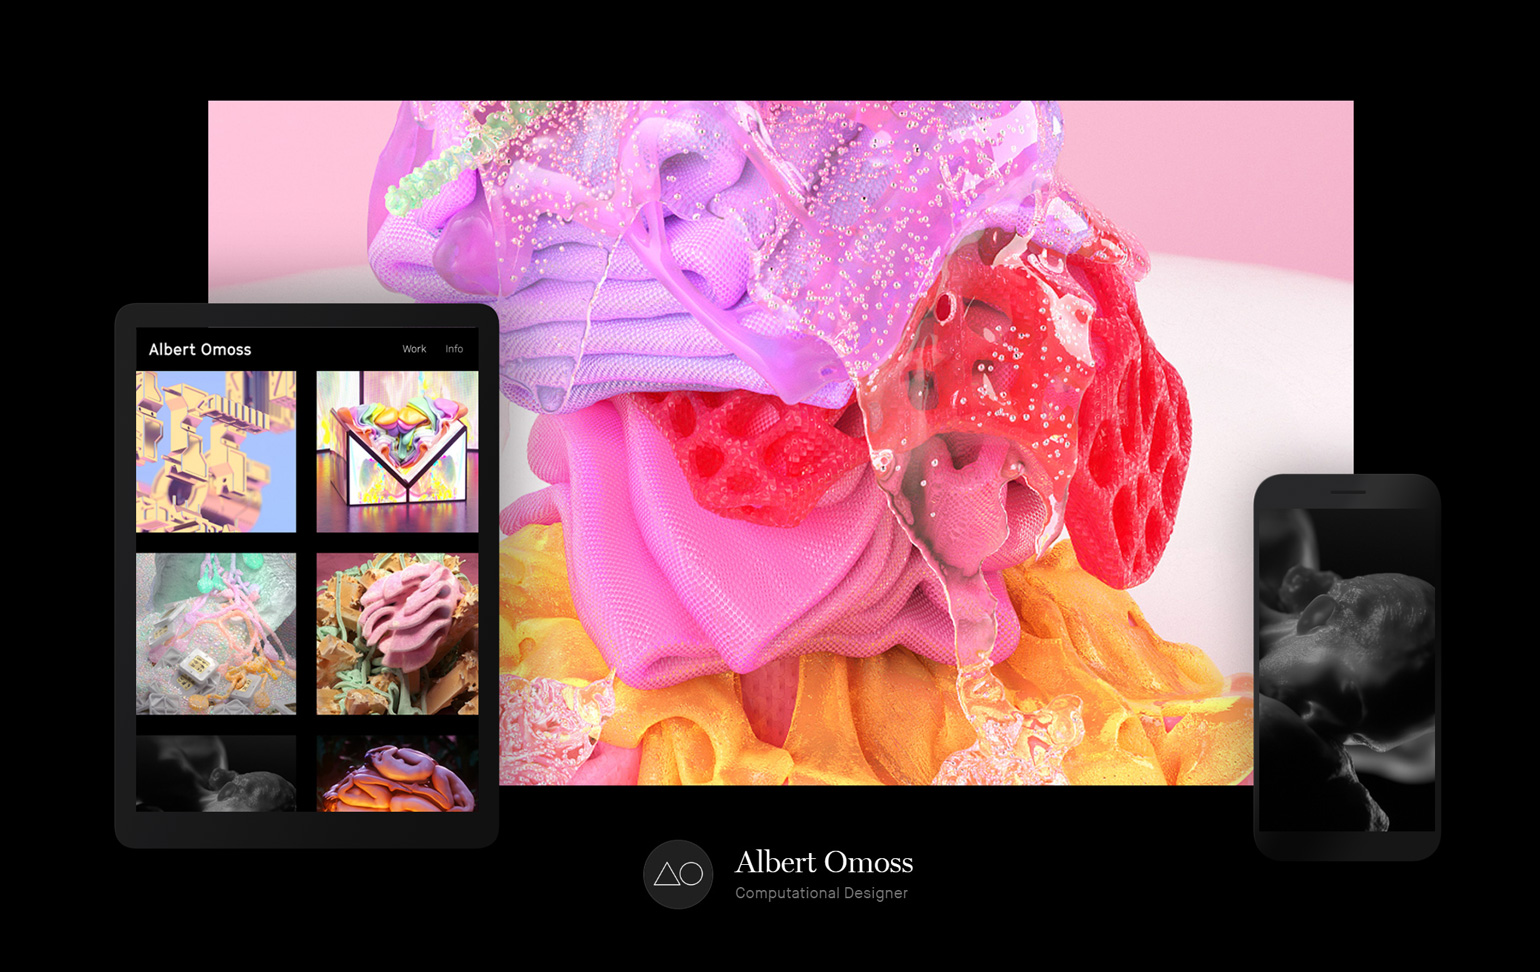
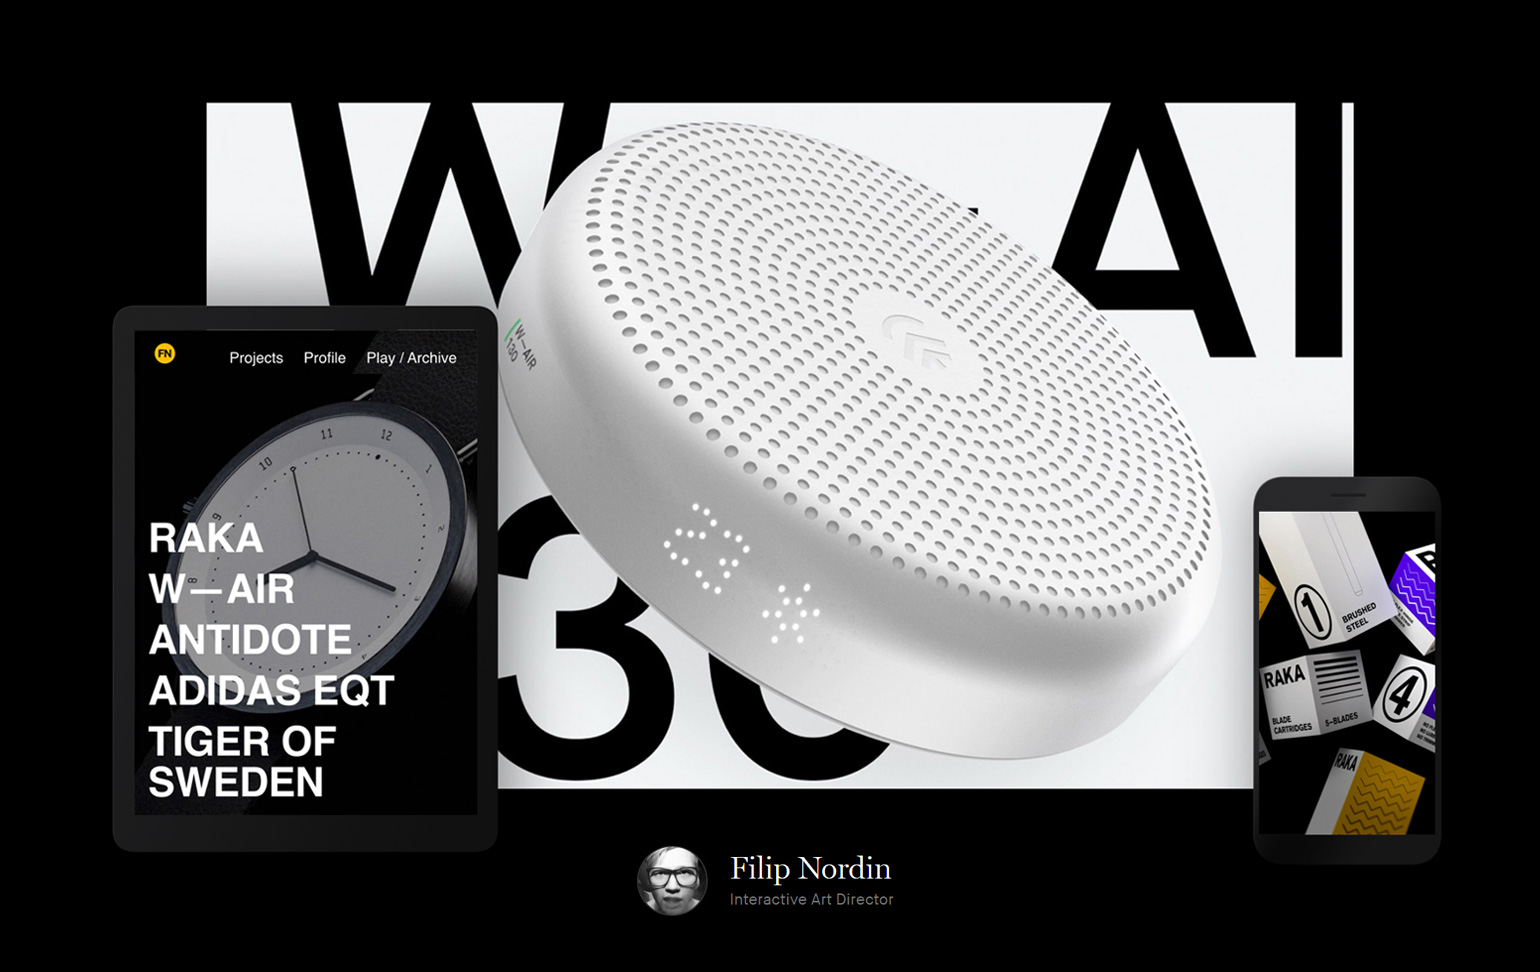
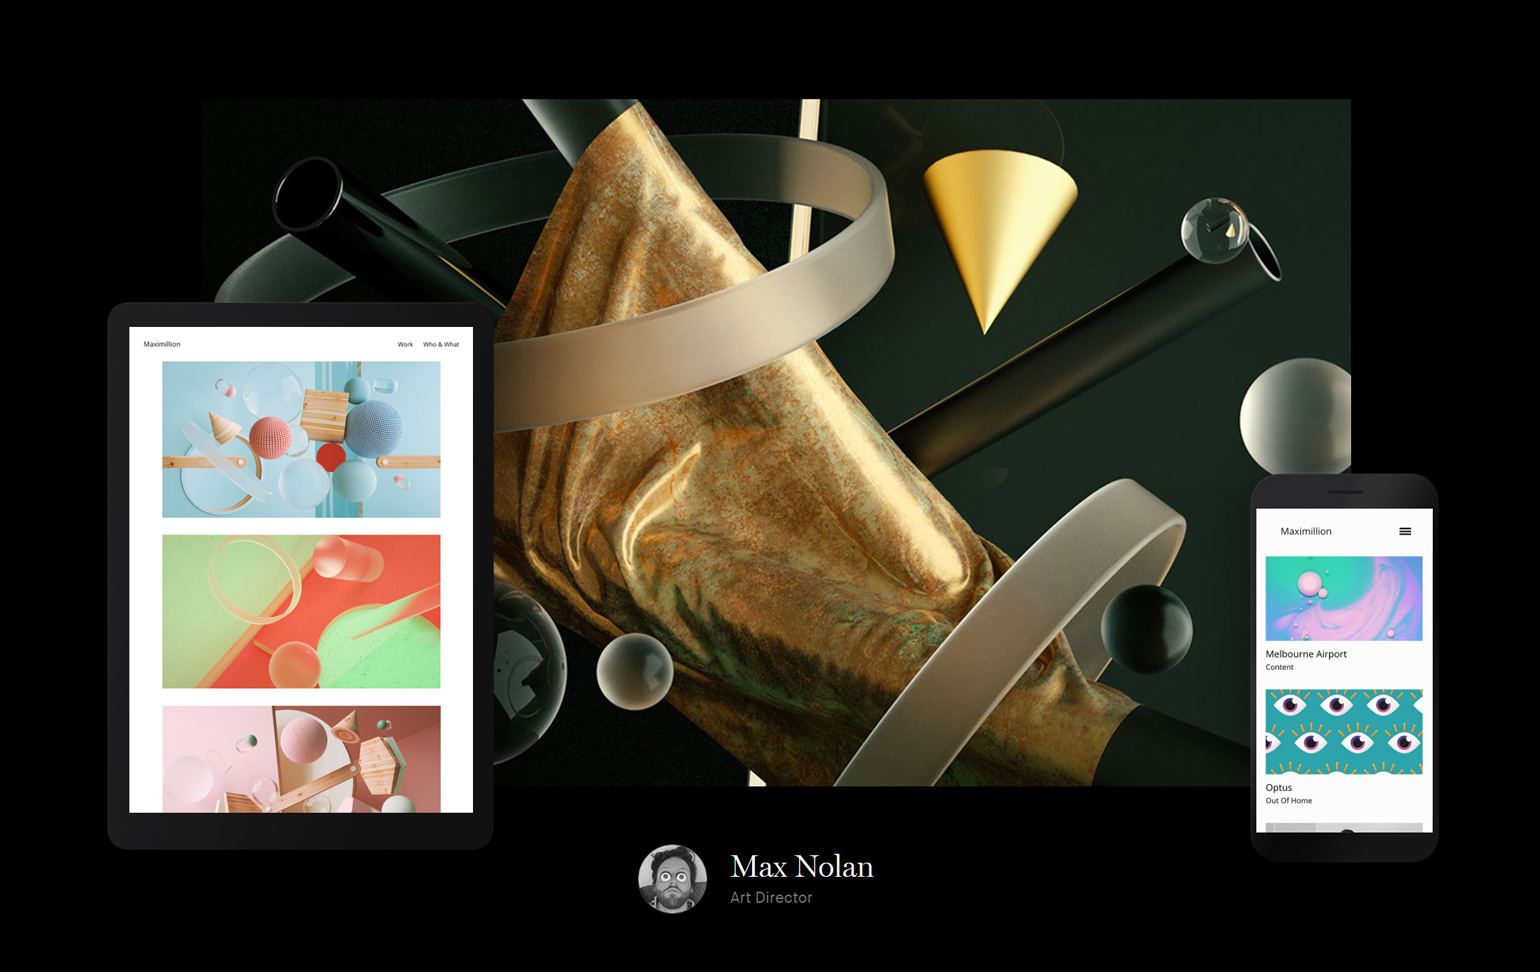
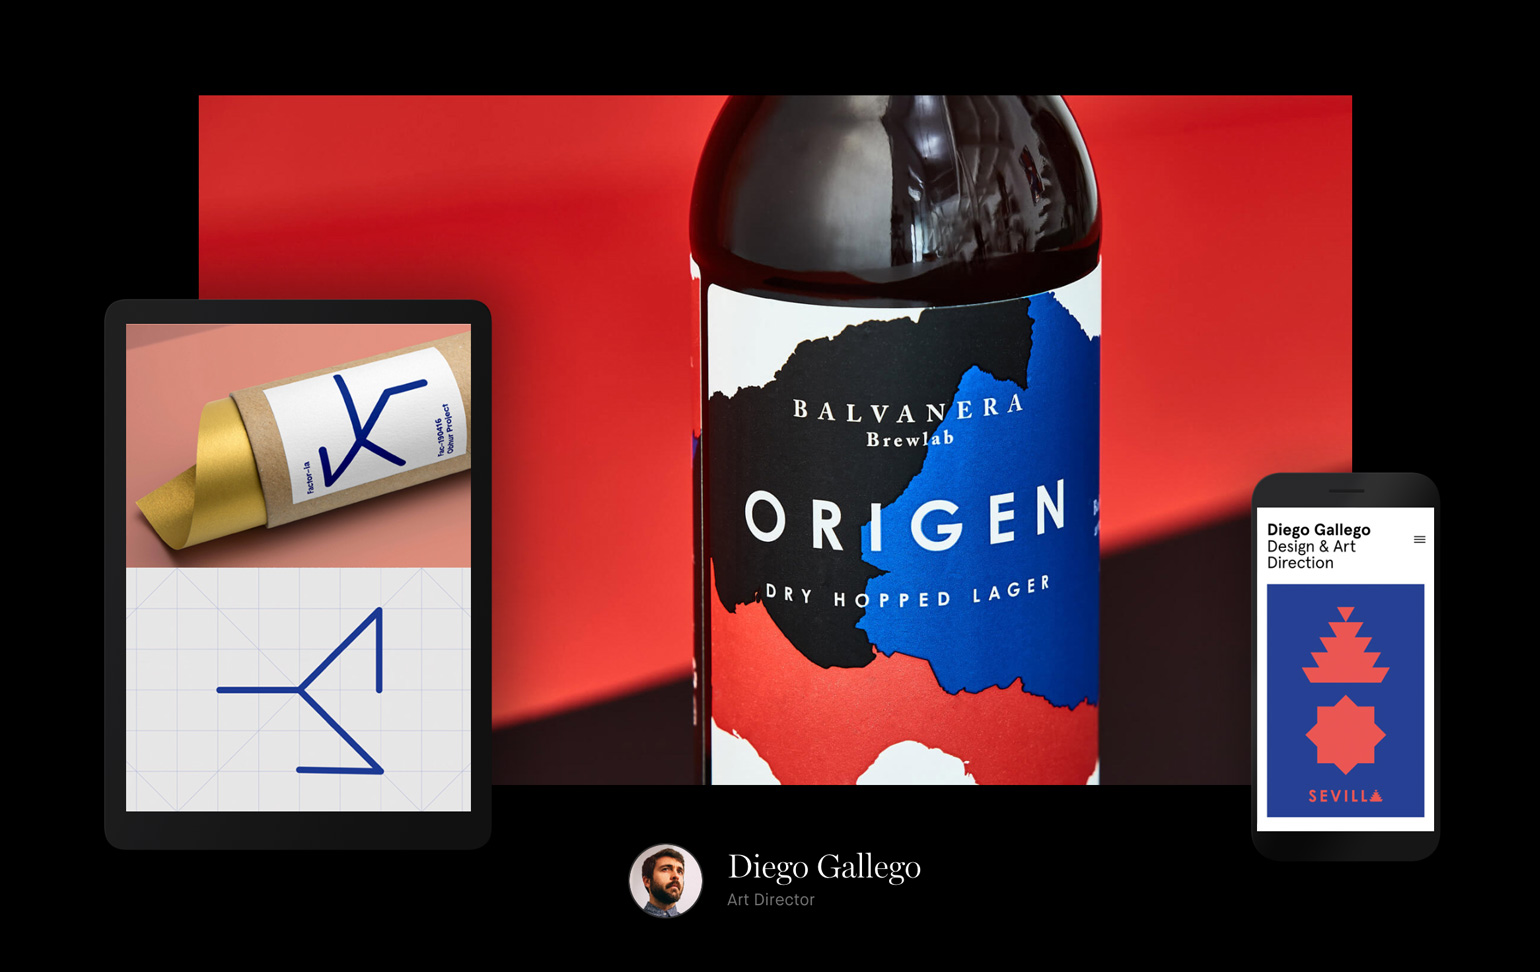
Once a week, we select two portfolios created with Semplice to feature in our Best Of  Showcase.  Here we've collected our favorites from the month of December.

With 2020 finally over, I think we can all release a collective sigh of relief.  As the year has wrapped up, we're continuing to welcome creative folks to the Semplice family as they take on the new year with a fresh online portfolio.

Browse the best portfolios of the month below to see fresh new work and get inspired for your own site. And if you've created your own portfolio with Semplice, be sure to submit it to our Showcase here. We might feature your site next.


To see more great design portfolios, visit the Semplice showcase. I'll be back next month with more of our monthly favorites!

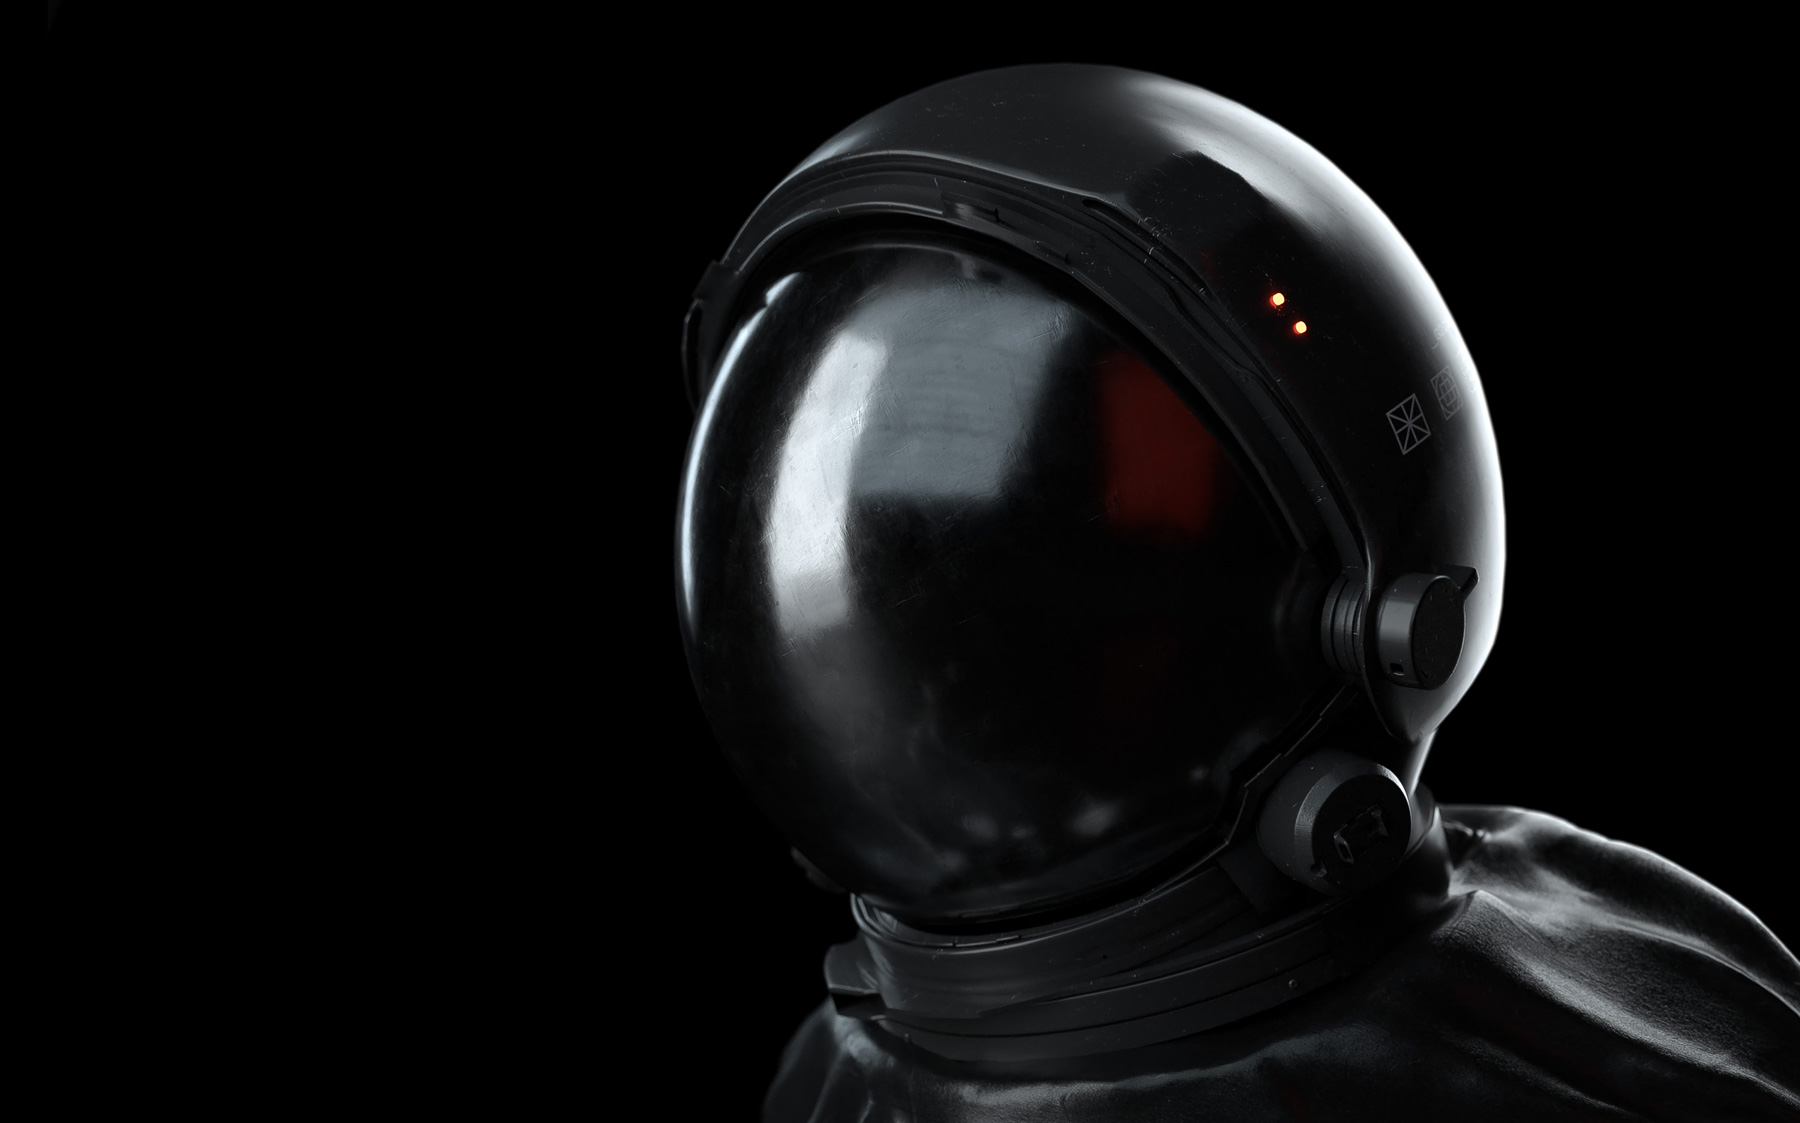
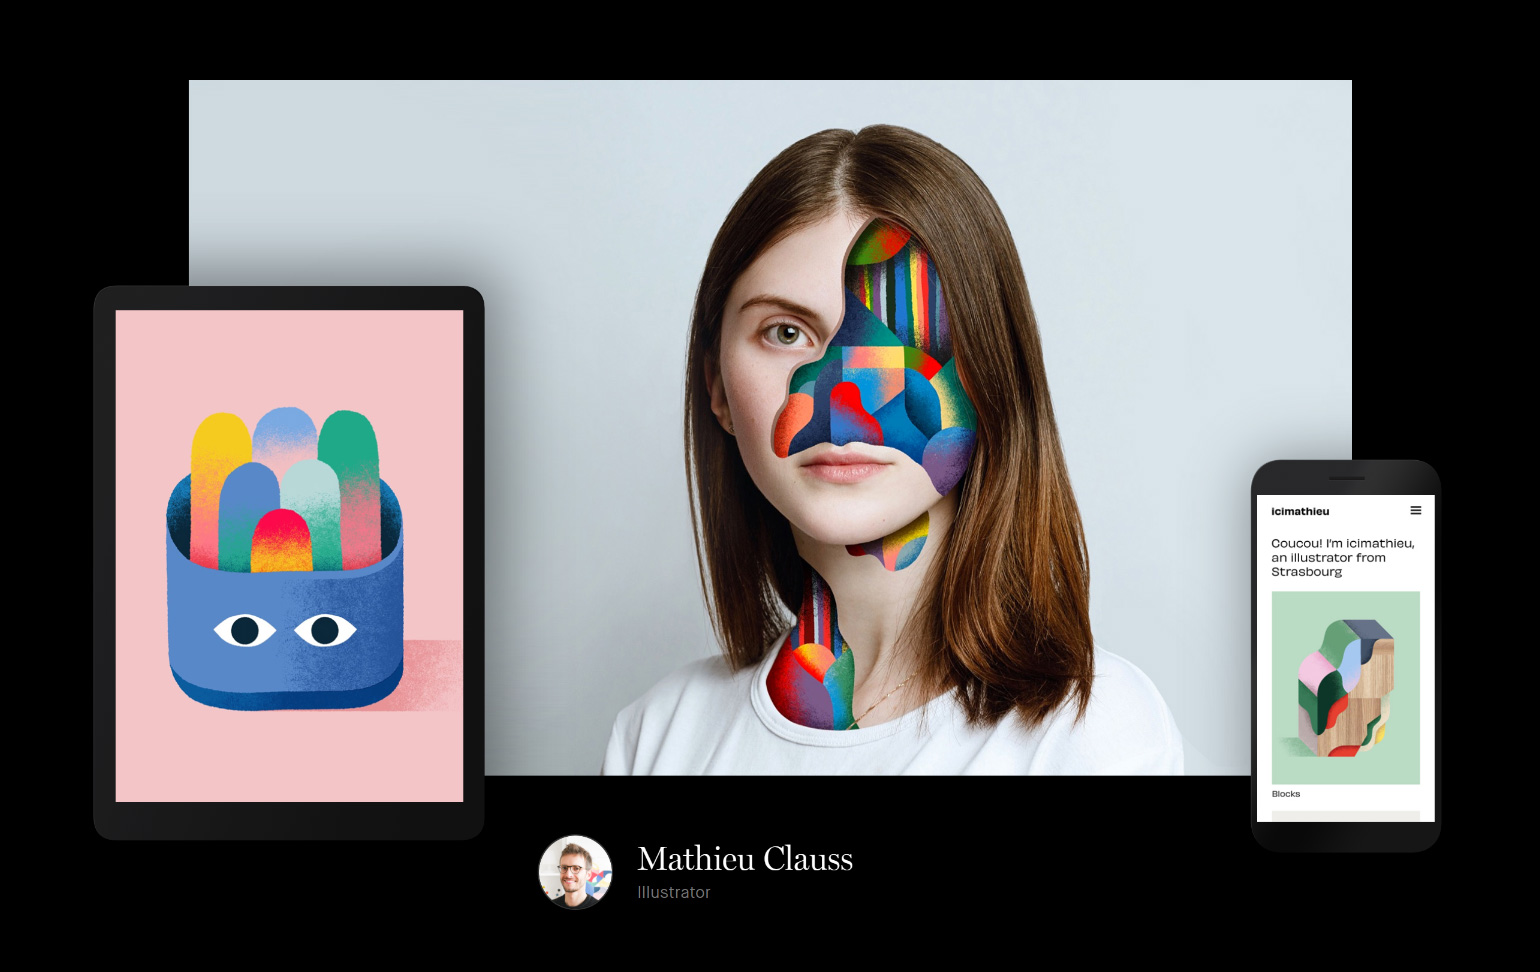
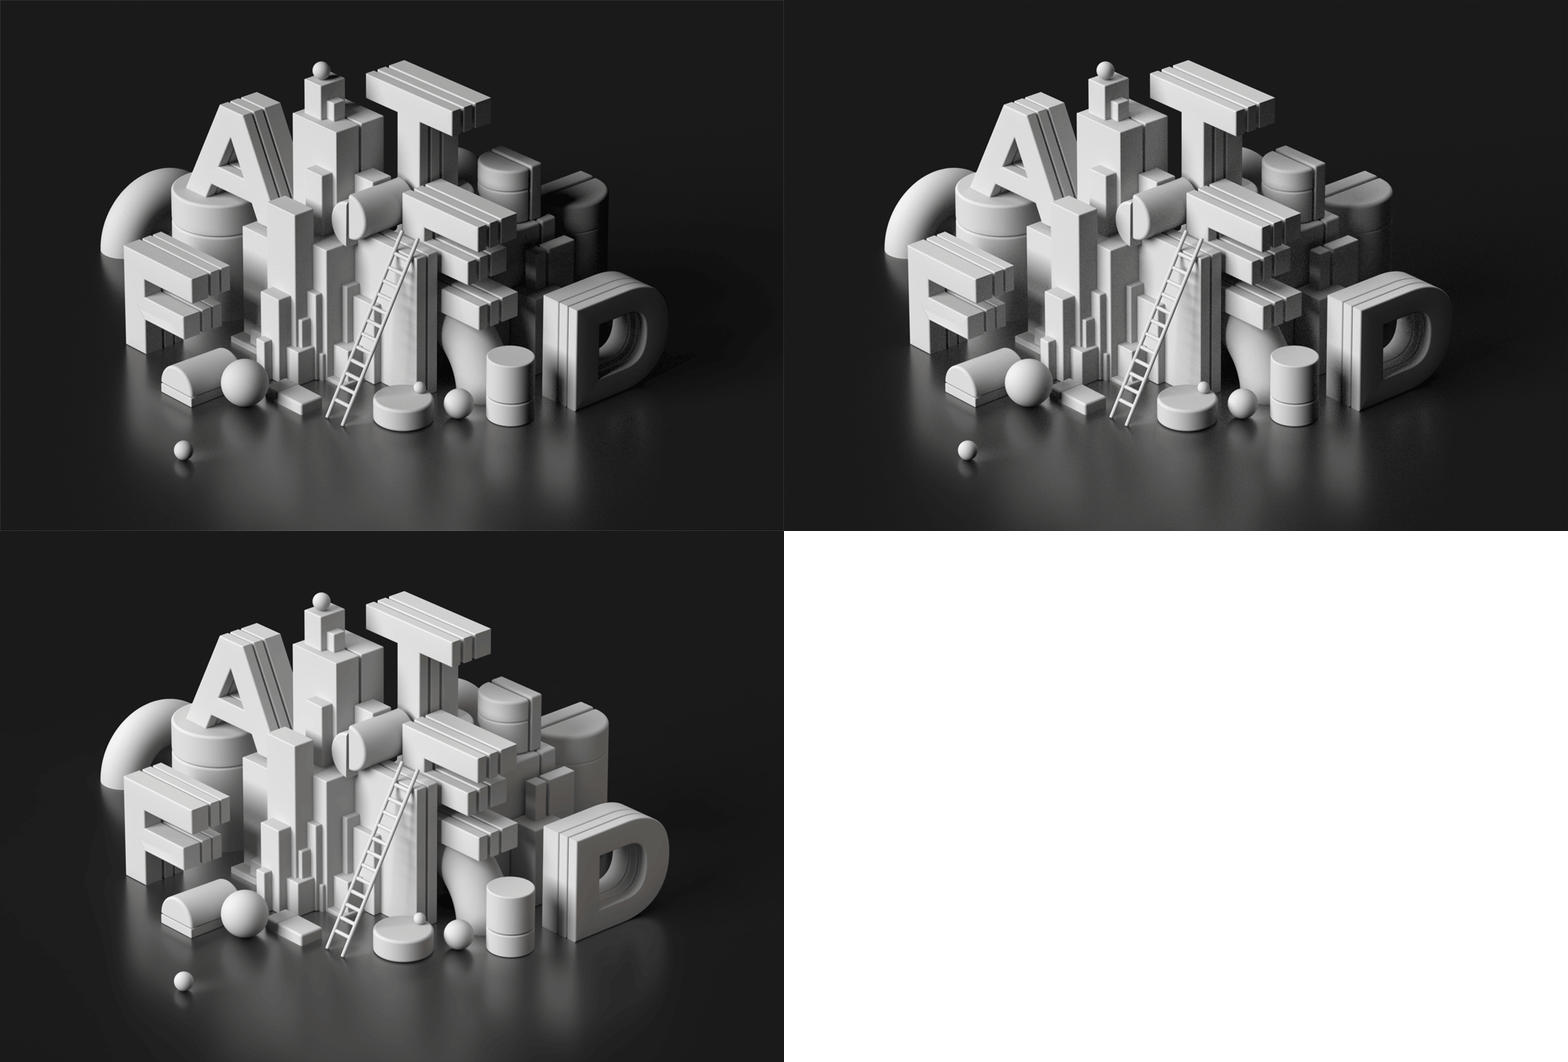
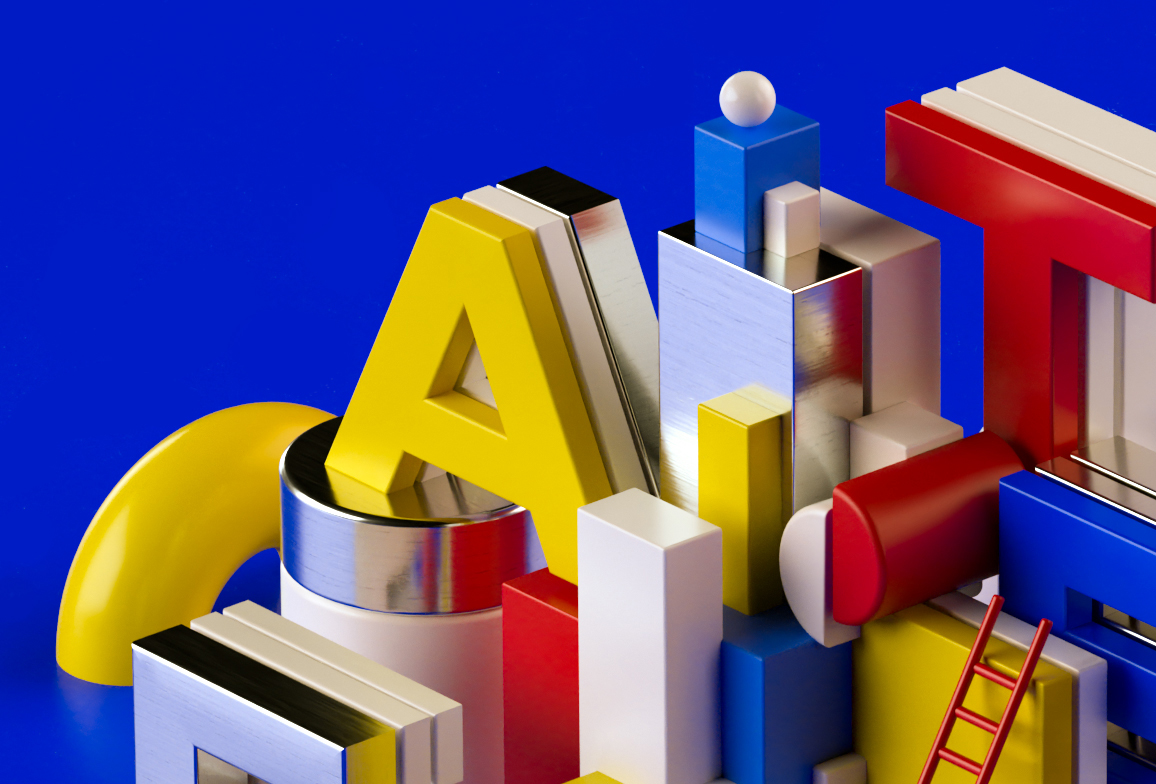
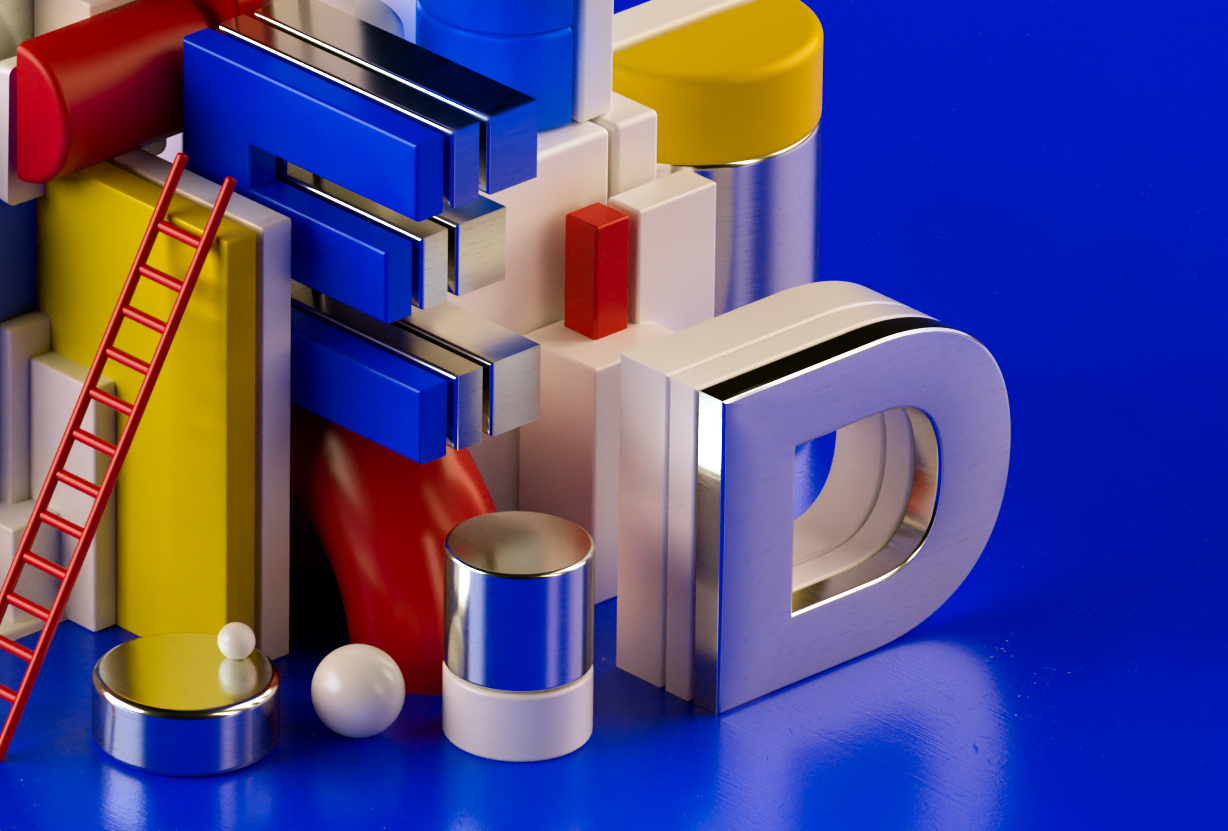
Header image by Mathieu Clauss

December 1, 2020No Comments

The best design portfolios of November 2020

Once a week, we select two portfolios created with Semplice to feature in our Best Of  Showcase.  Here we've collected our favorites from the past month.

Once again we're here to keep you inspired and motivated. That's why we're excited to bring you some fresh picks from our Semplice showcase. In November, we featured websites from design studios, illustrators, art directors, designers, more illustrators, and oh yeah — did we mention illustrators?

Browse the best portfolios of the month below to see fresh new work and get inspired for your own site. And if you've created your own portfolio with Semplice, be sure to submit it to our Showcase here. We might feature your site next.


To see more great design portfolios, visit the Semplice showcase. I'll be back next month with more of our monthly favorites!

Header image by Mathieu Clauss

November 27, 2020No Comments

The writing tool I didn’t know I needed

When I first started using mymind (already the pun potential is dangerous for a writer), I didn’t really use it. I dropped in a few screenshots for ad inspiration and forgot about them. 

A week or so later, someone complimented my writing in Slack. I screenshotted it and, afraid I’d swipe something so precious to my trash with all my other screenshots, stashed it away in mymind too. 

Then someone sent me a quote from Jerry Seinfield about how he proudly micromanaged the writing of Seinfeld. It resonated, so I highlighted the passage and saved it to mymind. 

Piece by piece, I found myself collecting the stuff that feeds my real mind – the inspiration, the validation, the motivation – into this external mind. A tweet thread about writing good headlines. A passage I enjoyed from a book. An article I appreciated online.

"After passively collecting for weeks, mymind has become a resource and home base for my work. It’s my own personal search engine." 

Before, I'd stash this stuff in various places depending on what felt “closer” at the time: usually Google Drive, my desktop or Pinterest. I still felt torn between those familiar tools and this new one, but with every click of the “Add to my mymind” button in my browser, it became more natural. 

*You should know, at this point, that I work with the team that creates mymind, so this is a biased review. But I've done my best to share my experience here, rather than persuade you one way or another.*

Soon I was taking notes in mymind. While I’d previously flounder about in a meeting, debating between Evernote, a Google Doc or TextEdit (and ultimately just emailing myself), I now have mymind open in a tab where I jot down my notes and hit Save. When I brainstorm with my team about a new article, I just copy and paste the conversation from Slack straight into mymind.

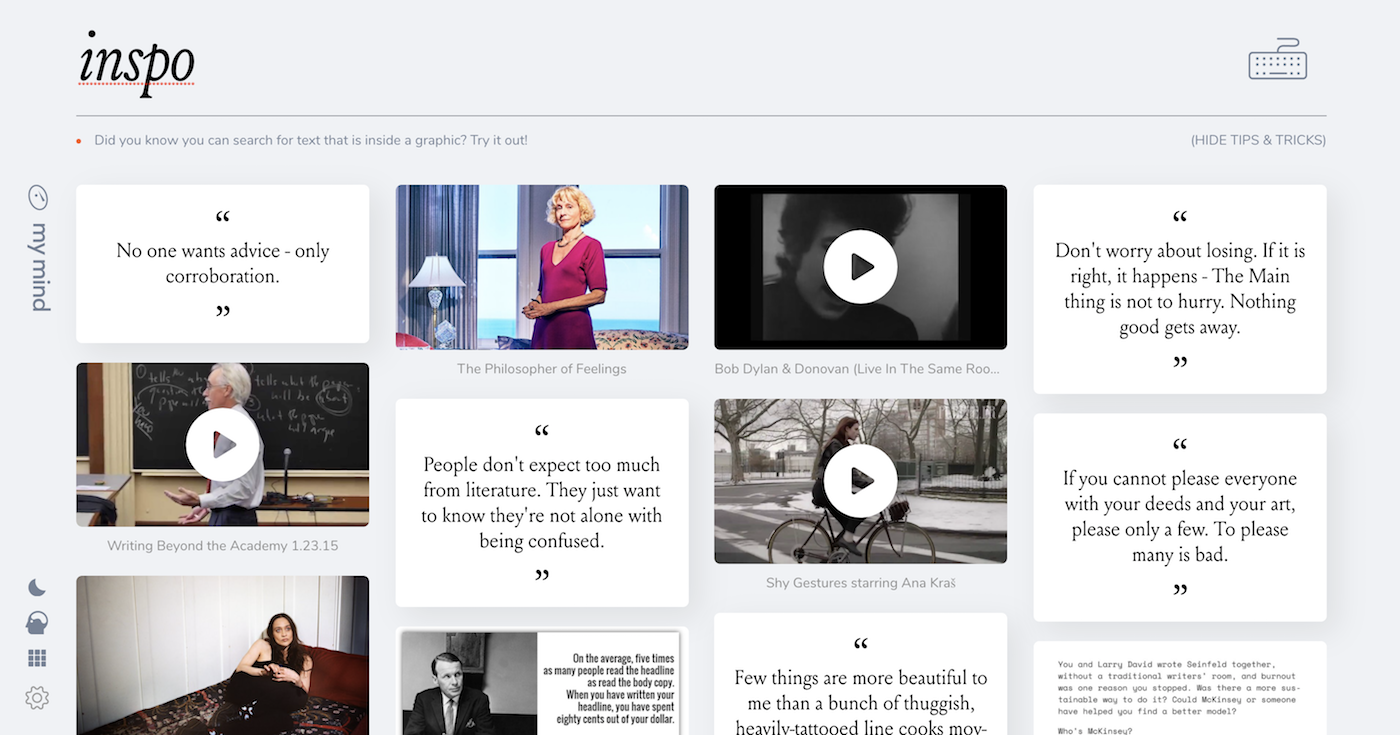
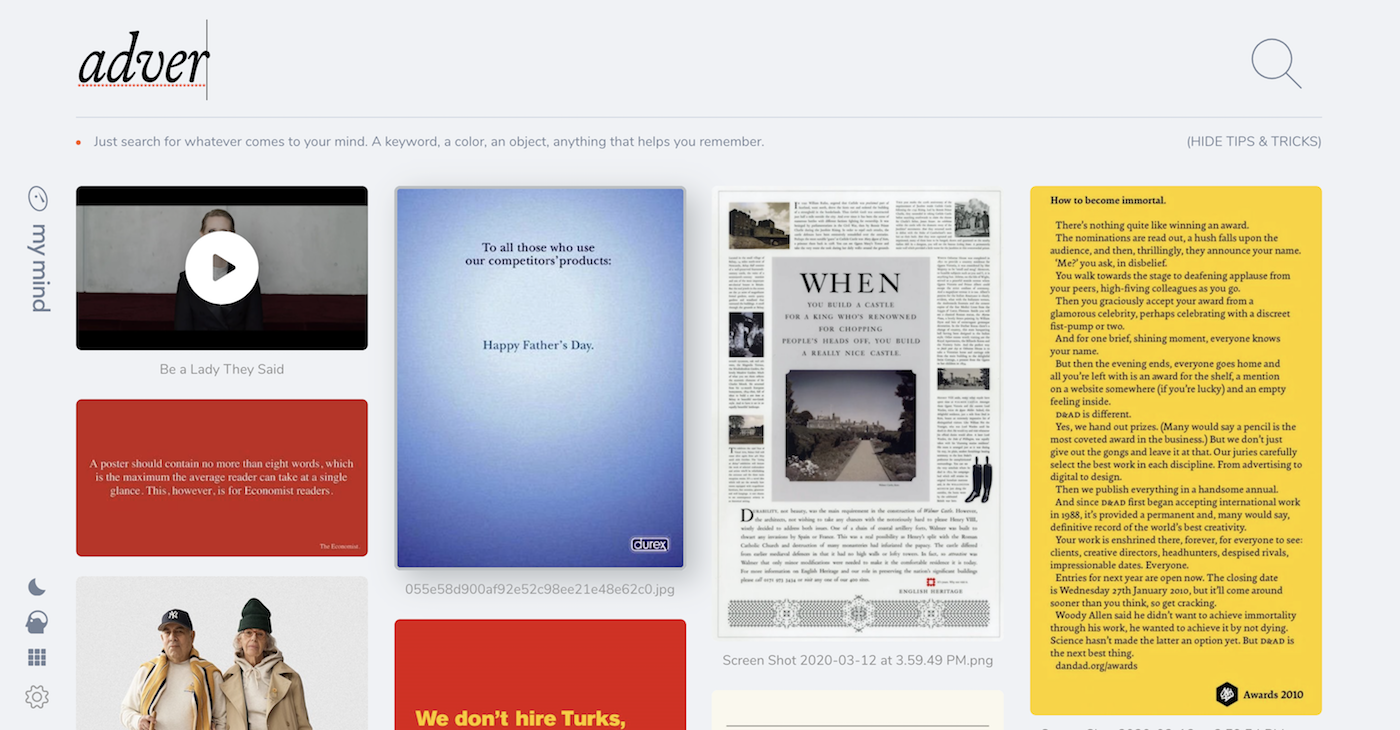
After passively collecting for weeks, mymind has become a resource and home base for my work. When I’m working on an article, I search a keyword to find my notes or research. When I’m brainstorming an ad, I search “inspo” or “ads” and instantly create a moodmoard. It's far beyond a writer's traditional swipe file. It’s my own personal search engine.

Eventually, I hope to use mymind for the actual writing, not just the inspiration. I happen to know mymind has new features in the works to make that process more natural and seamless. While I like the idea of something clean, focused and less scattered than my current tools and process, I don't have any expectations. So far, mymind seems to know what I need better than I do.

October 30, 2020No Comments

Monthly portfolio inspiration of October 2020

Once a week, we select two portfolios created with Semplice to feature in our Best Of  Showcase.  Here we've harvested* the best of the best from the month of October.

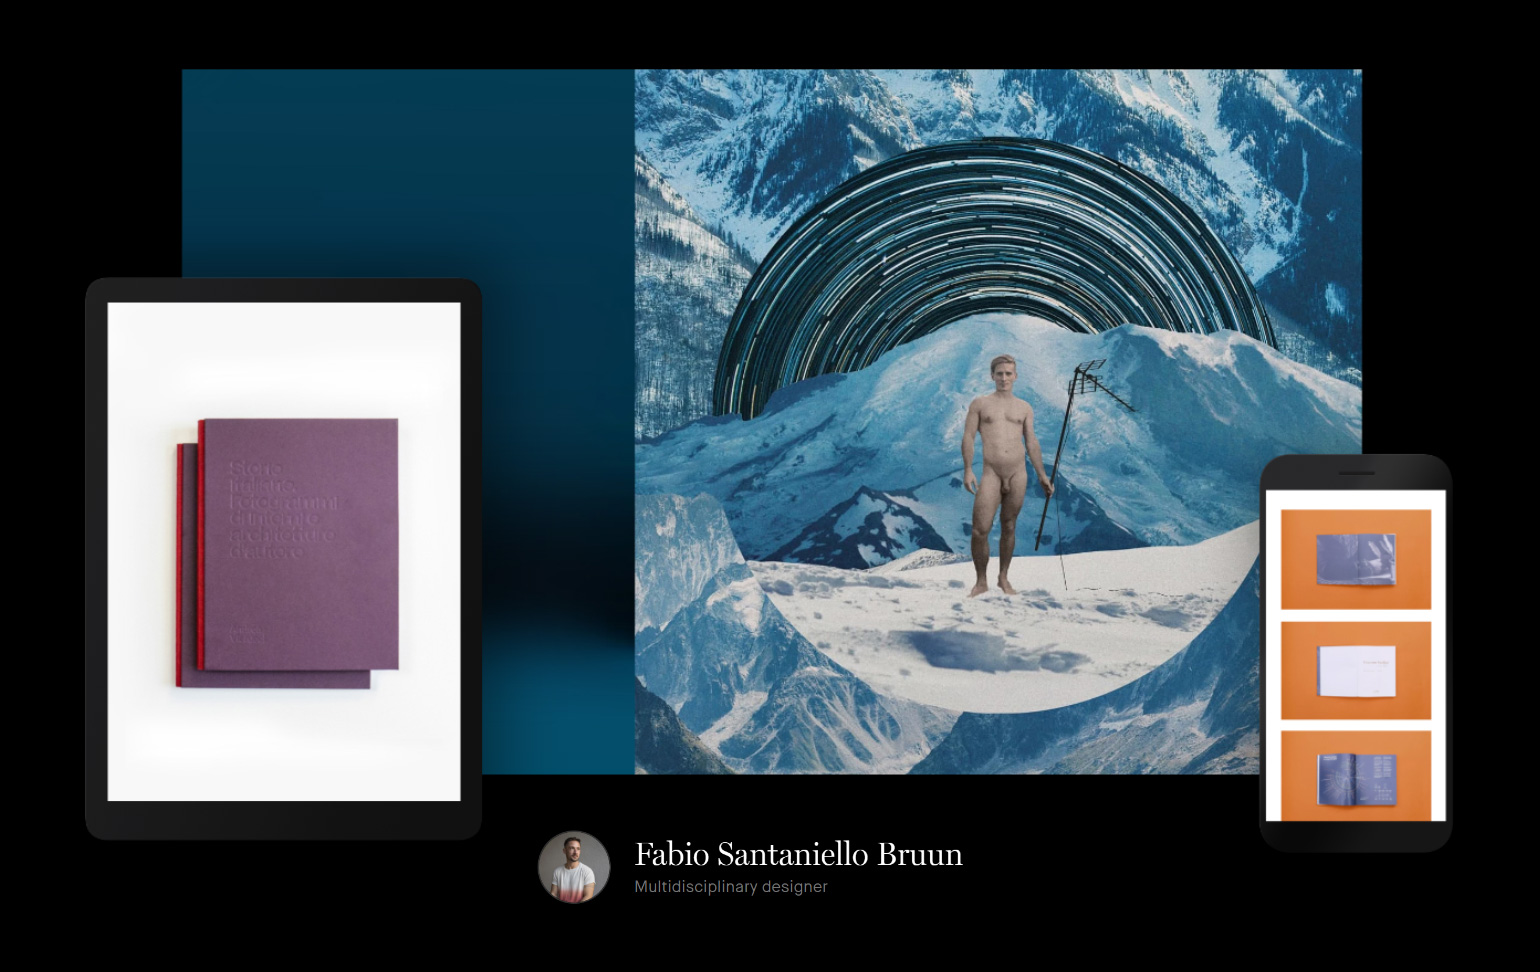
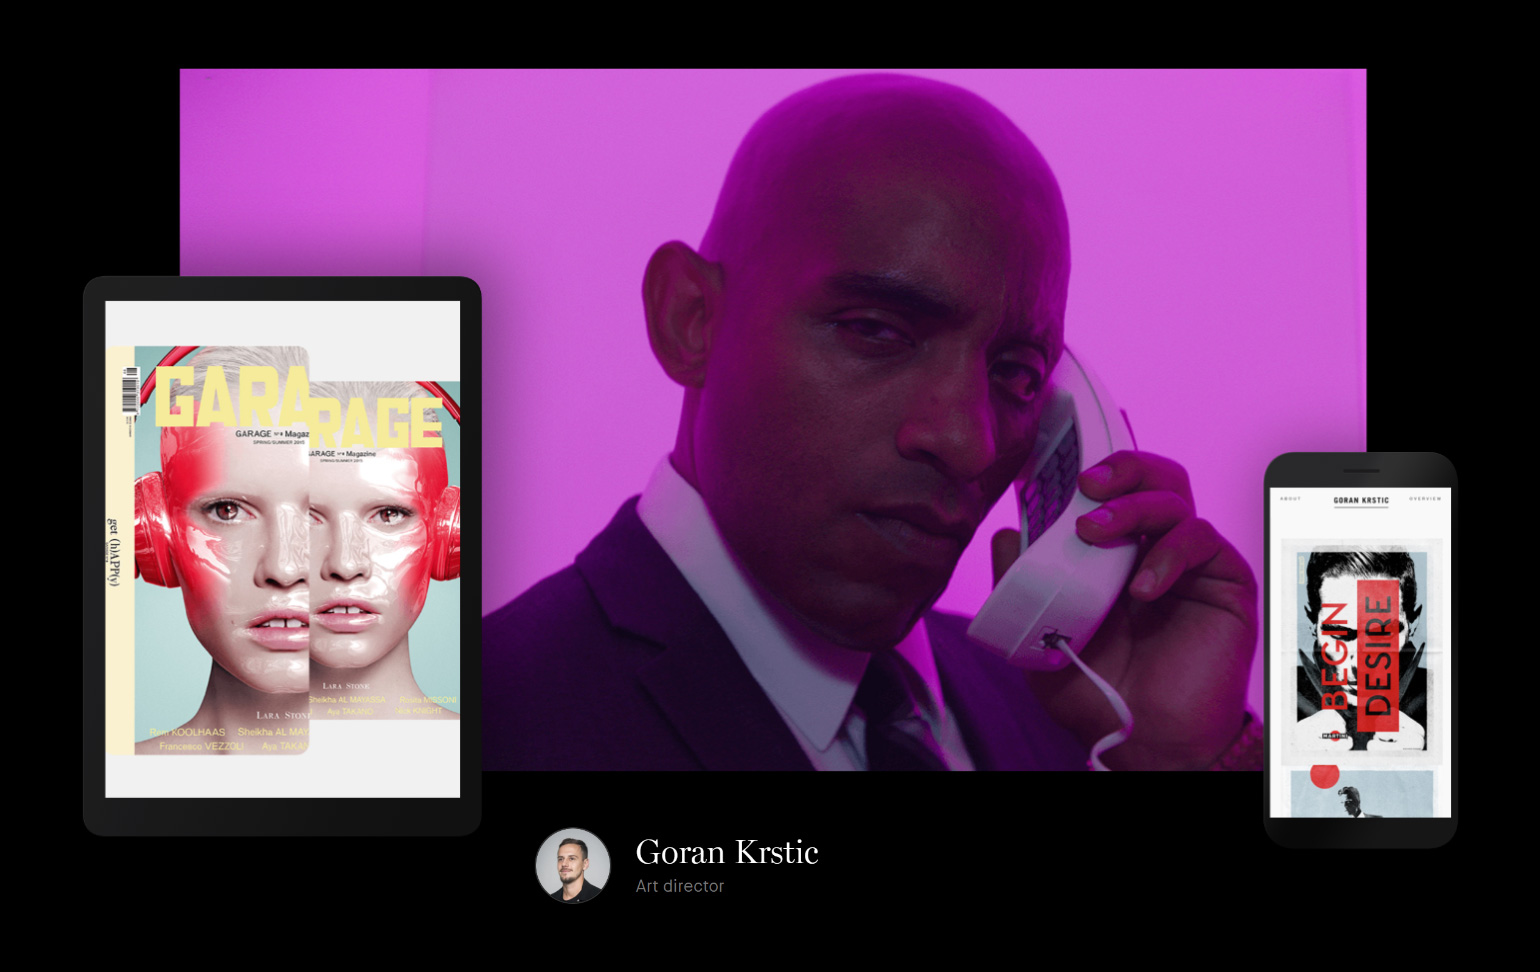
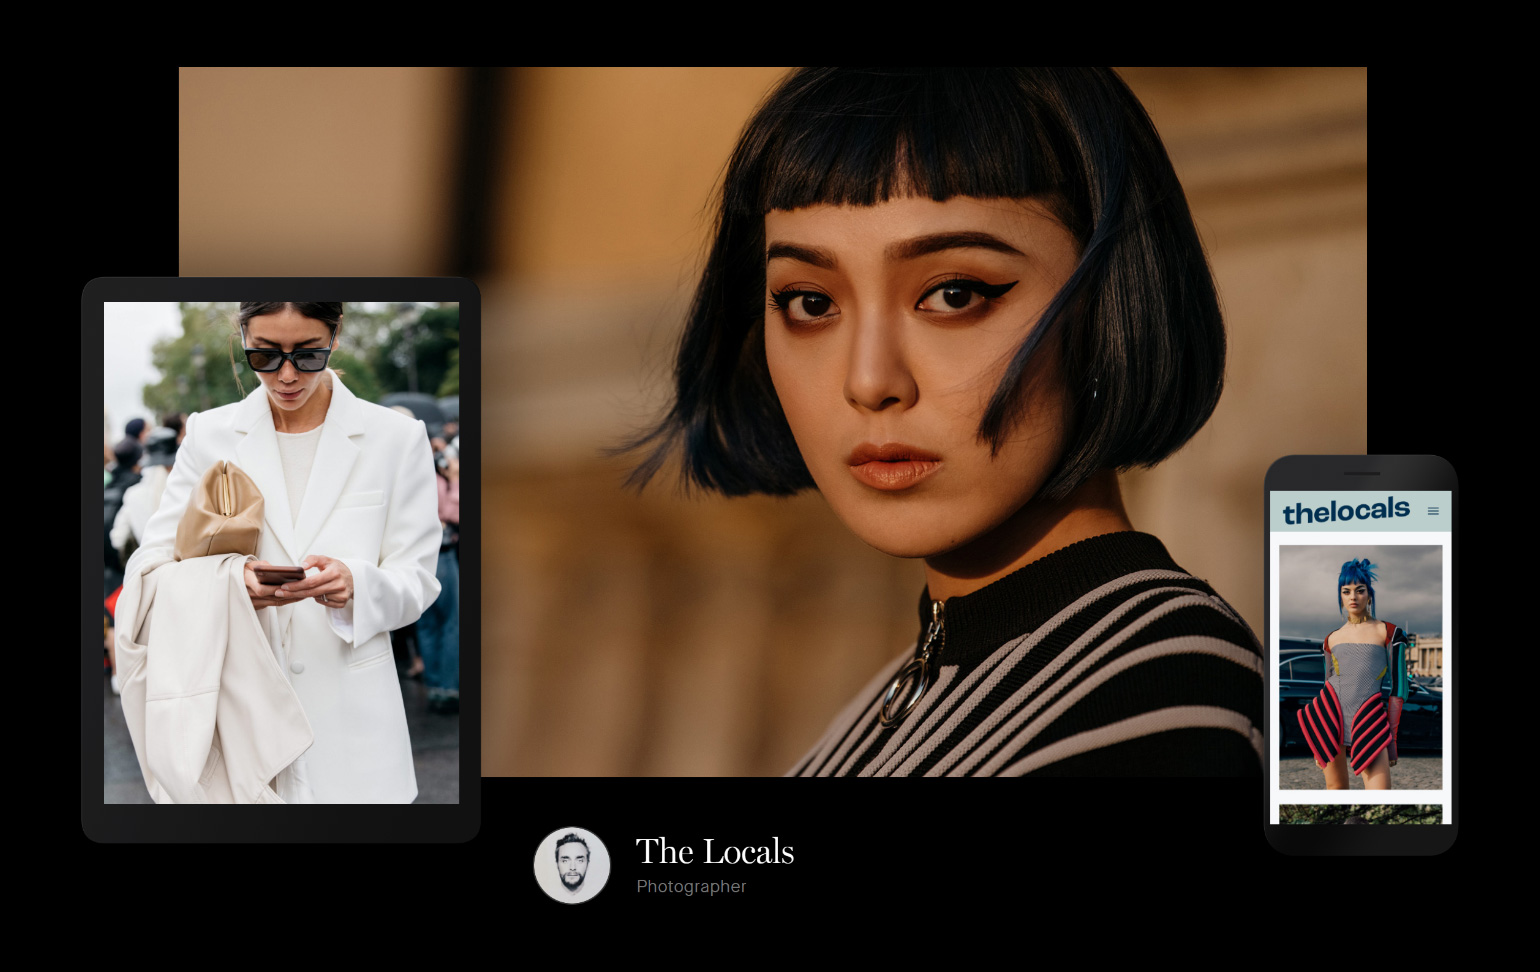
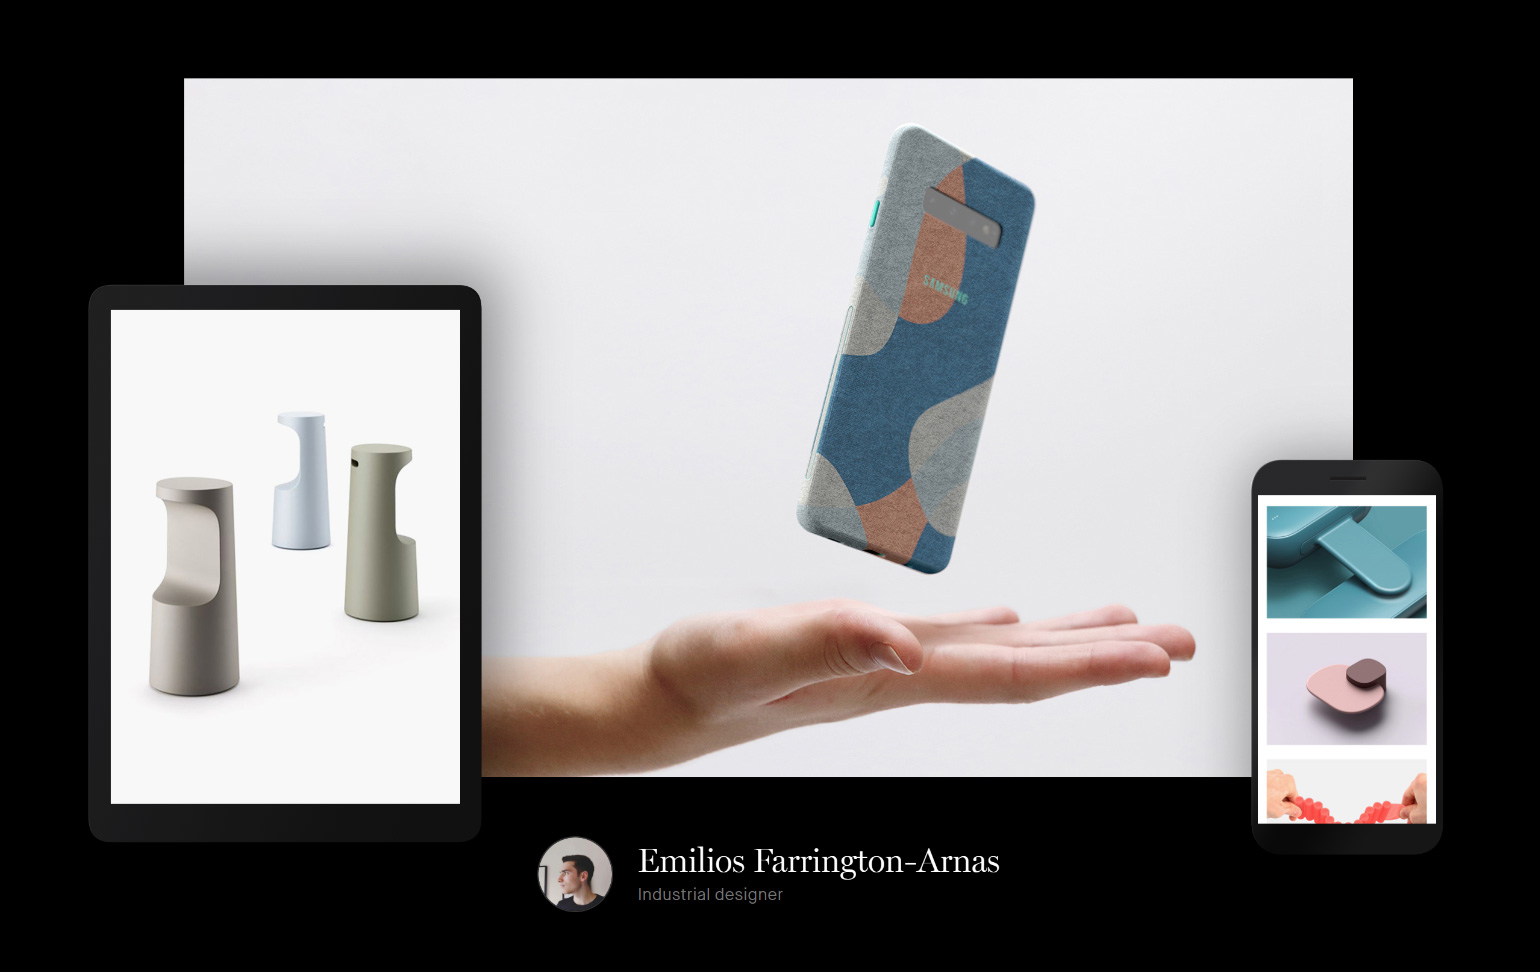
With summer over and the year winding down, this is the perfect time to finish your portfolio. It's been impressive to see incredible portfolios sent our way this month, from photographers and industrial designers to 3D design studios. Here are my latest favorites to keep you inspired.

*We make no apologies for dad jokes

If you've created your own portfolio with Semplice, be sure to submit it to our Showcase here. We might feature your site next.


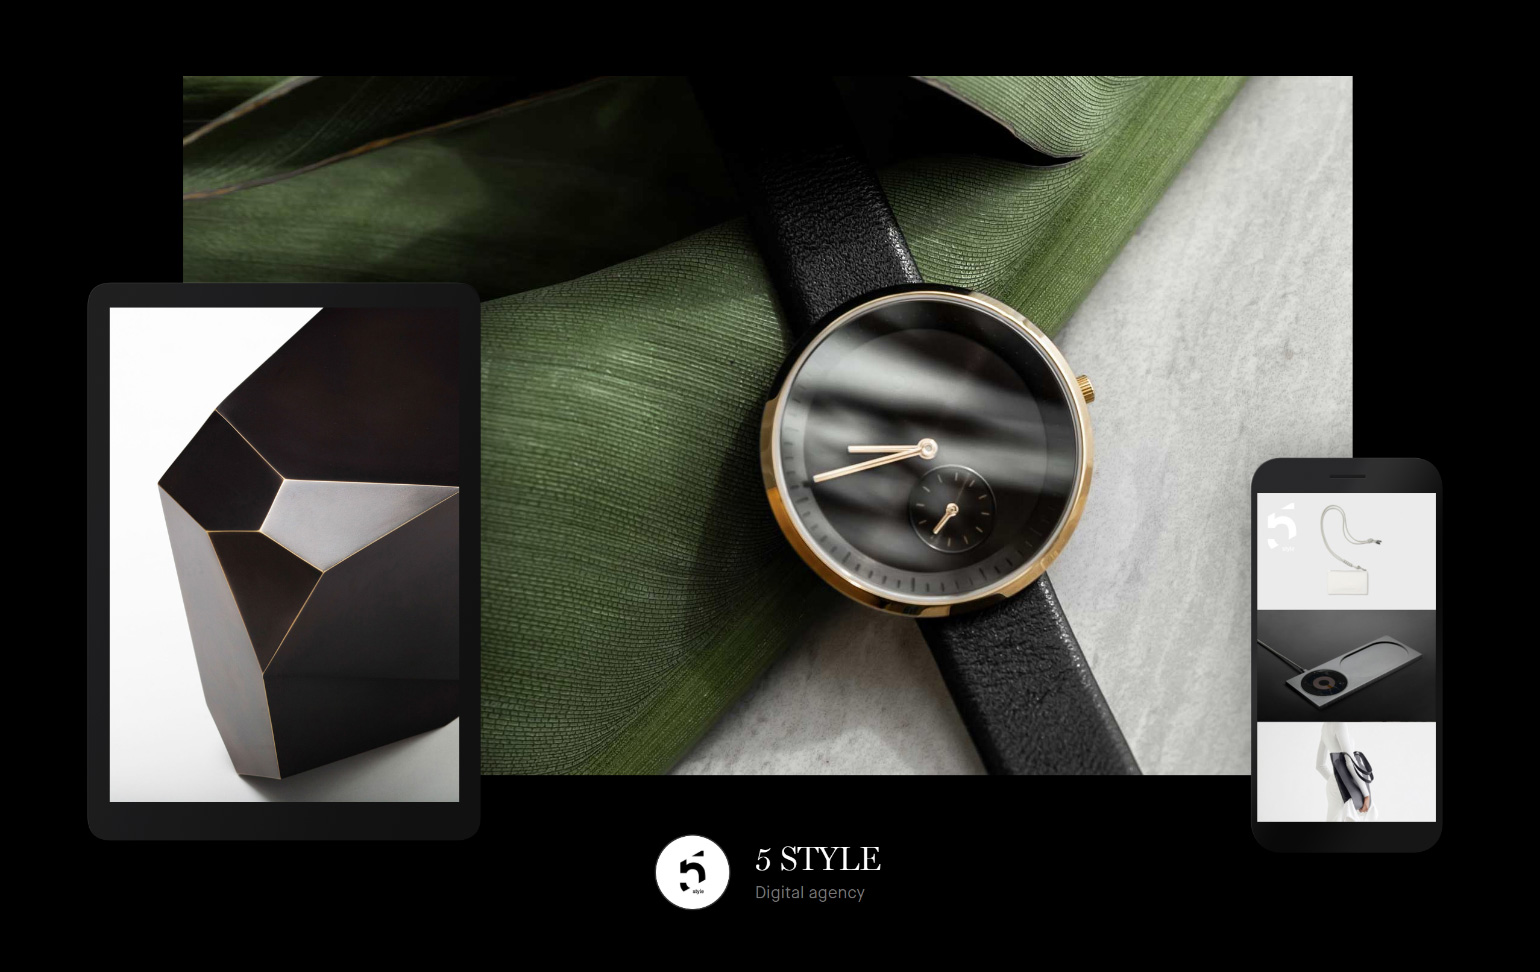
5 STYLE

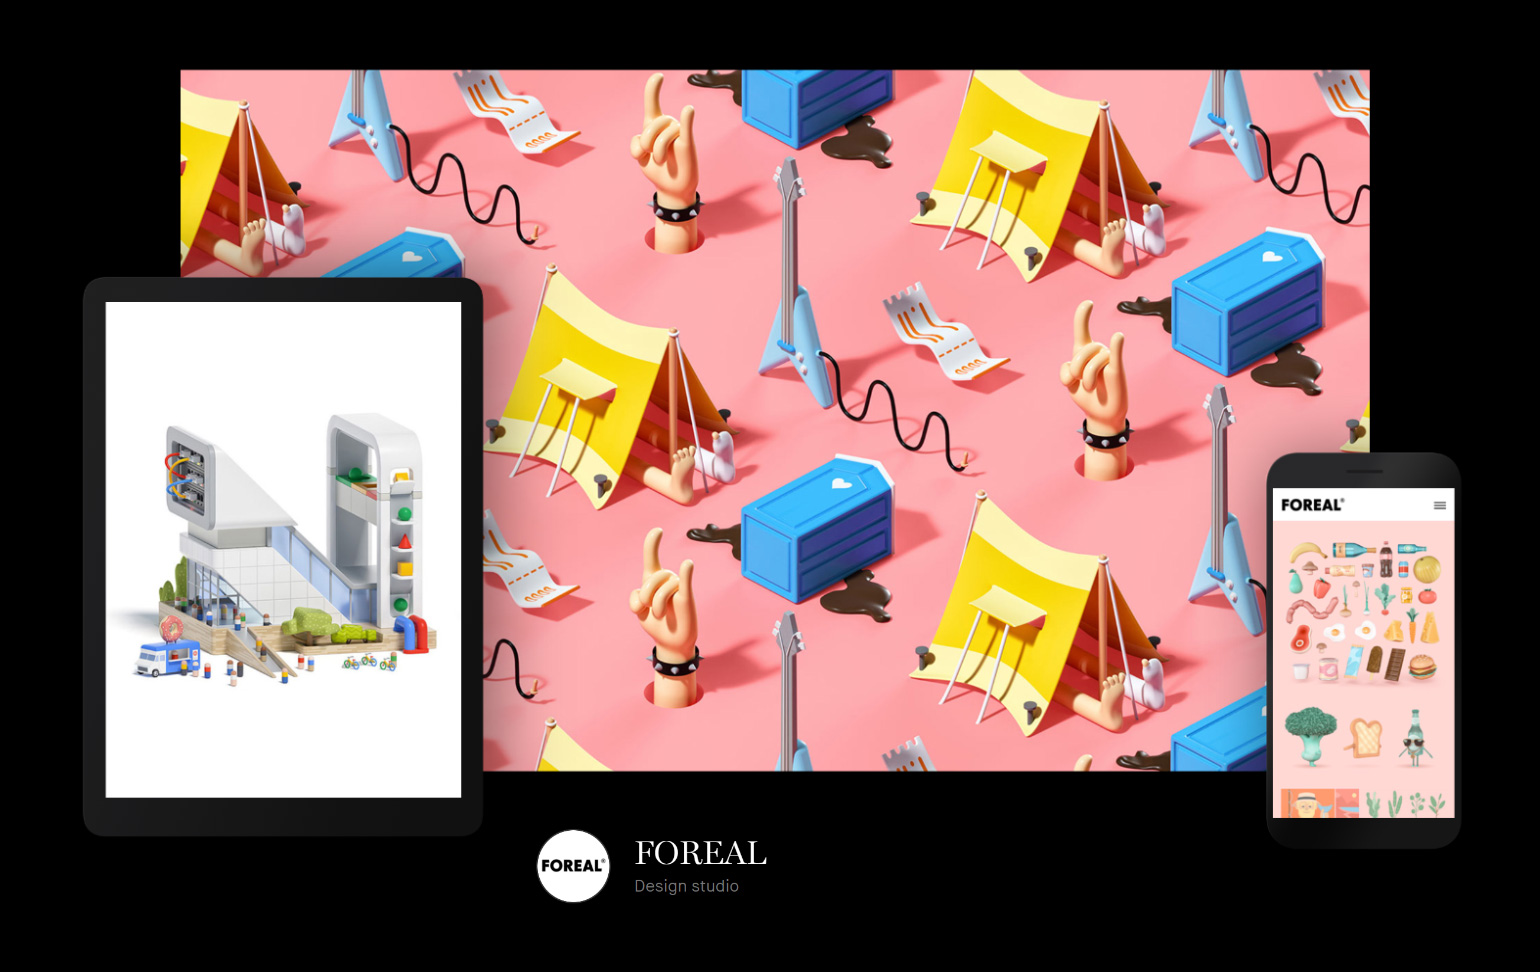
FOREAL

kaeptive

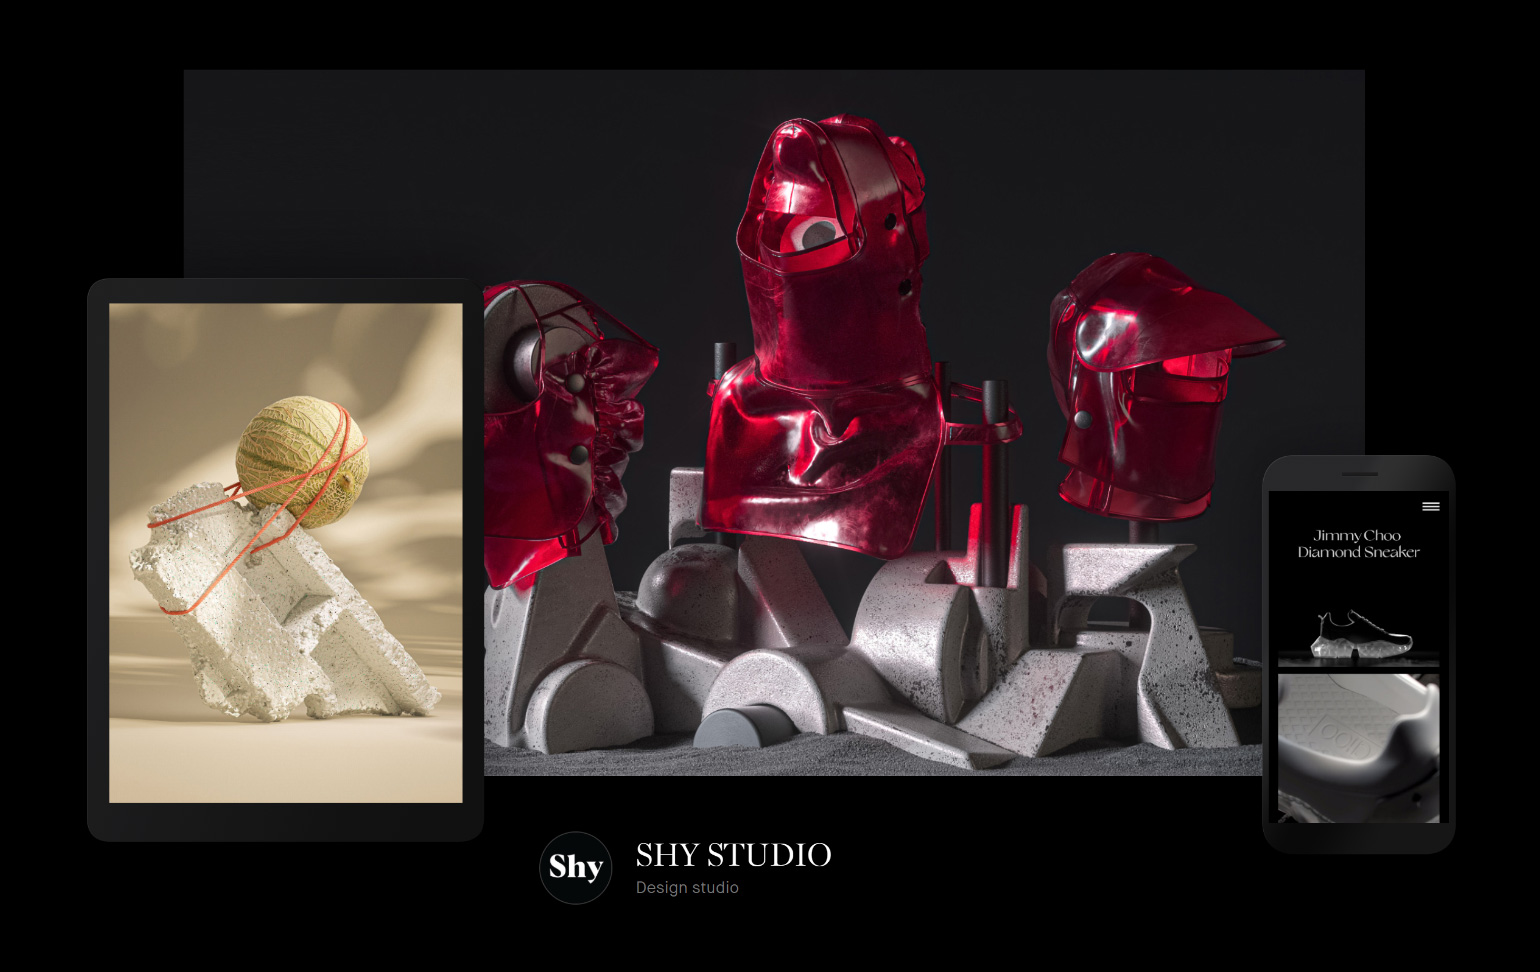
SHY STUDIO

Fabio Santaniello Bruun

Goran Krstic

The Locals

Emilios Farrington-Arnas


To see more great design portfolios, visit the Semplice showcase. I'll be back next month with more of our monthly favorites!

Header image by The Locals

October 1, 2020No Comments

Monthly portfolio inspiration of September 2020

Once a week, we select two portfolios created with Semplice to feature in our Best Of  Showcase.  Here we've collected September's finest.

It seems to be the season to launch your portfolio. We've seen some incredible new sites this month, and they keep rolling in. Here are some of our favorites to keep you inspired.

If you've created your own portfolio with Semplice, be sure to submit it to our Showcase here. We might feature your site next.


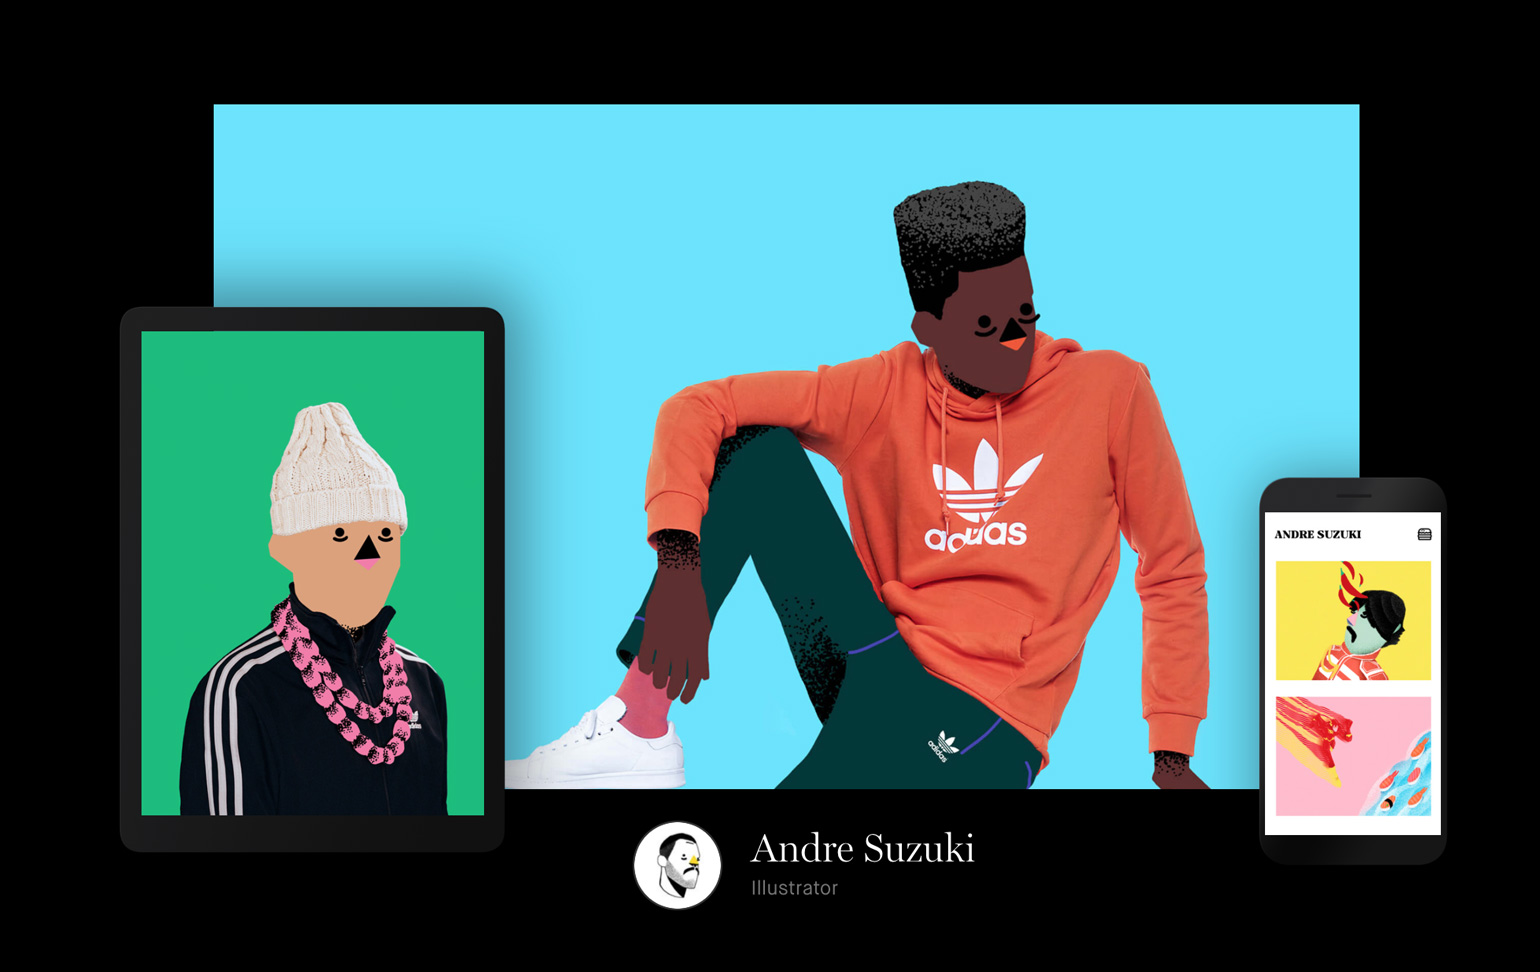
Andre Suzuki

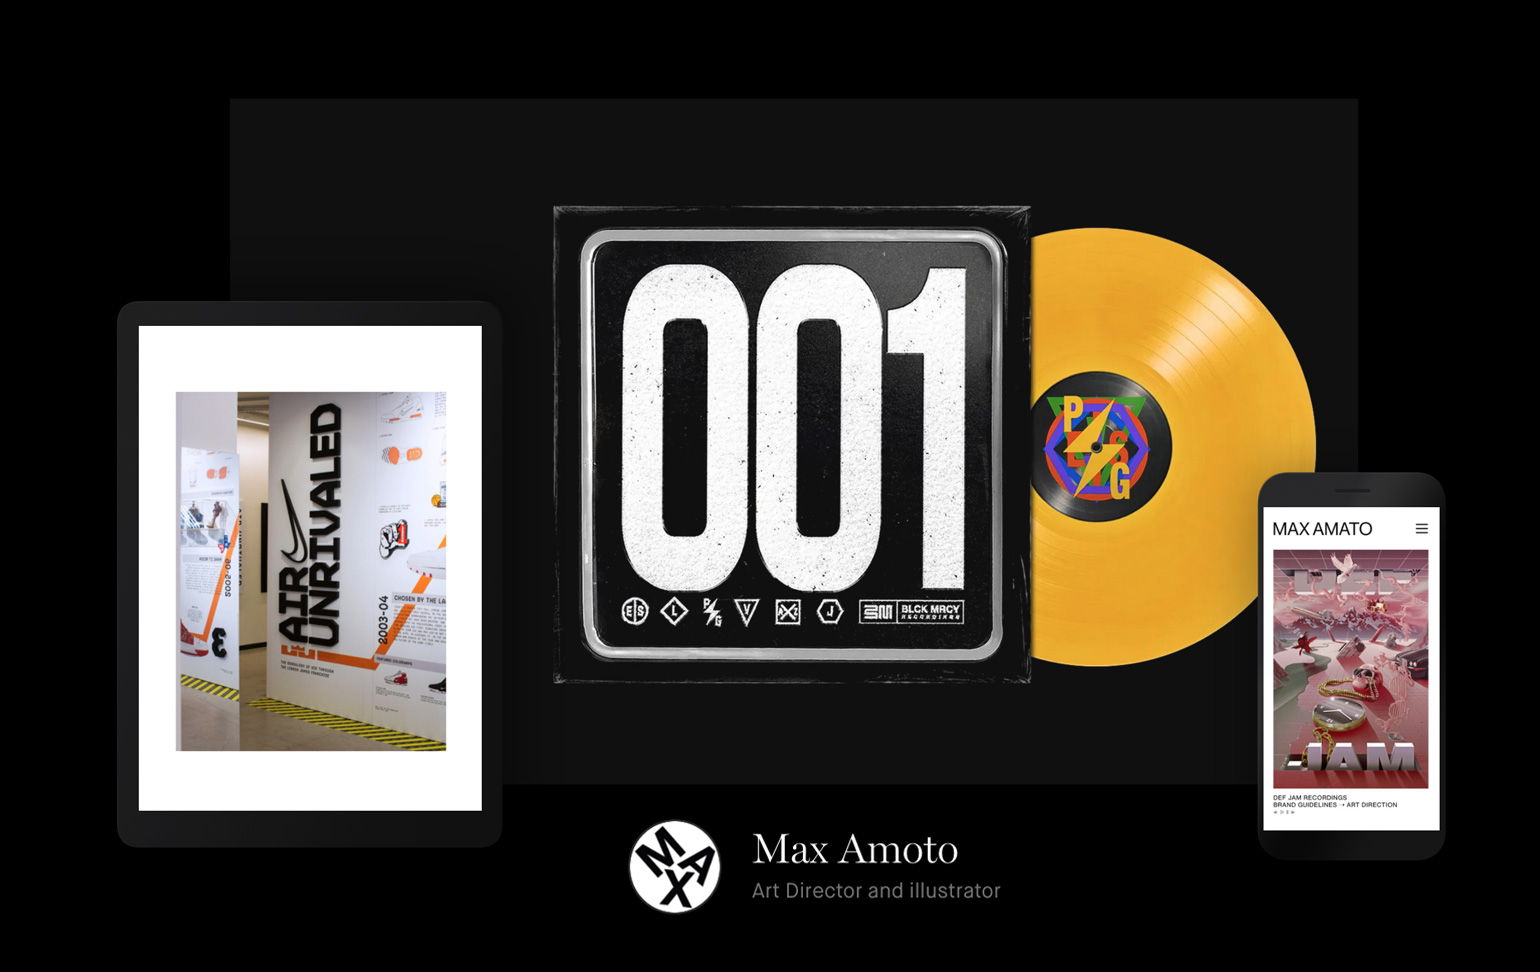
Max Amoto

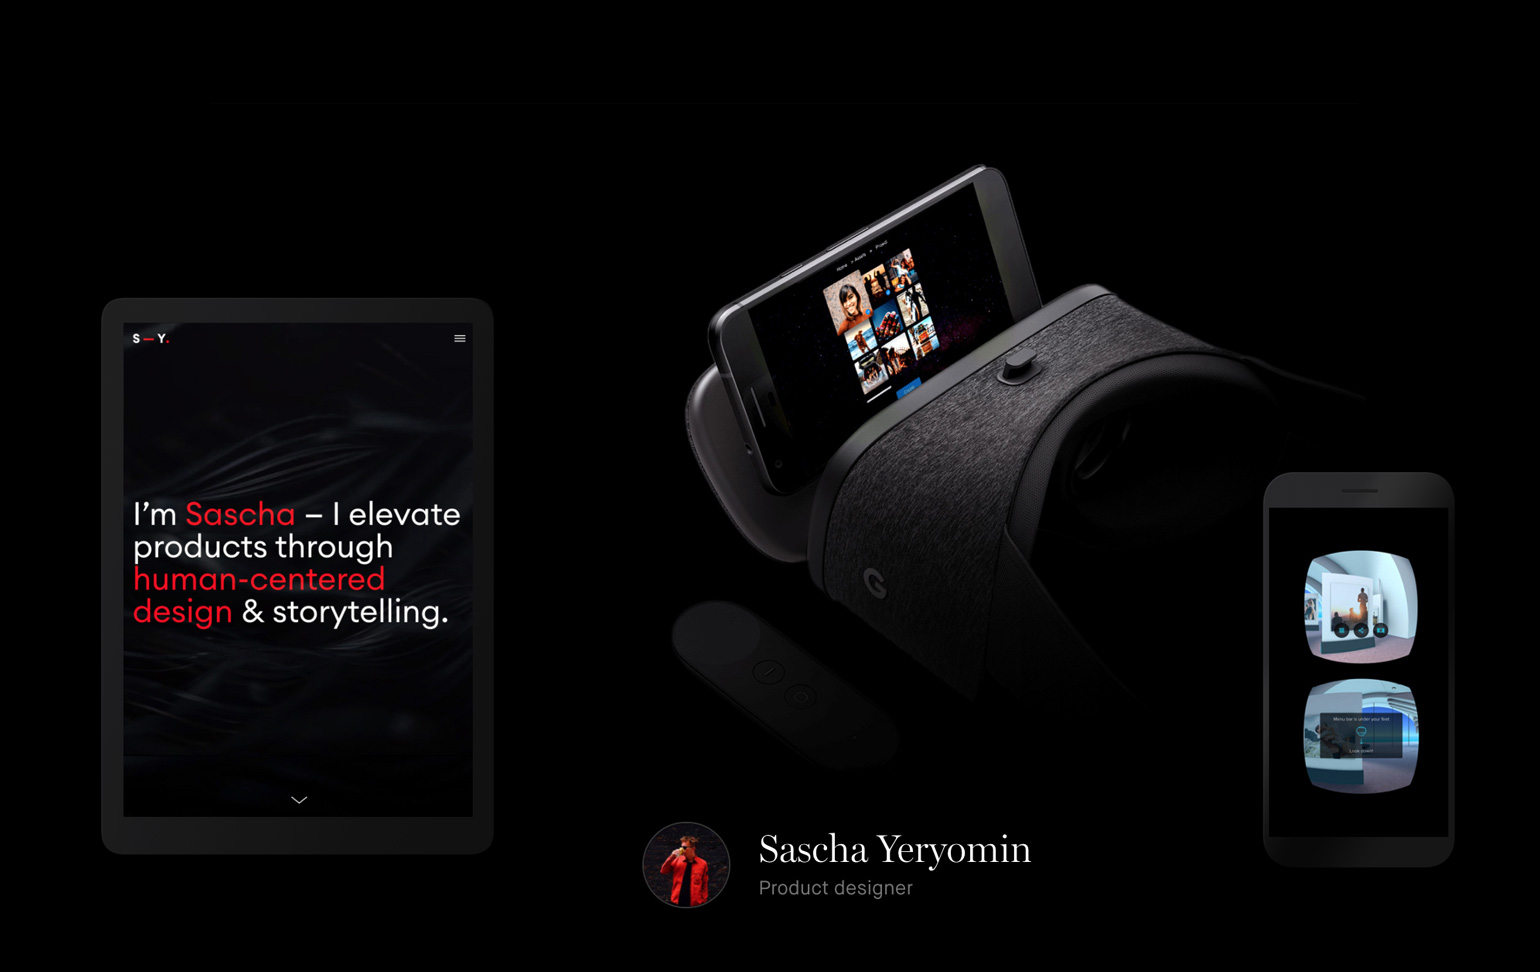
Sascha Yeryomin

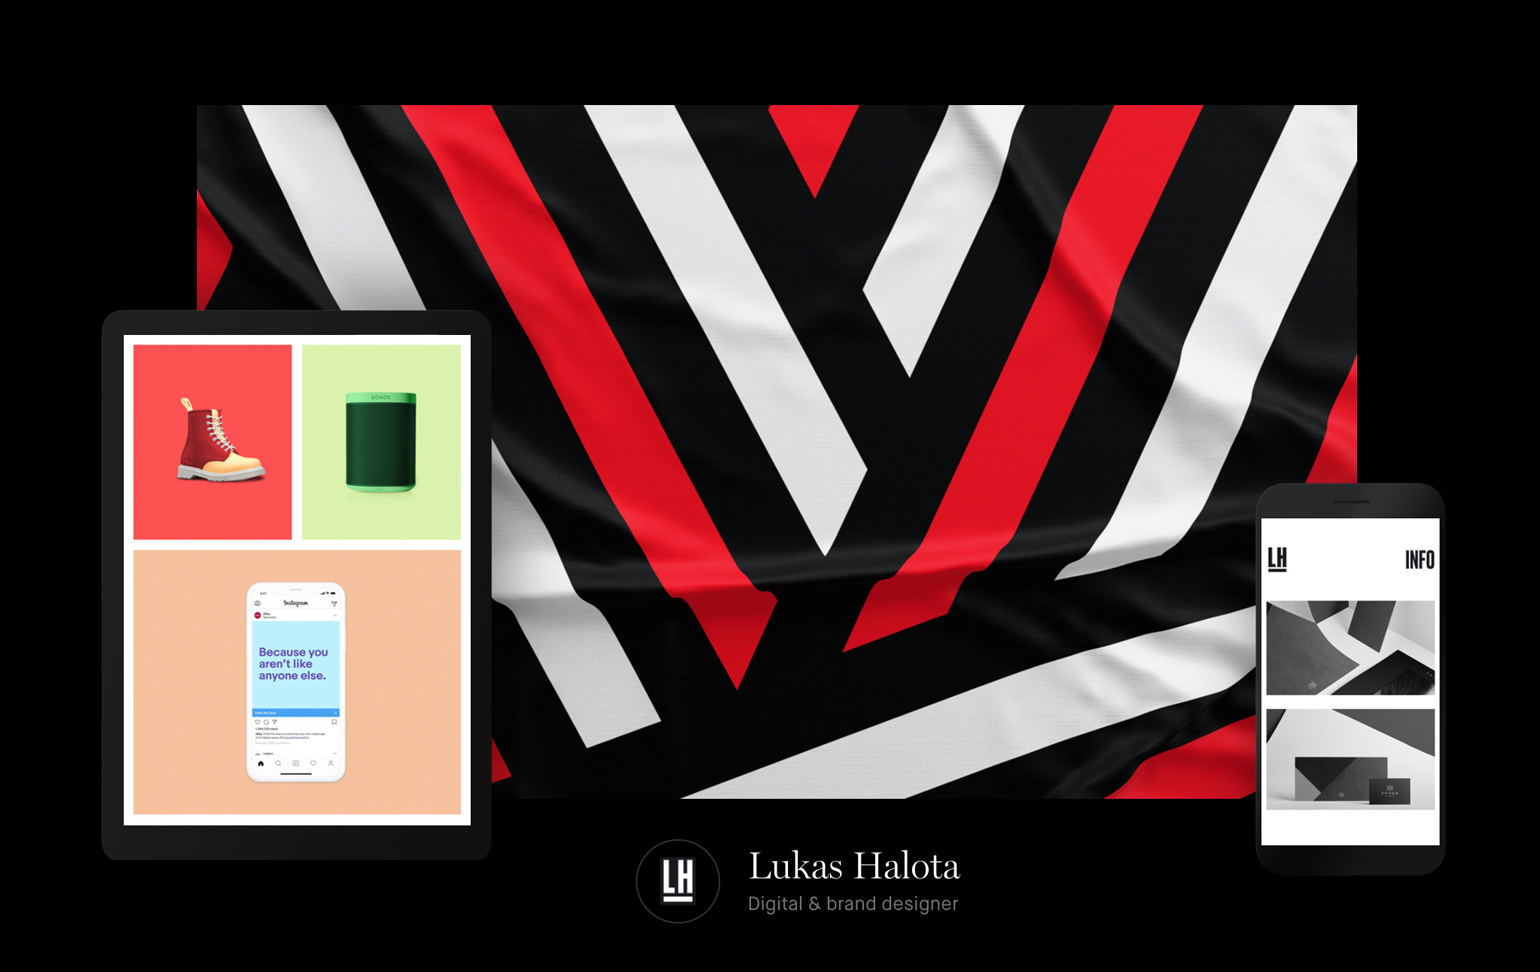
Lukas Halota

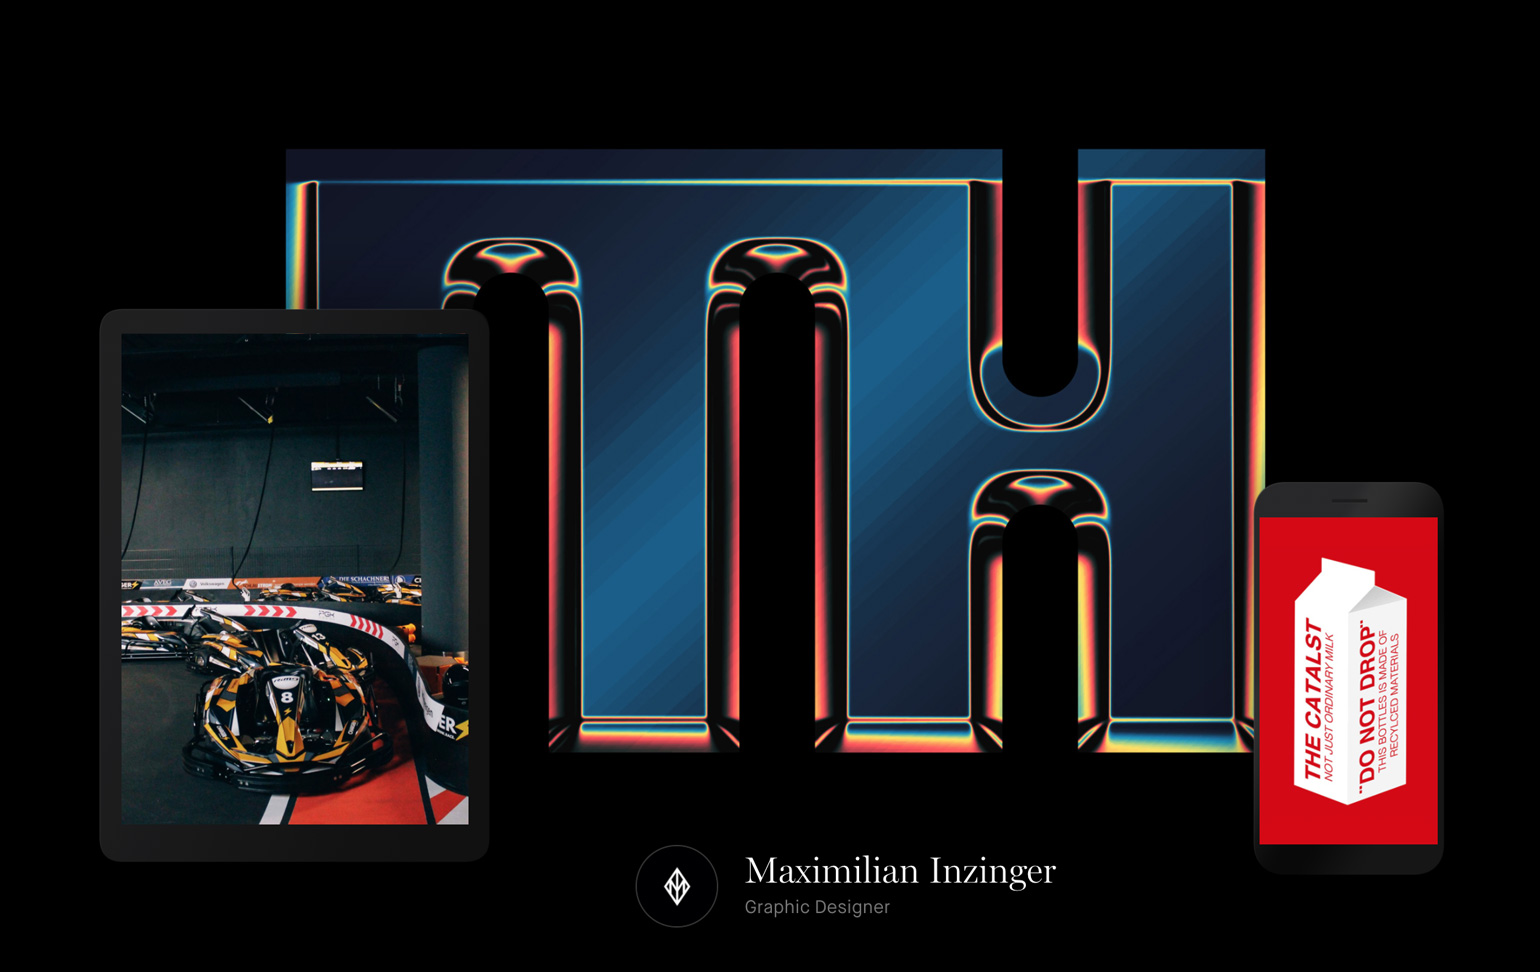
Maximilian Inzinger

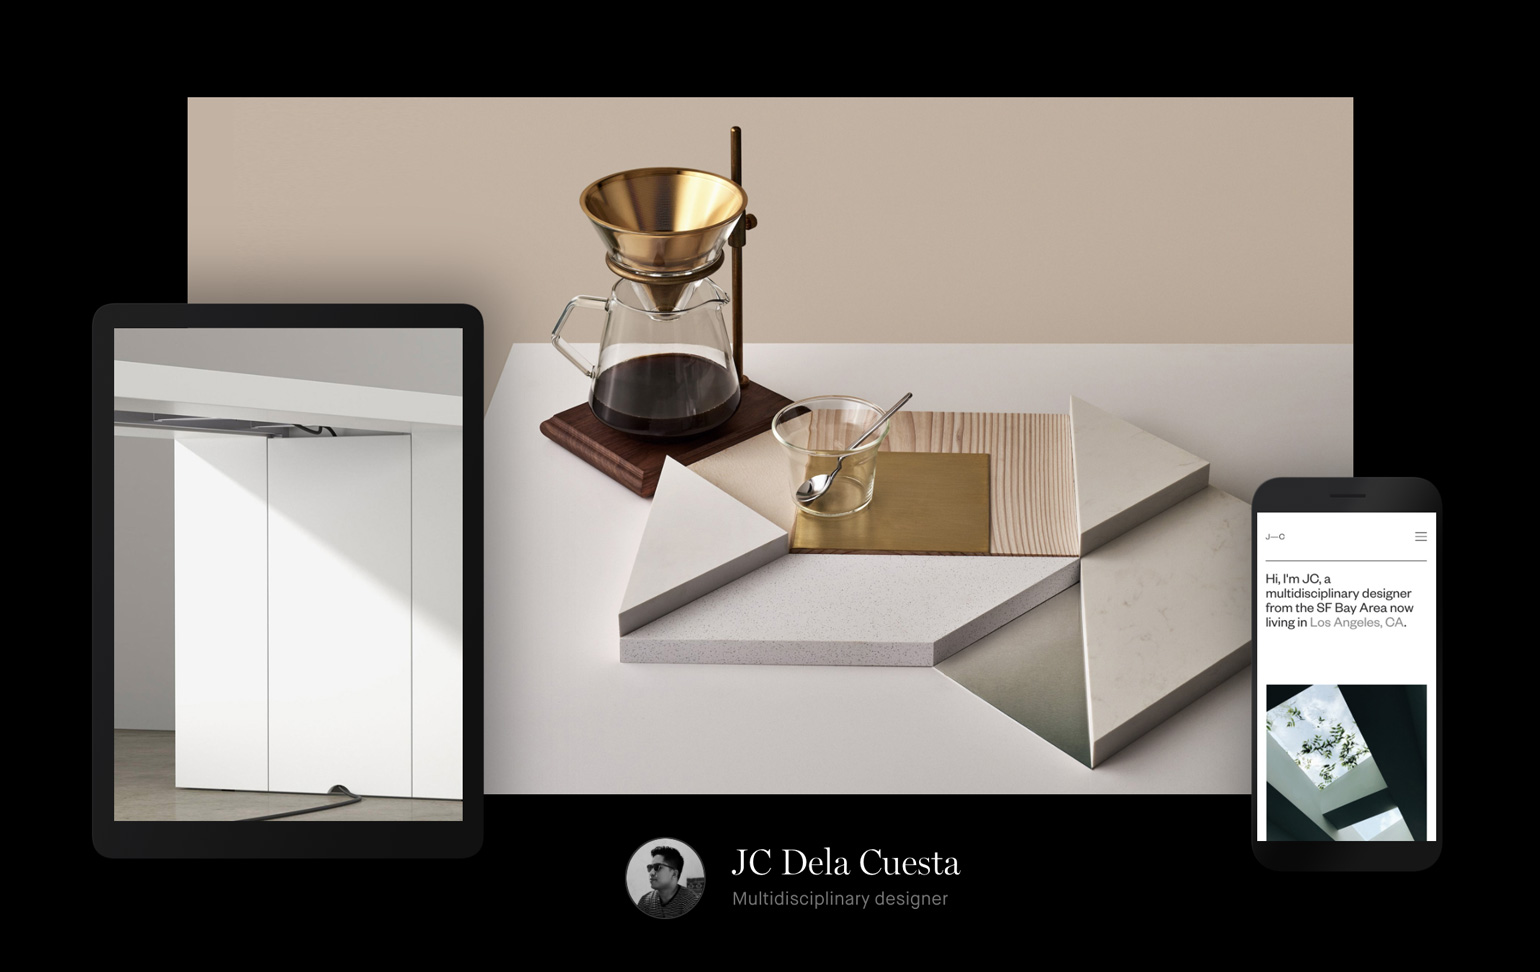
JC Dela Cuesta

New Presence

Grand Matter

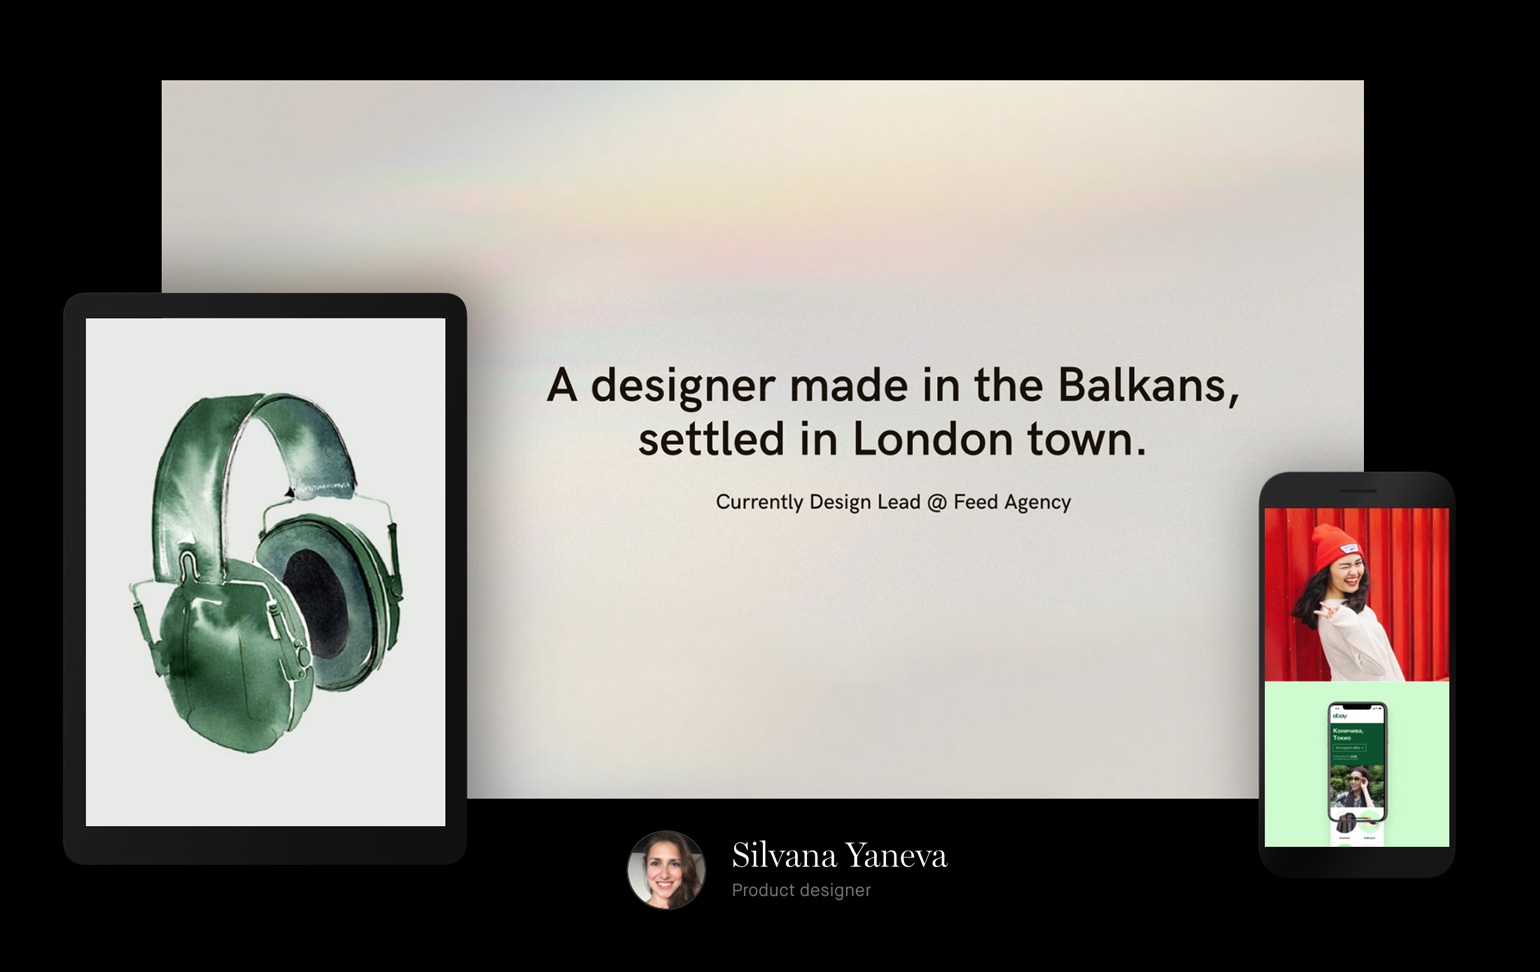
Silvana Yaneva

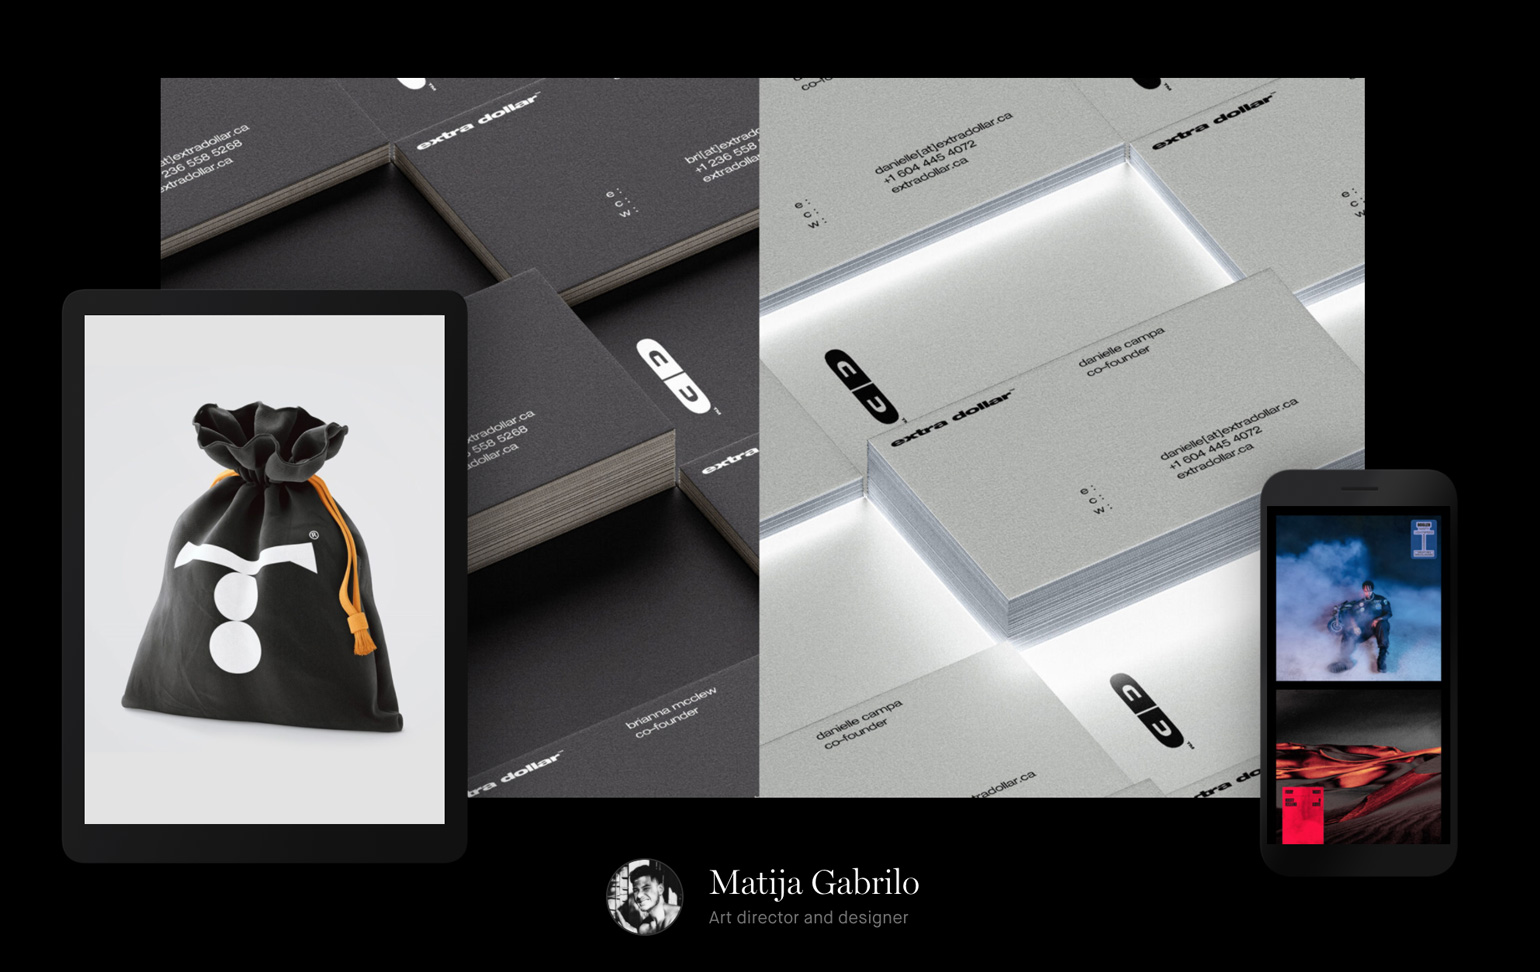
Matija Gabrilo


To see more great design portfolios, visit the Semplice showcase. I'll be back next month with more of our monthly favorites!

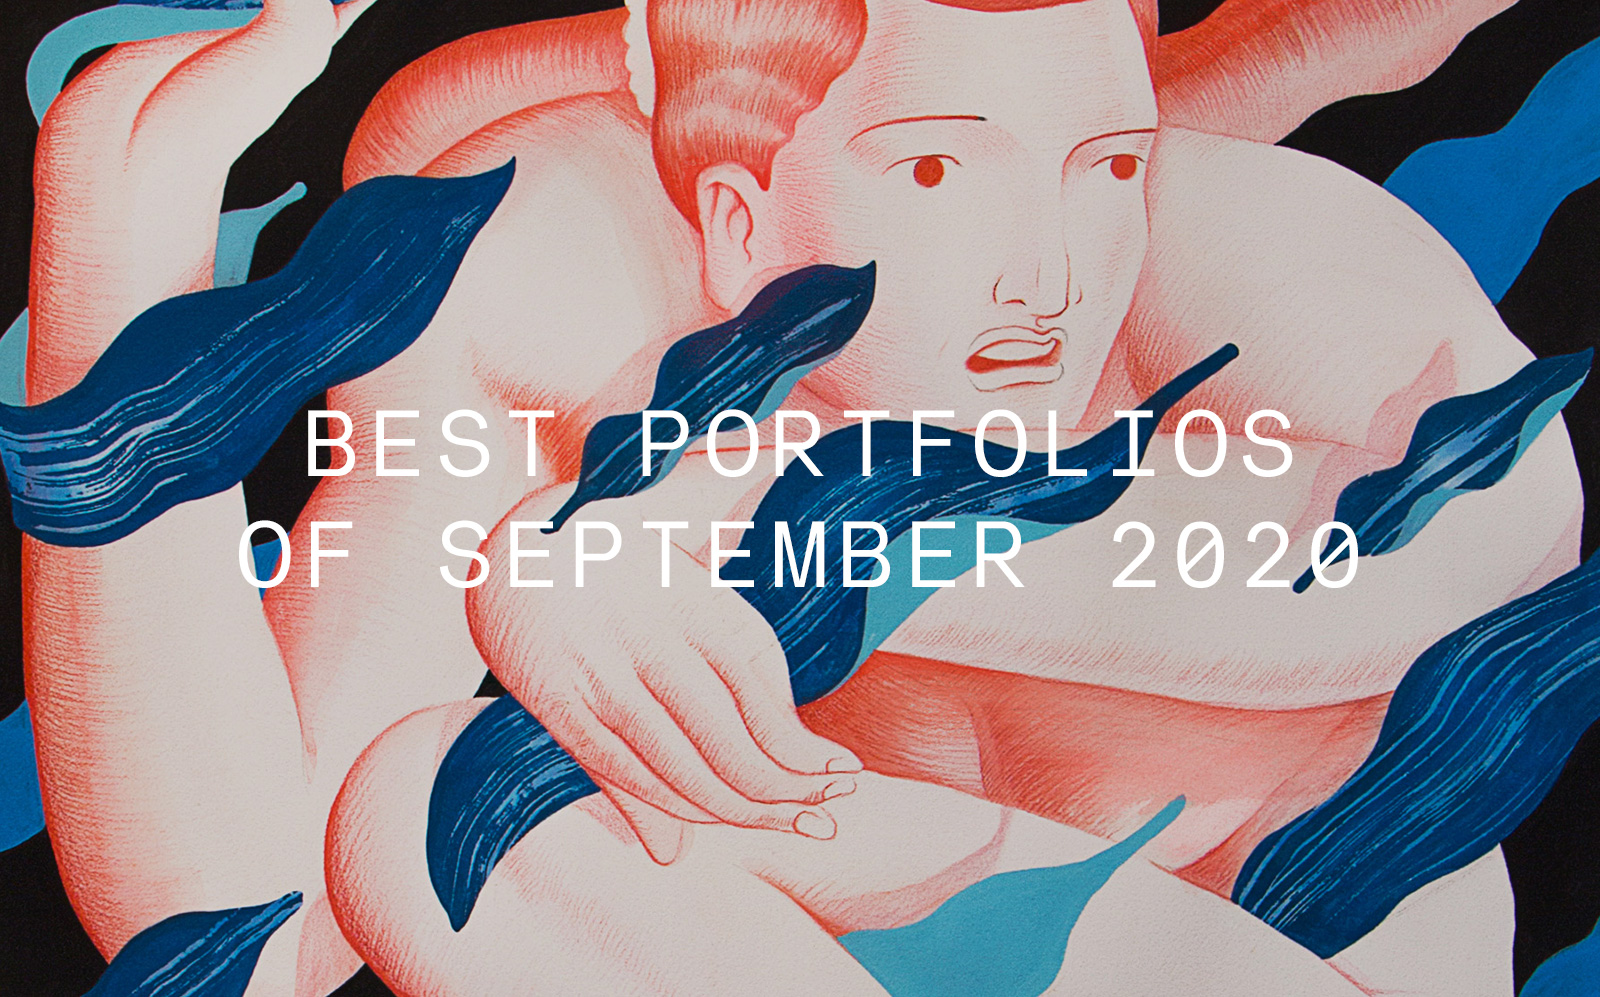
Header image by Bryce Wymer of Grand Matter

August 31, 2020No Comments

Monthly portfolio inspiration of August 2020

Once a week, we select two portfolios created with Semplice to feature in our Best Of  Showcase.  Here we've collected our favorites from the month of August.

It's hard to believe we're reaching the end of summer, and soon enough, the end of the year. If updating your portfolio was on your list this year, there's no better time than now to do it. We hope this month's portfolio picks motivate you as they did us.

Browse the best portfolios of the month below to see fresh new work and get inspired for your own site. And if you've created your own portfolio with Semplice, be sure to submit it to our Showcase here. We might feature your site next.


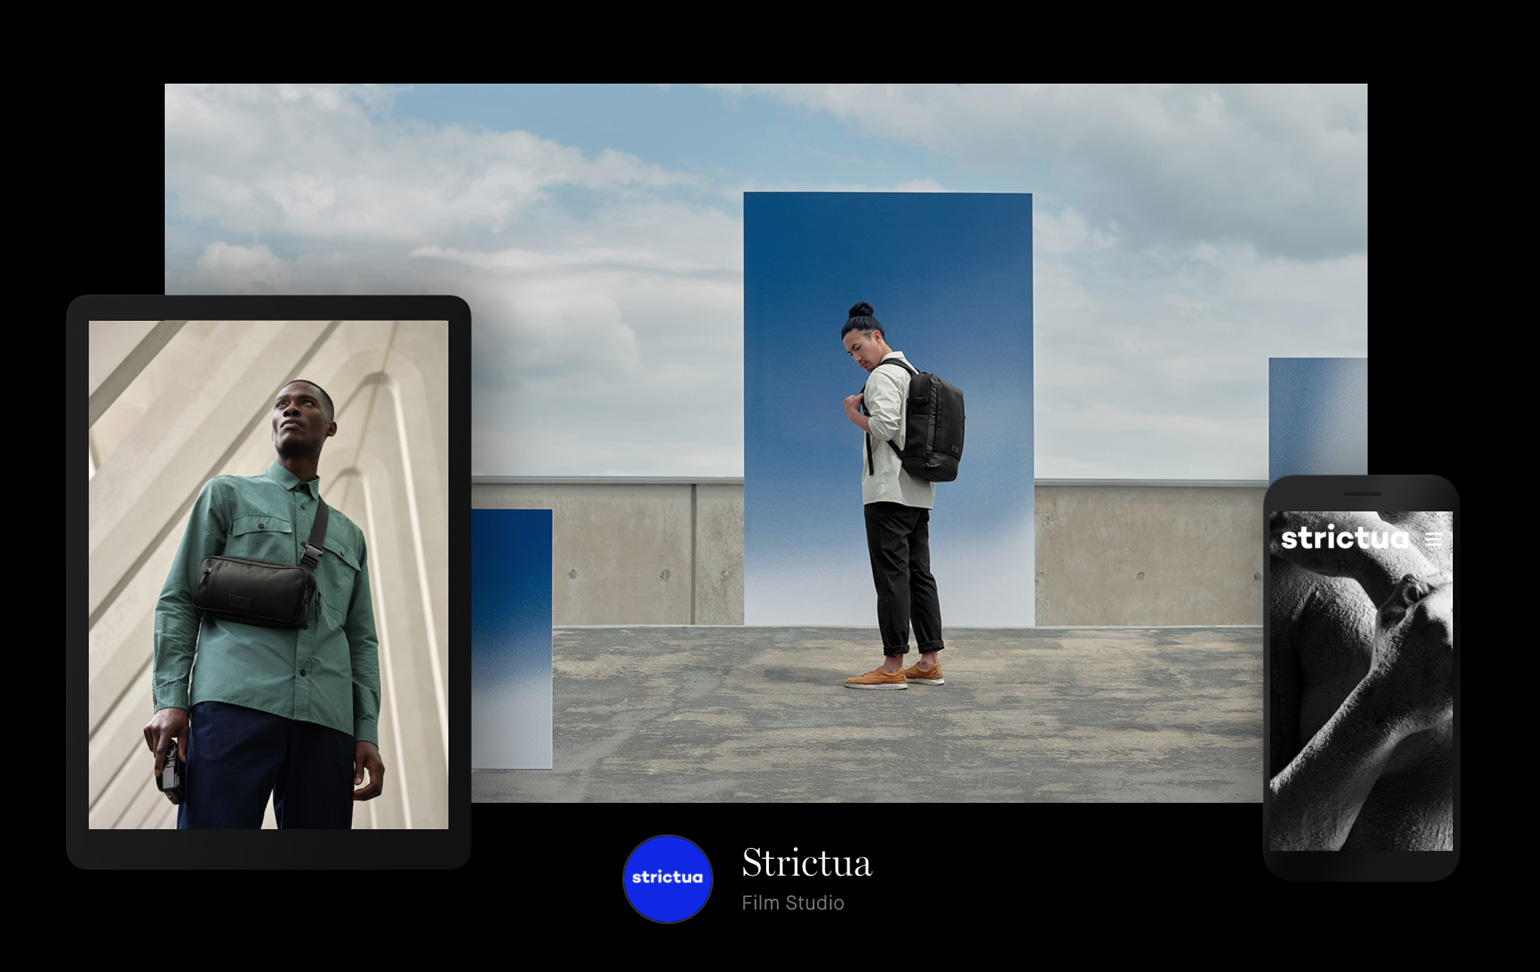
Strictua

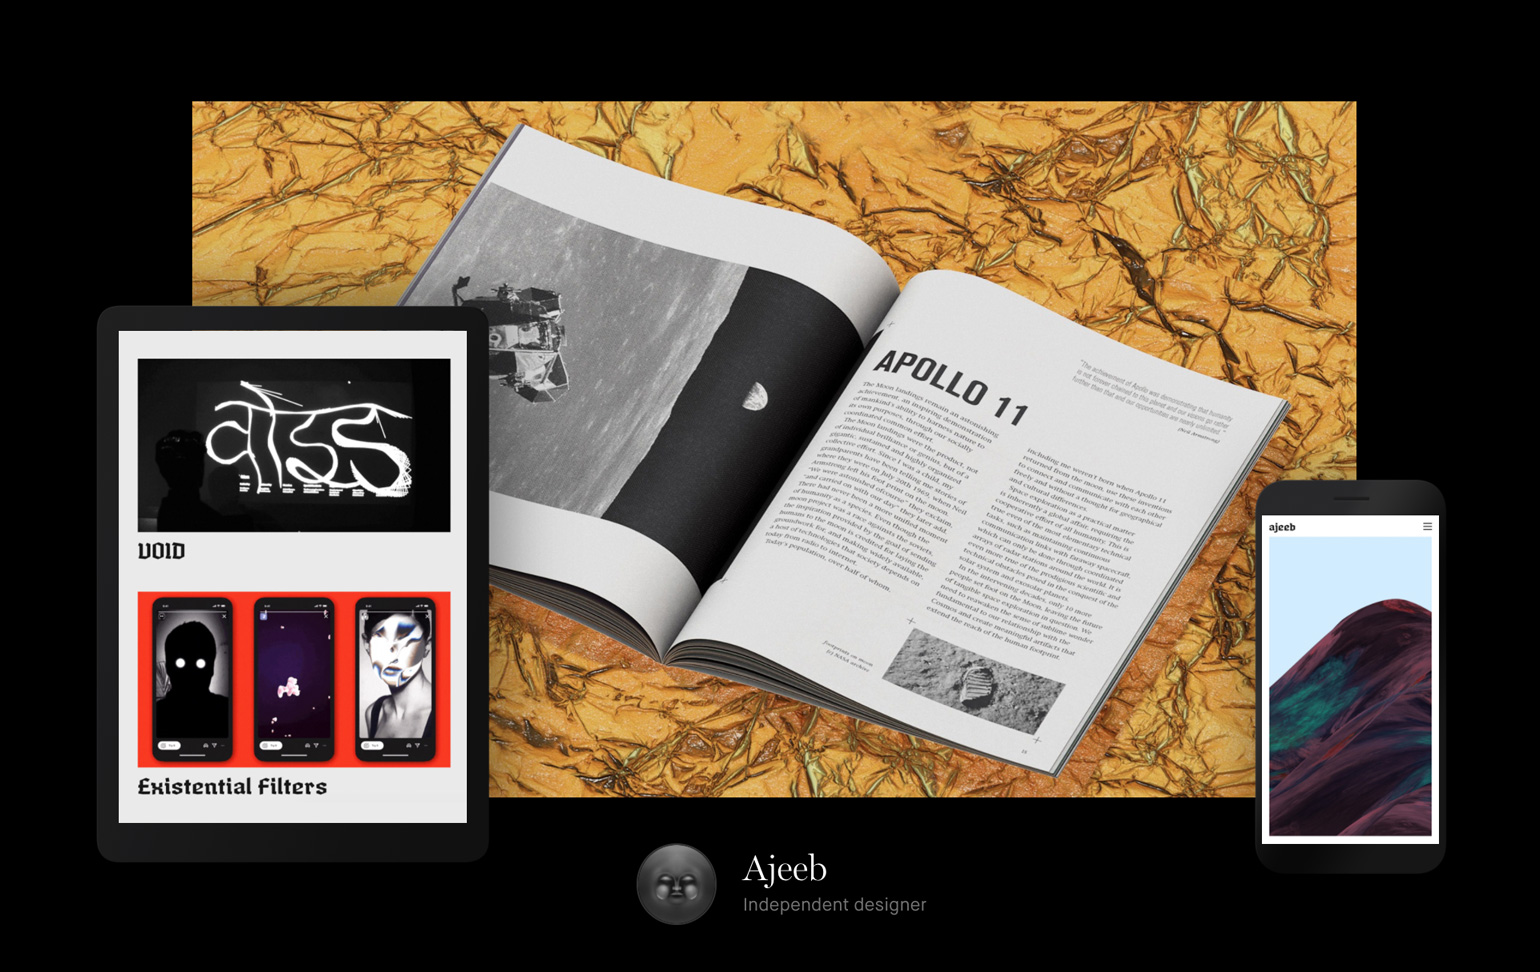
Ajeeb

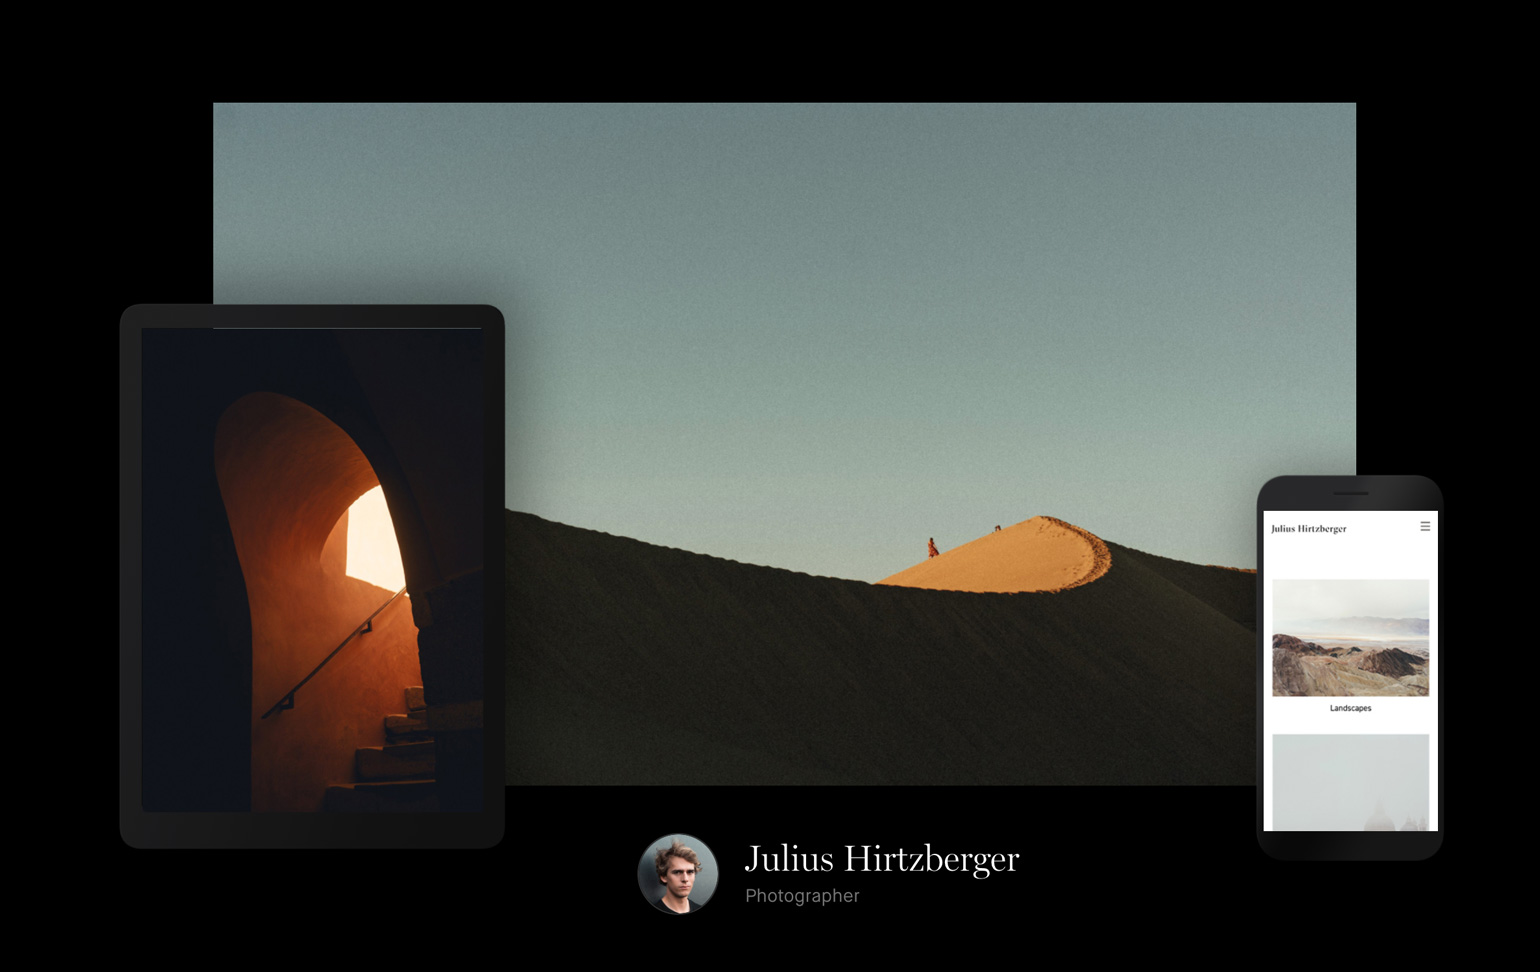
Julius Hirtzberger

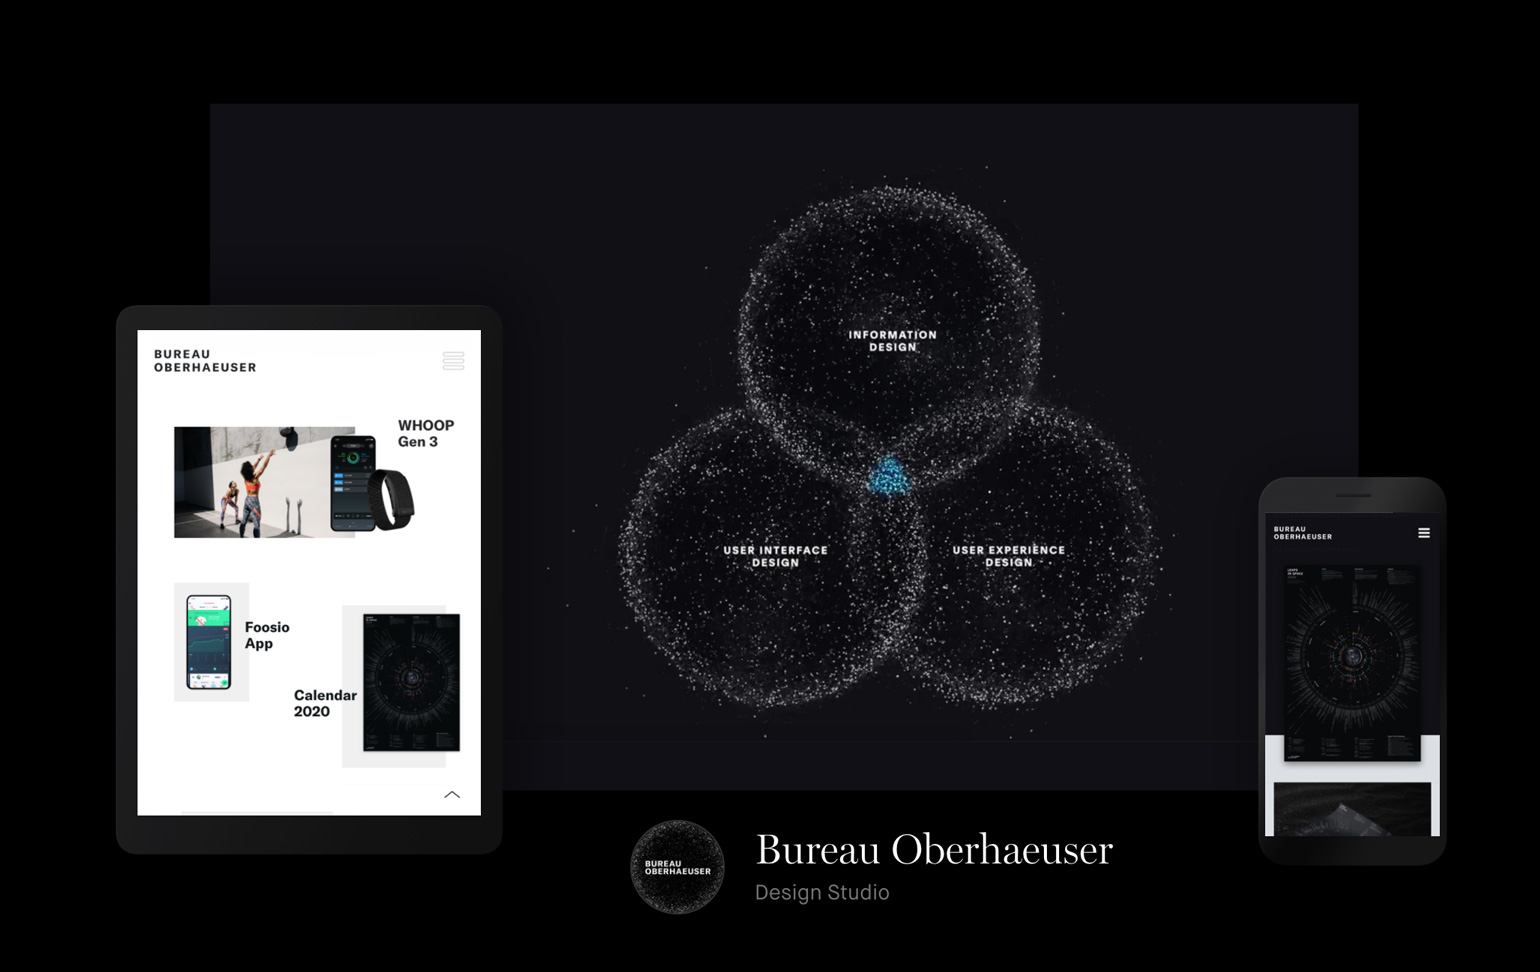
Bureau Oberhaeuser

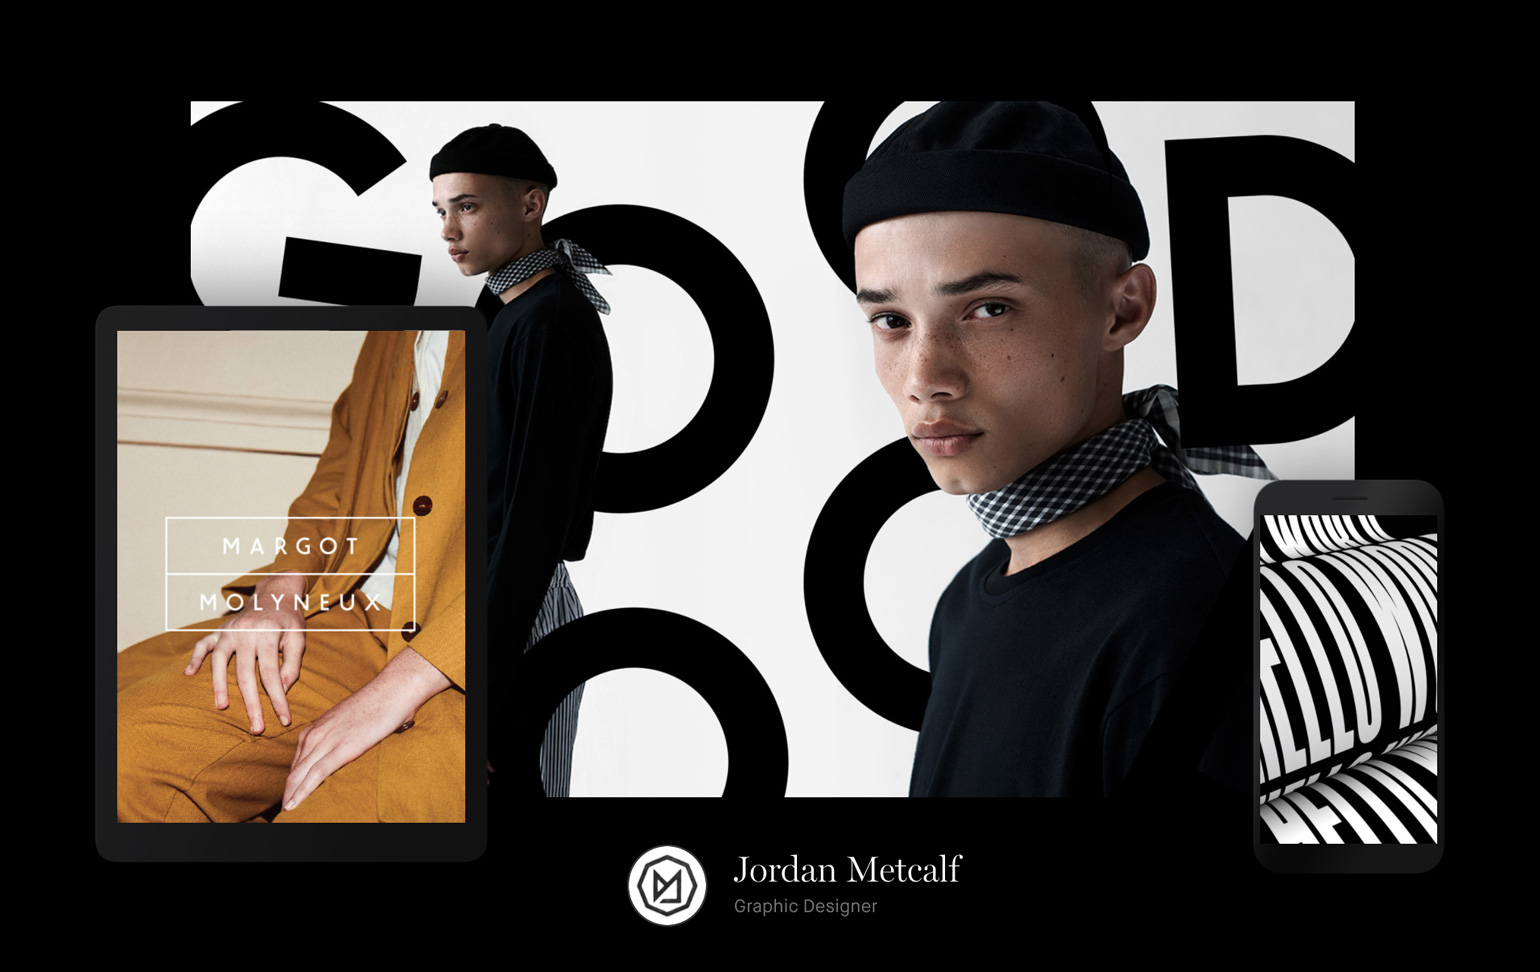
Jordan Metcalf

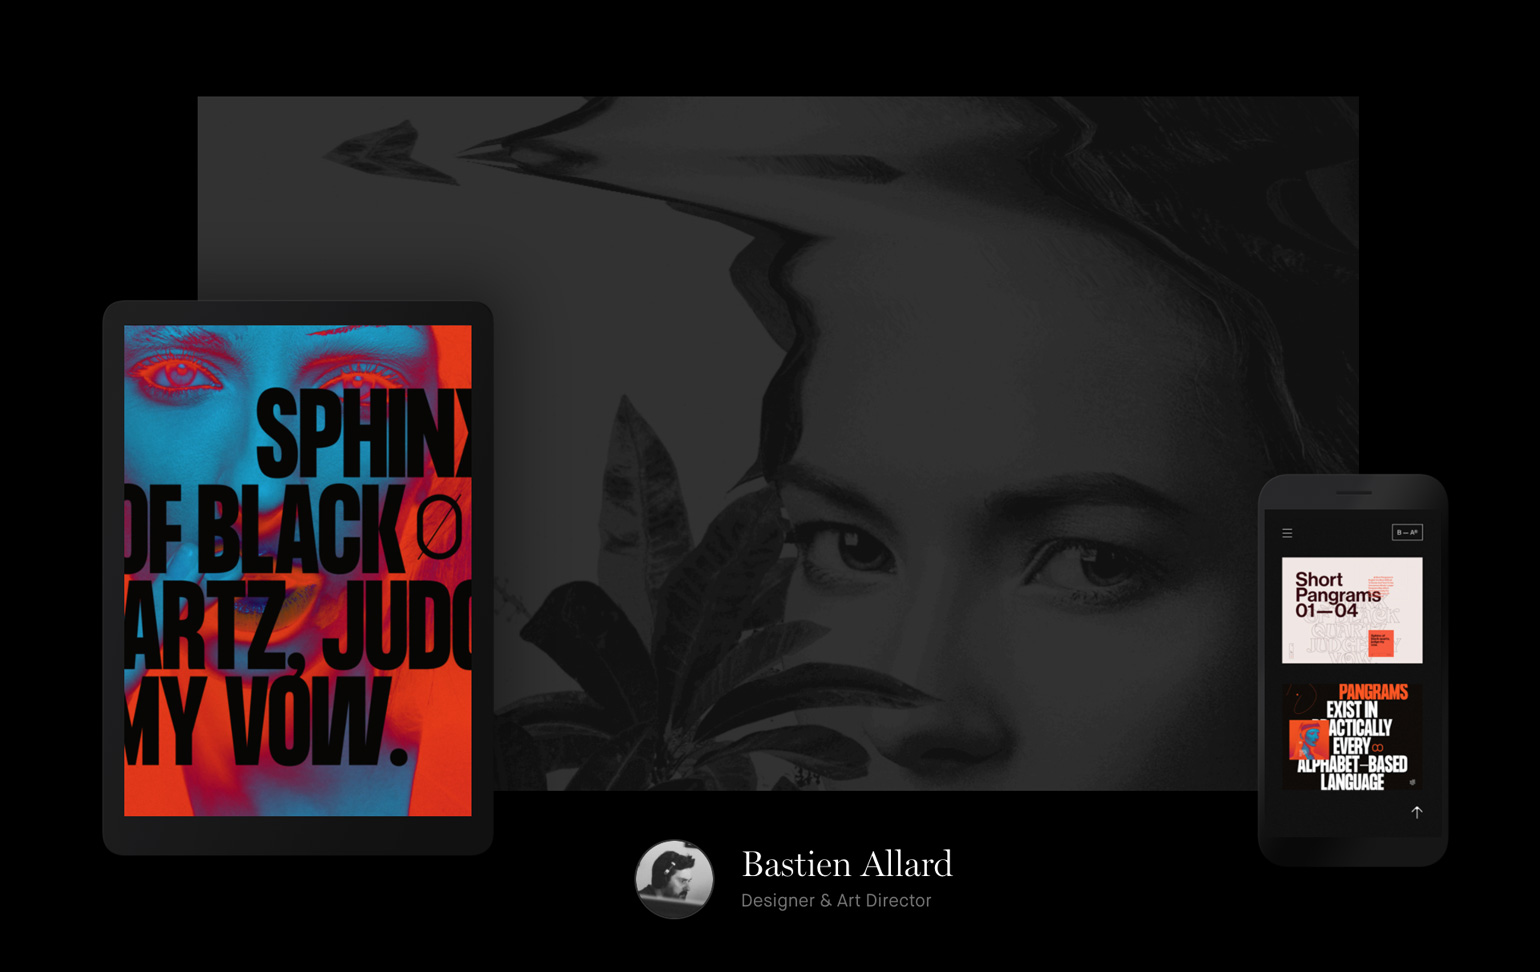
Bastien Allard

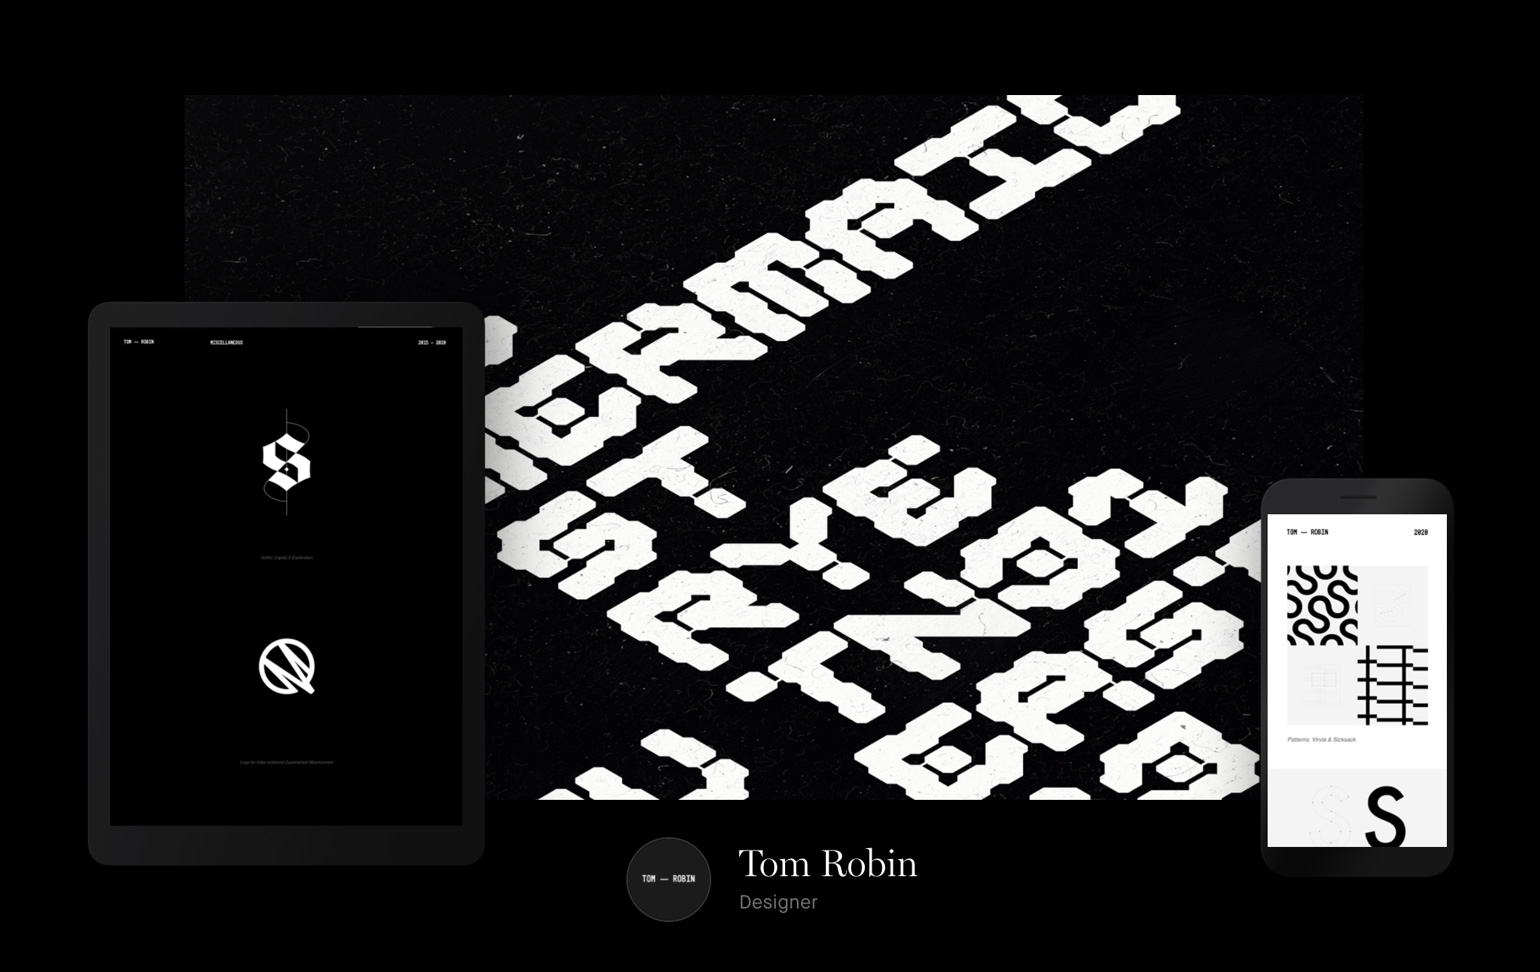
Tom Robin

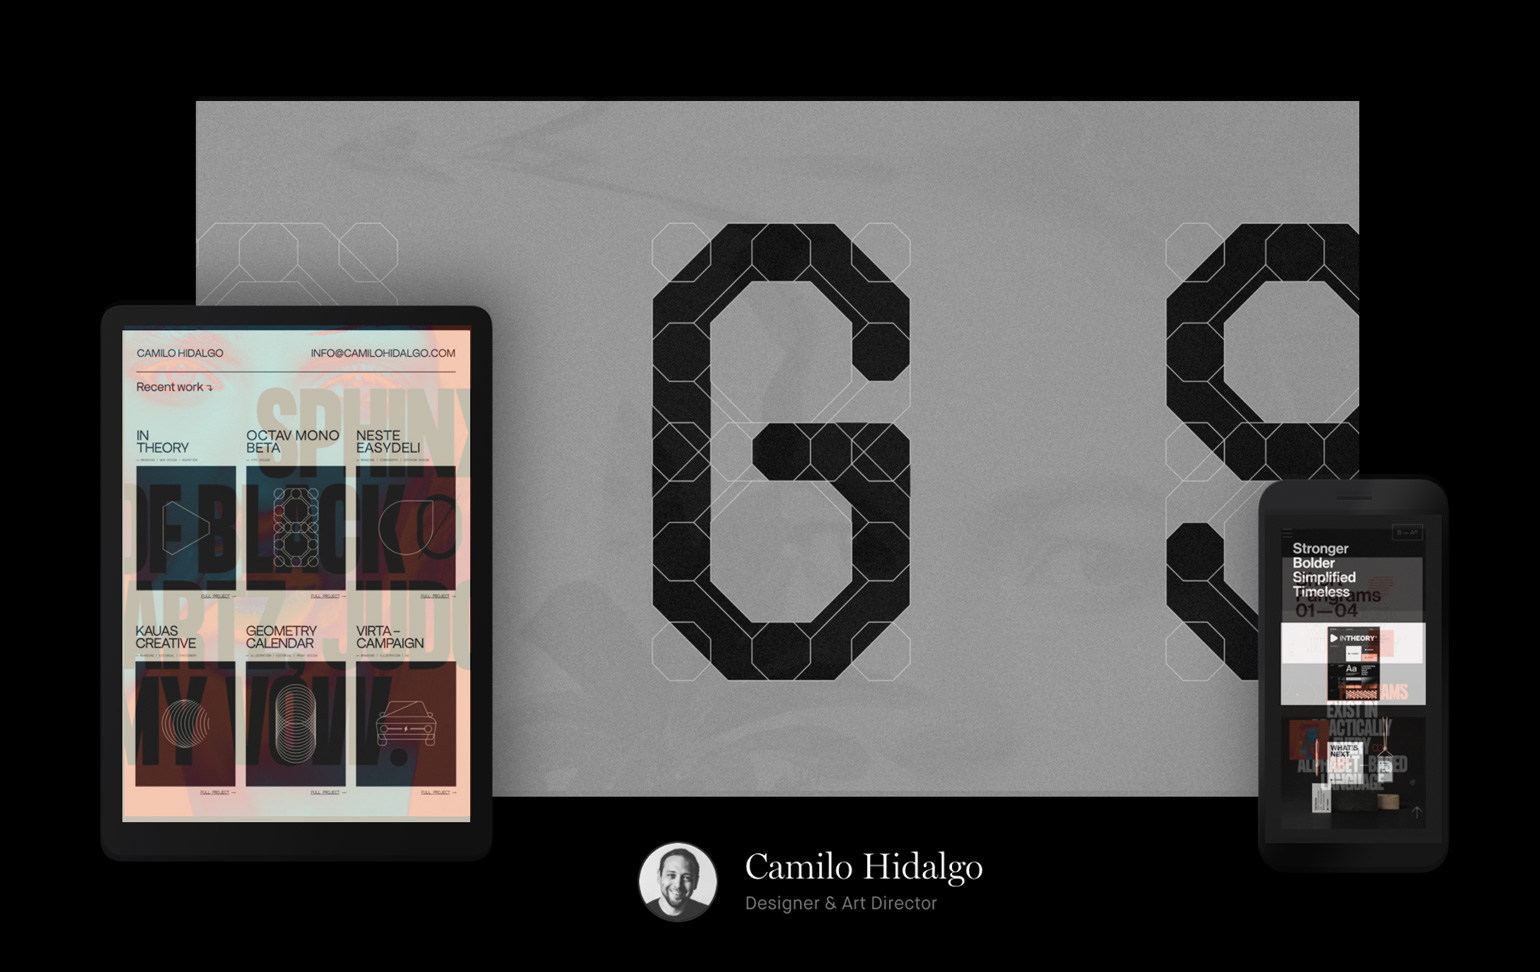
Camilo Hidalgo


To see more great design portfolios, visit the Semplice showcase. I'll be back next month with more of our monthly favorites!

Header image by Jordan Metcalf

August 20, 2020No Comments

How to design a case study page (tutorial)

As creative people, we know that presentation means everything. Yet when it comes to presenting our own work, we tend to sell ourselves short.

Case studies are our chance to put our work in its best light. But too often, we drop a half a dozen images on the page and call it done. So while we've talked a lot about writing portfolio case studies, now we're diving into how to present the work visually.

For this tutorial, we'll be using Semplice to lay out a visual project case study and show just how easy it is to present our work – rather than leaving our visitors to form their own conclusions.

Get inspired

First, it's helpful to view case studies of other designers you admire to see how they explain their projects. Observe how they visually walk you through their project story, what elements or devices they use, how their projects flow, what makes you want to keep reading, where you find yourself losing interest.

You'll ultimately do things your own way, of course, but seeing what works and what doesn't will guide that, and motivate you. Here are a few case studies we've enjoyed lately from our Semplice Showcase, for example (click image to view case study):


What we'll be making

Now let's start creating our case study page. I'll be making mine using my own work, for a fictional design studio.

I've made a demo using Semplice, our own portfolio tool. Semplice is centered around creating custom case studies for your unique projects, so you can design everything from your nav to your footer to complement each unique project.

VIEW THE LIVE DEMO

The case study example page we will be recreating

Getting started

To begin, let's head on over to the Projects area to create our first project. Projects in Semplice serve as your case studies. They automatically connect with the Portfolio Grid module, so you can display them on your homepage or Work page.

Creating the Cover

Now that we've set up our Project, let's add a Cover section. In Semplice, Cover sections are like hero sections, and are typically used with large headlines or full-width imagery for maximum visual impact.

For our purposes, we will use a nice, large image to introduce the page and set the stage. Go to the Cover tab from up top, and from the pop-up editor select "Cover (full-width)" from the dropdown.

Creating the introduction section

This section will serve to introduce the project and include necessary details like year of completion and credits.

First, let's add a text module with some larger text to serve as the project overview. Just add a simple sentence or two to briefly summarize the project. We will go in further detail below.

Next, let's add some of the smaller details such as credits. You can place Text modules stacked in rows to create both the subheadings and text lists for these areas. Once we have our text styled the way we want it, we can duplicate the column to quickly recreate our layout. If needed, we can also use spacer columns to offset the columns and create white space.

Now, below our overview, we'll go more in-depth about the project and explain our involvement. A simple text module and image module side-by-side will do the trick. If you need tips for writing the copy in your case study, read this article.

Adding detail images

Next, let's create a section where we can add images that support our case study. Think of your case study like a spread in a magazine, and put images alongside relevant copy, to make the reading experience highly visual and easy to scan.

For this section, I'll make some of the images "bleed" to the edge of the screen. This will add break up the visual flow of the page nicely. To do this, go to the section options and set the gutters to "off."

Setting our section to be full-width with no gutters.

I will also use spacer columns once again to offset the image columns and create some interesting variations in the layout.

Adding a spacer column to create white space

I've also placed text modules beneath each image for a caption, so we can give context to each image and allow those who want to scan (let's be honest, most readers) to understand our project story at a glance.

Adding a full-width image section

Now we'll add some full-width images to break up our page between paragraphs. For our full-width image section, simply place an image module on the page. In the image options, set the image size to "grid width" and in the section options, set the width to "full-width" with gutters removed.

Before/After comparison

Now for the fun part. To visually explain our process and help readers appreciate the work that went into our project, we'll use the Before/After module to display our final result. In this case, we will show a behind-the-scenes view of our prototype in the 3D rendering program, sliding to reveal the final outcome. You can do the same with a UX prototype next to your final screen design, for example.

Adding image galleries

If you have lots of images for your project, or a collection of similar images, you can also add image galleries to your page.

Let's place some offset galleries onto the page. We will also use this section to talk about the final results of our project and how it was successful.

Wrapping up

To wrap up the case study, we'll give a little shoutout to our team.

We'll also make sure the Next/Previous feature is enabled. This is a feature in Semplice that allows viewers to quickly jump between projects at the bottom of a case study to continue browsing.

Thank you

We created everything here with the Studio edition of Semplice, which gives you all the latest Semplice features. No matter what tool you use to create your case study, we hope this tutorial inspired you to create thoughtful, unique case studies to tell your project stories. We can't wait to see what you make!

August 10, 2020No Comments

How to make a great work page for your portfolio: A Semplice tutorial

Your Work page (often your homepage), is your first impression. It tells the story of your work when you're not there to do it. And with Semplice, there are many ways to tell that story.

From our Advanced Portfolio Grids to the traditional Portfolio Grid to manually building your page, Semplice allows you to create essentially anything you design, without templates.

Here are just a few recent examples we've enjoyed lately from the Semplice Showcase:

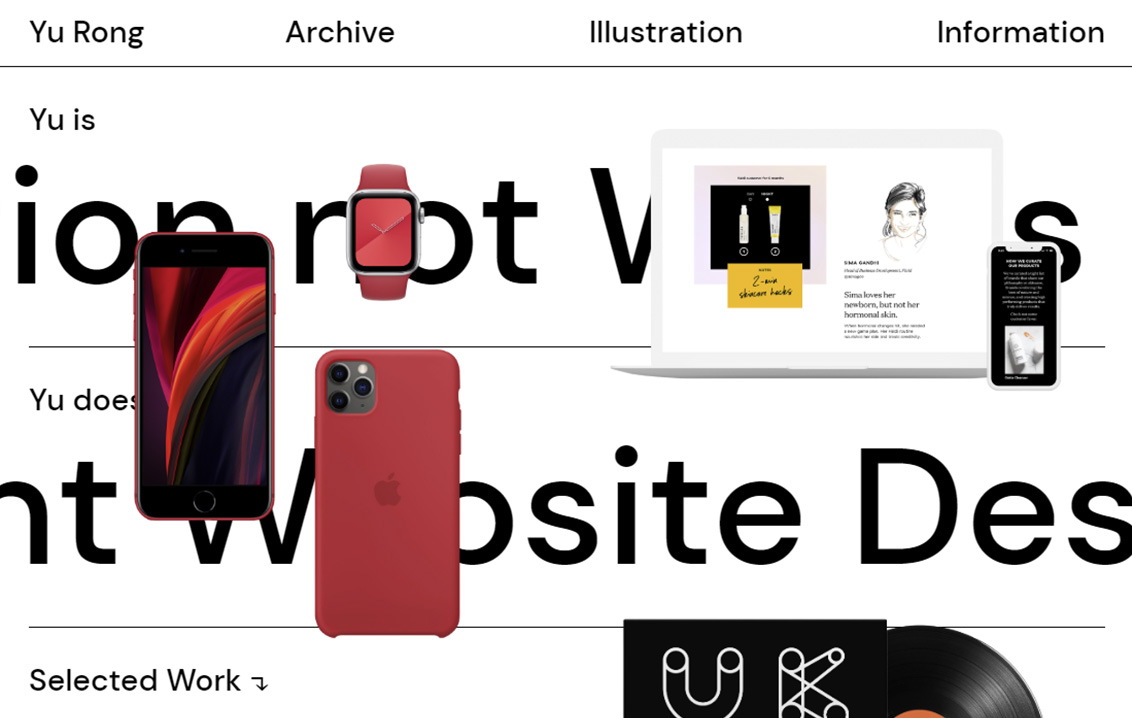
Yu Rong

Instead of using your standard thumbnail format, Yu opts to use mockups and devices overlaid on top of large, marquee typography. It makes for a fun scrolling experience as you scroll and immediately shows how Yu Rong thinks outside-the-box.

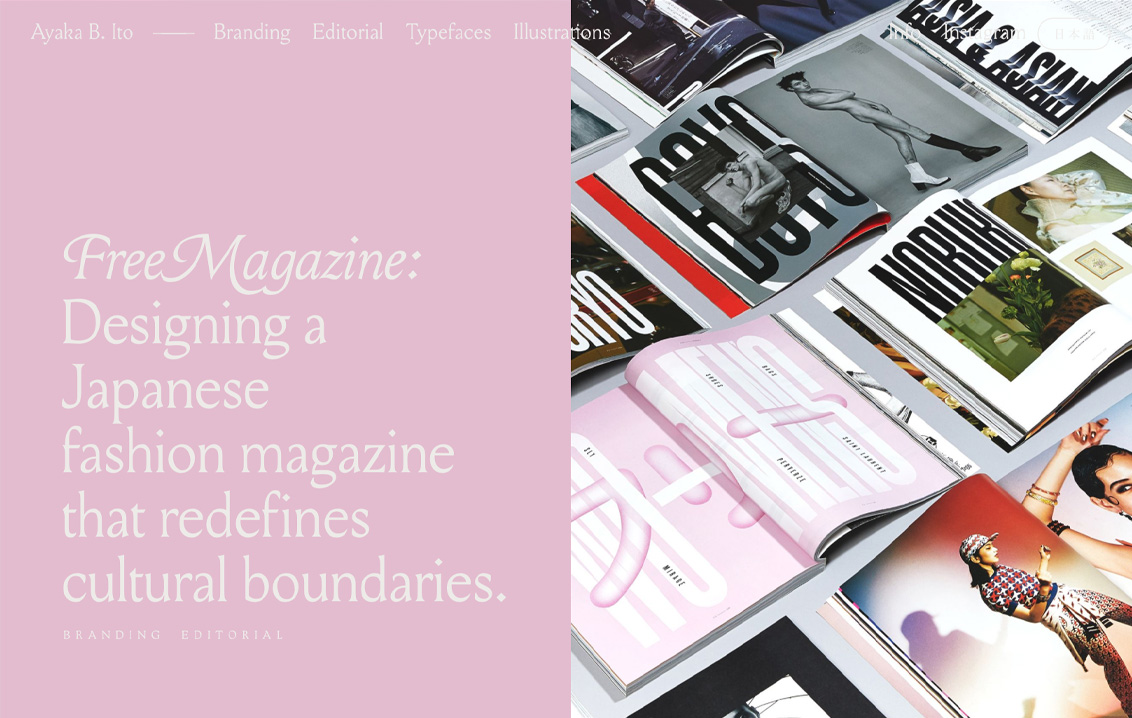
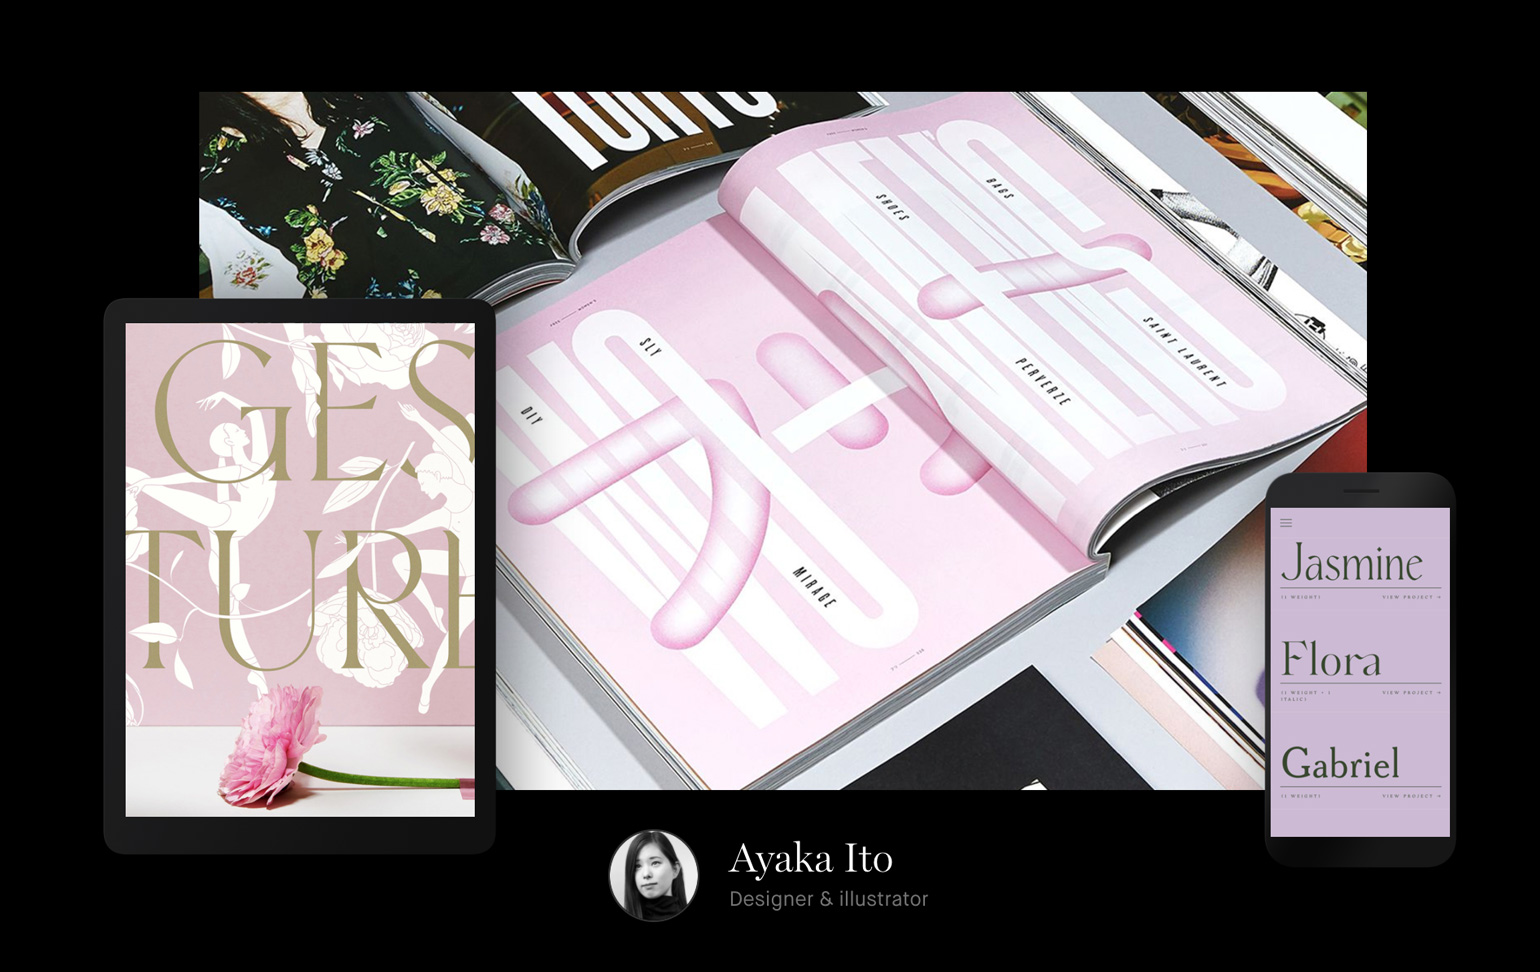
Ayaka Ito

Ayaka uses the Advanced Portfolio Grid feature (comes with Semplice Studio) to showcase her work. She makes every element her own, using beautiful type, custom hover effects and colors that complement each thumbnail.

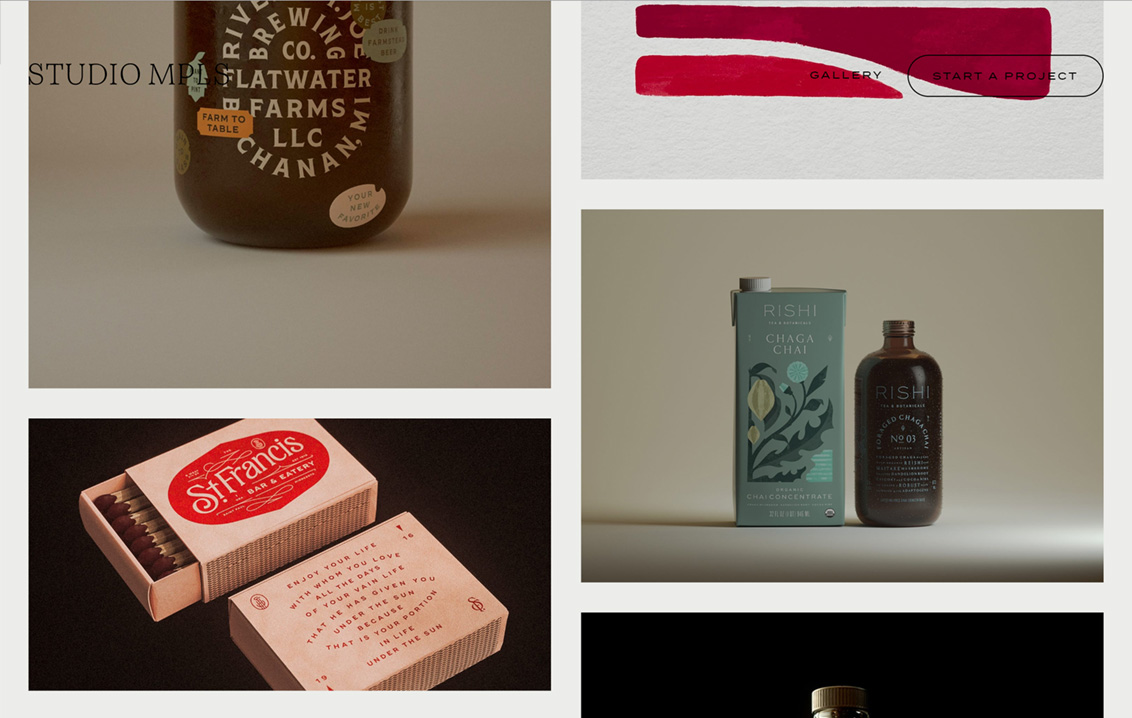
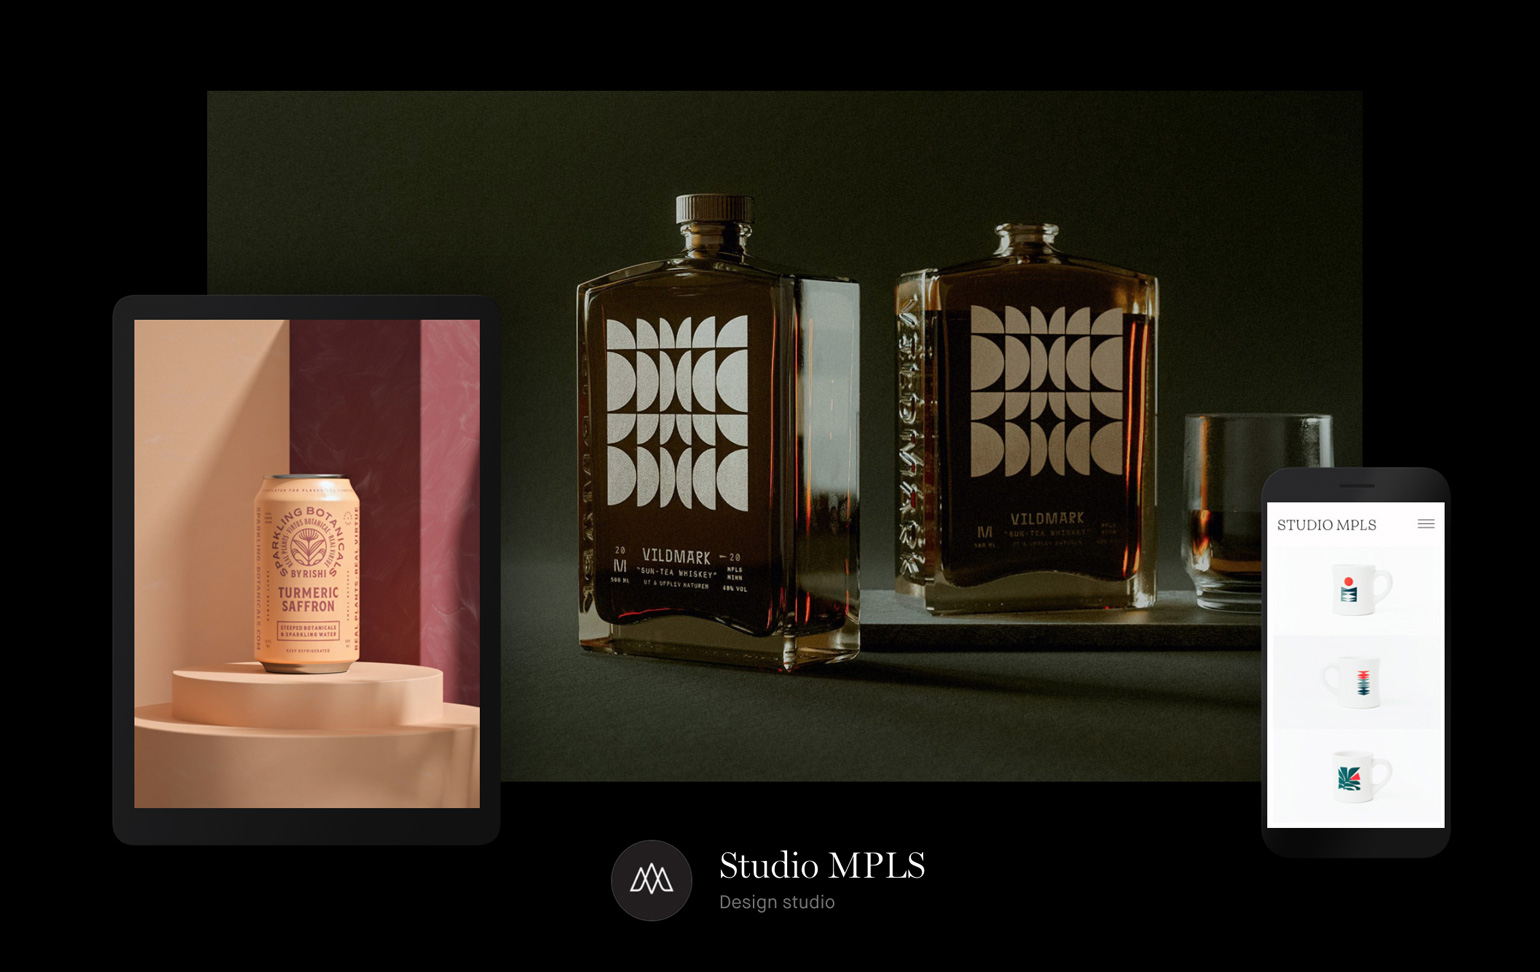
Studio MPLS

Studio MPLS uses a more traditional approach to the portfolio grid, but makes heavy use of the thumbnail hover effect. This effect gives you a visual preview of each project on hover, adding to the visual excitement and encouraging a click.

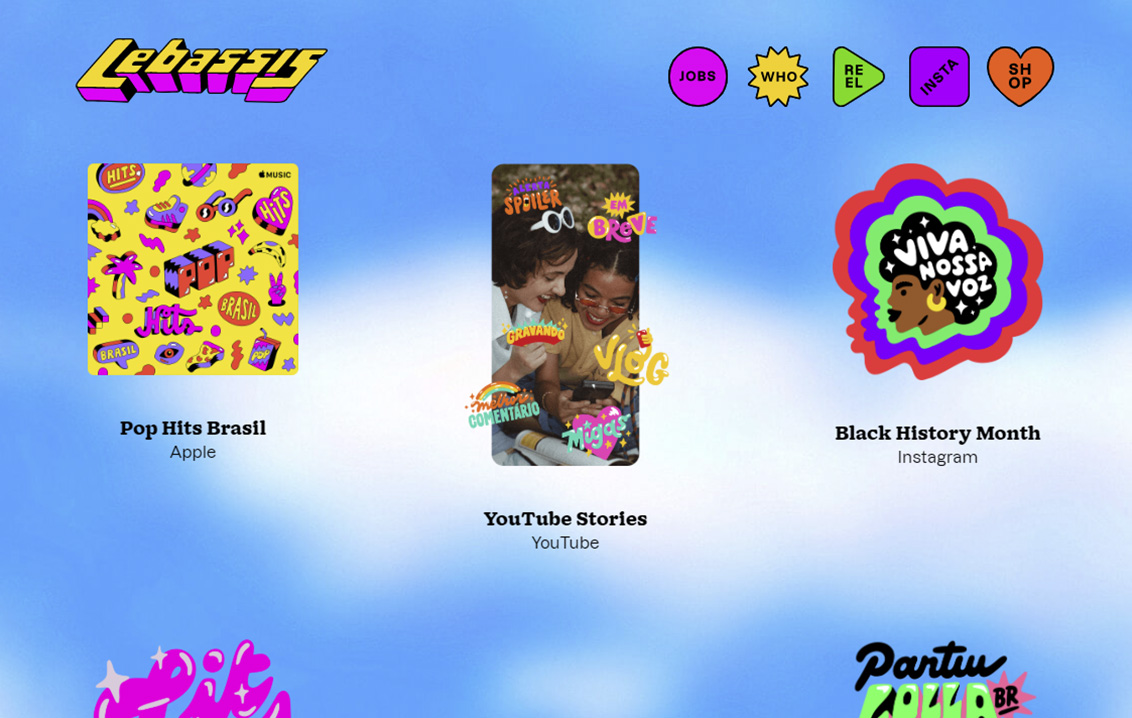
Leandro Assis

Like Yu Rong's site, Leandro makes use of a fixed background image with overlaid portfolio grid items. The design highlights Leandro's personality and creates a joyful scrolling experience.

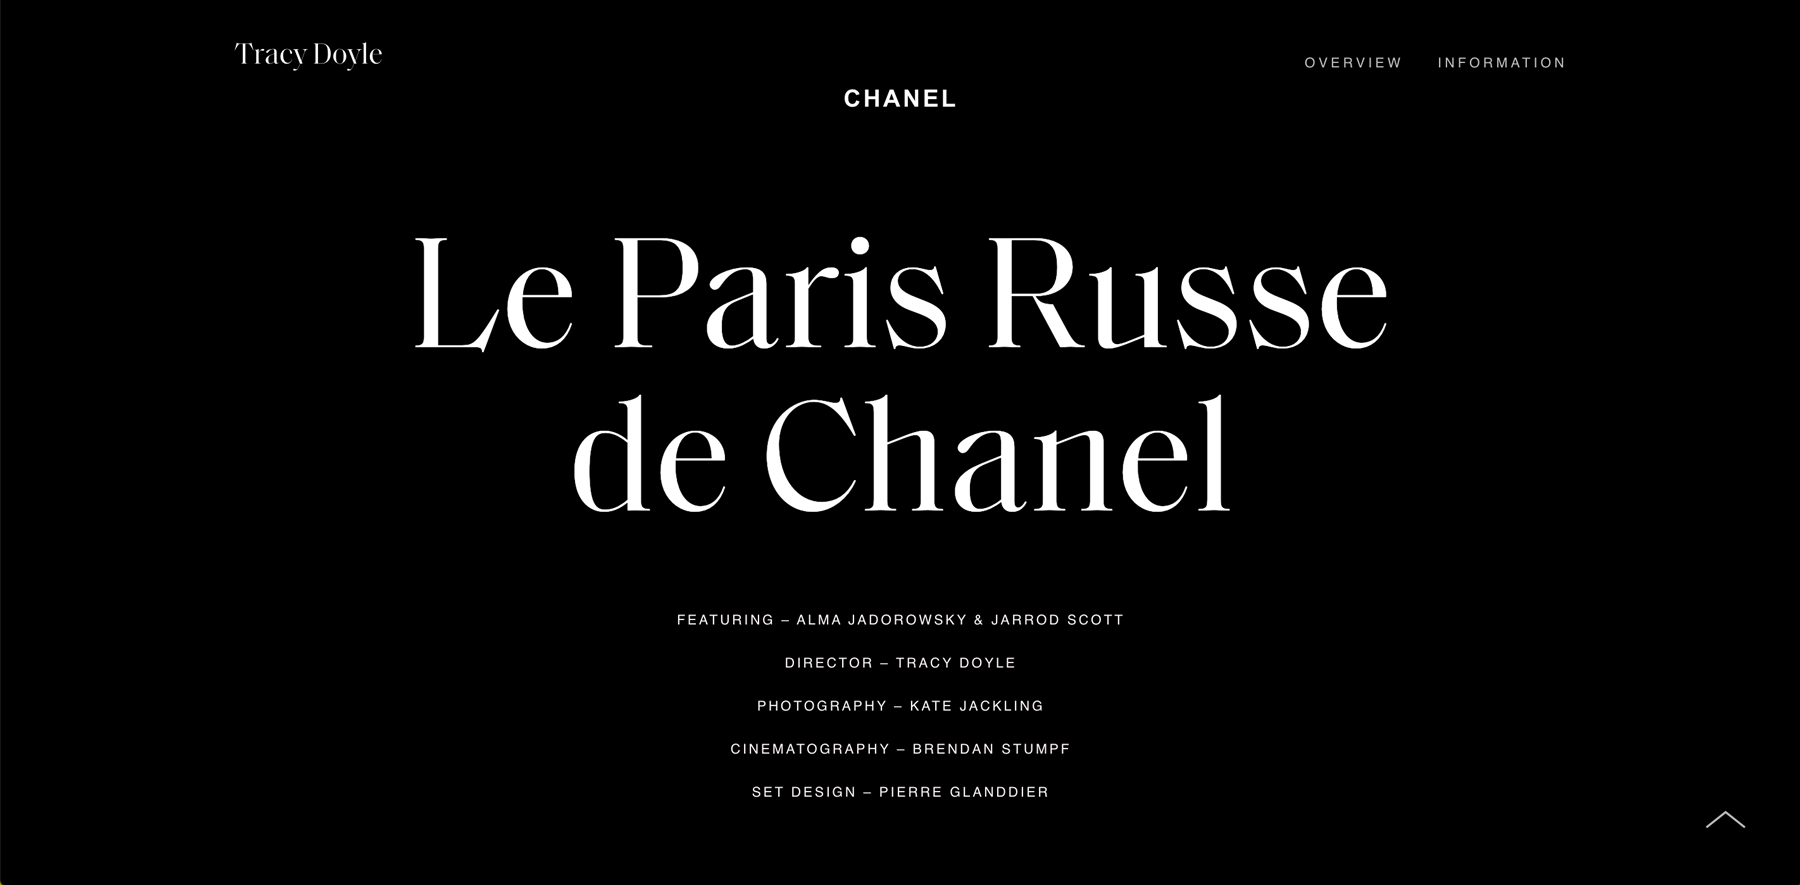
Tracy Doyle

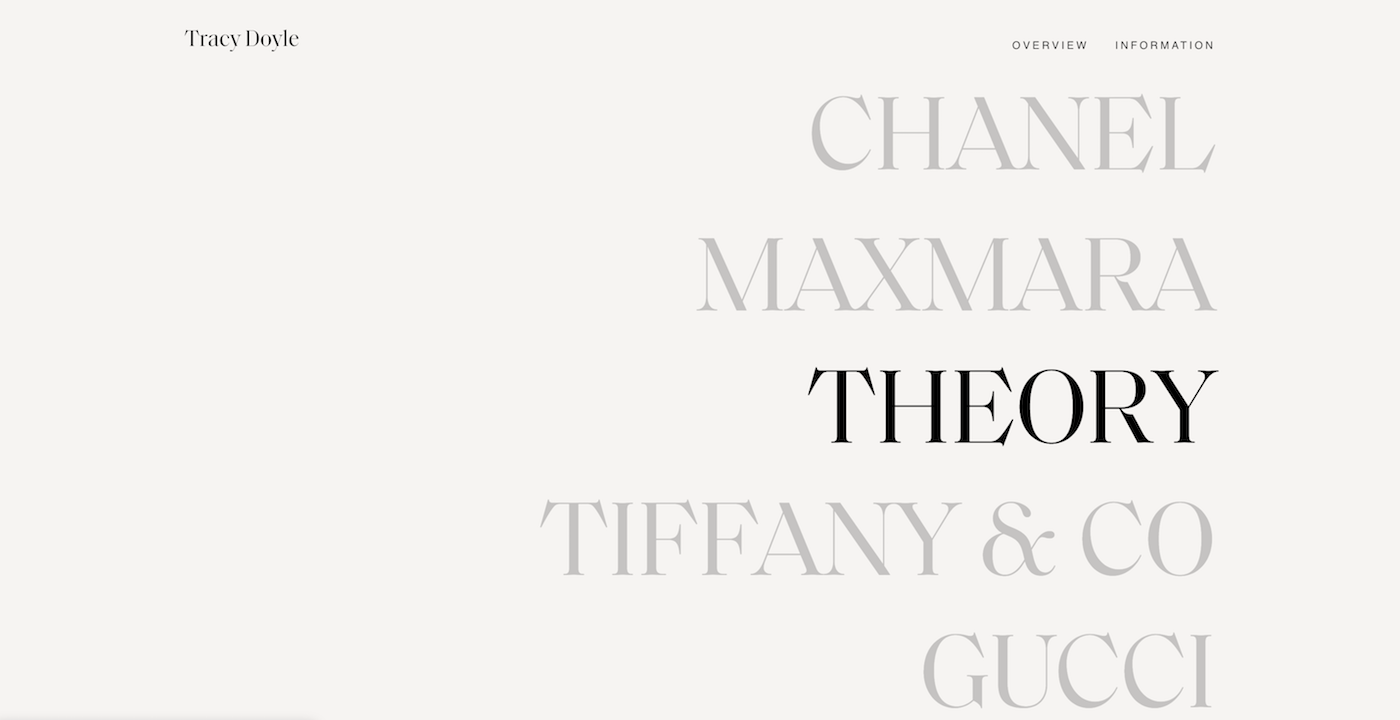
For her portfolio, Tracy used a minimalist approach. Instead of relying on visuals, she uses a simple text grid that puts emphasis on the high-profile clients she's worked with.


What we'll be creating

For this tutorial, I'll show you how you can quickly and easily create a compelling work page using Semplice. We'll explore a variety of four different approaches to the work page design, giving you just a sample of different options and layouts you can use to show off your work.

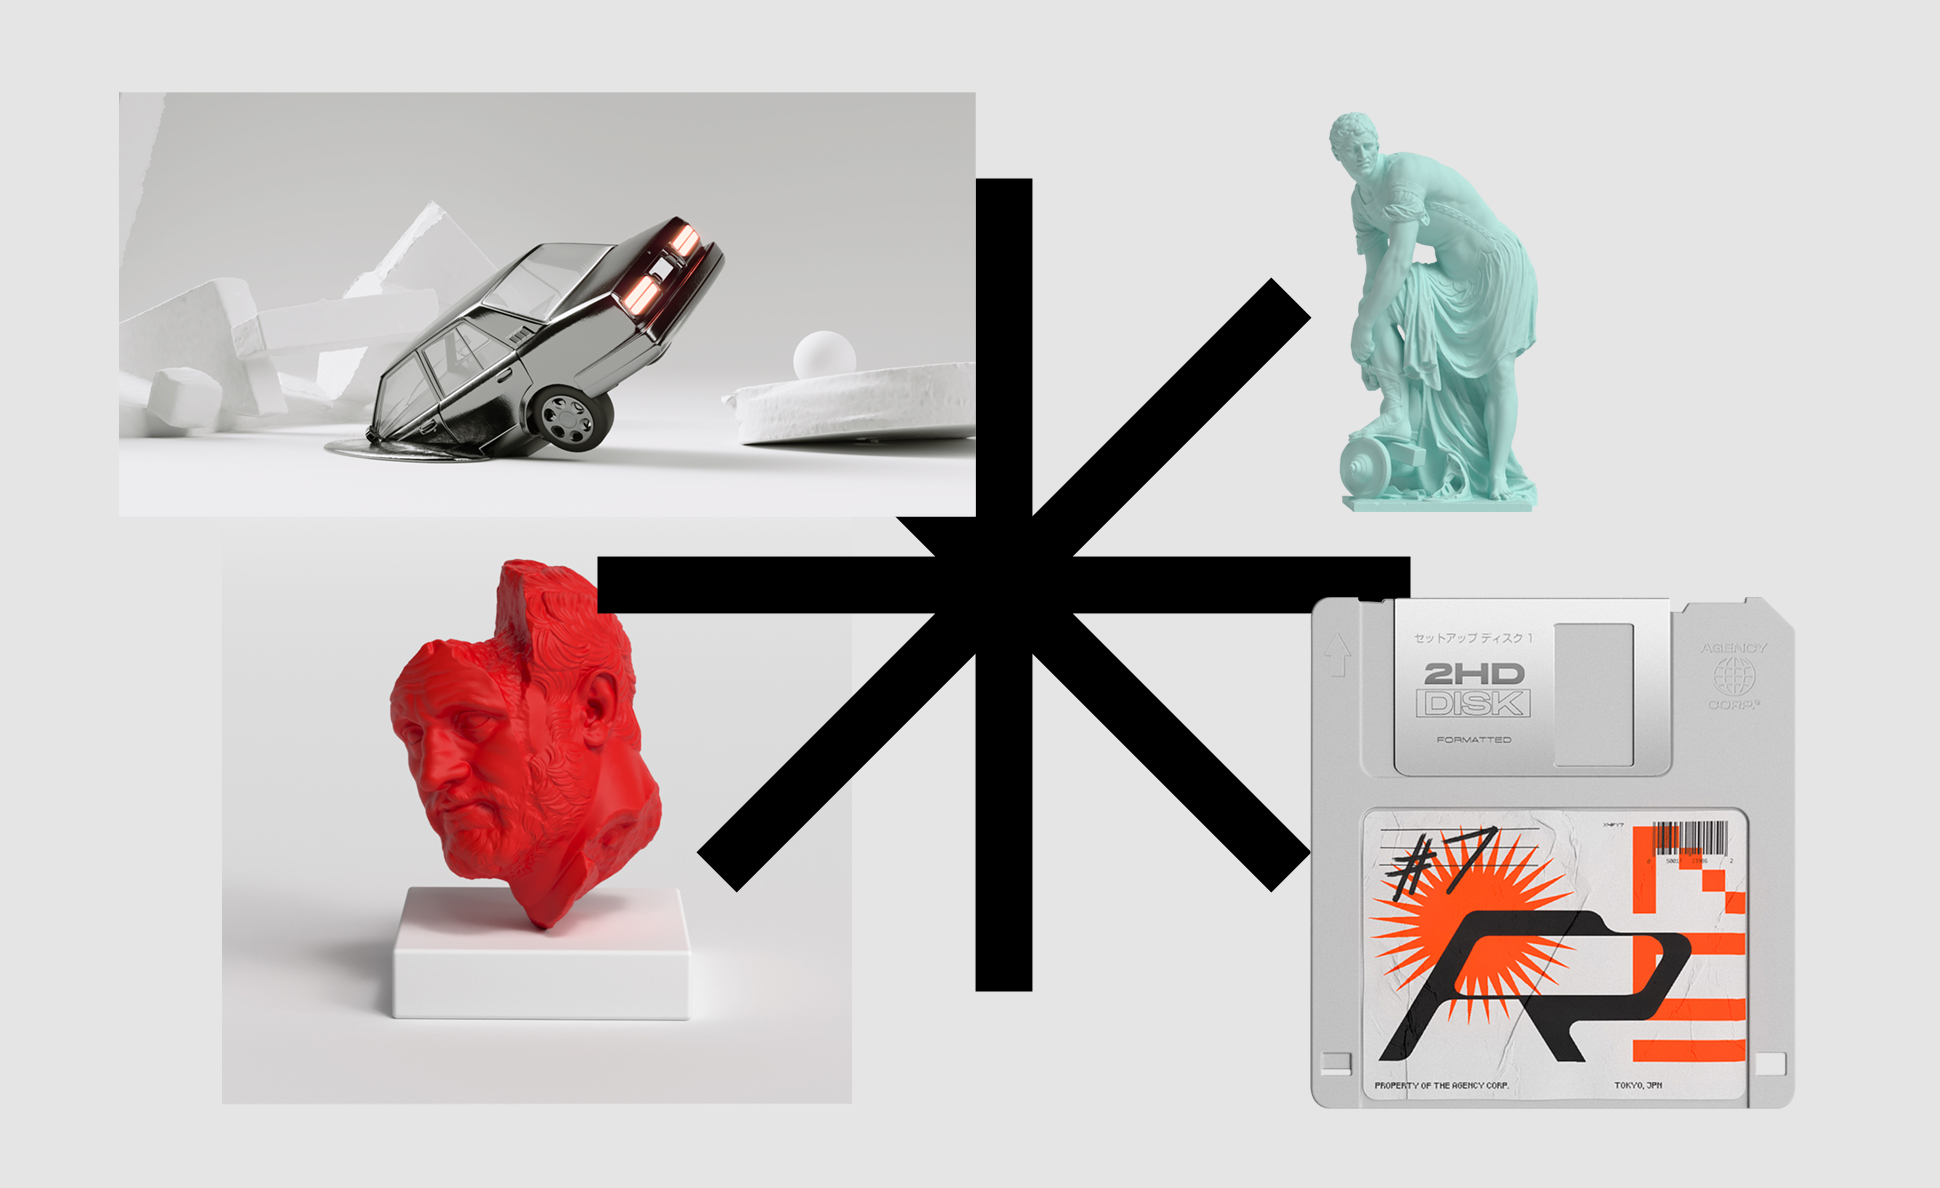
I've created fake studio called PLY® Studio featuring some of my own personal work. This is what we will use to build out our Work page.

We will use a fake studio to create our portfolio site. Work samples by Jon Vio.

Getting started

First, we need to create some projects that will appear on our Work page. If you're just starting out with Semplice, here is a help guide for creating your first project.

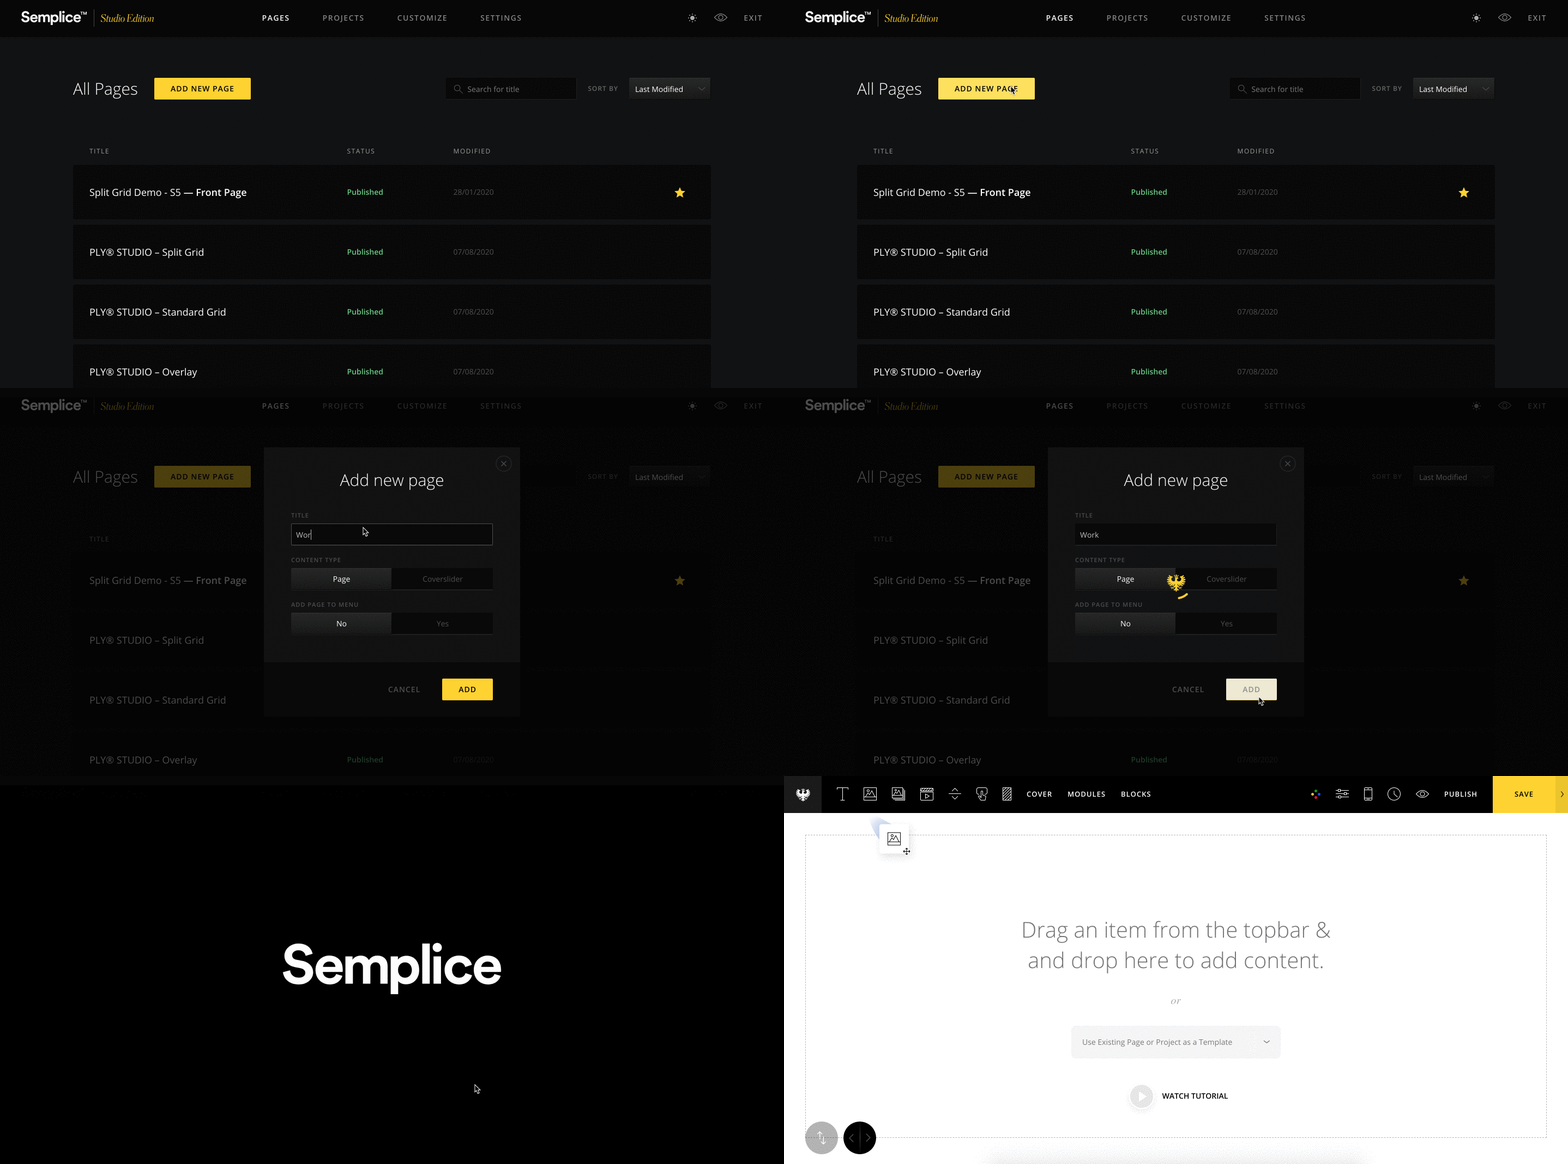
With our projects created, let's open up a fresh page in Semplice. Name the page "Work" or something similar.

1. The standard grid

The standard grid of thumbnails, what we call the Portfolio Grid in Semplice, is a tried and true way to show off your work in a clean and simple way:

VIEW THE LIVE DEMO

The Portfolio Grid consists of a masonry-style, 12-column grid comprised of your project thumbnails. Each project thumbnail can be given a custom column width. There are a variety of options to customize your Portfolio Grid width, including adding a thumbnail hover effect, live project filtering, and more.

Let's go ahead and place the Portfolio Grid on our page:

You'll notice right away the Portfolio Grid is populated with our projects. If you don't see your projects right away, make sure they are PUBLISHED and not set to DRAFT.

Let's now adjust our project thumbnail widths to evenly space out our thumbnails and create a nicely aligned grid. I've set my first project to 12 columns, which will give us a full-width effect. To get the two-column format, we'll set the next two projects to have column widths of 6. For the smaller images, we can set these to display three rows across by setting each column width to 4.

PRO TIP: You can quickly adjust individual project settings by hovering over the thumbnail from the Portfolio Grid and clicking the edit settings icon.

Let's also display our project title and category underneath each project thumbnail. To do this, set "Title & Type Visibility" to show both the project title and category.

2. Text Grid

Another interesting way to display your work is in a Text Grid. The Text Grid is a layout preset included with the Advanced Portfolio Grid as part of Semplice Studio edition. To learn more about the Advanced Portfolio Grid, read this guide.

VIEW THE LIVE DEMO

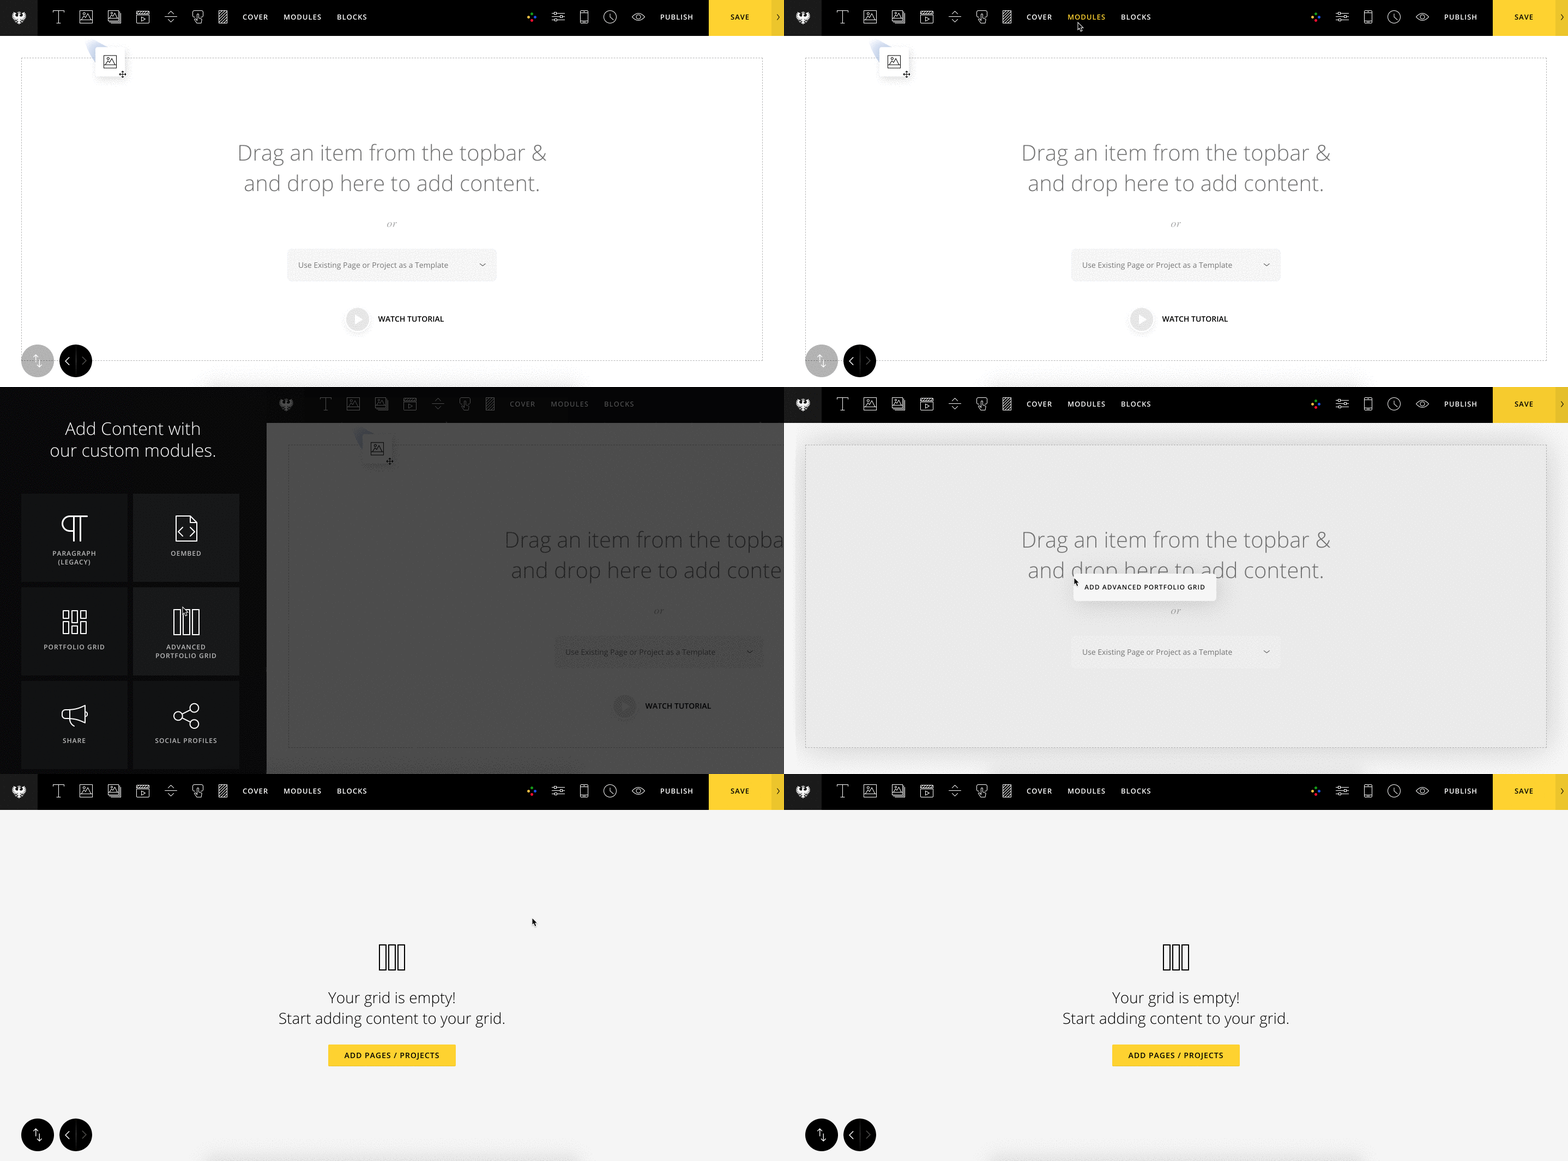
To create our Text Grid, we'll drag & drop an Advanced Portfolio Grid (APG) module onto our page. You then have the option to choose which pages or projects you want included in your APG grid, so let's go ahead and add them.

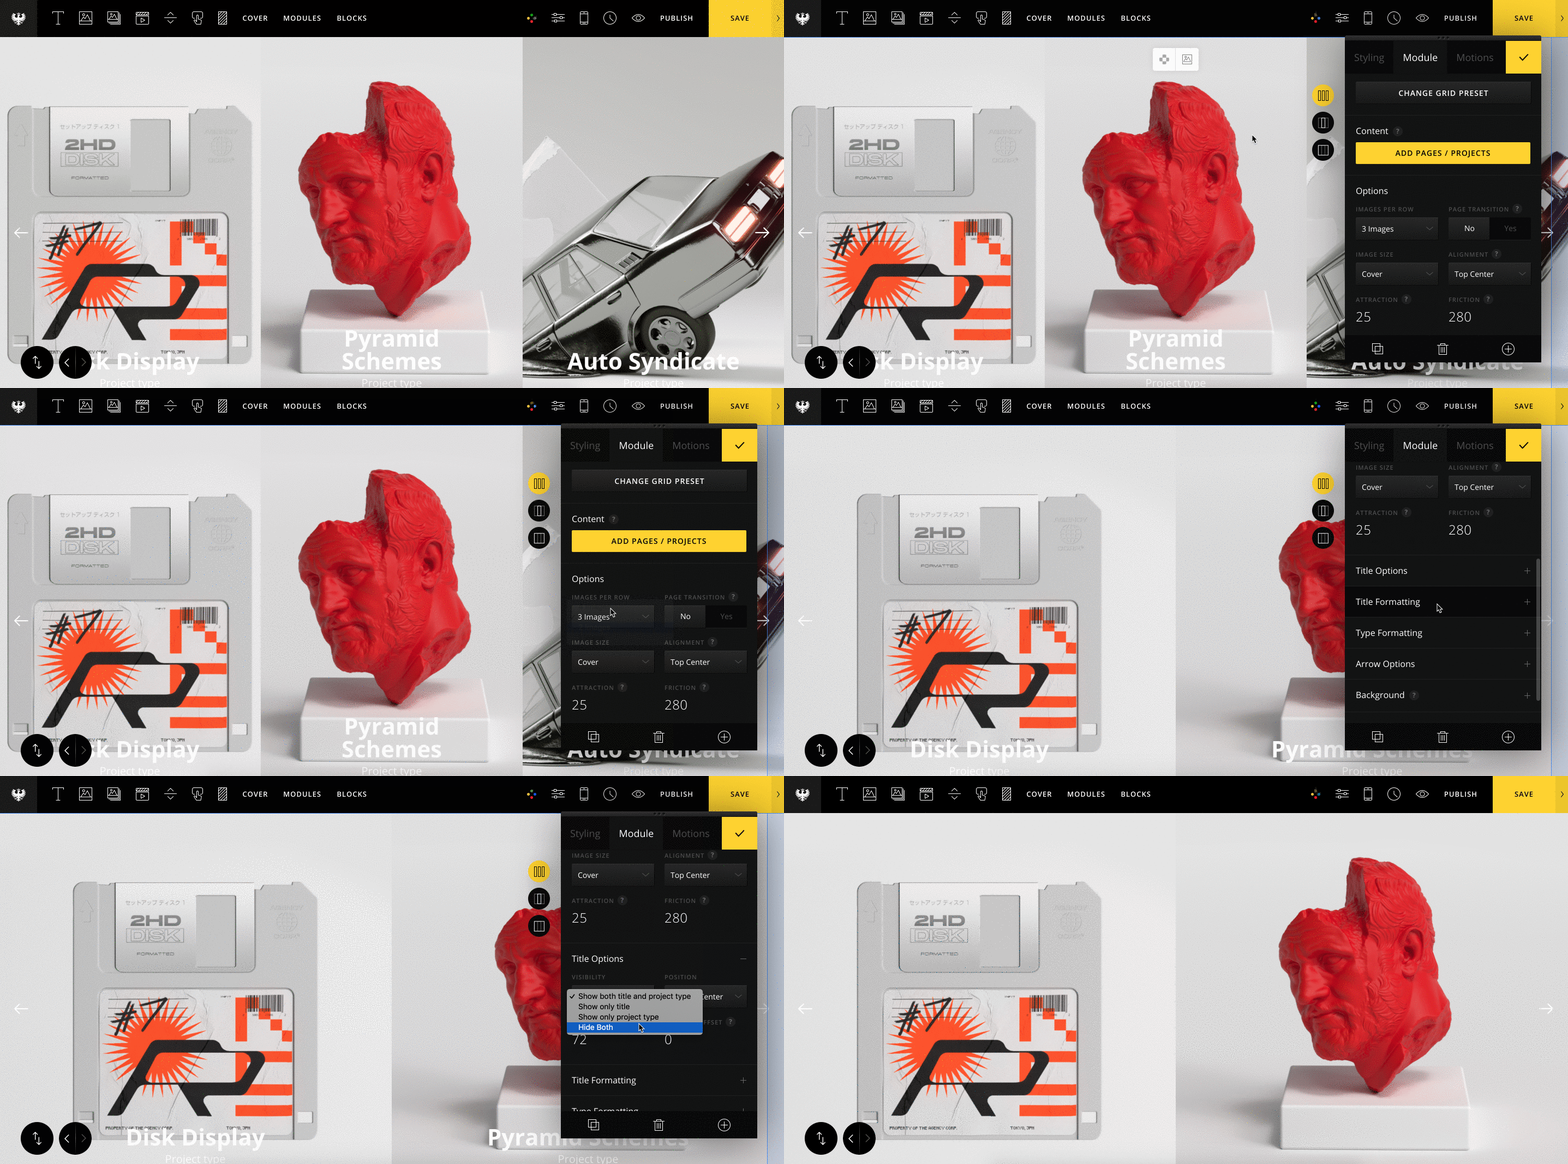
After adding our projects, go to "Change Grid Preset" and set the preset to Text Grid. Once done, you'll notice the APG has automatically populated our projects in a vertical text list.

I'll keep the Title direction option to the default Vertical setting and style the grid accordingly. To get the cool mouse hover effect, set the Mouseover effect to "Original (Stick to Mouse)." I've also enabled the Title Mask effect. Note: this effect will only work if the Title direction is set to Vertical.

3. Overlay Grid

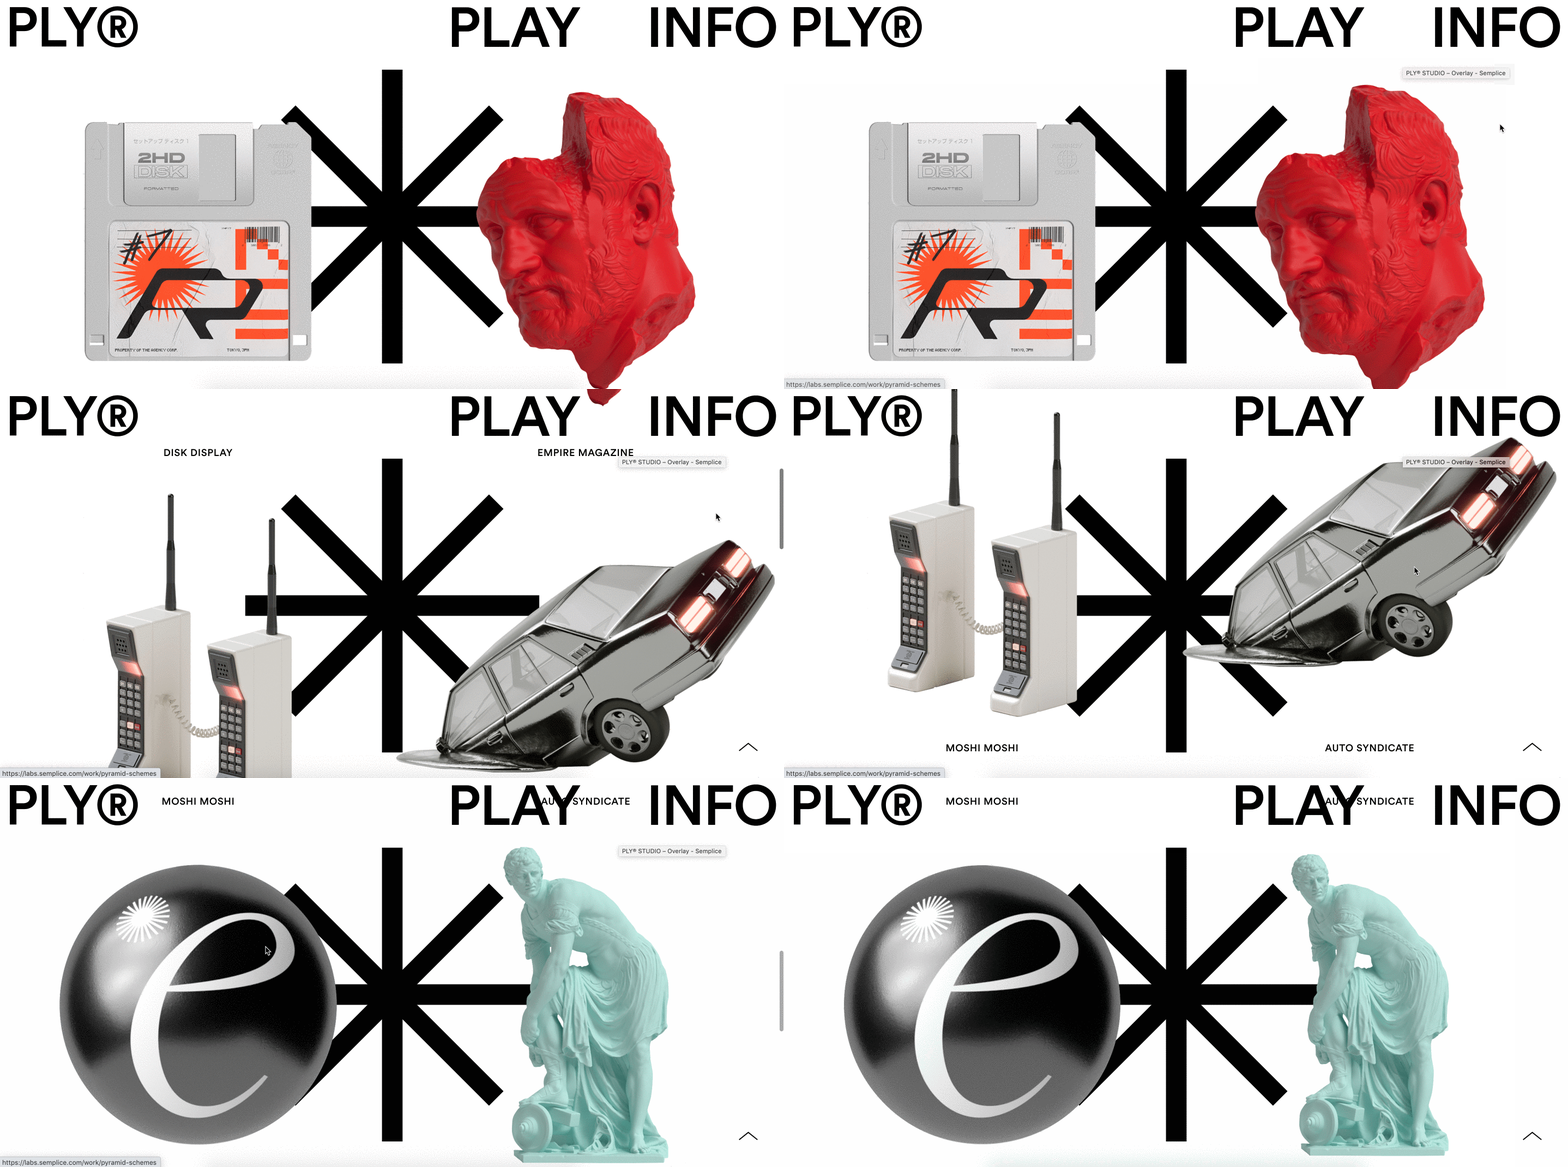
This is a popular style right now for Work pages: Overlaying your project thumbnails on a fixed background image or text:

VIEW THE LIVE DEMO →

For this portfolio effect, we will place a standard Portfolio Grid on our page. Next, we will need to create images of all of our thumbnails as PNG files with transparency. The transparency will allow the background to show through while the scrolling through the Portfolio Grid.

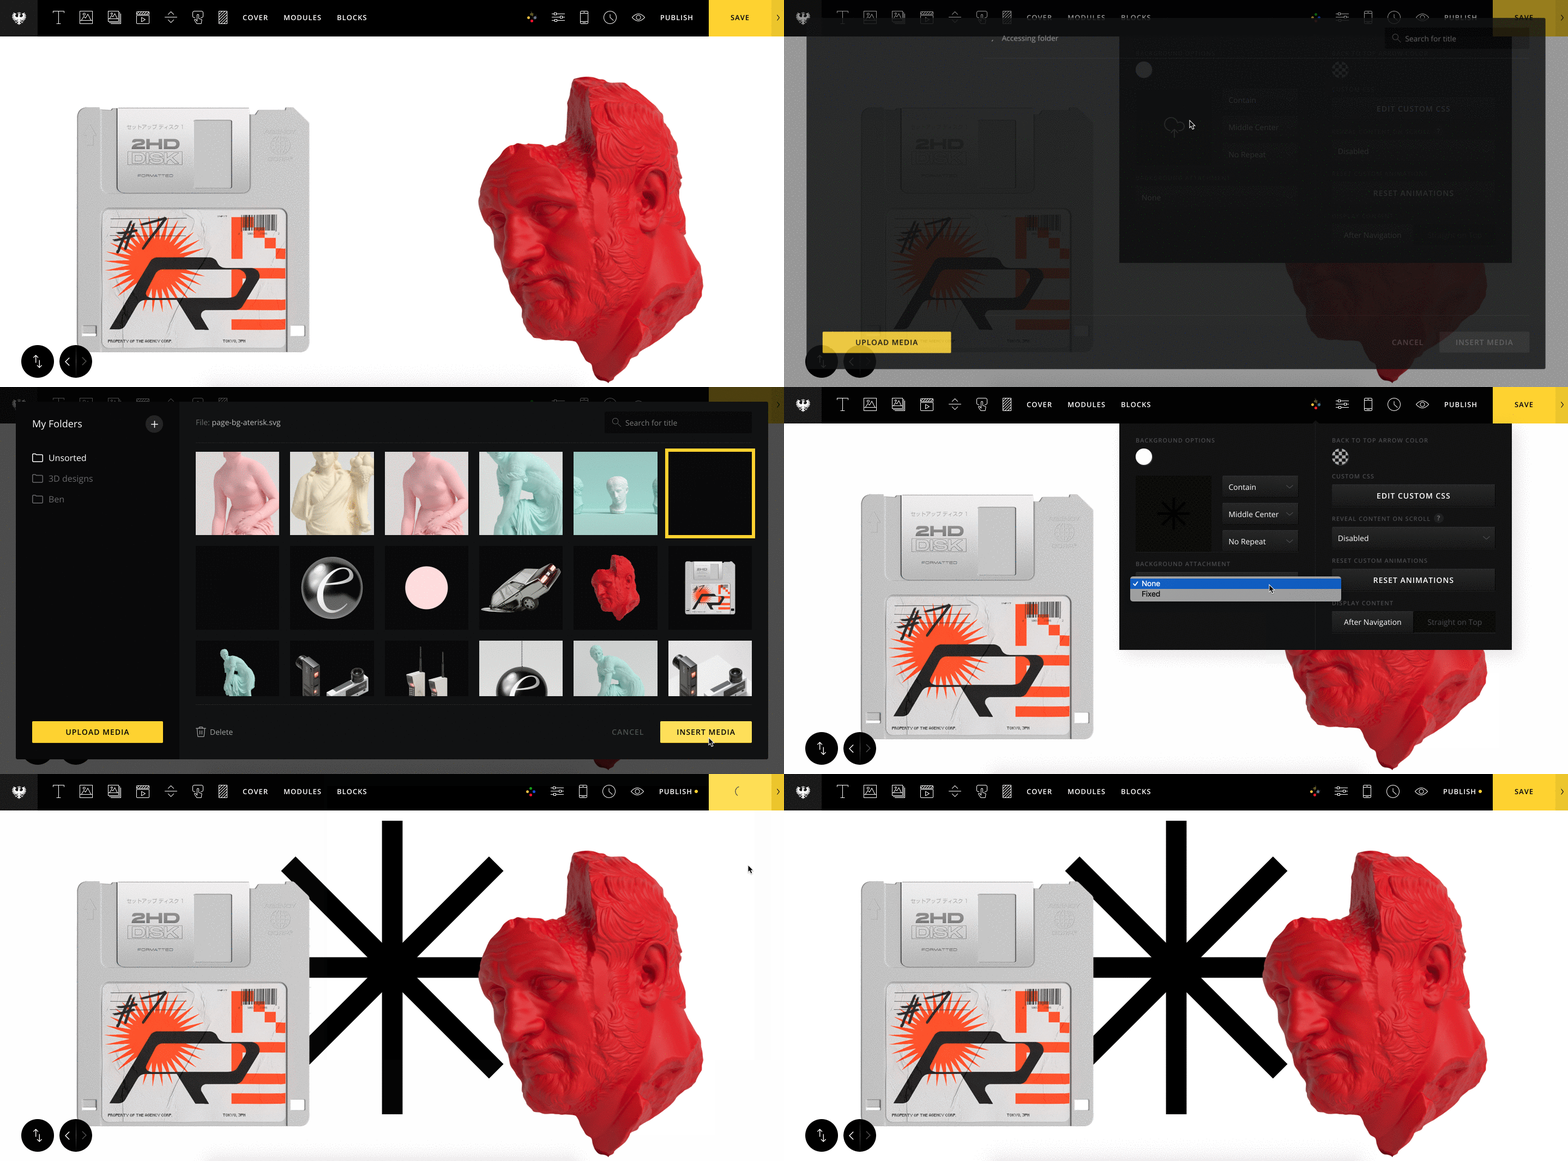
With our transparent PNG thumbnails set, let's now add a fixed background to sit behind our Portfolio Grid. Go to the Look & Feel tab from the editor and set a background image. Adjust the size and placement to your liking. Finally, under the Background Attachment option set the background image to be fixed.

Alternatively, you can also use our hack guide to create a fixed section that will sit behind your portfolio grid. Just be sure that the section where you placed your Portfolio Grid has a higher Z-index value (located under Section Styling) than your fixed section. Otherwise, the Portfolio Grid will not sit on top of your fixed section.

4. Split Grid

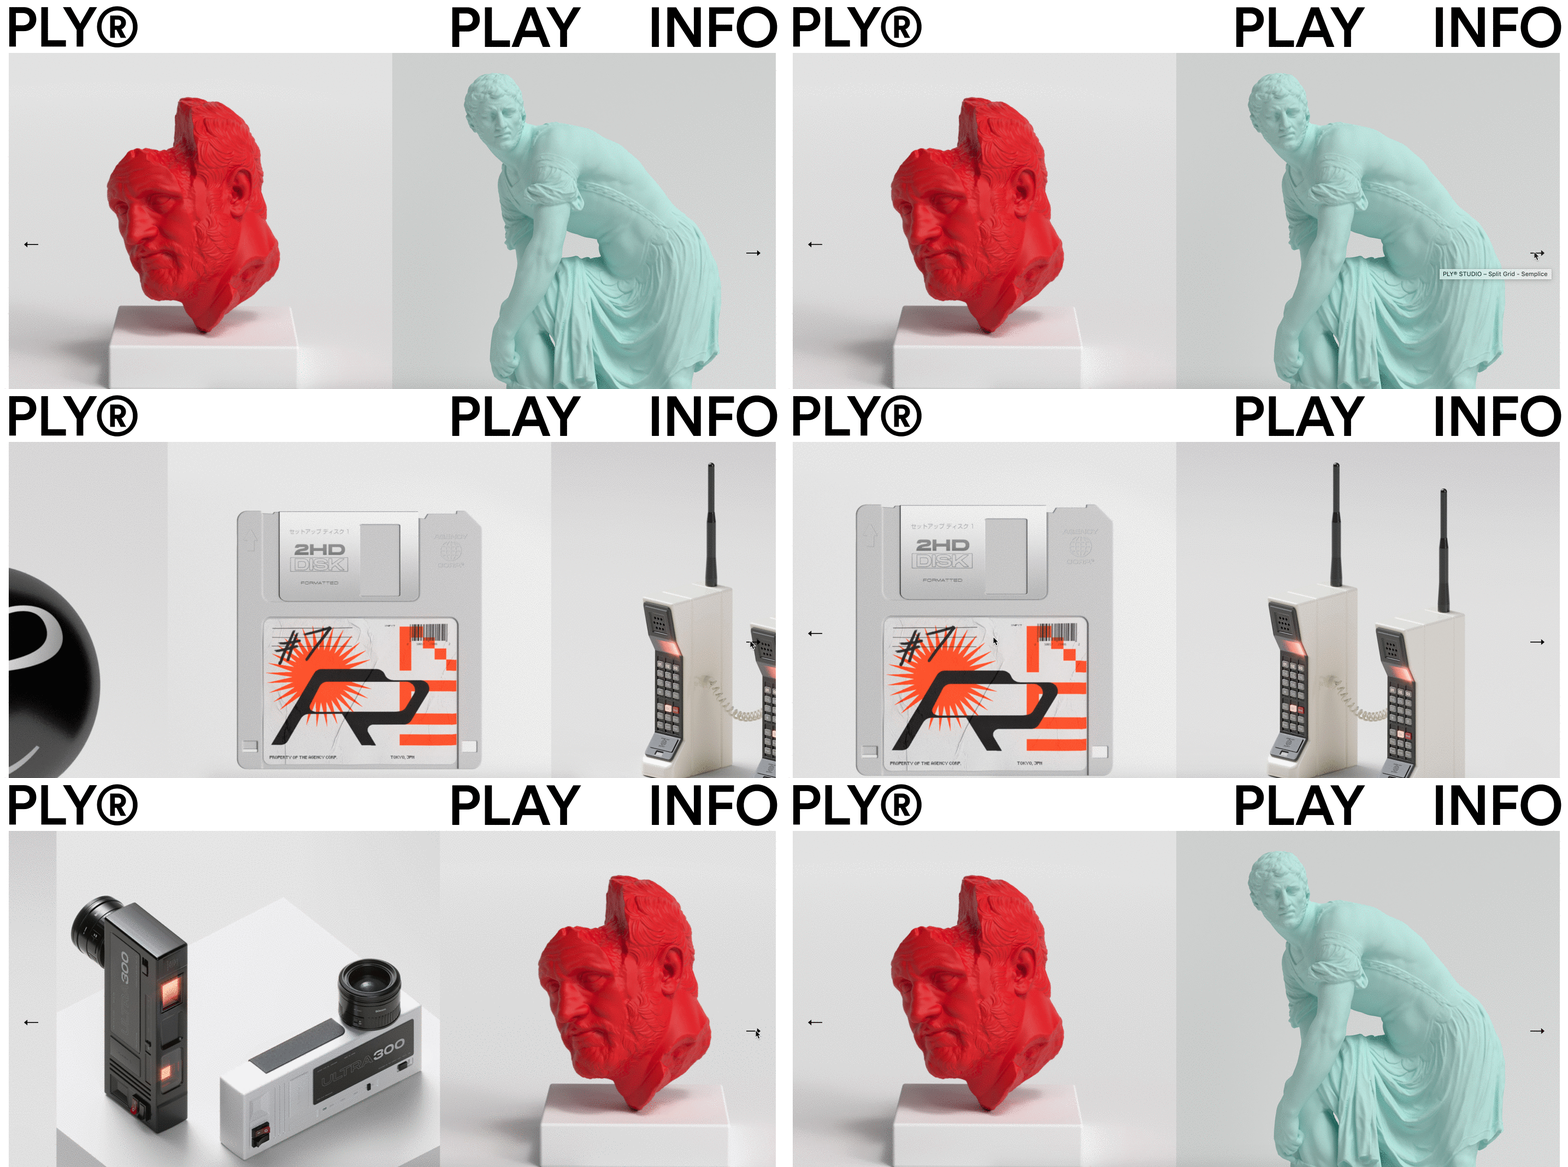
Another interesting way to showcase your work is to use the Advanced Portfolio Grid module and create a two-column fullscreen grid. This grid is really great for putting the focus on your work and simplifying your presentation.

VIEW THE LIVE DEMO →

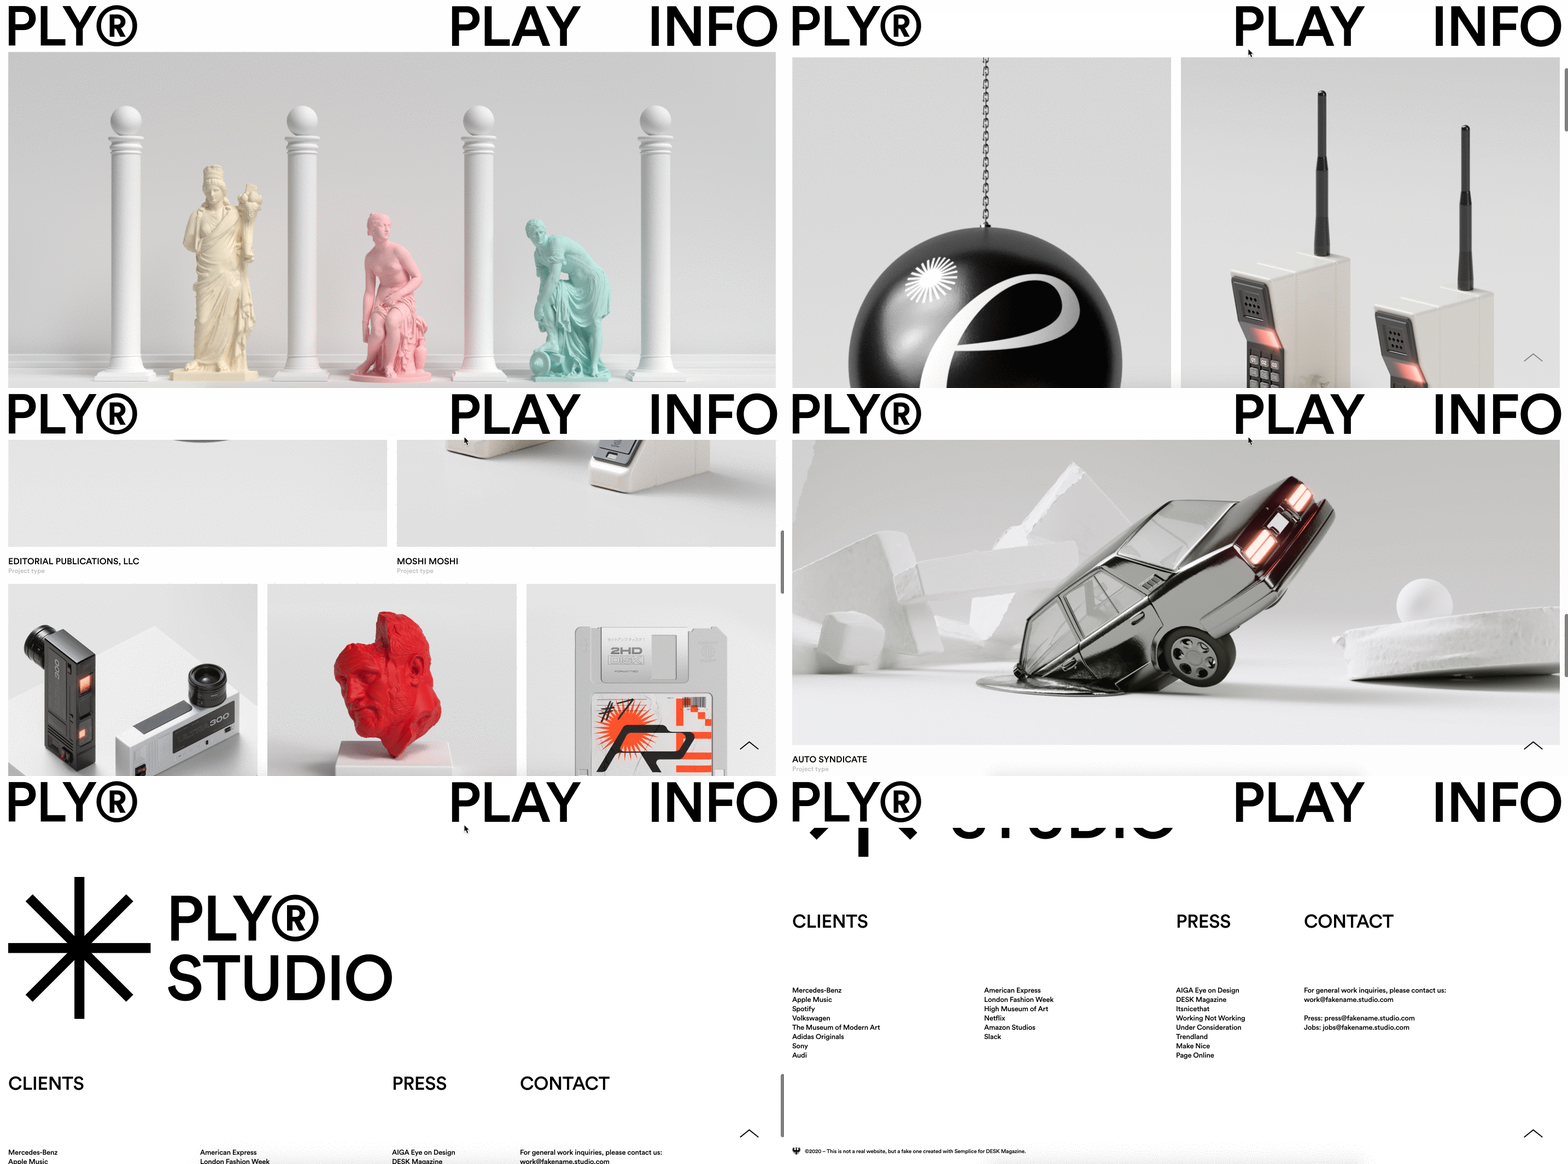
Once again we will use the Advanced Portfolio Grid for this effect, and choose the Horizontal Fullscreen layout preset. Place a new APG grid on your page. The default layout preset will already be on the Horizontal Fullscreen option, so no need to select it.

Also, I recommend setting all of your images to the same dimensions for best results.

Next, let's set the" Images Per Row" to 2, and the image size to "Cover." I've also opted to hide the Project title and category.

Lastly, we can add a nice Mouseover effect for our thumbnails. I've opted for a nice zoom effect.

That's it!

It's really that easy to get a variety of different ways to display your projects with Semplice. Of course, these are just a sampling of different layouts and effects. It's really up to your imagination. We hope you enjoyed this tutorial!

July 30, 2020No Comments

Monthly portfolio inspiration of July 2020

Once a week, we select two portfolios created with Semplice to feature in our Best Of  Showcase.  Here we've collected our favorites from the month of July.

With summer in full swing, designers are more often than not busy with work and finding time between busy schedules to work on their portfolios. Still, we're amazed each week at seeing the creative talent of those who choose to use Semplice to build the portfolio site of their dreams. Here are some of my favorite picks from the month of July.

Browse the best portfolios of the month below to see fresh new work and get inspired for your own site. And if you've created your own portfolio with Semplice, be sure to submit it to our Showcase here. We might feature your site next.


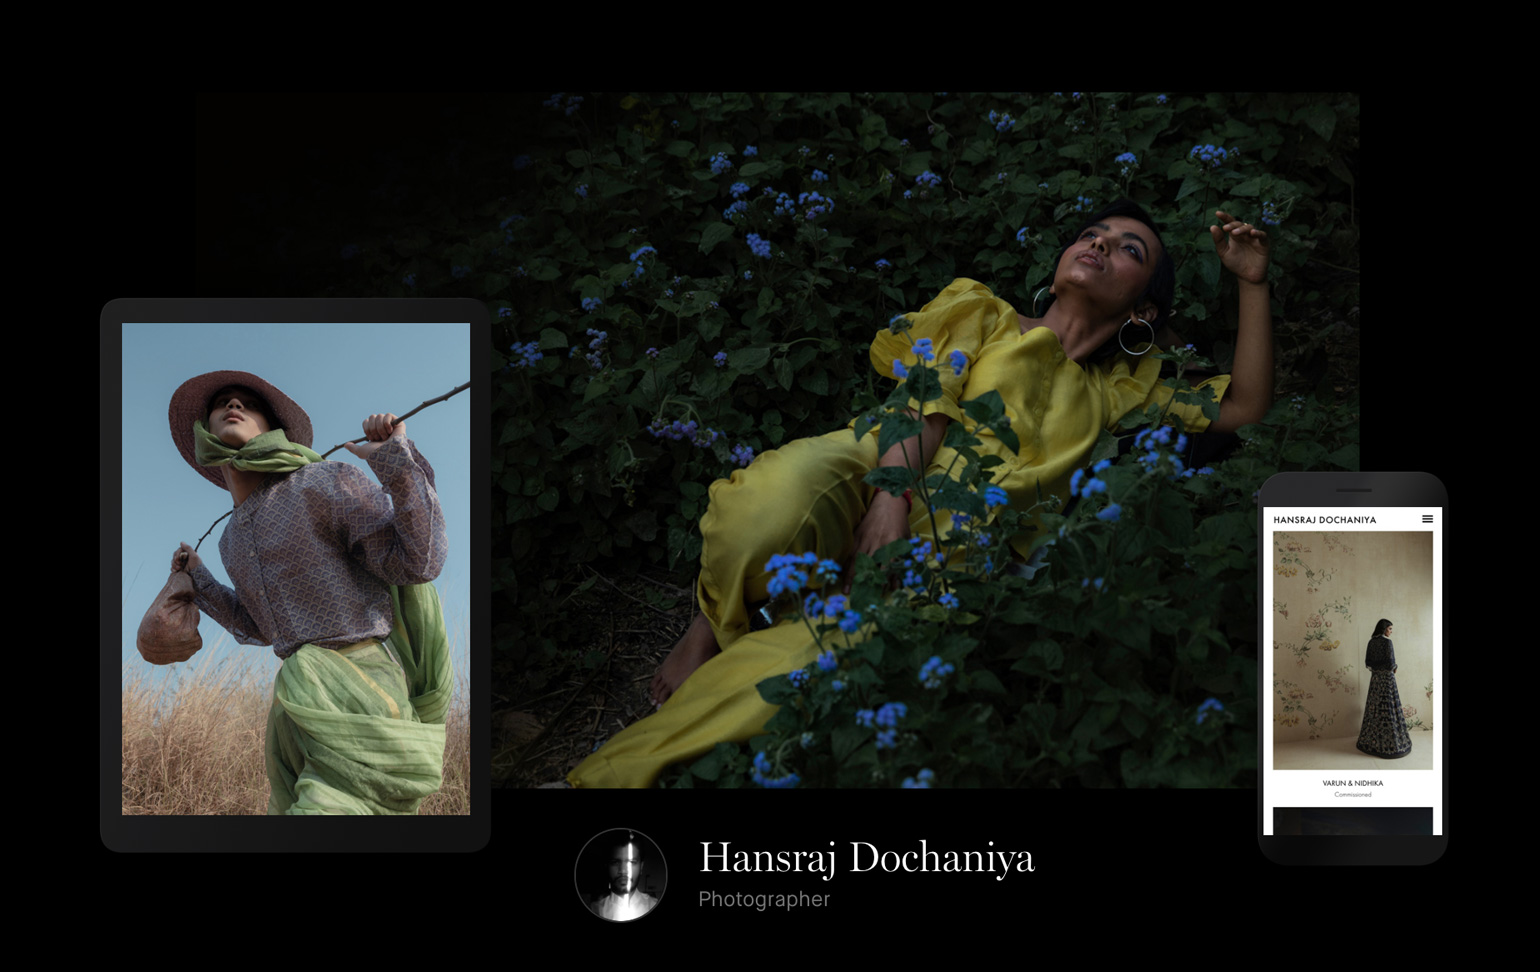
Hansraj Dochaniya

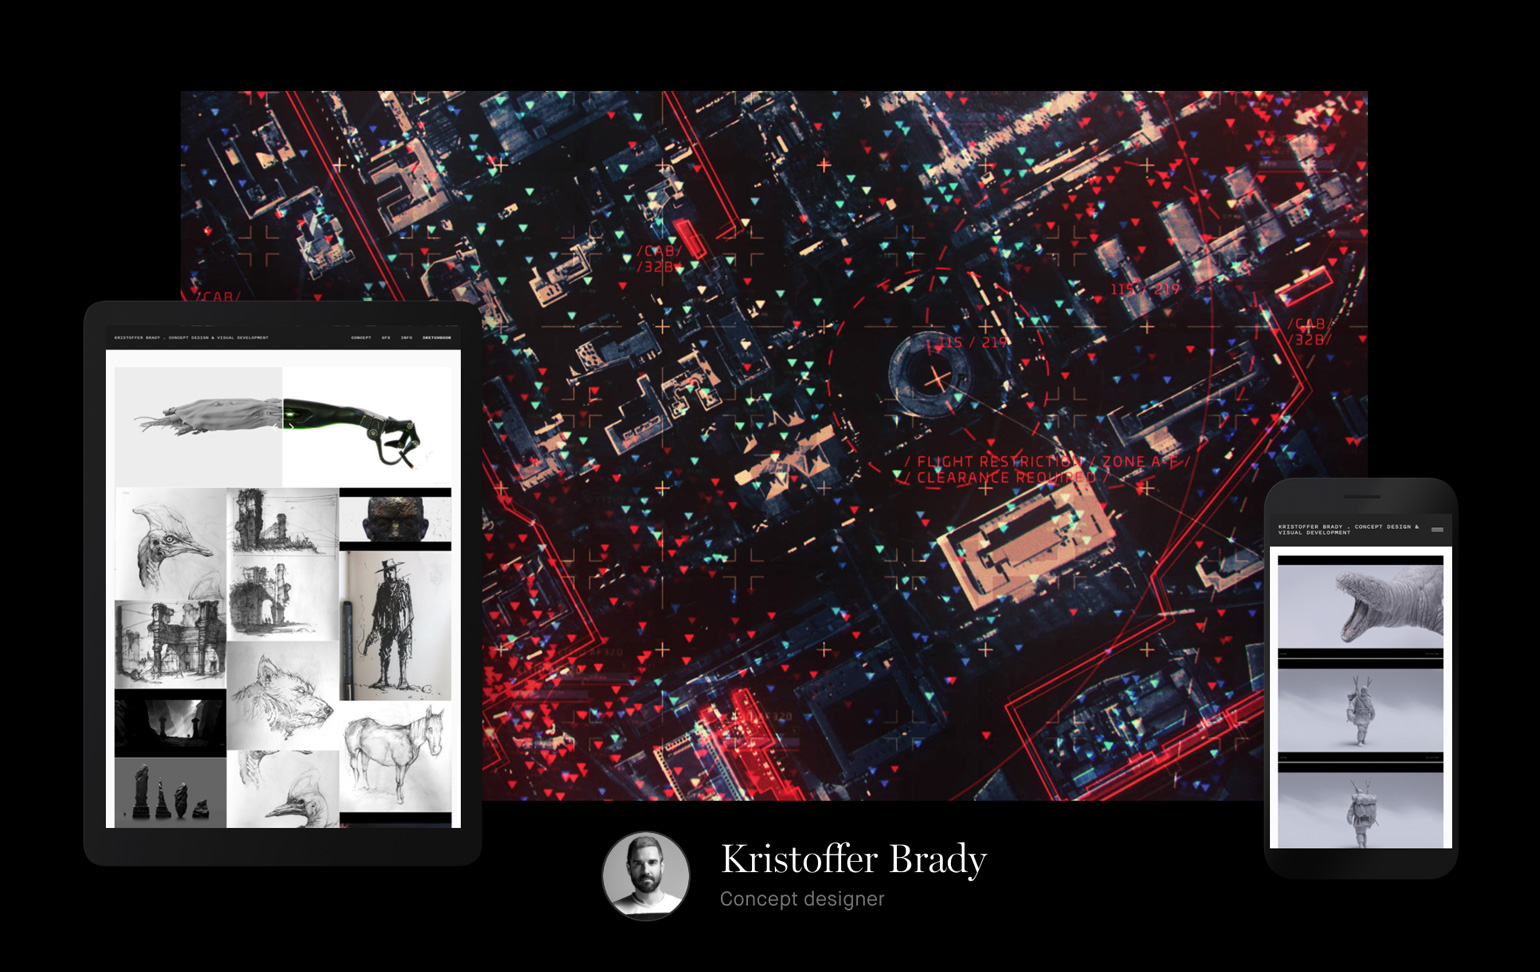
Kristoffer Brady

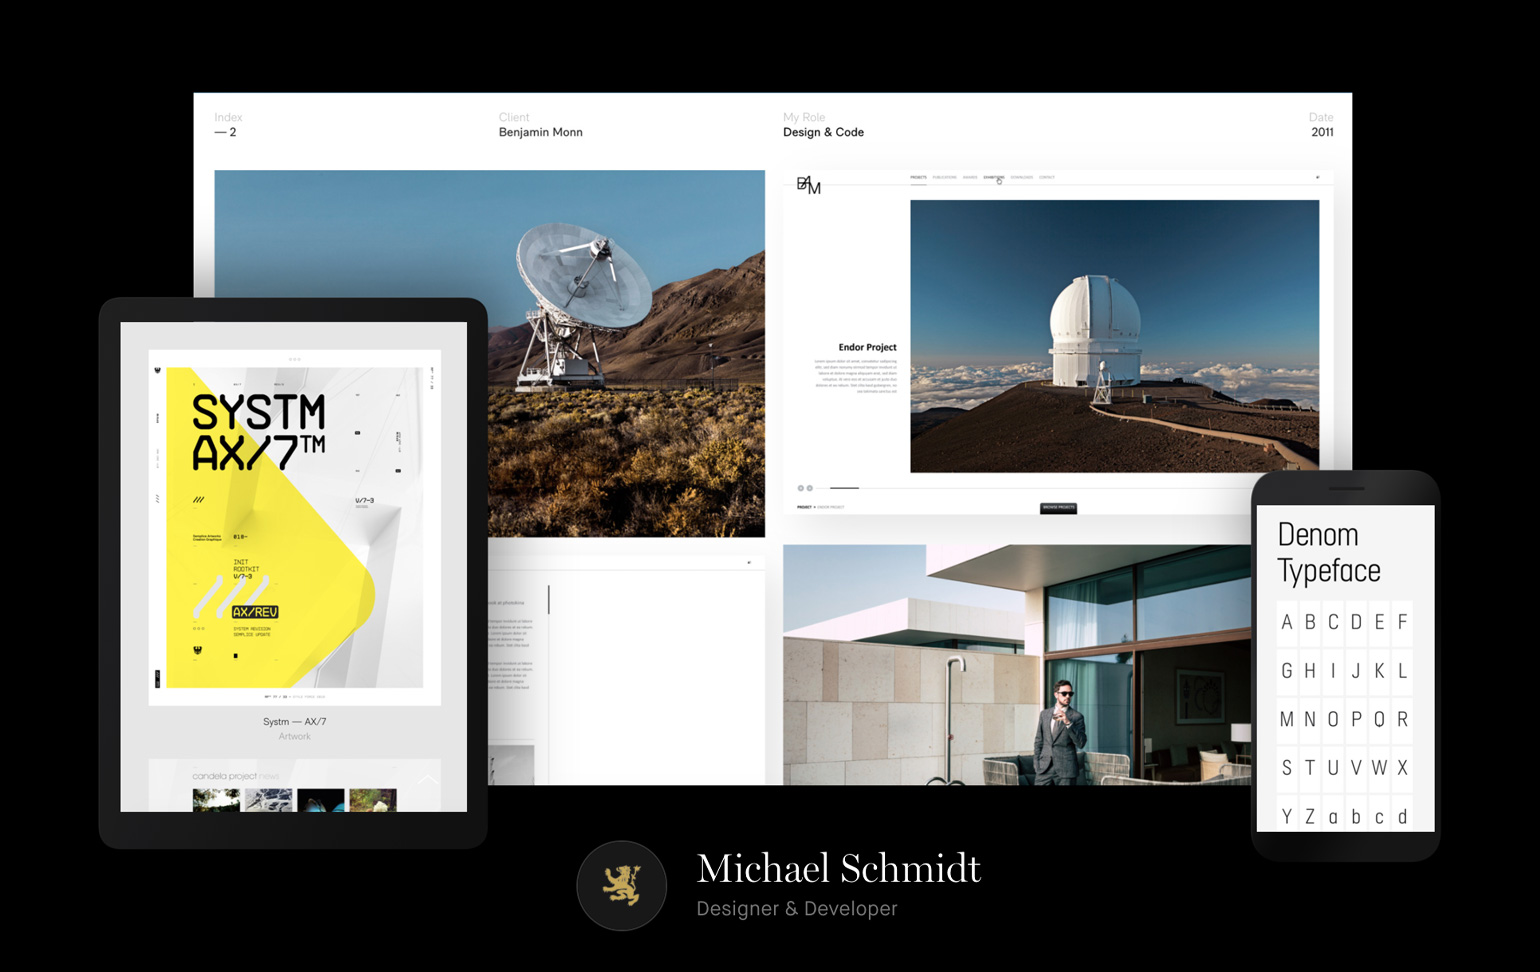
Michael Schmidt

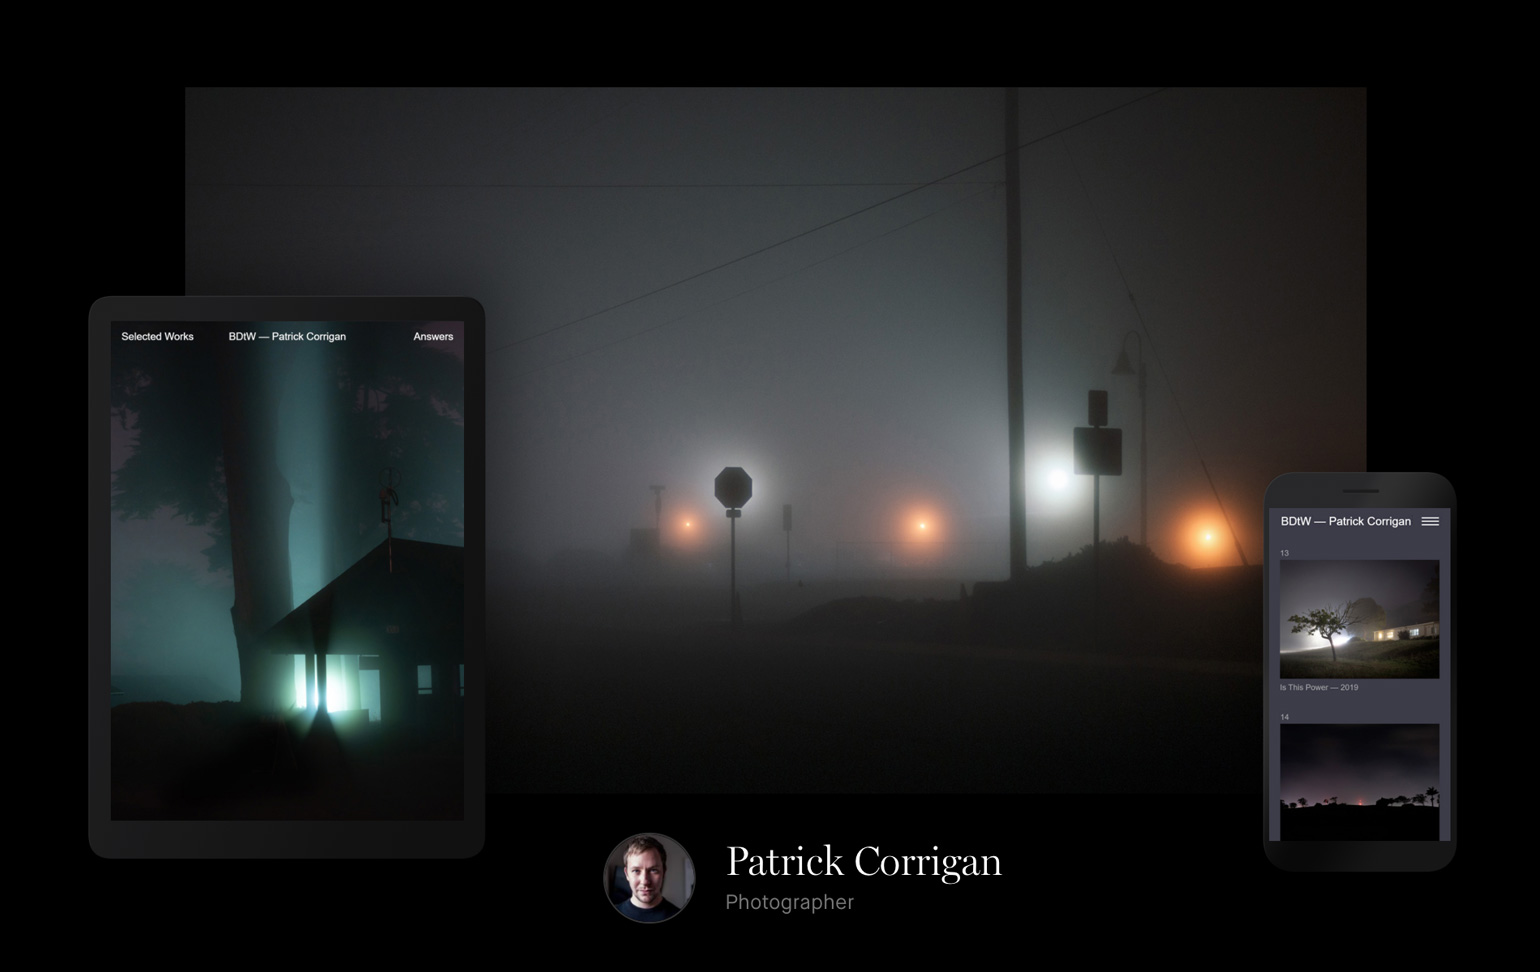
Patrick Corrigan

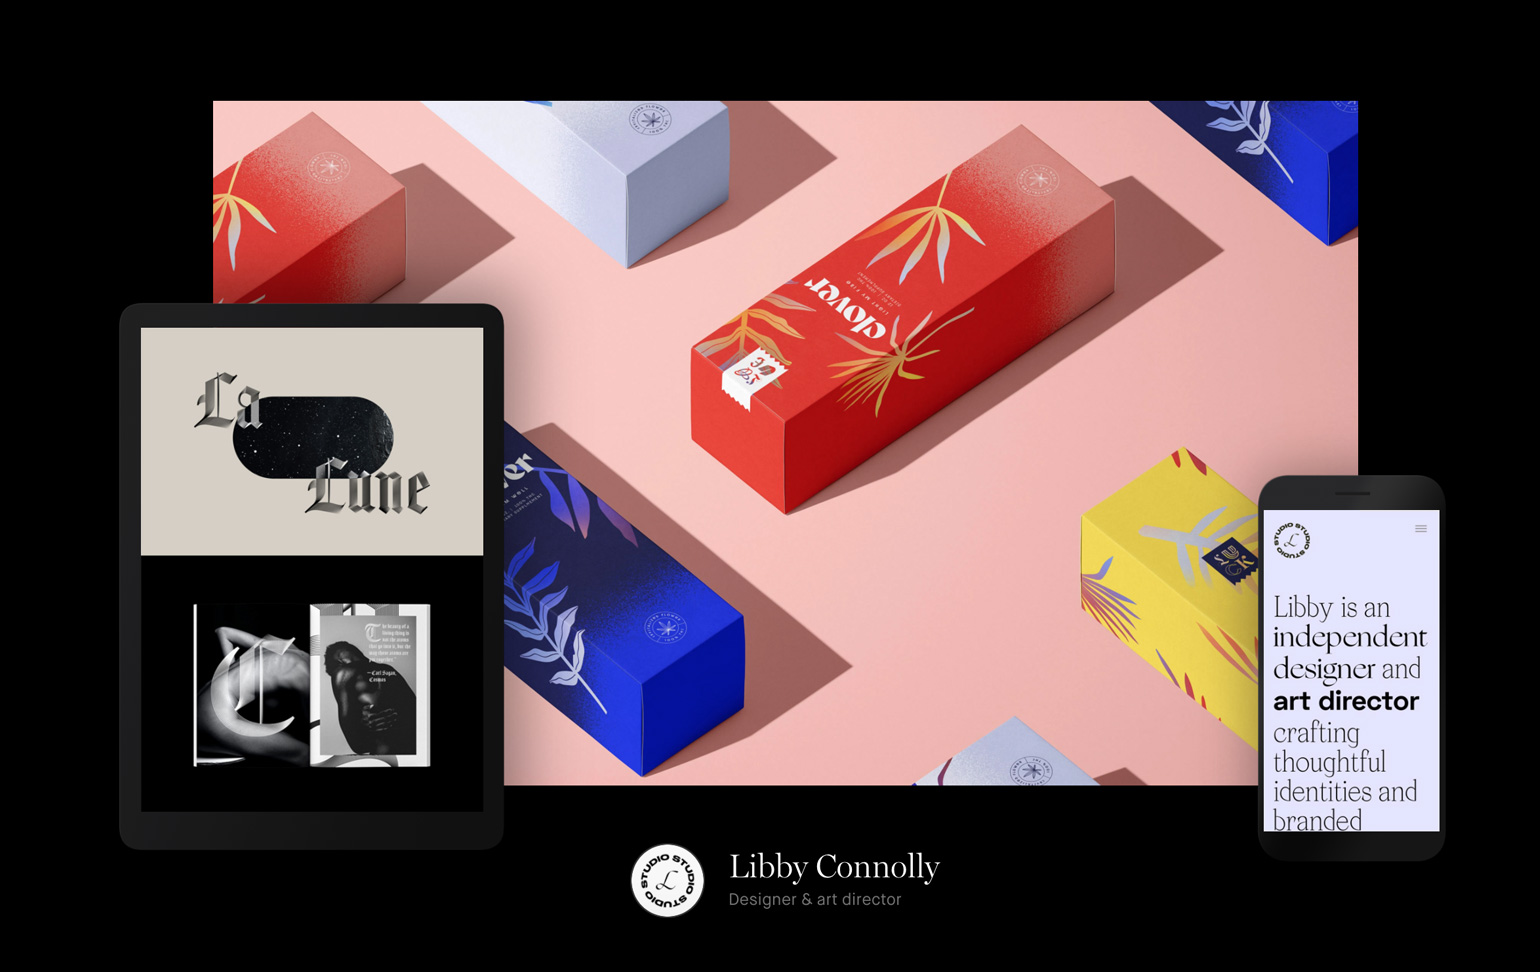
Libby Connolly

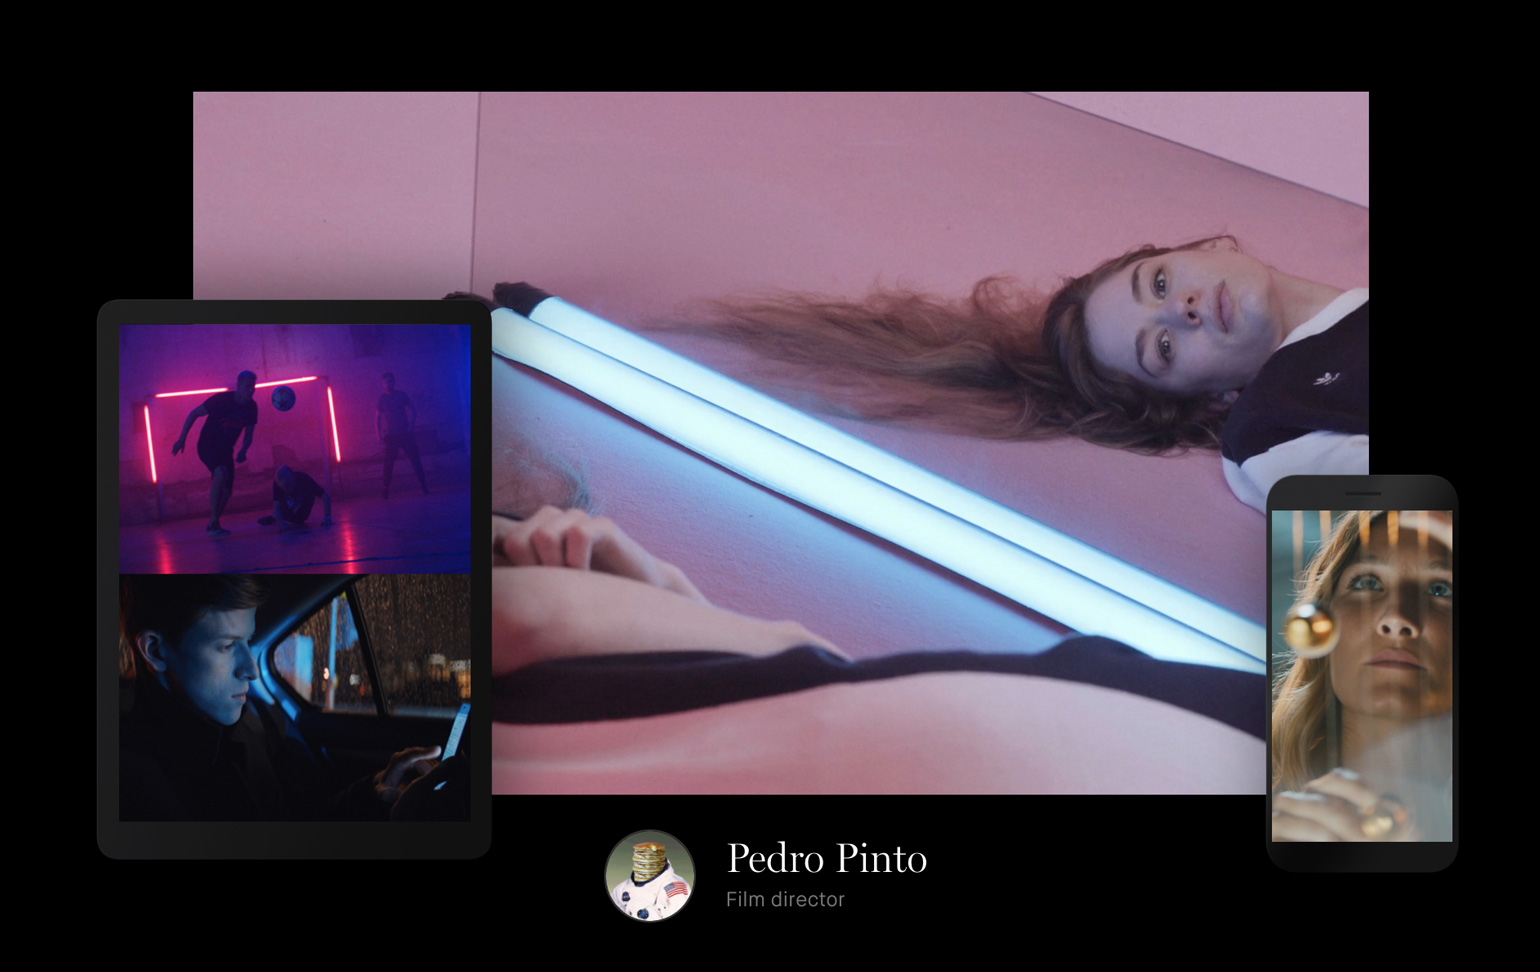
Pedro Pinto

Studio MPLS

Raúl Gil

Alexine Beltran


To see more great design portfolios, visit the Semplice showcase. I'll be back next month with more of our monthly favorites!

Header image by Tracy Doyle

July 21, 2020No Comments

Mastering the art of 3D lighting with Adobe Dimension

As we venture further into the world of 3D design, from abstract 3D art to 3D typography to creating geometric structures, we've arrived at a crucial point: lighting our 3D scene.

The difference between your standard 3D graphic and an image so cinematic and realistic, you wonder if it's a still from a movie, often comes down to lighting.

It's the glow from a streetlight. The reflection of light on water. The difference between direct overhead light and infused light from a window. The nuanced beauty of light that we experience every day, that takes effort and attention to perfect in 3D.
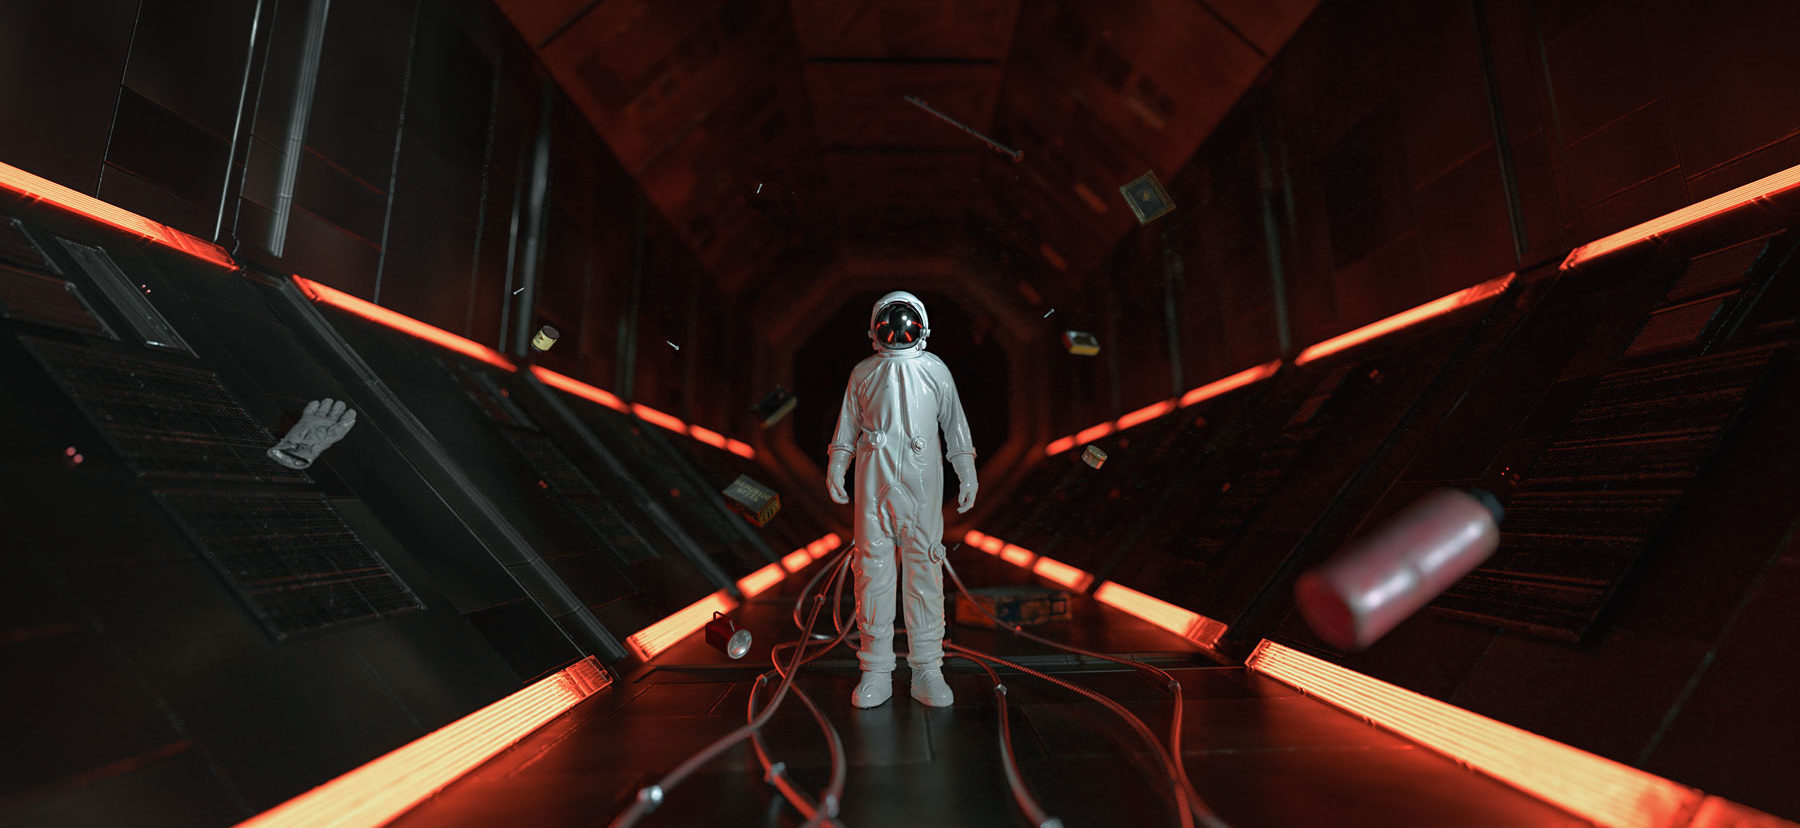
A cinematic 3D scene created using Adobe Dimension

Consider the fact that, when making an animated movie, it's usually someone's full-time job to focus only on lighting. Light is the essence of how we see and visually experience the world. The right lighting can set a mood, influence perception and evoke emotion. It's why it's impossible to leave lighting for last when setting up a 3D scene. Rather, your entire scene is centered around it.

Since our goal with 3D is to reflect the real world, some of the same principles we use for photography apply to 3D. Like photography, the right lighting as well as a keen awareness of your subject and composition are important. It all plays together to make a striking, believable image that resonates.

With this article, we'll share examples of various lighting techniques and give you general principles you can use in your own compositions. We will show you how you can get dramatically different results just from changing the placement of your light sources, and how you'll significantly improve the quality of your 3D work with purposeful, detailed lighting.

Setting the scene

First, let's take a look at a series of images that I created using Adobe Dimension. If you're not familiar already from our other articles, Dimension is Adobe's 3D scene design tool paving the way for designers and traditional graphic designers into the 3D world. (If you're just hearing about it or stepping into 3D for the first time, start with this beginner's tutorial.) Dimension offers default lighting set-ups for your 3D work, but today we'll be focused on manual methods to create your own lighting.

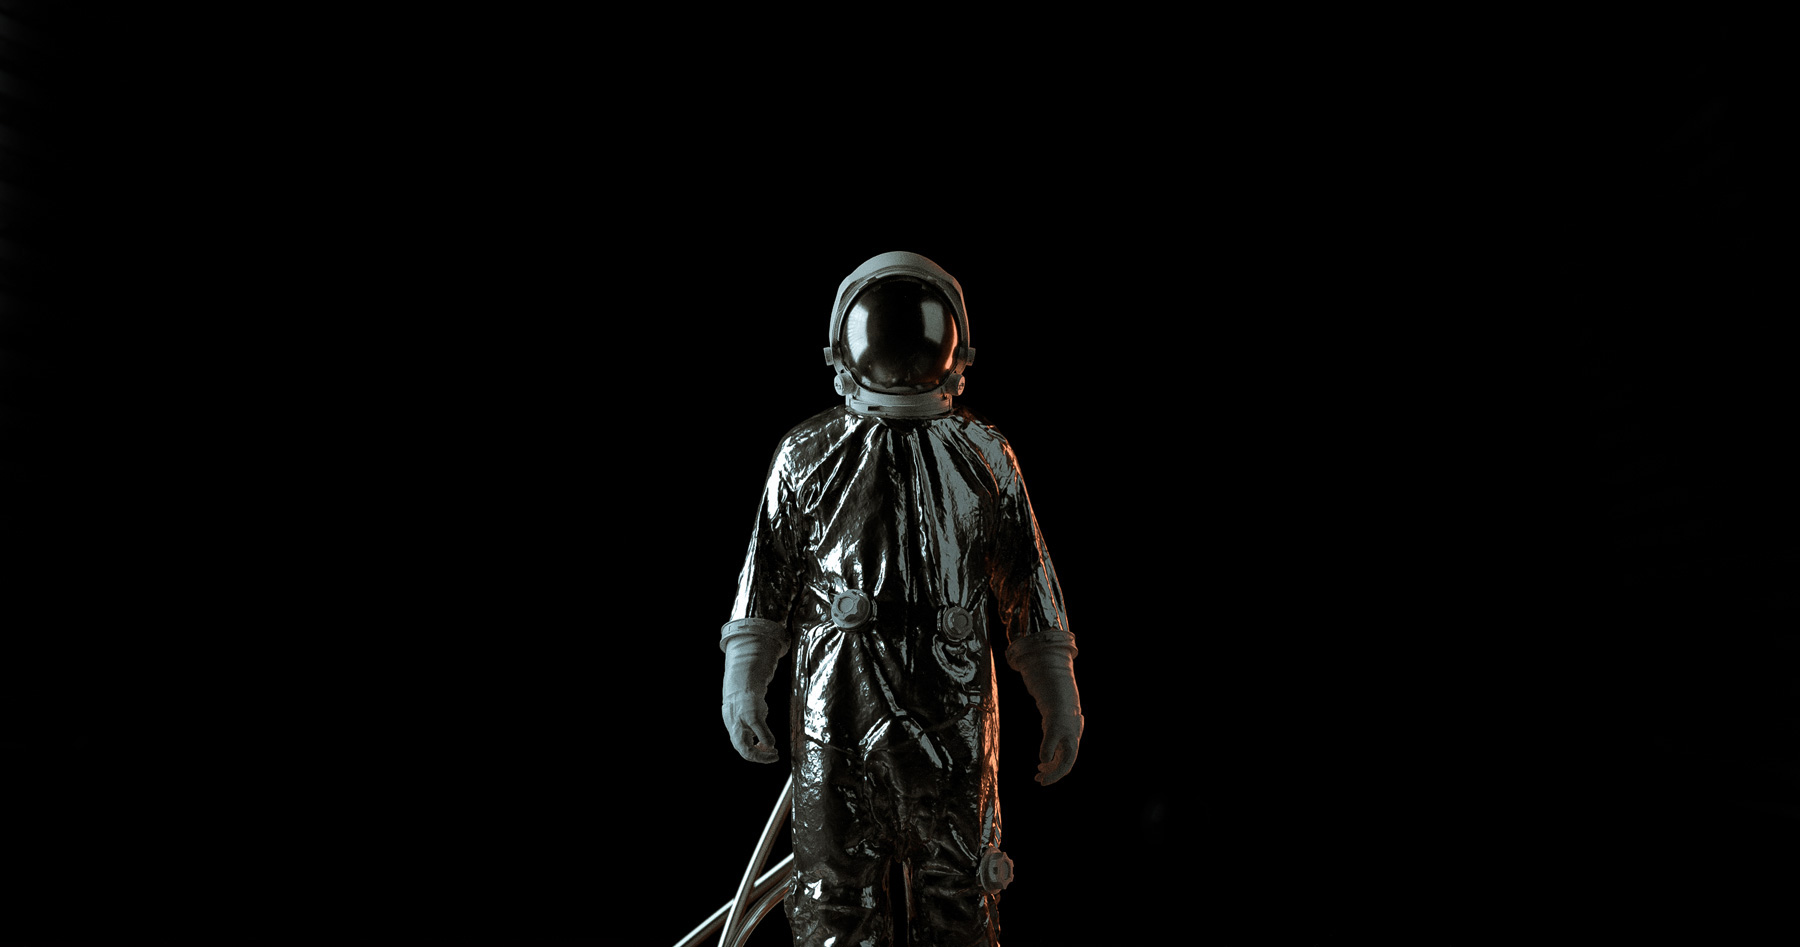
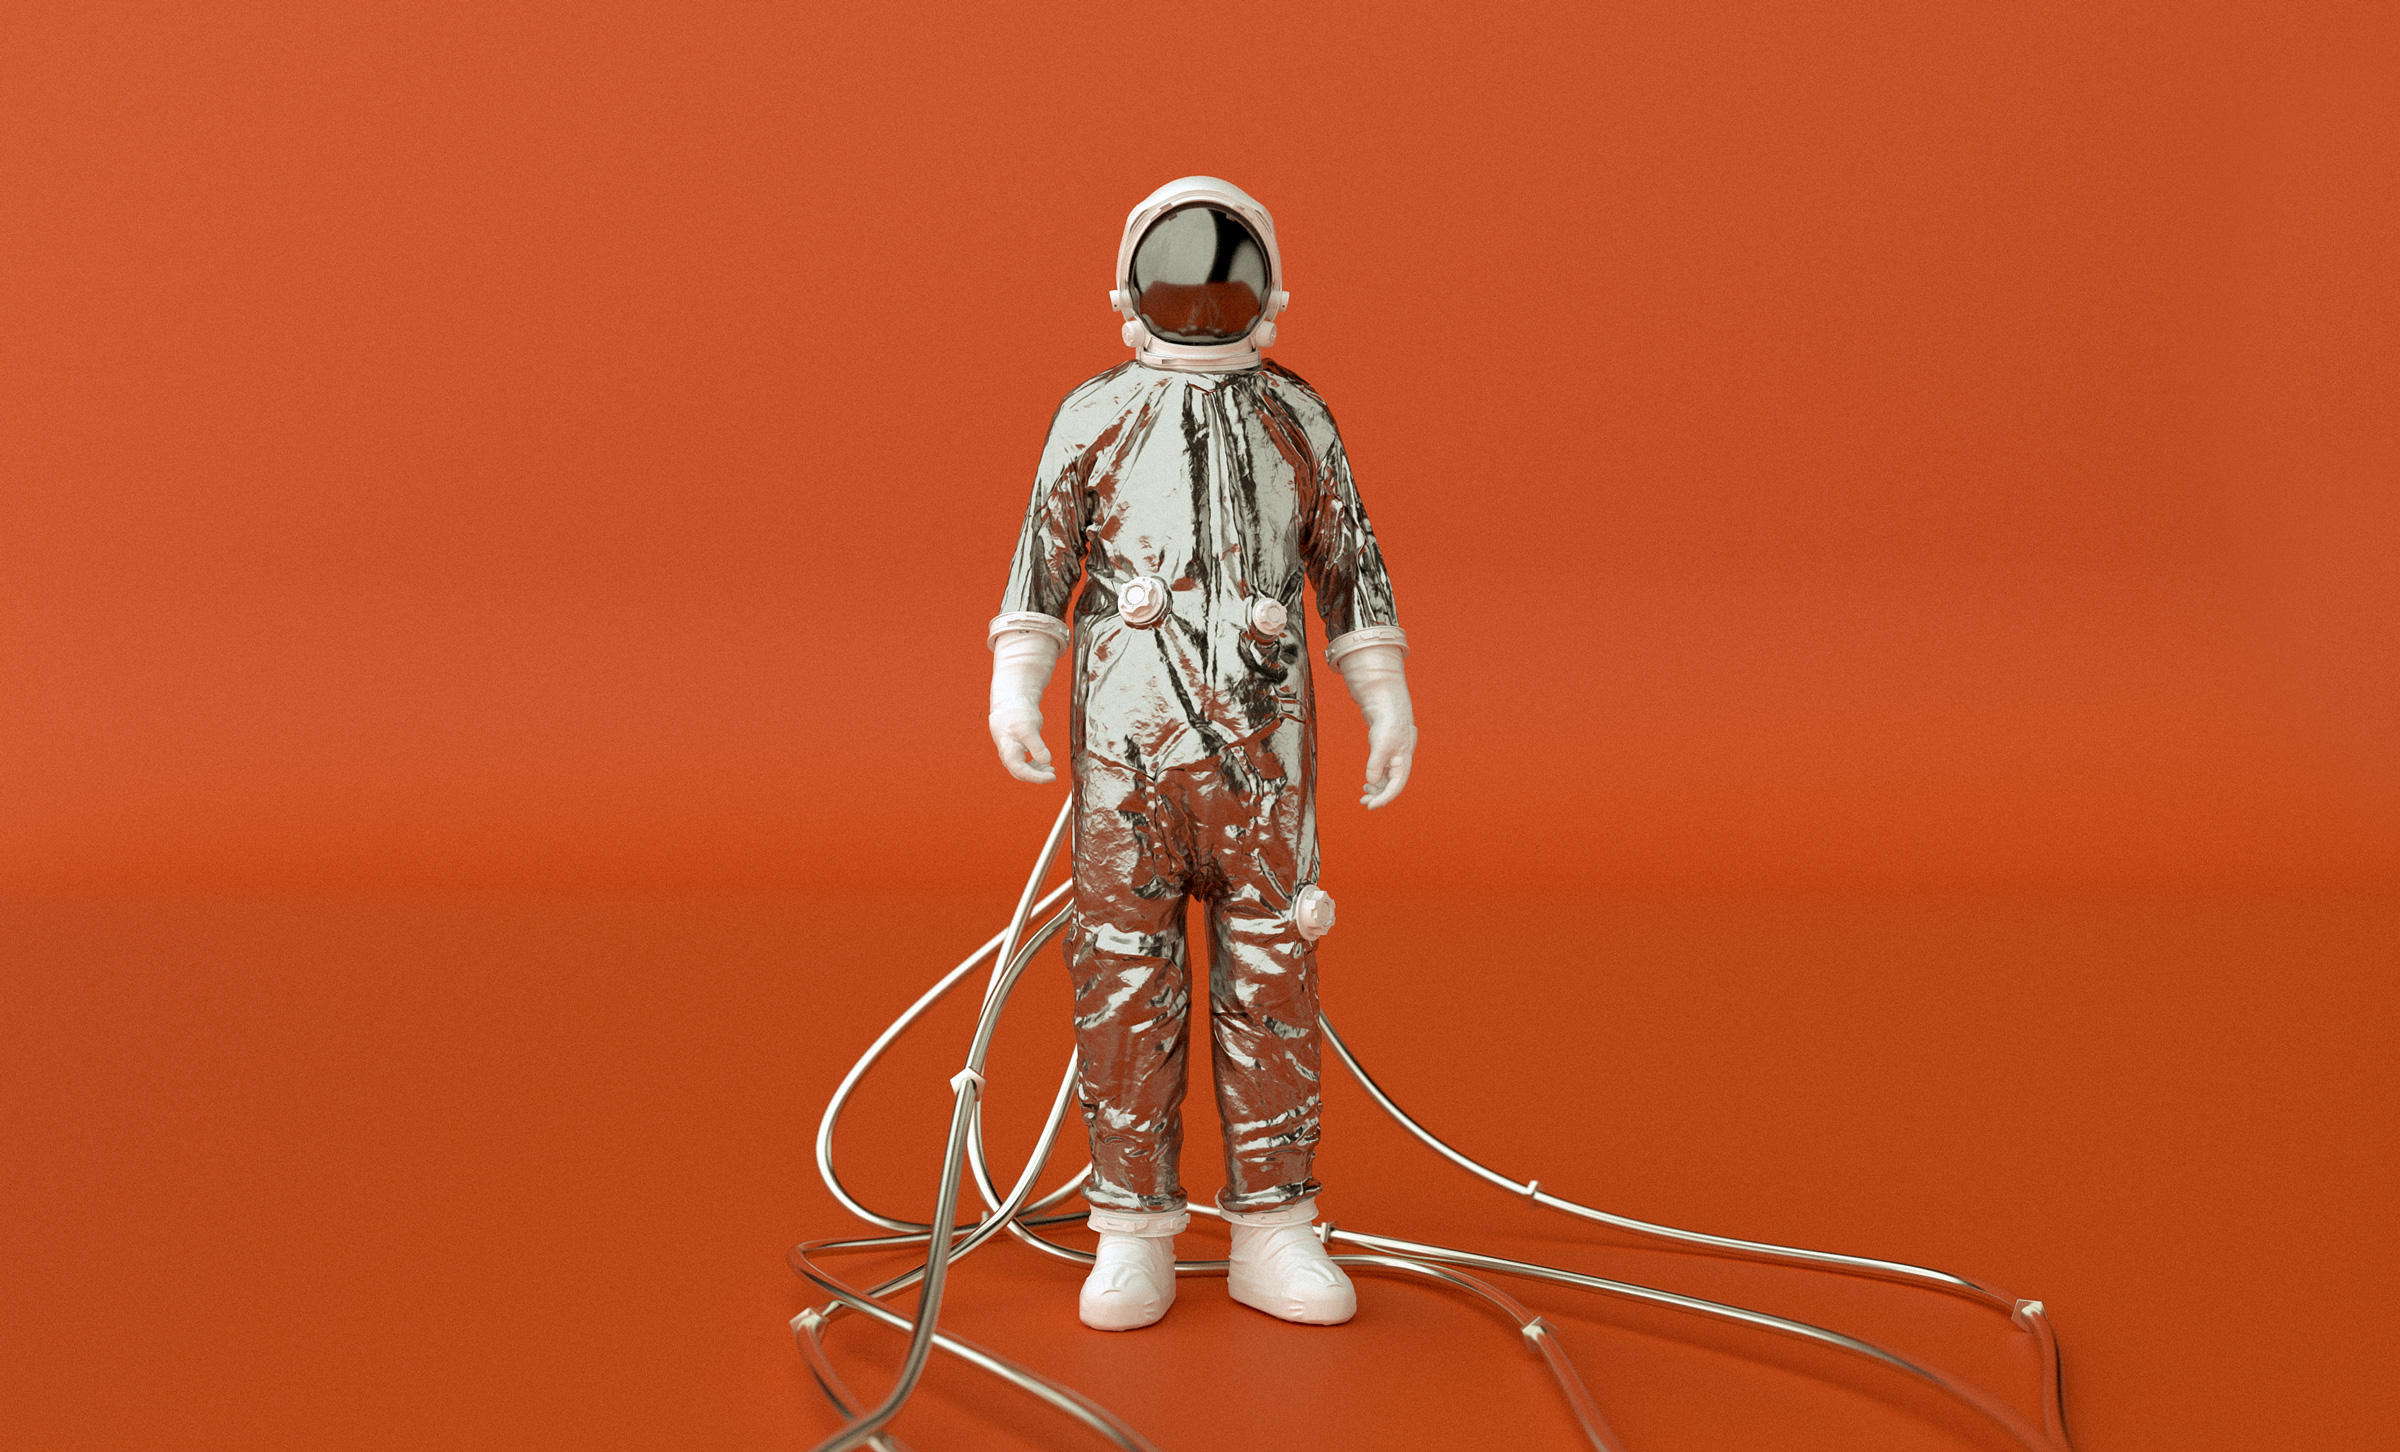
Being super inspired by the recent SpaceX launch, I wanted to create a simple scene with some sci-fi and space themes. Here is the result:
We'll use this image to examine the different types of lighting and how you apply them in 3D. Later, I'll show you how I achieved specific lighting effects for this image in Adobe Dimension.

The different types of lighting techniques

Just like the real world, there are many different types of lighting techniques that can create various effects. Placing a single light source in your scene, for example, results in dramatic shadows. Using only direct sunlight looks very different than soft, indoor light setup. Depending on the mood and feel you want from your image, you may have to experiment and find what lighting setup works best for your scene. So let's start with your main types.

Three-point lighting

A basic example of a three-point light system. From left to right: the key light, the rim light, and the fill light.

This is arguably the most important and commonly used lighting technique.

As the name implies, this technique uses three light sources to illuminate your scene: key, rim and fill. Each of these light sources play a unique role in lighting your scene.  Your key light is the primary light source that will illuminate your subject. The rim light illuminates the back of your subject, creating depth and allowing us to understand the shapes of the objects in your scene. Lastly, fill light is meant to eliminate harsh shadows in your scene and add some even lighting.
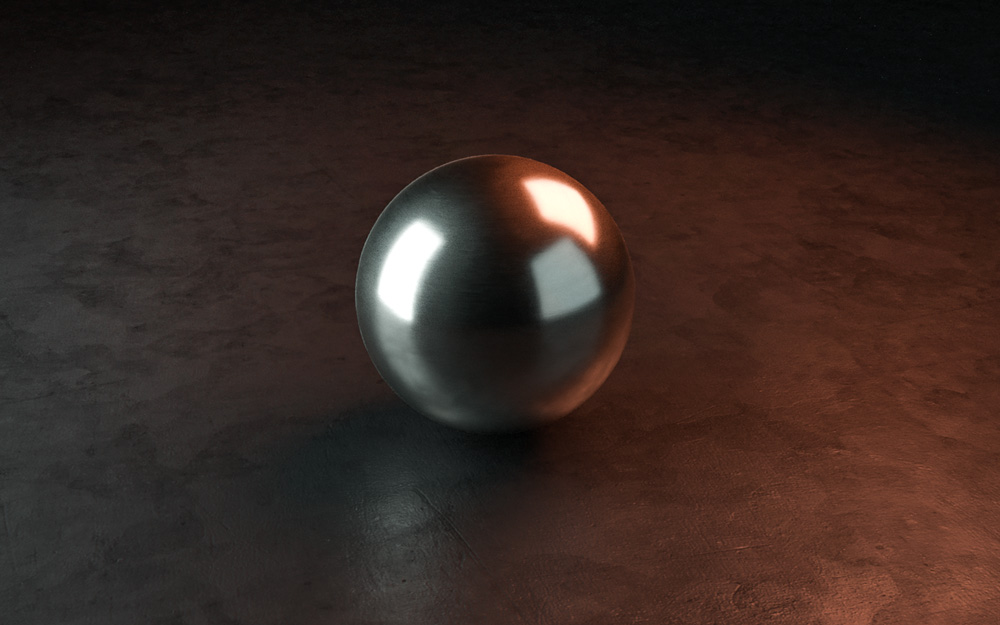
Placing a sphere is an easy way to view reflections in relation to our scene

Humans use light to understand objects and shapes with our natural eye, and three-point lighting gives us a full point of reference. This lighting technique is seen in every medium, including film, photography, product photography, event lighting and television.


Soft lighting

An example of a soft light setup. Note that the lights are placed far away from the subject, and are larger in size comparatively.

Soft lighting, as the name applies, means light is being distributed evenly throughout your scene. Harsh shadows are removed, creating a result that feels soft and balanced. This kind of lighting is commonly seen with product shots, or with traditional portrait photography. You can see in this scene it has changed our original image to feel much more calm.

To achieve soft lighting in your scene, simply place large light sources in your scene that are a good distance from your subject. The larger the lights, and the farther away from your subject they are, the softer your shadows will be. The default studio environment light when starting with Dimension is a form of soft lighting.
 

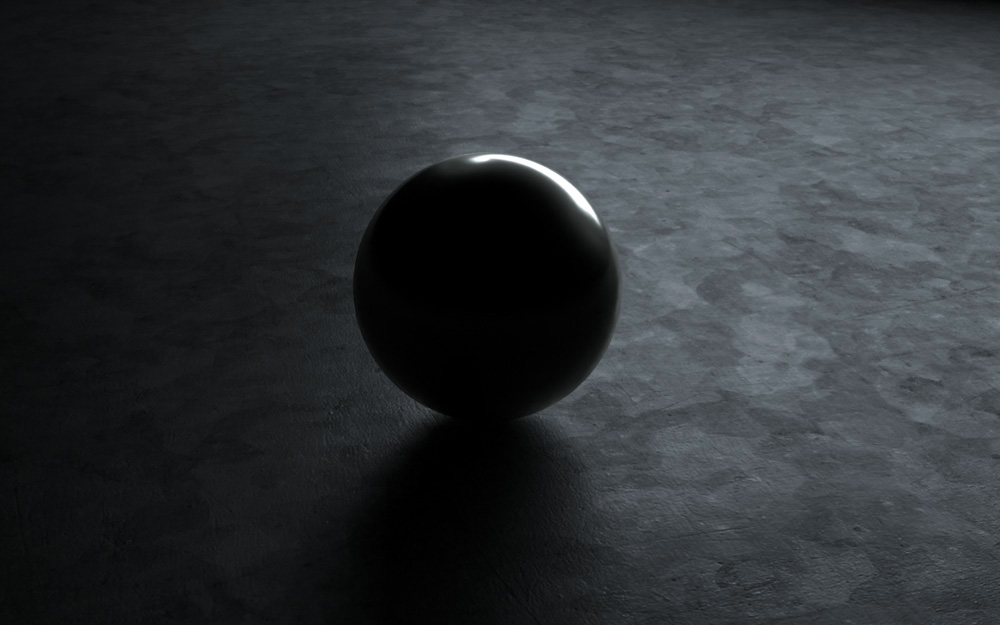
Single-light source

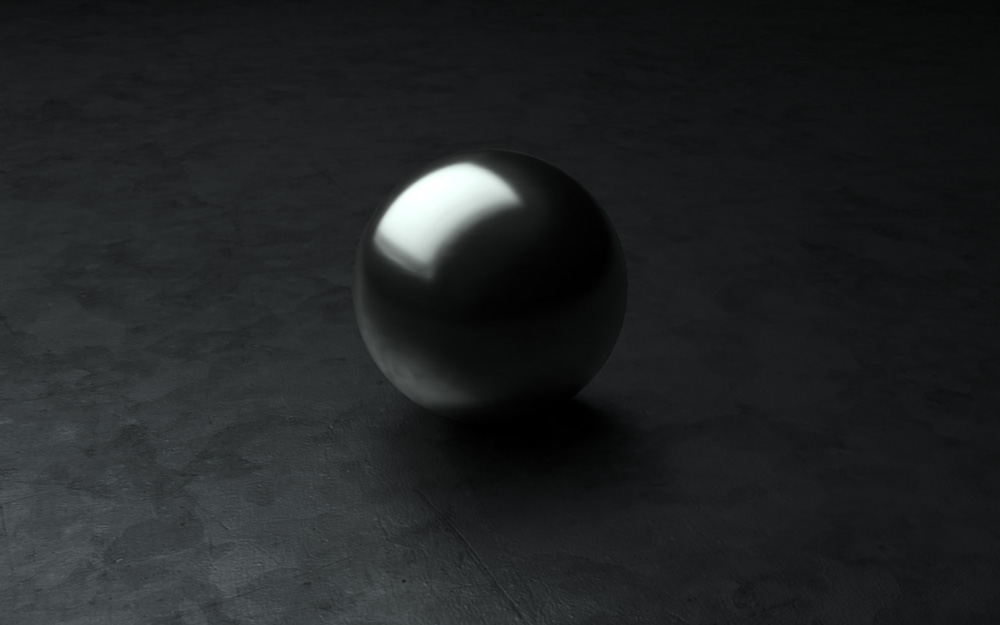
As the name implies, this technique uses just one light source. Single-light sources are typically used to create dramatic lighting, since having only one light means harsher shadows and areas where light is not illuminating your object. This creates a sense of drama and mystery.

This technique is used often in cinema as a tool to center your focus and set a mood. Use it to your advantage to create interesting moods, or where your subject does not clearly have to be defined. It's a simple method, but when used right can be the perfect lighting trick up your sleeve.

Direct sunlight

Sunlight is one of the easiest ways to light your scene. Note the harshness of the shadows due to the size and brightness of the light.

As the name implies, this lighting technique relies on a single light source: the sun. Direct sunlight is great when you want to replicate a natural outdoor scene. Using sunlight as your main light source will naturally result in harsher shadows, since sunlight is incredibly bright and the appearance of the sun is very small in relation to us on earth.

Using sunlight to light your scene is very popular for architectural lighting. Most 3D programs, including Adobe Dimension, include the ability to add a sun to your scene. These programs also typically aim to replicate the real effects of light from the sun based on it's positioning in the sky. For example, lowering the position of your sun will typically result in a "sunset" effect where light is much warmer and shadows are hugely elongated.

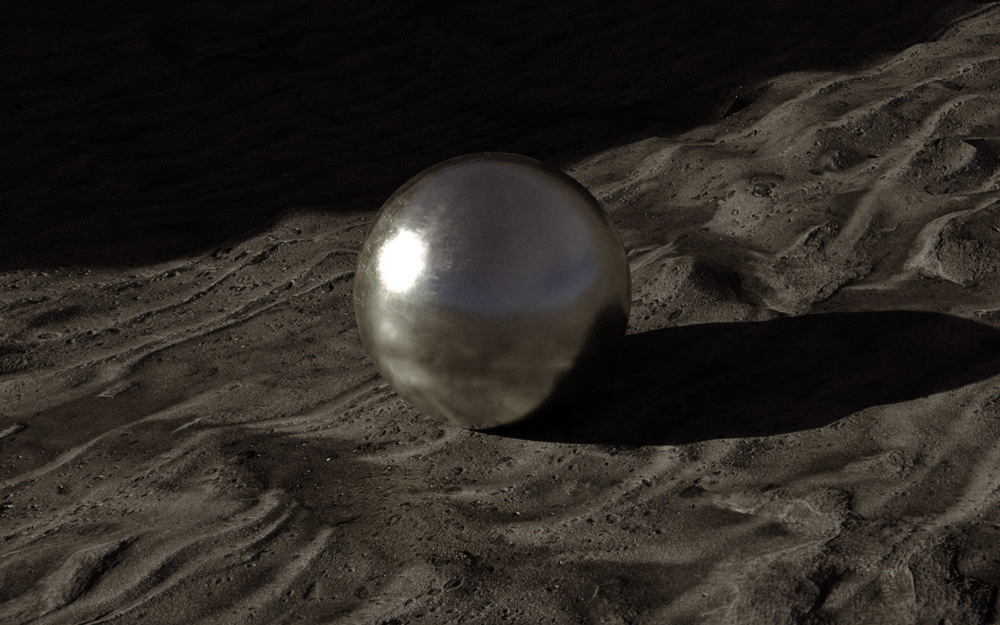
When using sunlight as a light source, I highly recommend using it alongside image-based (HDRI) lighting environment to get real-world reflections. This is because the sun exists within an “environment” or sky, and to get realistic results you will want to simulate both a sun and real-world environment.

More on environment lighting below.

Backlight

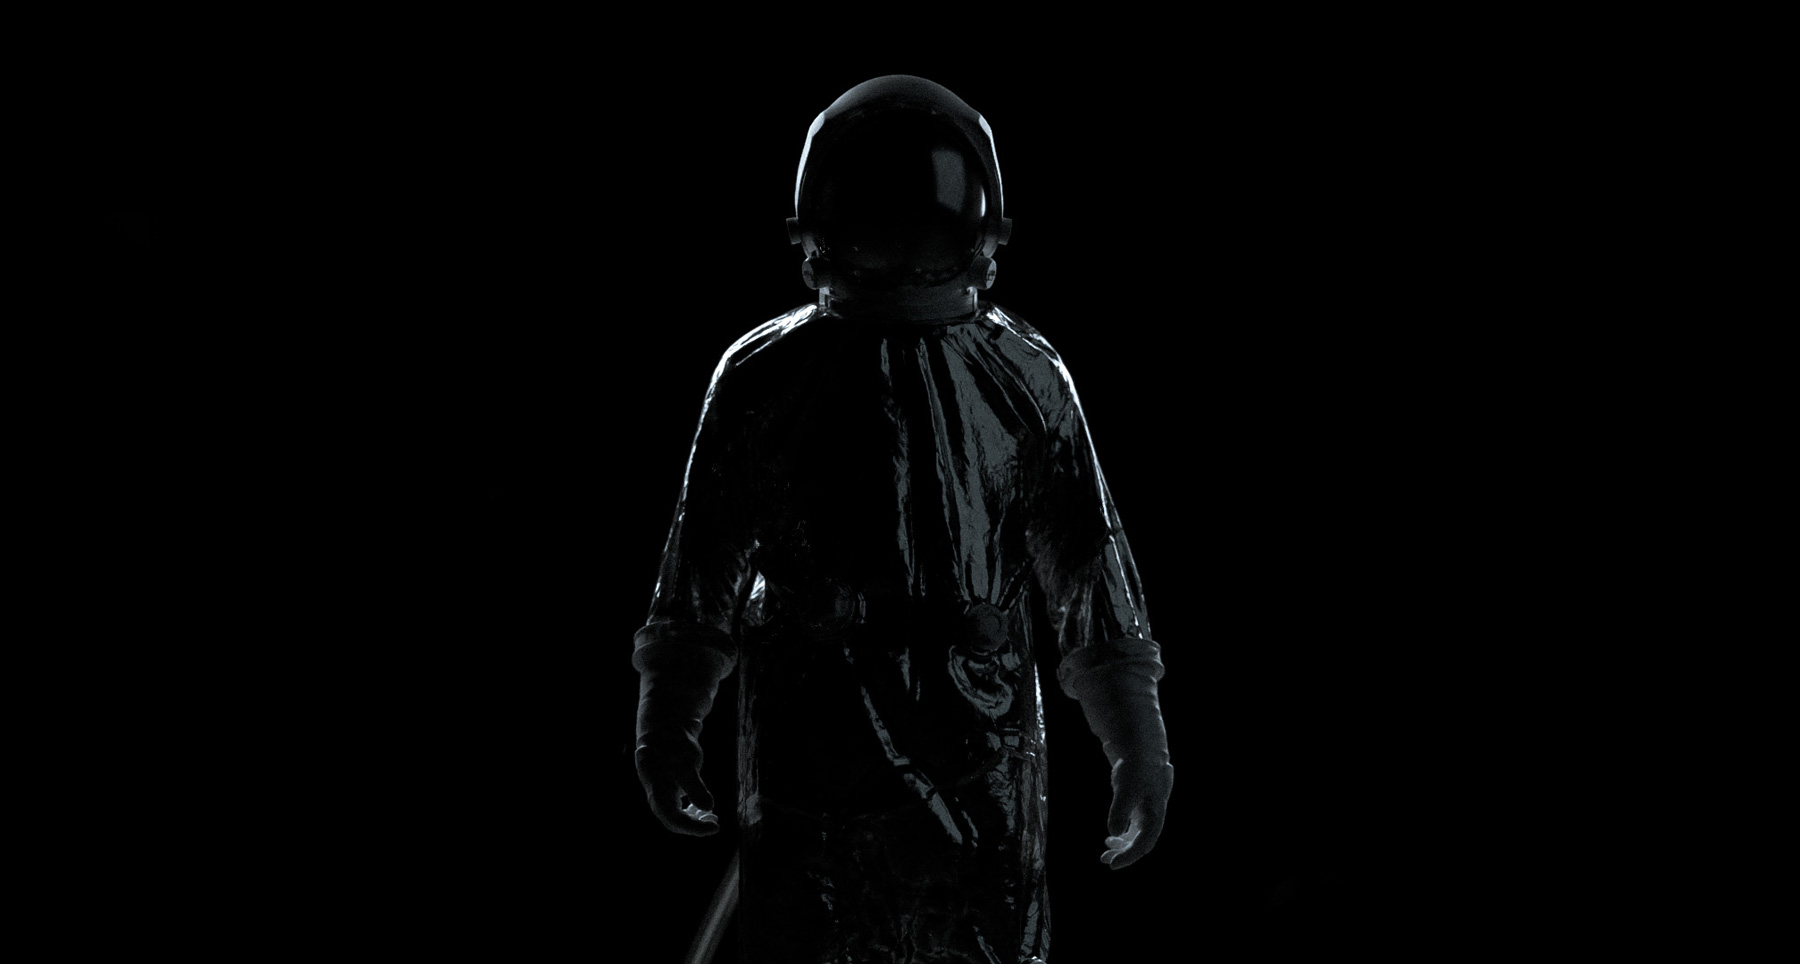
Backlight pertains to placing your primary light source behind your subject matter. As with the single-light source technique, this method will also produce dramatic results. It also adds a sense of mystery as it obscures the details and shapes of your primary subject.

This type of lighting is typically seen in film and in promotional sports photography. Though this lighting technique is one of the more rarer ones used, it's a great one to have in your back pocket if you're going for a cinematic vibe.
Environment or image-based lighting

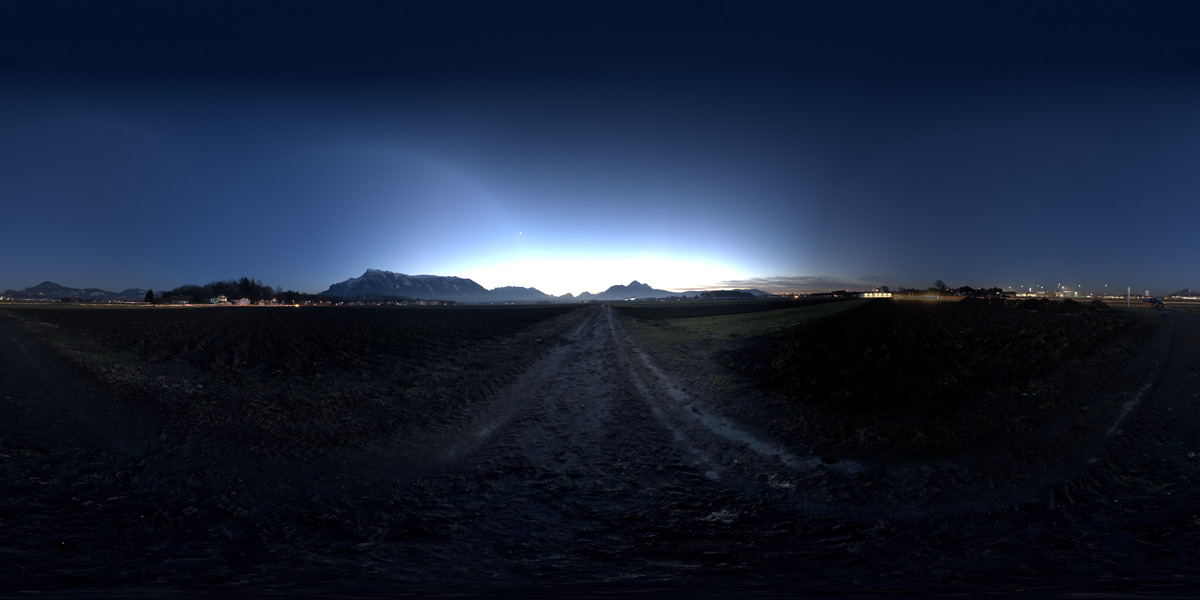
Environmental lighting generates light based an existing image, typically in the form of an HDRI (high dynamic range) image.

HDRI is a 32-bit image (meaning it contains huge amounts more of data) that stores a range of exposures, which is impossible to do with an 8-bit image. An 8-bit has pixel color values ranging from 0-1, whereas 32-bit can go as high as 100 (in case of the sunlight). This will differentiate a white object in the HDRI, for example, from a white LIGHT source. HDRI images can provide an incredibly rich source of light to your scene that replicates what we see with our naked eye.

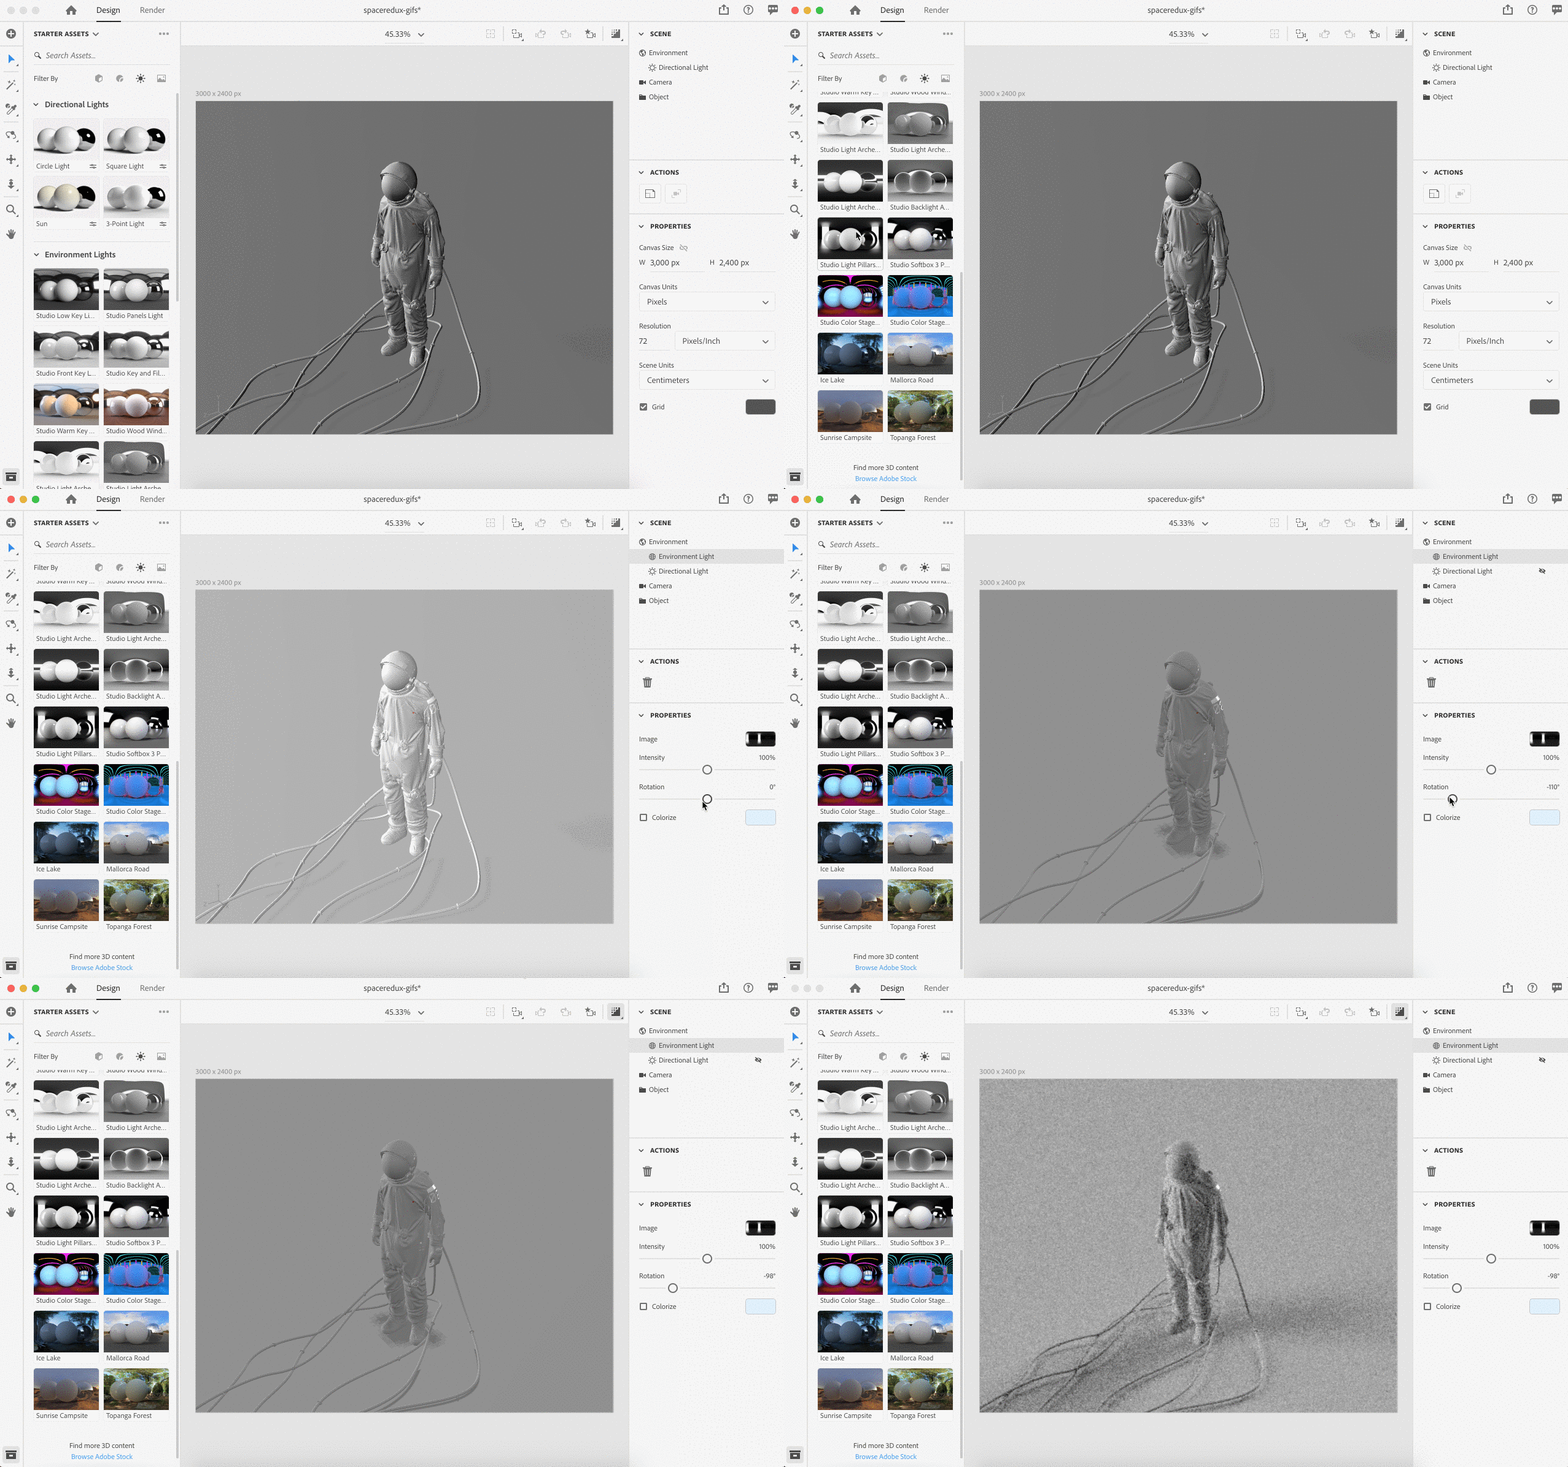
Environment lighting is great if you want to quickly generate a simulated real-world lighting environment. Adobe Dimension includes these in the format of lighting presets, though you can use your own HDRI maps as well. The largest drawback to using environment lighting is you lose the ability to control the placement of your light sources, since the lighting is based on an image with predetermined light positioning.

An example of an HDRI image:
And now with that image applied to our scene:

In Dimension, HDRI maps can be applied under the Environment lighting options.

Different types of light objects within 3D programs

There are various different light objects you can use to light your scene in any given 3D program. Some use different names for the same type of light tools or objects, but it's helpful to know the difference between each.

Directional lights

A directional light object is one that emits light in a single direction, much like the sun. Typically, the light direction can be adjusting in the program as well as the edge softness.

Point light

A point light will emit light in all directions from a single, small point. Light will be cast evenly, despite the direction the point light is rotated. These type of light objects are typically used for things such as light bulbs or candles.

Area light

An area light emits light that is confined within a single object, such as a rectangle or sphere. An area light object will simulate an effect very similar to real-world lighting objects, such as fluorescent lamps or lighting studio equipment. In Adobe Dimension, you can recreate the effect by applying a Glow material to an object. You can then even add texture to the light by placing an alpha mask into the Opacity slot.

Sun

We've talked above about using sunlight to light your scene. To achieve natural sunlight, you will need to use a sun object in your 3D program of choice. Typically, you can adjust the sun positioning, angle, brightness, and cloudiness.
Breaking down our 3D scene

Now that we've covered the basics of 3D lighting techniques and light objects, let's break down what I did to I achieve the results from our sci-fi inspired renders.

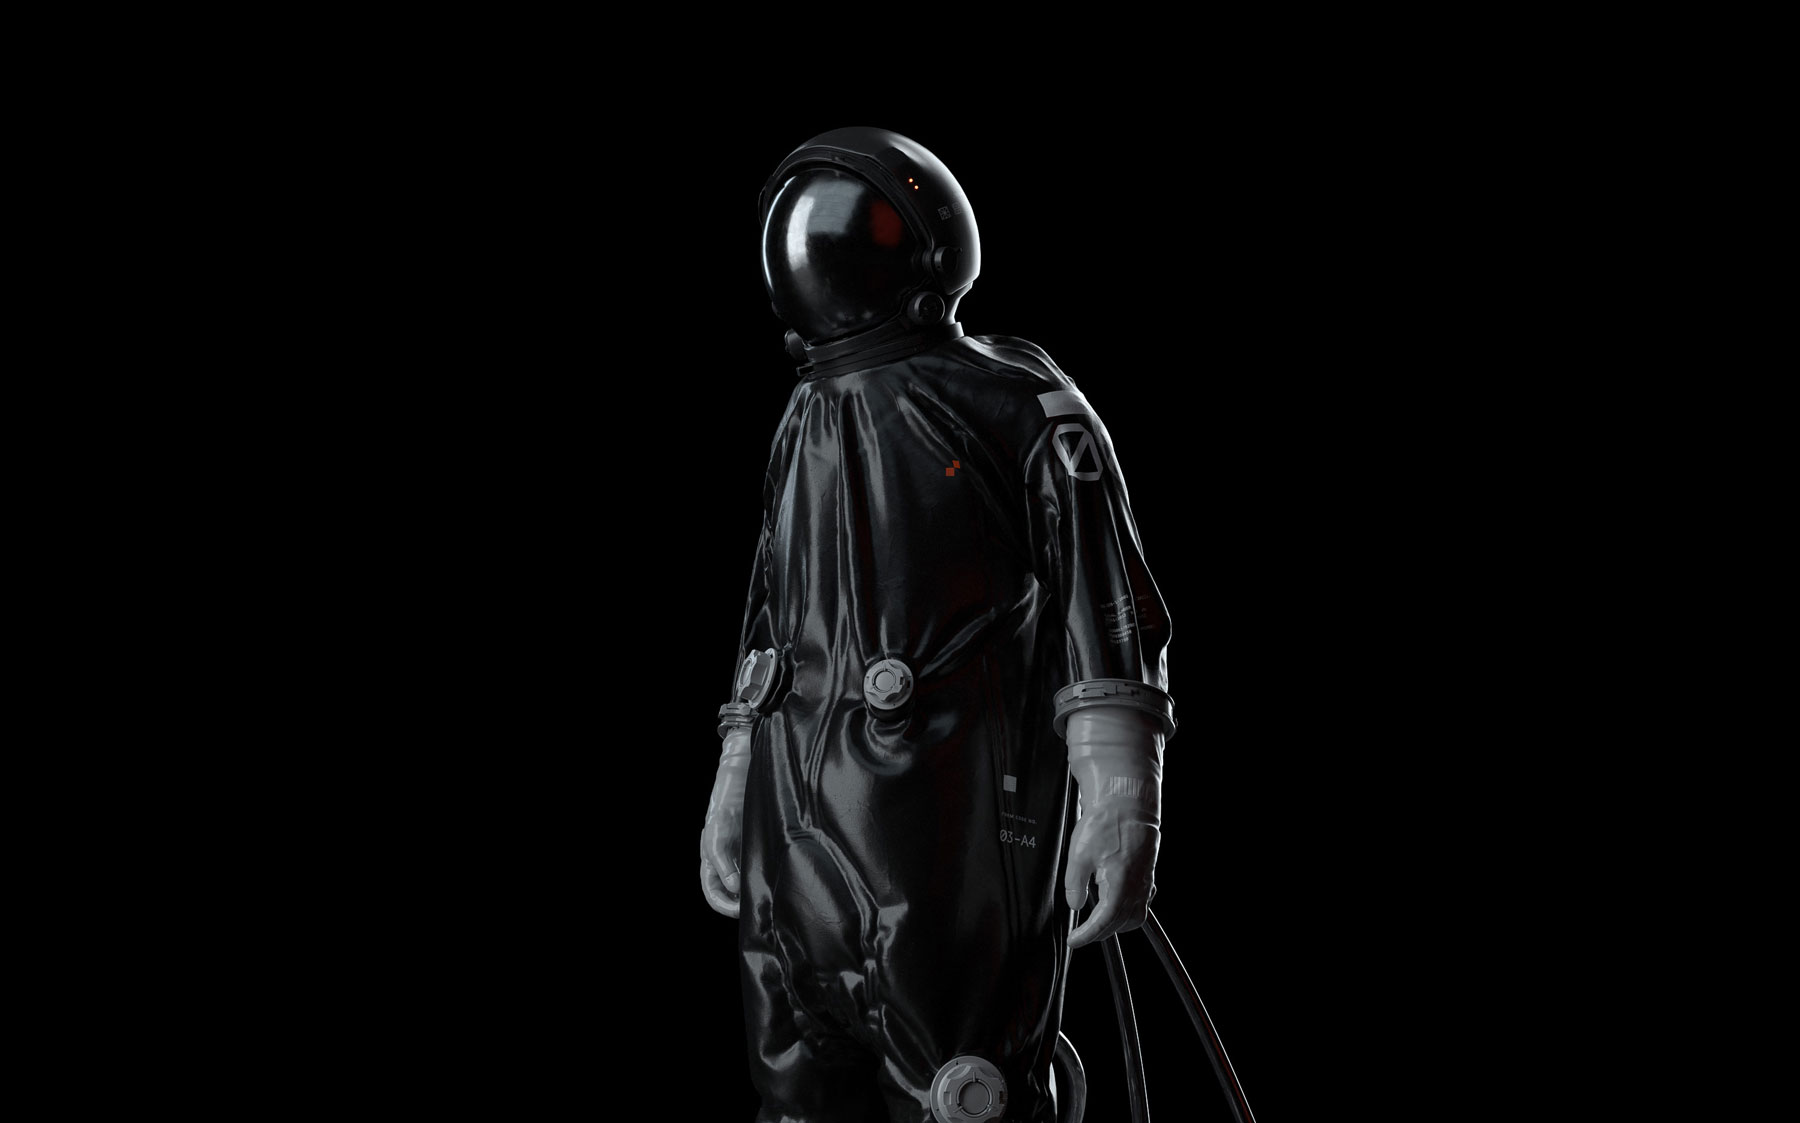
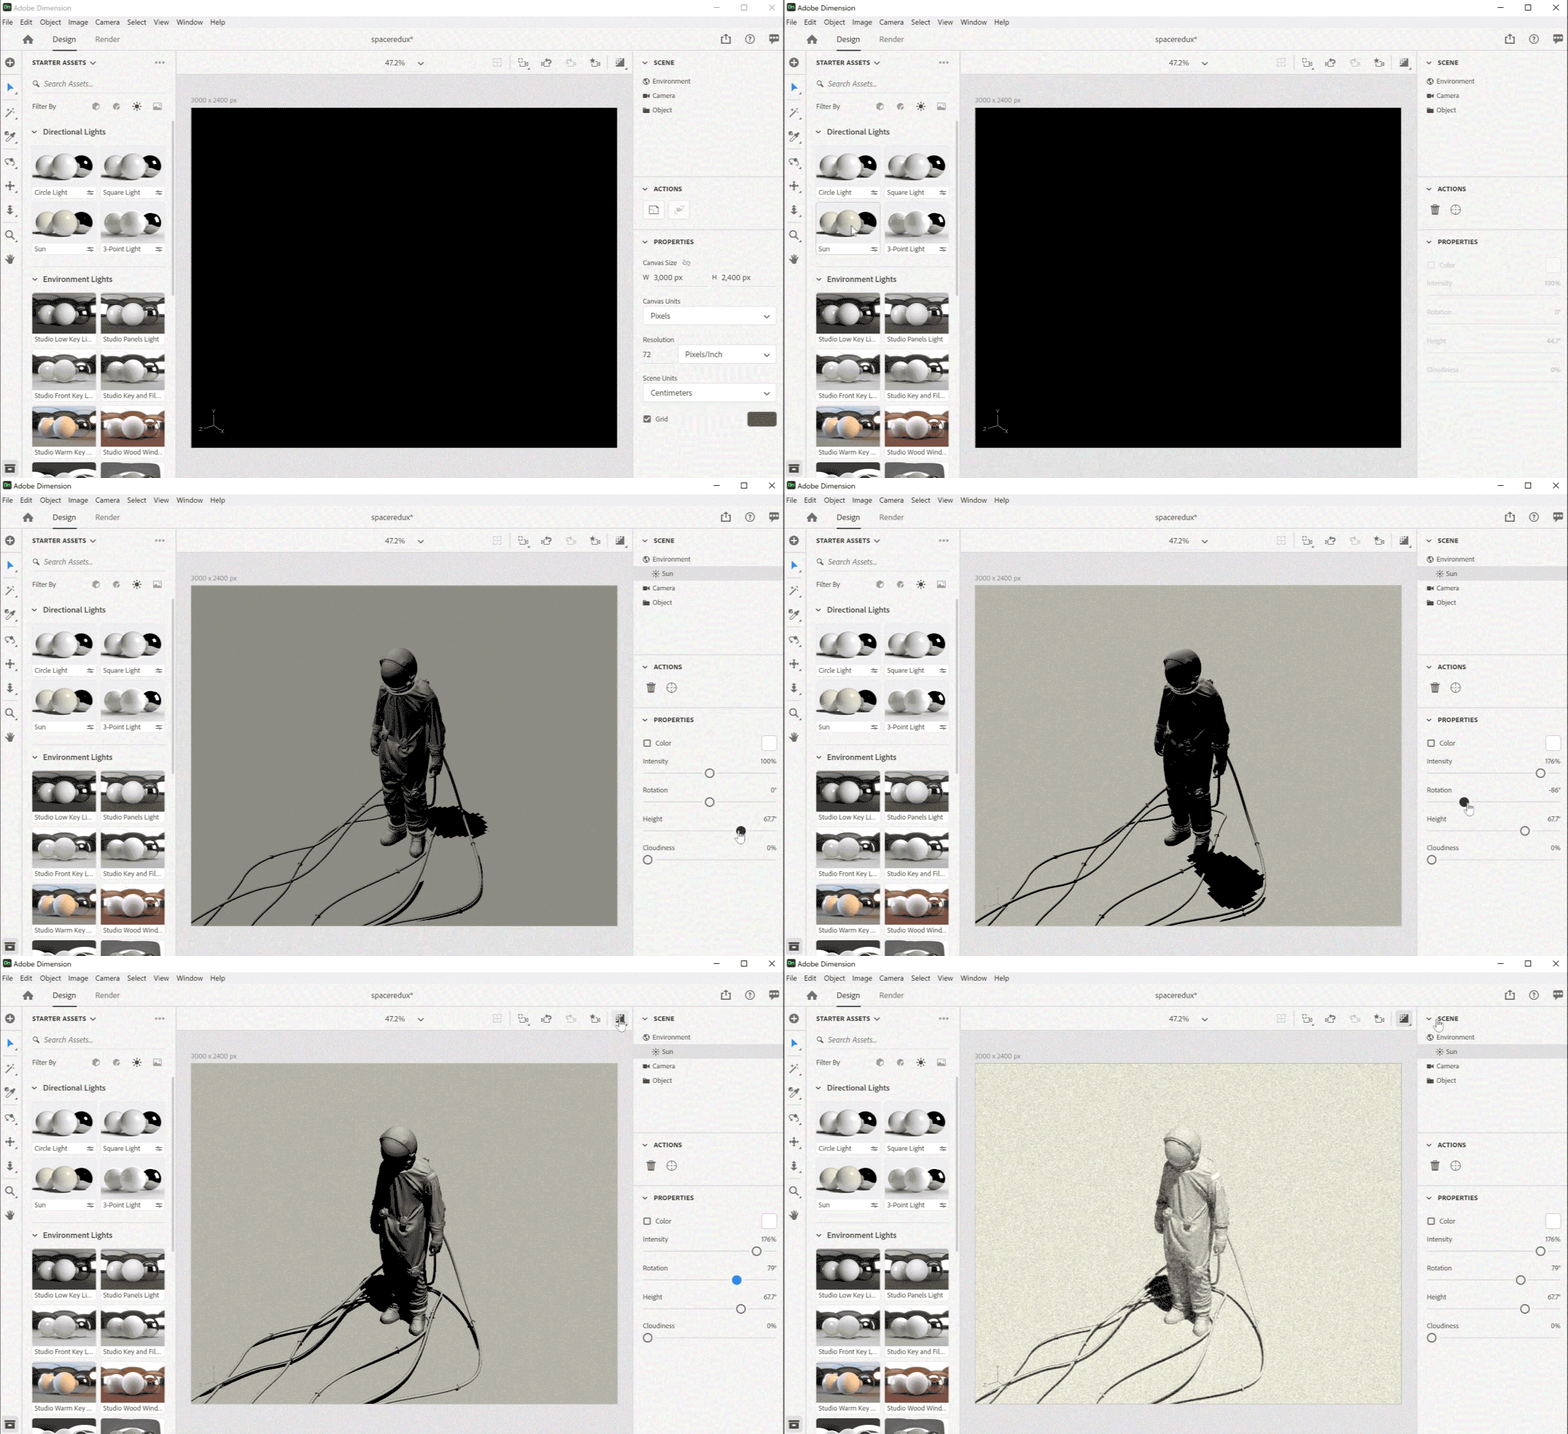
For this simple setup, the lighting is based on a three-point lighting technique. There is a large "key" light illuminating our subject. This is lighting the majority of our spaceman, along with creating the largest reflection in the helmet.

Next, I've added a large, soft fill light with a red tint set directly behind the camera to fill in the harsh shadows. I then also created a rim light to illuminate the back of our astronaut.


Additionally, I've also added some environment (HDRI) lighting to create some reflections in my scene for added realism. The environment lighting will create some additional reflections on our astronaut's visor and suit. Oftentimes, I will combine environment lighting with standard lights. This allows me to still have control over my main light sources, but get those real-world reflections from the environment map.

You can toggle on environment lighting in Dimension with a single click, and choose from a variety of presets.
Finally, I've added a highly reflective material to the visor of our astronaut, as well as applied some darker plastic materials for the suit. I've also applied some normal maps to all of my objects for added texture, more on normal maps below.

Here is an interactive embed of our scene, for further analysis:

Pro 3D lighting tips

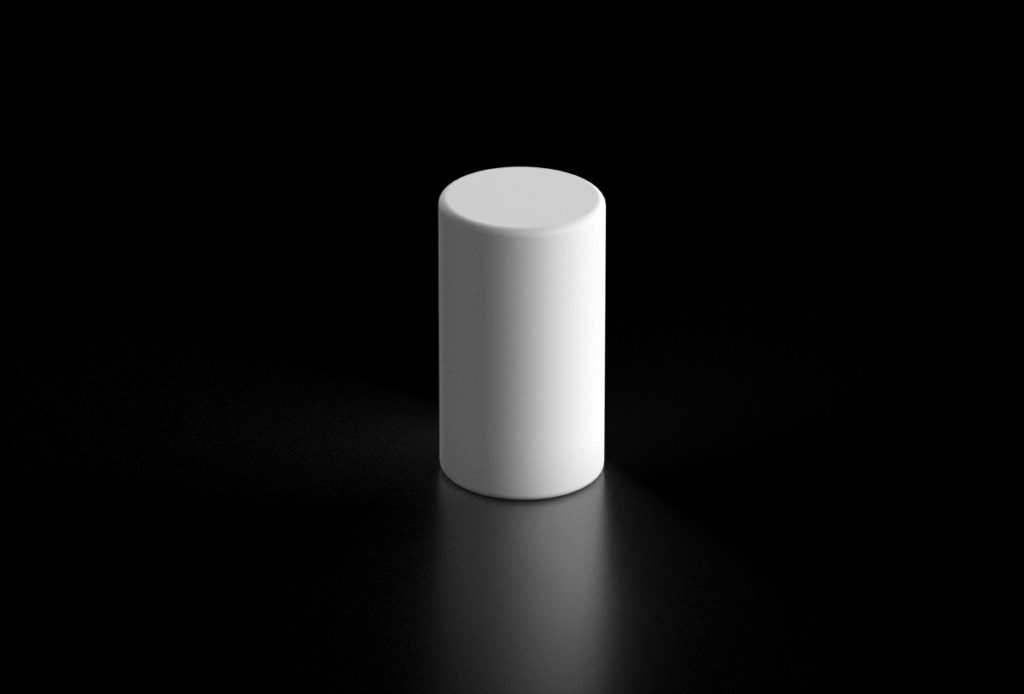
Use clay first

I'm not talking about literal clay. Rather, remove all the materials from your models when setting up your lighting. This will allow you to view the lighting without the distraction of reflections or color. Later, when you are happy with your lighting setup, you can apply your materials to your objects.
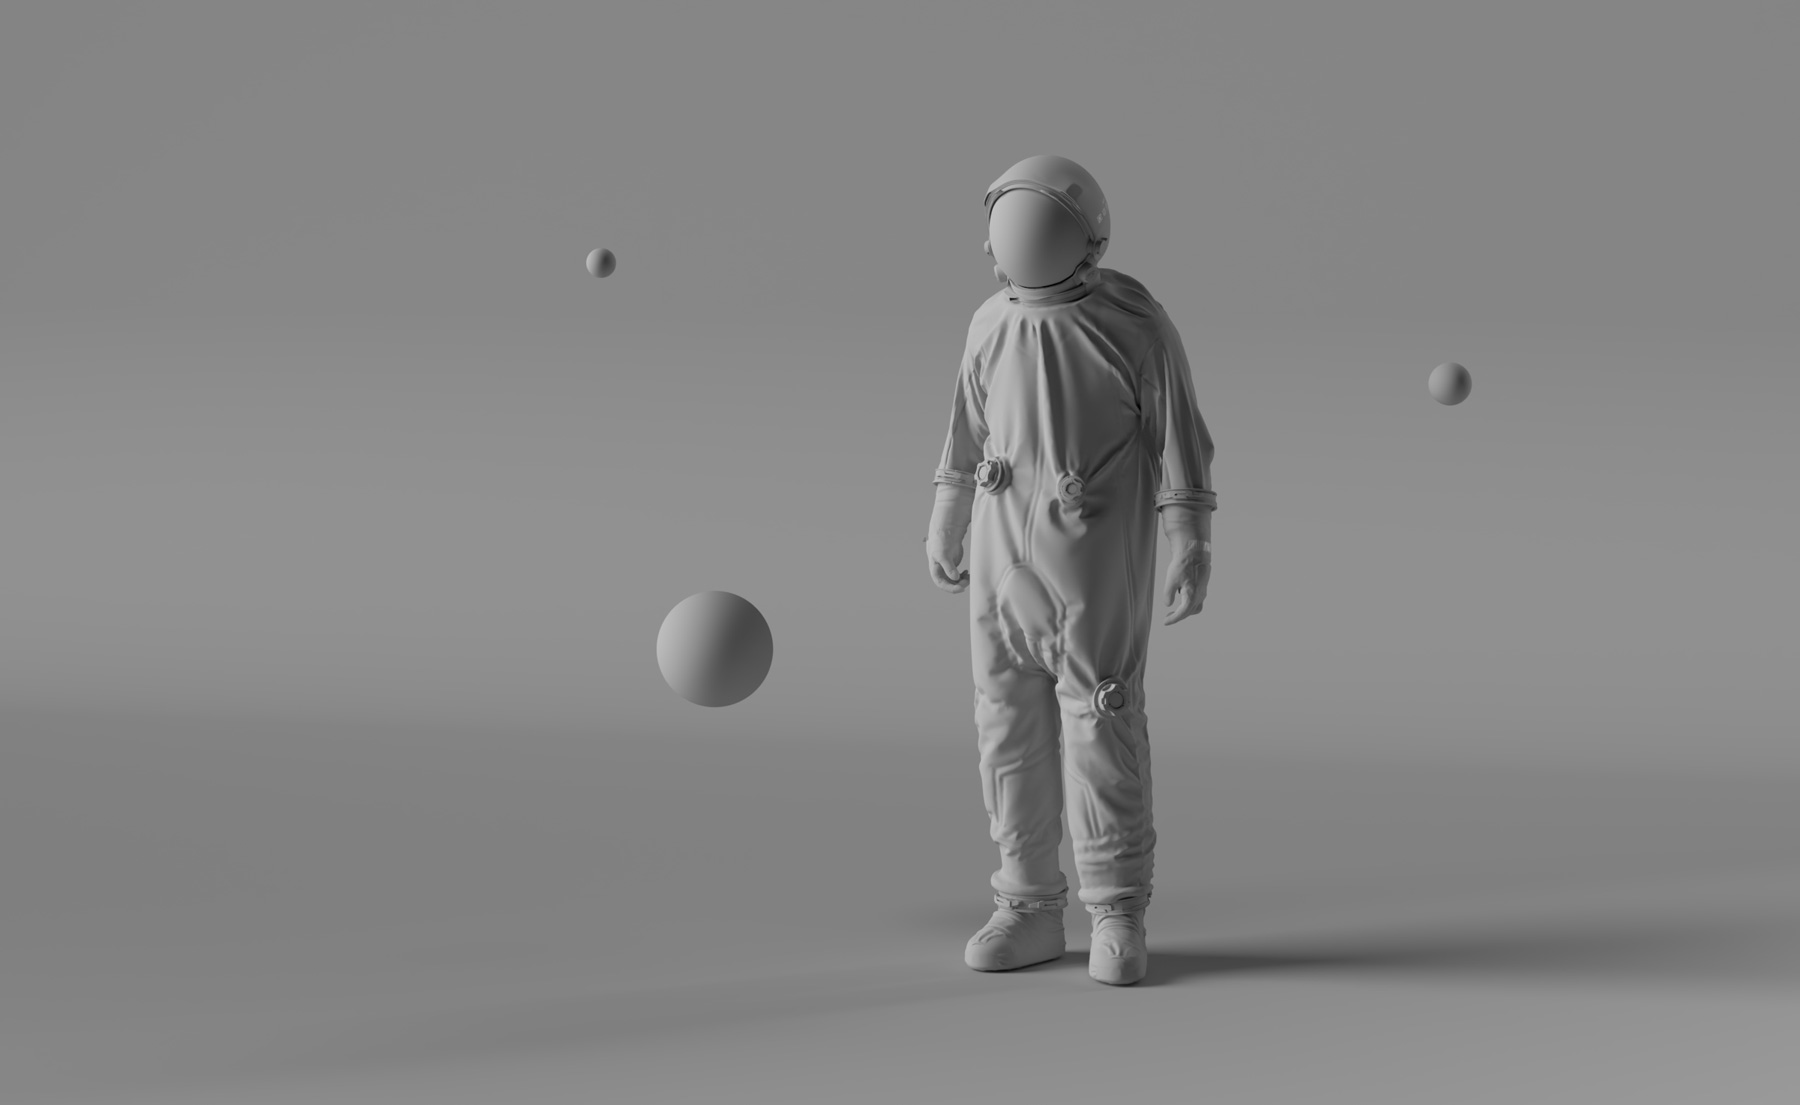
Removing materials allows us to see our lighting clearly, without distraction.

Composition is key

The placement of your lights is very important. It's also important to place your objects in a way that will allow you to easily light and manage your scenes. For example, if you want a particular subject in your scene to stand out, you'll need to light them properly and place them in such a way that will naturally lead our eye. Try placing your subjects in areas that are most well-lit, ensuring not to make areas of secondary areas brighter than your subject area. For areas you want to be less distracting, try reducing the light.

Toggle lights one at a time

To get the best idea for where your lights need to be placed, try turning off all of your light sources and only keeping one on at a single time. This will help you understand where you need to make your adjustments to your light placements without the distraction of other light sources.

Be mindful of reflections

The materials you use in a scene can have a big impact on how your lighting reacts. Since some materials absorb light differently, such as metal as opposed to a fine cloth, you'll need to be intentional with your material choices. If you want a lot of reflections in your scene, consider using a lot of materials that are metal or contain a high amount of "roughness" or reflection. Sometimes, adding more reflective material to your scene can increase visual interest simply because of the light bouncing around and off of your reflective surfaces.

Sometimes it also helps to add objects to your scene that will bounce light and add additional reflections. An example of this is adding a floor object in your scene, or setting a "glow" value to objects you've strategically placed in your scene.

Use materials with normal (bump) maps

Another way to add realism and use lighting to its full potential is to create materials that have "normal maps." Normal maps, also referred to as bump maps, contain height information in the form of bitmaps that simulate textures or imperfections on the surface of your object, based on the way that light is hitting your objects. Since all real-world objects contain some sort of imperfections, they are incredibly useful for creating realistic scenes.
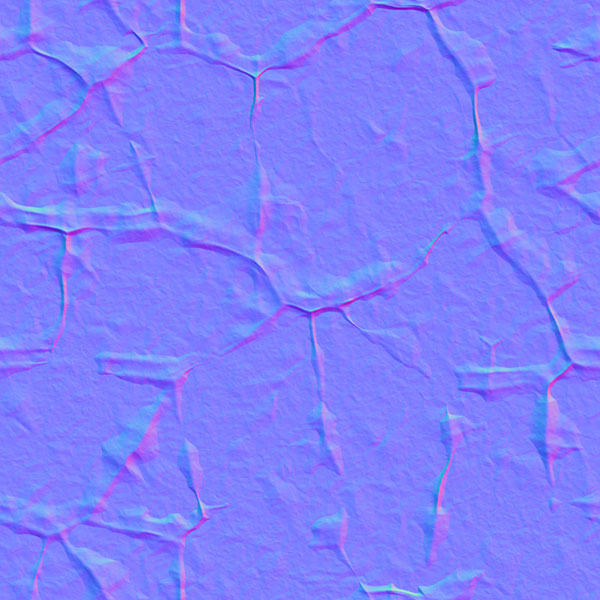
An example of a normal map.

Here is a before and after of the same exact shot, with and without the normal map above being applied:
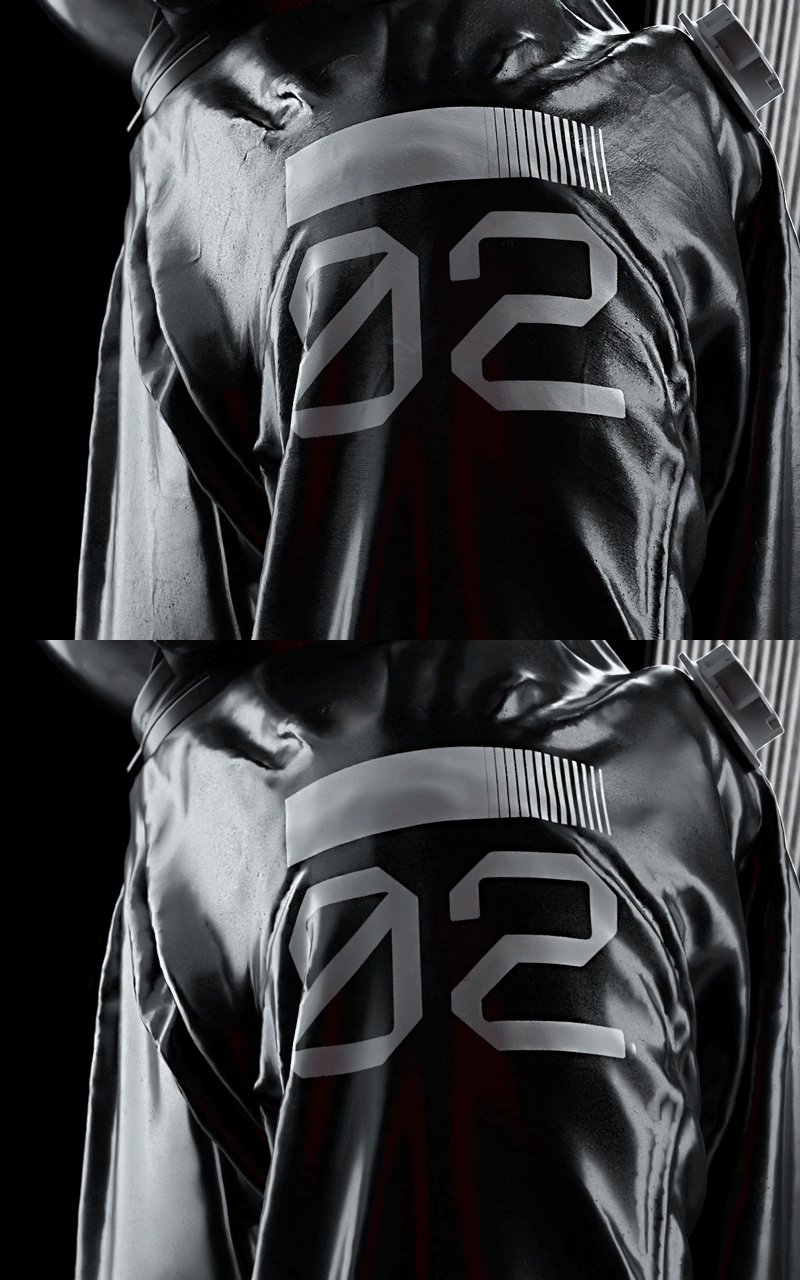
Adobe Stock has some fantastic materials that come pre-made and optimized for Adobe Dimension, with normal map information already included. I highly recommend using materials with bump maps applied over simply using the defaults of whatever 3D program you are using. You can also generate normal maps from images or textures in Photoshop as well. Personally, I find normal maps work best when scaled down, thus increasing the amount of tiled patterns and heightening realism.

Angles matter

Don't place lights directly in front of your subject. Avoid placing your lights in symmetrical positions from one another.  Instead, always tilt them at off-angles or 45-degree angles in relation to your subject. By doing this, you'll avoid "washing out" your objects and allow for more shadows to play in your scene.

The larger the light, the softer the shadows

The larger your light source, the more light will diminish shadows and create a softbox for your subjects. In contrast, using smaller light sources means harsher and more direct shadows. If you are finding your shadows too harsh in your scene, simply enlarge them.

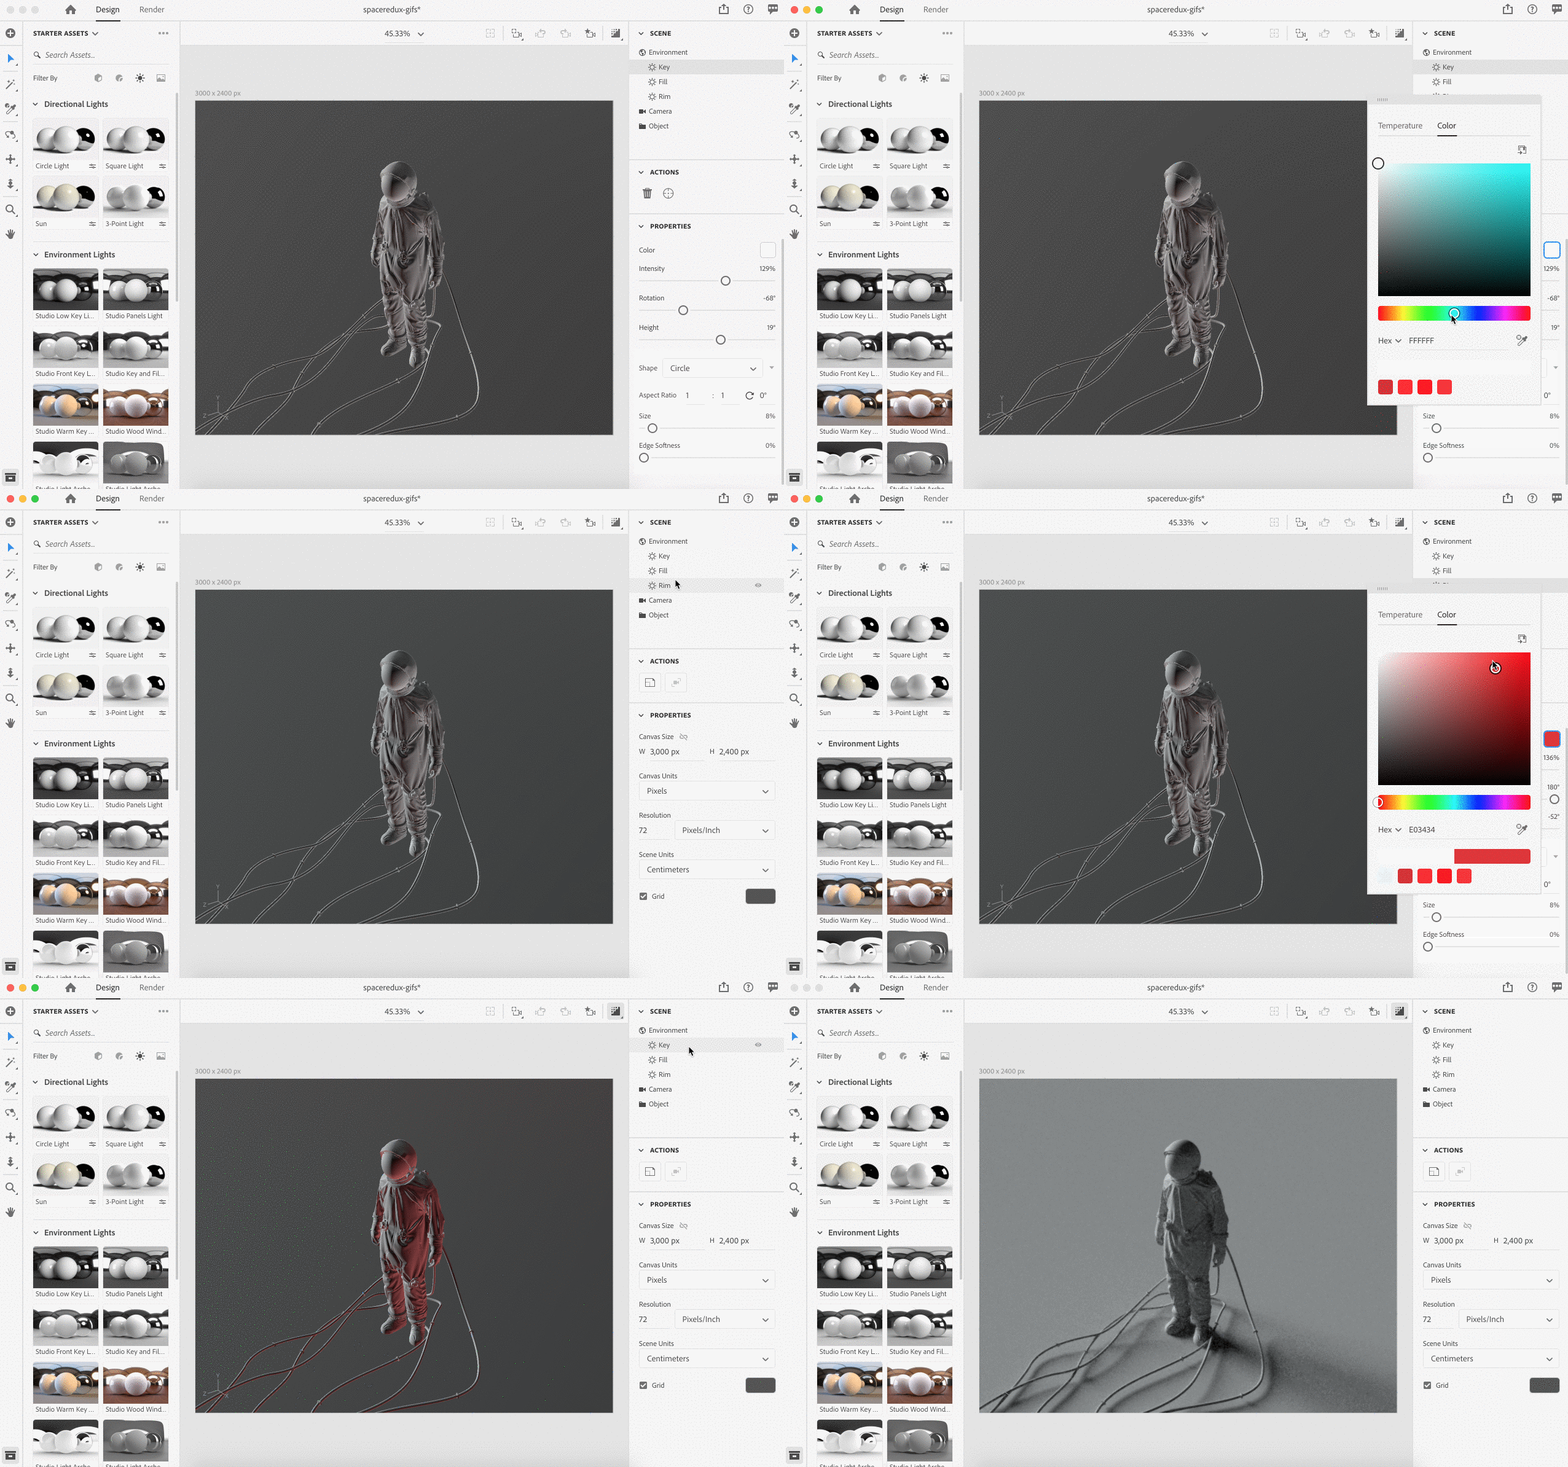
Add color

You don't have to use straight up white light for your scenes. Sometimes, you can bring interest just by adding a color tint to your lights to give it a different feel or that cinematic touch. In most programs, including Dimension, you can change the color of the light source.
Experiment!

Sometimes to get that "perfect" shot you may need to simply play with the lights in your scene. Each object and composition is different, so sometimes you may have to play with your light placements and colors to get the perfect look you want. Don't be afraid to move things around or break the rules.

Note: special thanks to Raoul Marks, Angelo Ferretti, and IUPUI University for the 3D models featured in this article.
July 1, 2020No Comments

Monthly portfolio inspiration of June 2020

Once a week, we select two portfolios created with Semplice to feature in our Best Of  Showcase.  Here we've collected our favorites from the month of June.

It's been an inspiring month for sure. We've seen creative studios, art directors, illustrators and more all using Semplice to build the portfolio site of their dreams.

We're exciting to bring you yet another treasure trove of hand-picked portfolios. Enjoy!

Browse the best portfolios of the month below to see fresh new work and get inspired for your own site. And if you've created your own portfolio with Semplice, be sure to submit it to our Showcase here. We might feature your site next.


Ayaka Ito

Lebassis

Adi Constantin

Panoply

Yu Rong

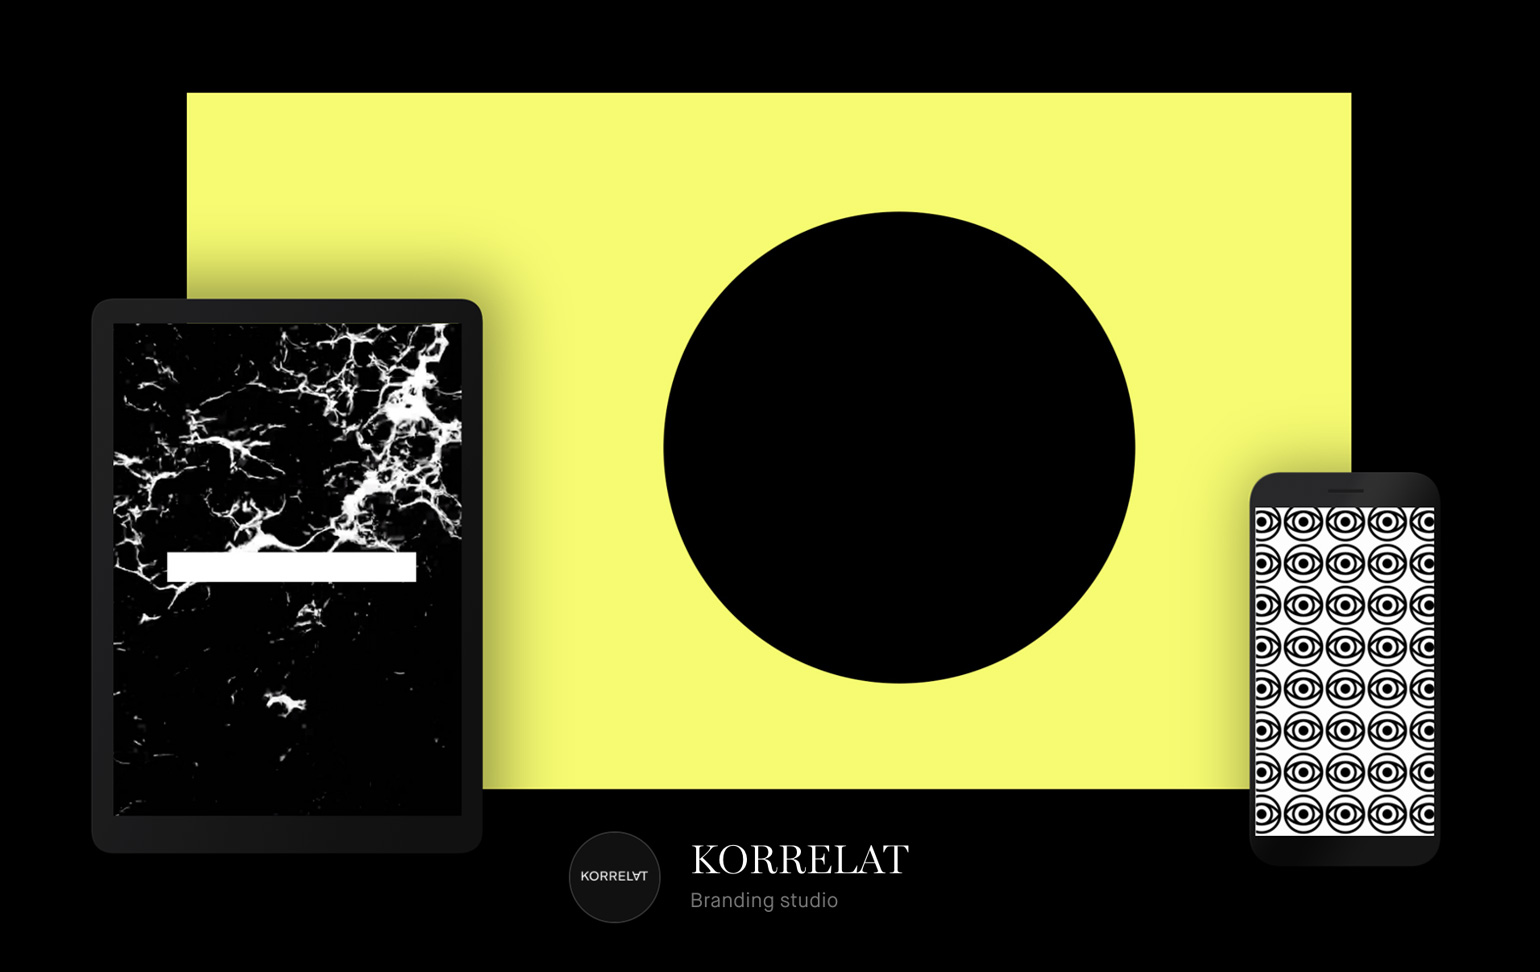
KORRELAT

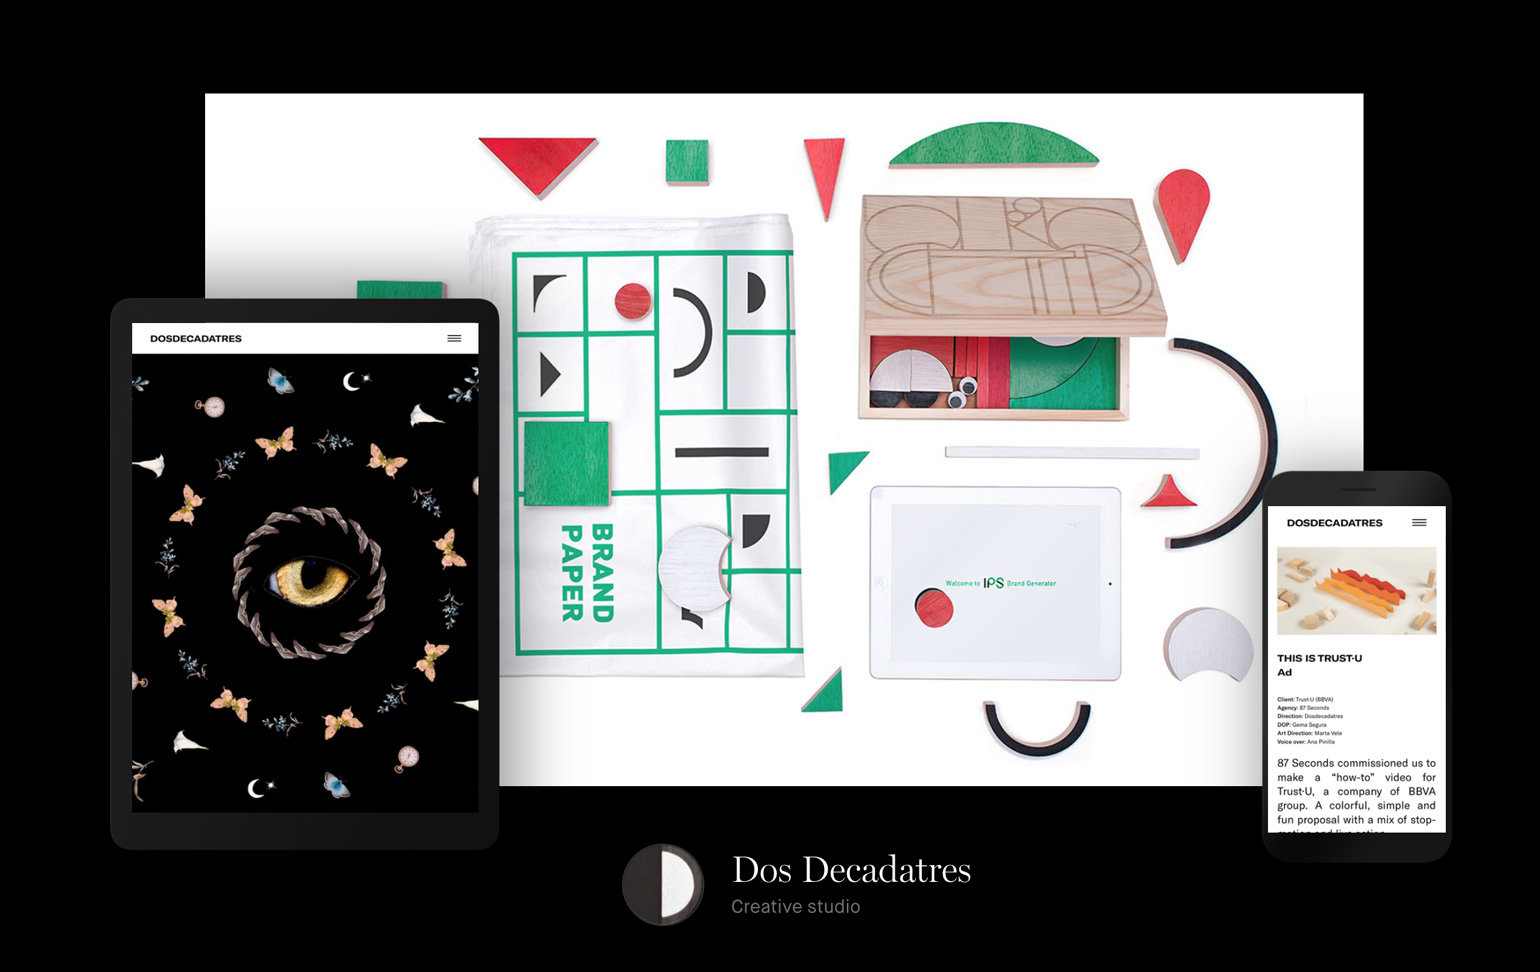
Dos Decadatres


To see more great design portfolios, visit the Semplice showcase. I'll be back next month with more of our monthly favorites!

Header image by Panoply

June 15, 2020No Comments

Tutorial: Creating geometric shapes & structures using Adobe Dimension

Since beginning our journey with Adobe Dimension, we've covered everything from creating three-dimensional typographic posters to making abstract 3D art as a beginner to creating packaging and product designs with Dimension.

Although Dimension is not a modeling tool, it continues to release features that empower designers to create their own 3D compositions – without any 3D experience. The latest update includes a feature I personally couldn't be more thrilled about: customizable basic shapes.

The shapes feature opens up a whole new way to play with geometric 3D designs and tailor them to your needs. No longer bound to the simple pre-made shapes that previously came with Dimension, you can now create and tweak your own shapes to your heart's content.

But enough talk. Let's jump into this tutorial!

What we'll be creating

For this tutorial, we'll be creating a geometric sculpture using the new customizable basic shapes feature. Here is what we'll create:

Getting started

As with any creative endeavor, it's helpful to get a rough idea of what you'll be creating so you aren't wandering around aimlessly. Sketching out your idea beforehand is a great way to get a starting point. Even if your end result is wildly different, it's always helpful to have a vision at the beginning.

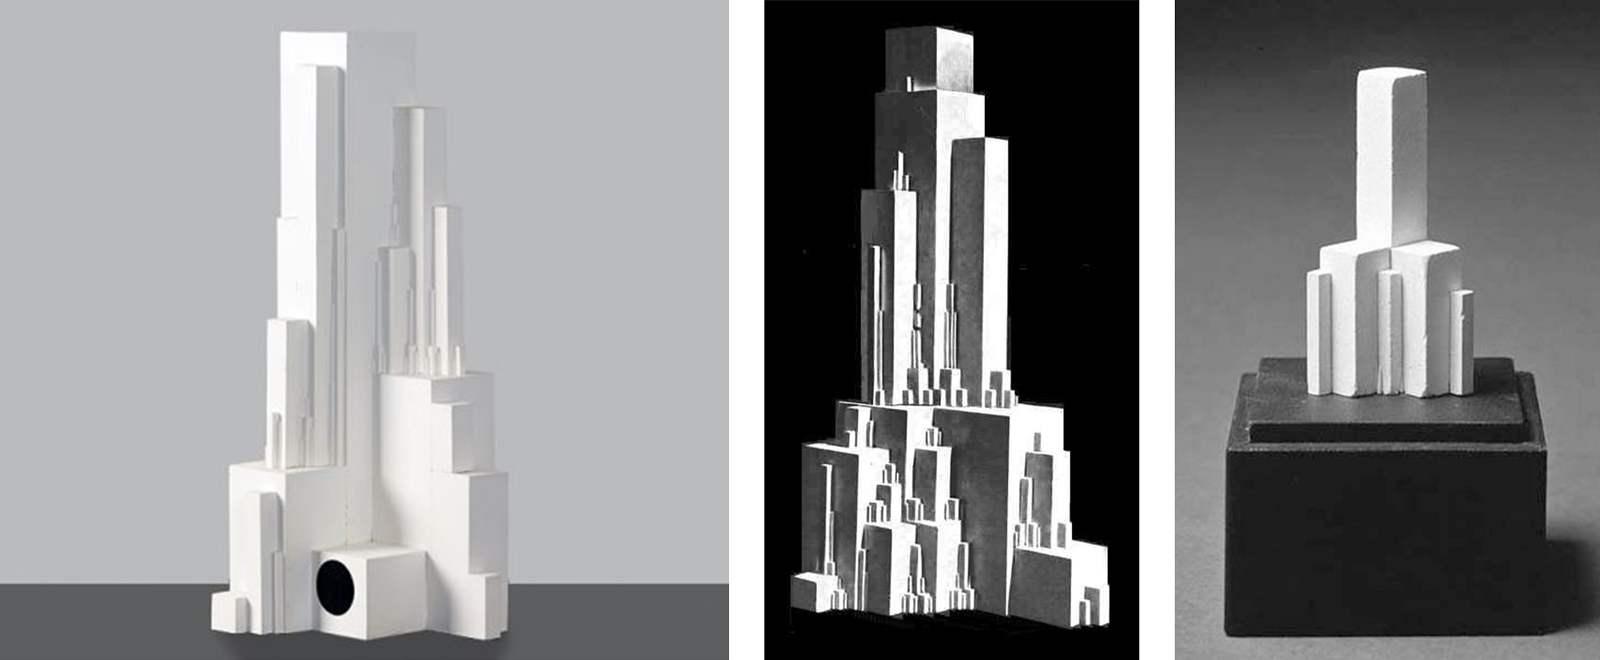
I've recently been inspired by the Suprematism art movement, and particularly the Arkhitekton works by Kazimir Malevich. I wanted to use the new shapes feature to create similar sculptures using simple geometric shapes.

Work by Russian artist, Kazimir Malevich

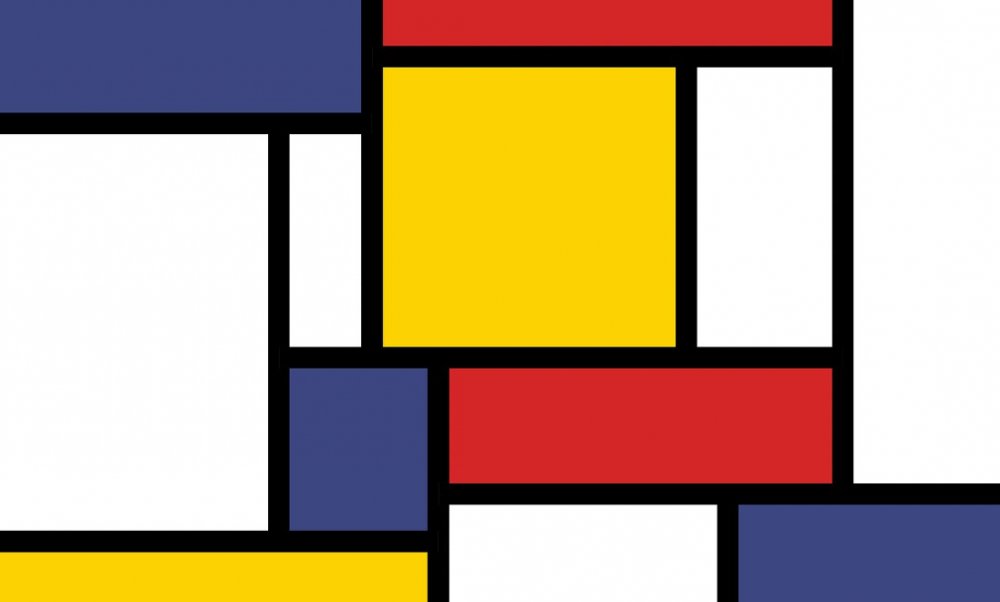
For colors, I was also inspired by the works of Piet Mondrian.

Piet Mondrian, a dutch painter from the 20th century, is known for his abstract geometric art.

An easy way to "sketch" out your own scene is to block out your sculpture with simple shapes such as squares or spheres. You can also use tried and true pen and paper as well, of course.

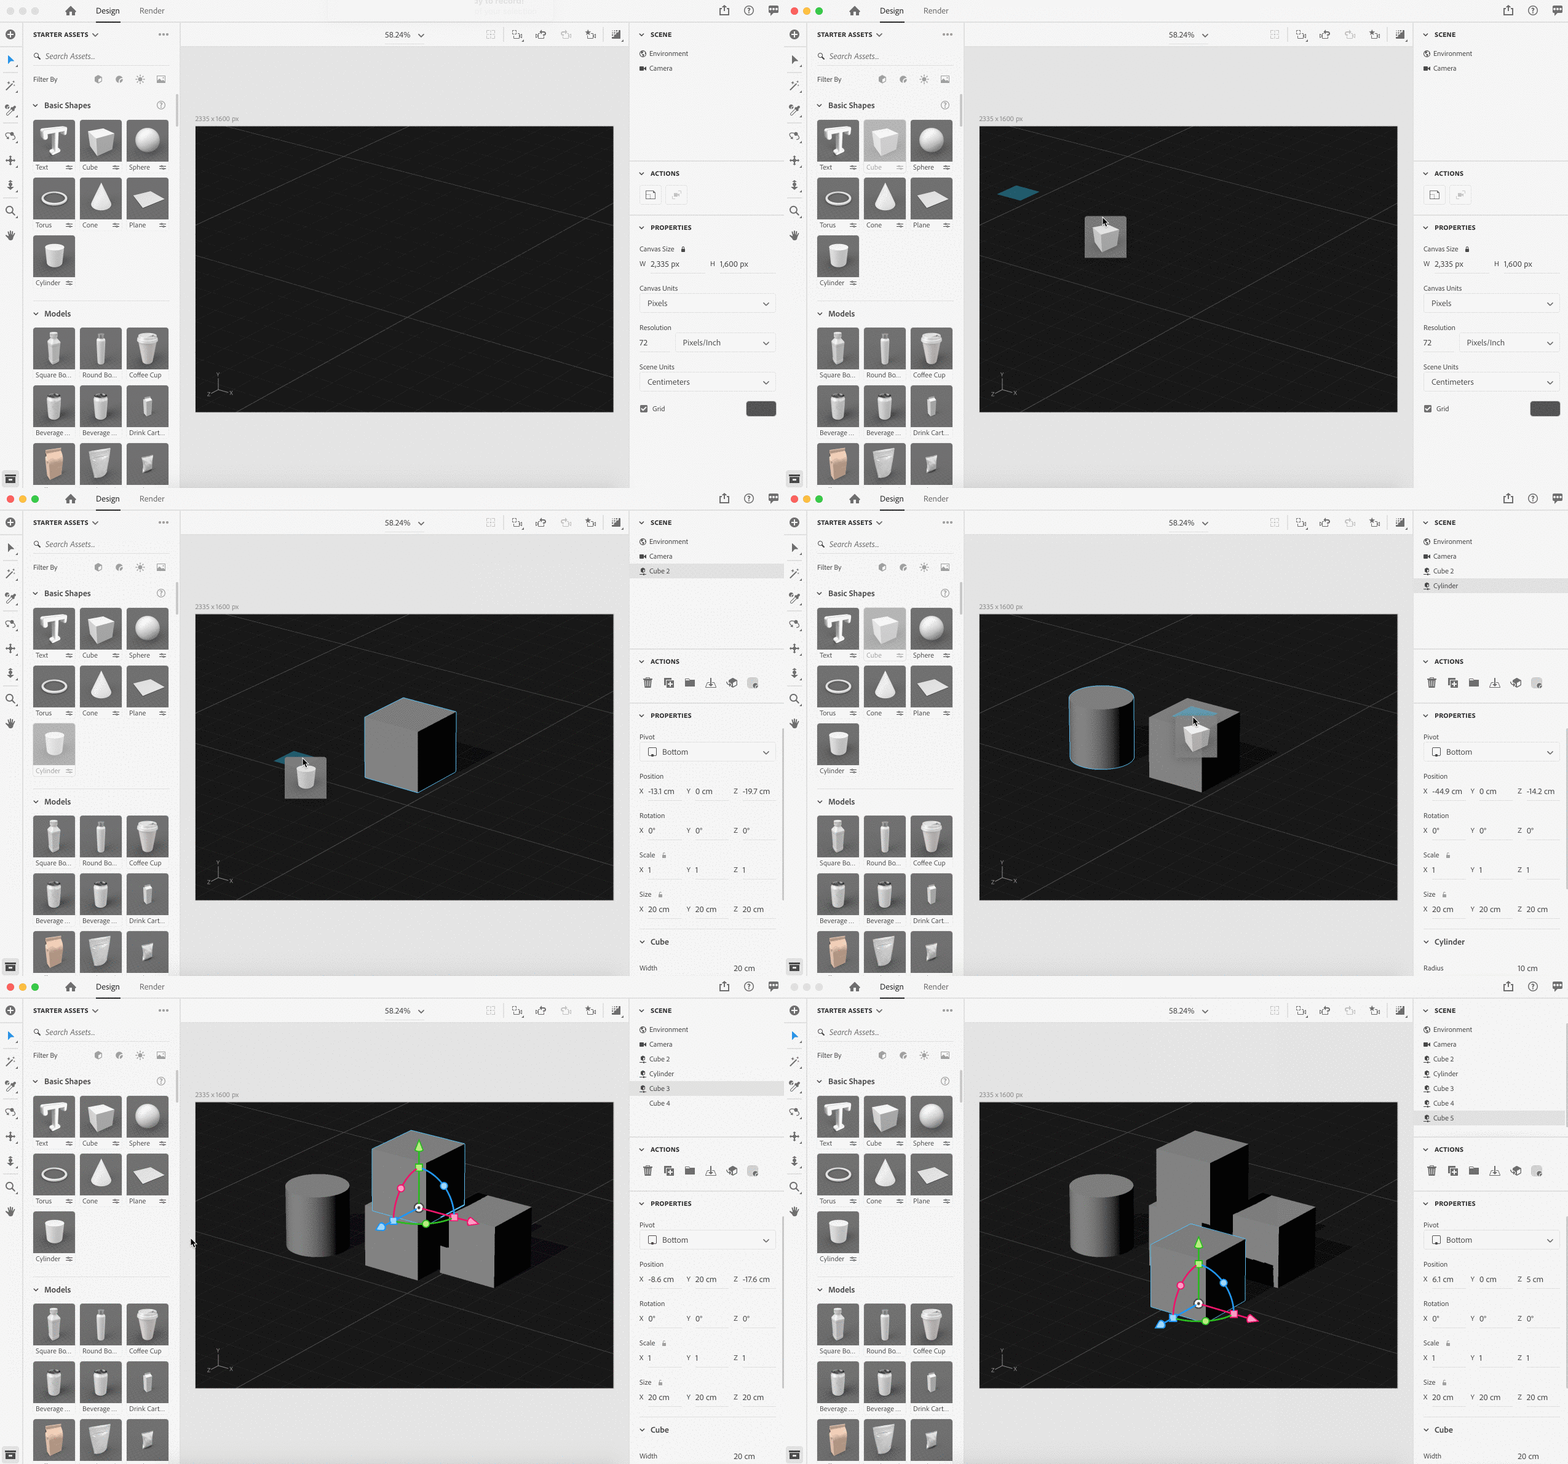
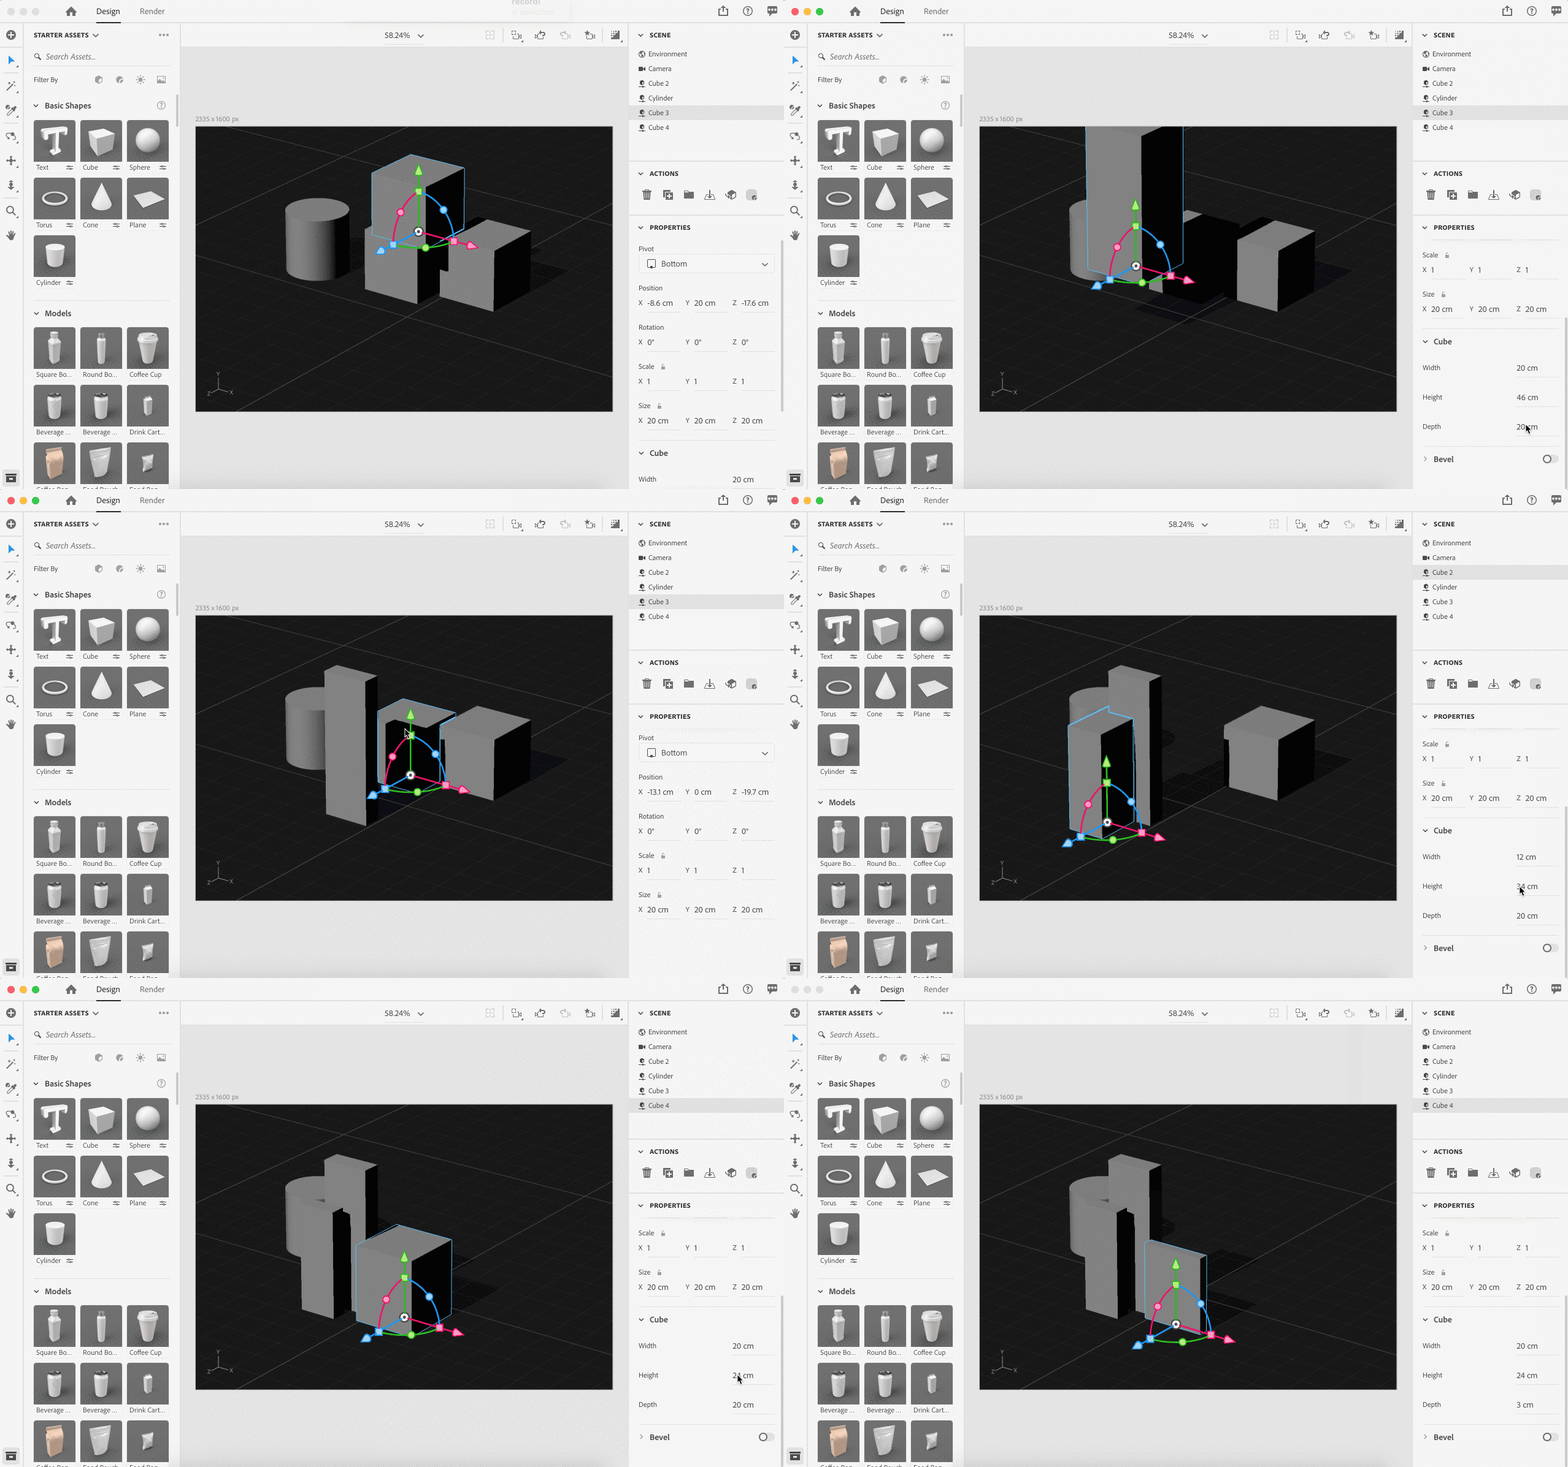
I'm going to start by simply dragging shapes into my scene to block out the basic structure of my composition. Yours doesn't have to be exactly like mine if you want to do your own thing here. Have fun with it.

We will then modify the height, width and depth values of our shapes to get a nice variation in geometry.

Here is the result of placing some cubes, spheres and cylinders into a simple composition:

Setting our scene and camera

Now that we've laid out the basic sketch of our structure and blocked things out, let's quickly set up our scene and camera.

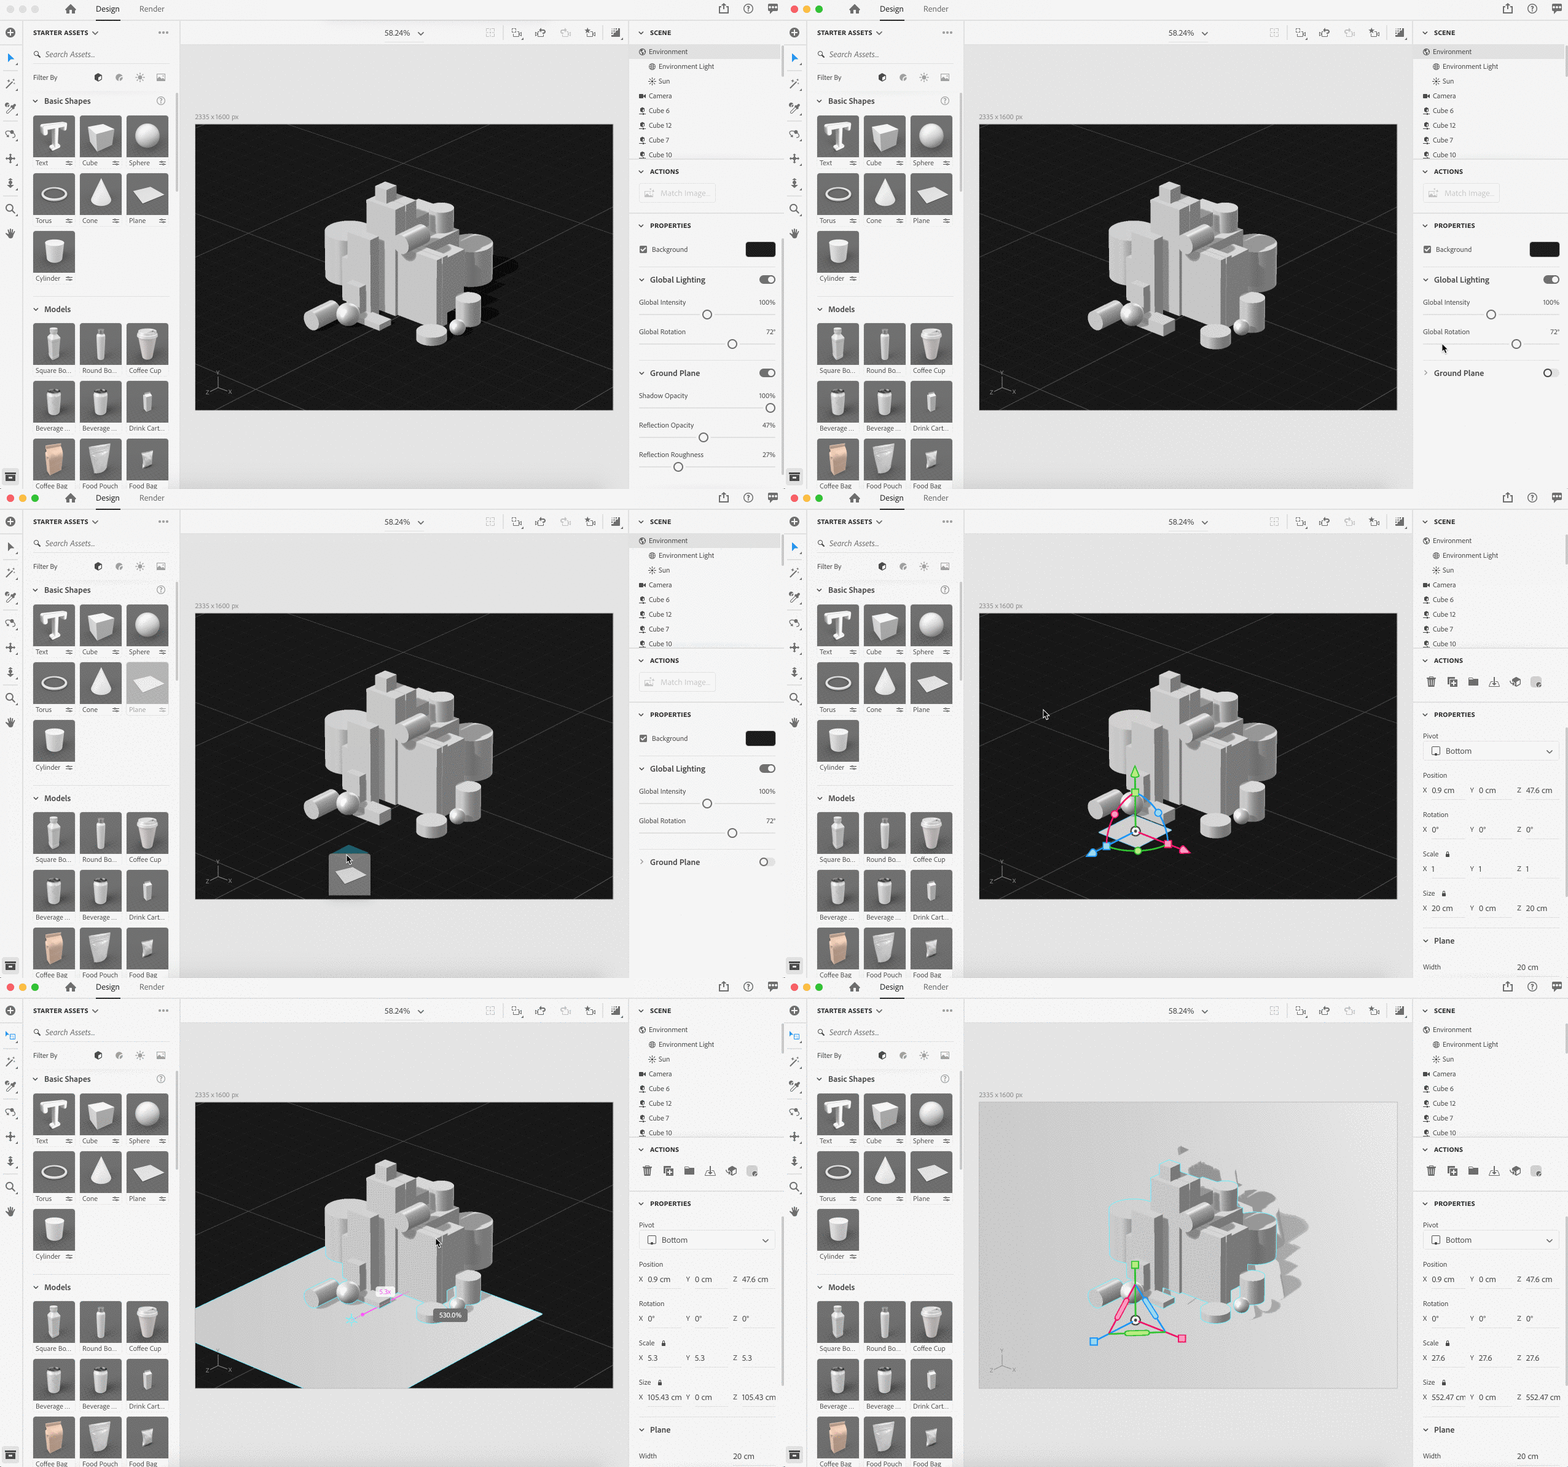
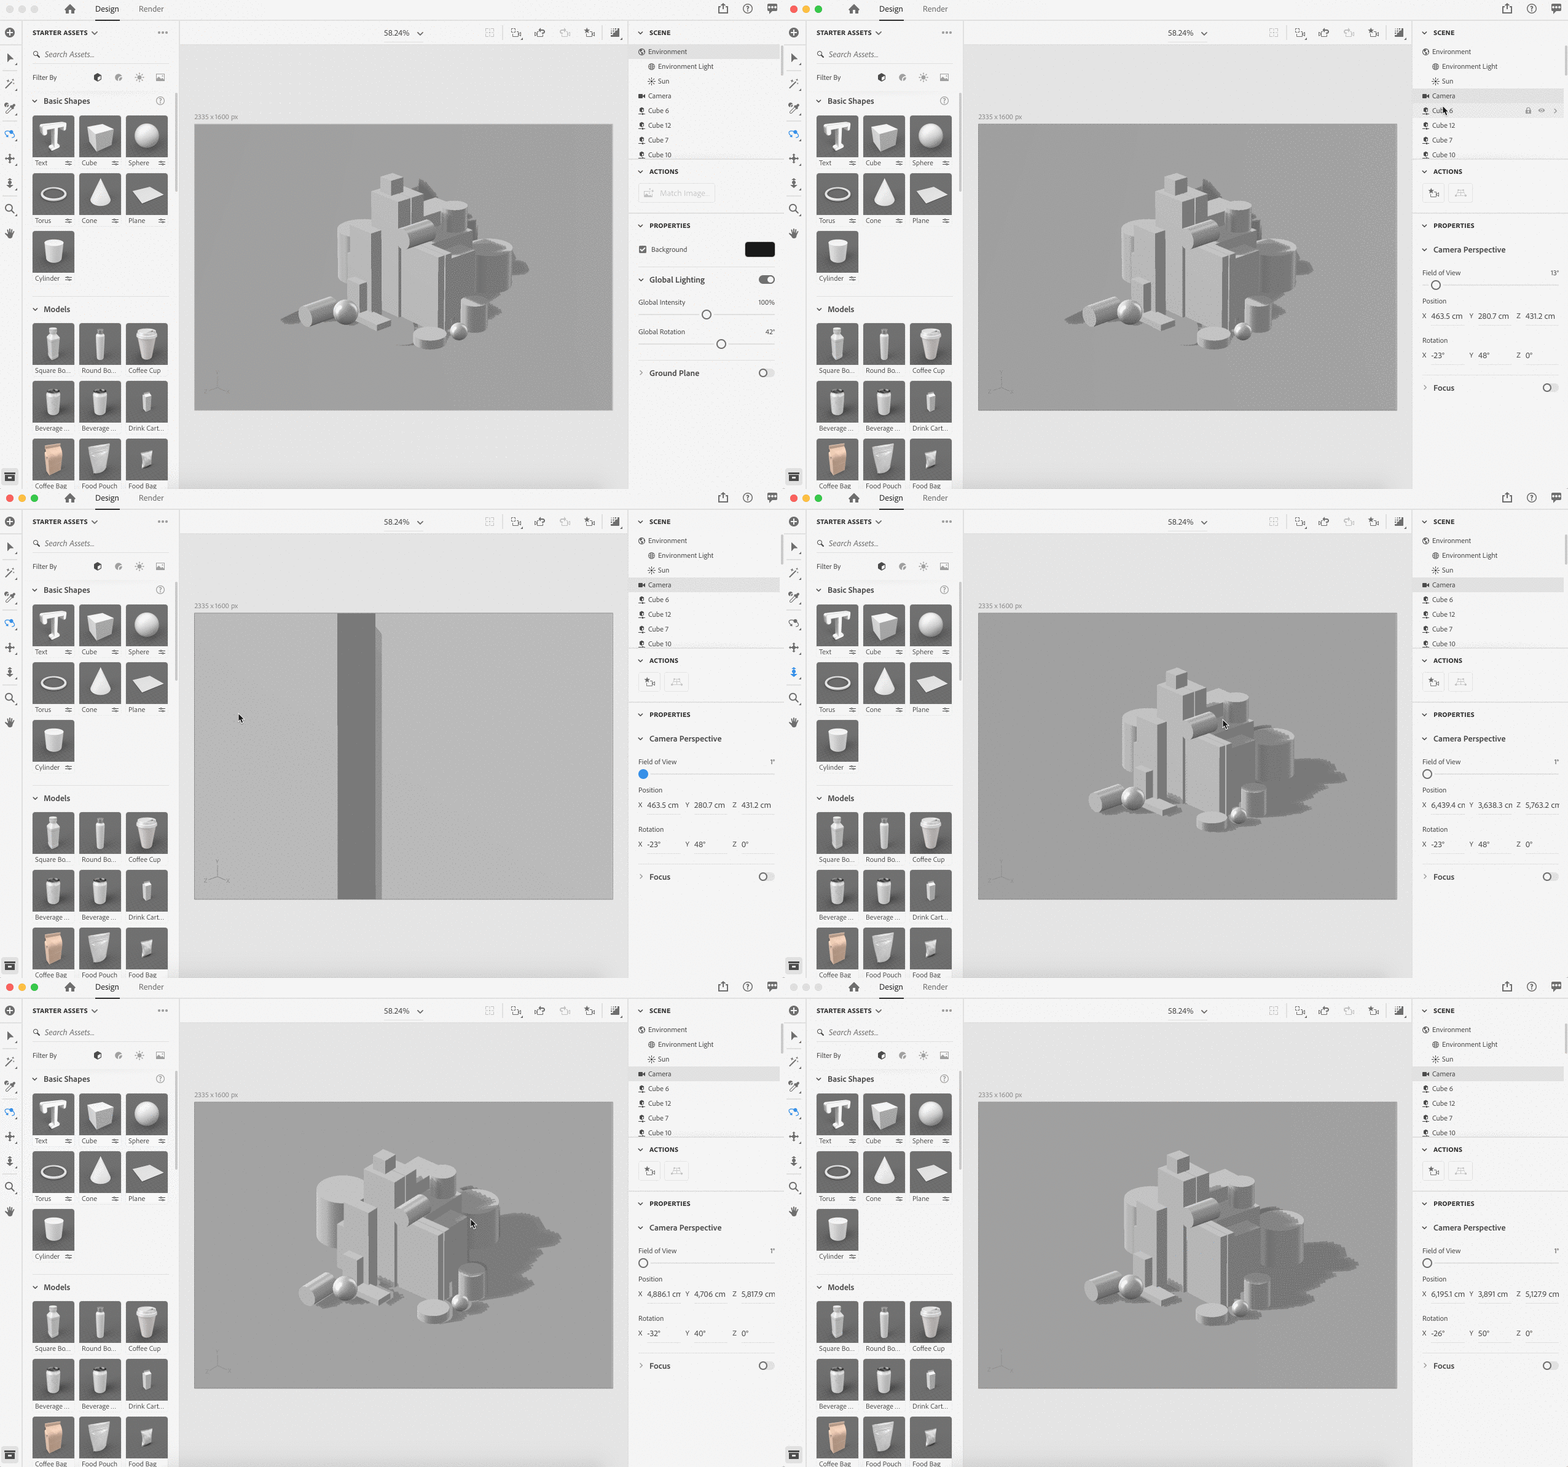
First, go to the Environment tab and turn "Ground Floor" off, since we will be using our own ground floor. Using our own floor will allow us to assign a custom material to it later for a more realistic final result. To add your ground floor, simply place a plane object onto your scene and resize as needed.

For this example, I've placed a plane object to create my ground floor. I then would like to create a nice aerial, isometric camera angle for my scene. To get an isometric view, just slide the Field of View value all the way to the left to 1 in the Camera Perspective properties.

Using custom shapes

Now that I've got my simple scene blocked out, it's time to start refining the shapes and working in the finer details.  You can then start adding some more intricate shapes to fill in around the larger blocks. This will help our composition feel more intricate and visually interesting.

You can choose from a variety of shapes to manipulate and play with in Dimension. For right now, I'm using mostly spheres, cylinders and square objects with a few torus shapes.

Shapes also have a set amount of sides by default. Increasing the number of sides will increase the edge geometry of our shapes, but at the cost of slowing down our scene. It's best to limit the number of sides as much as you can, especially if you have a lot of objects in your scene. The smaller the object, the fewer sides you'll need.

Beveling our edges

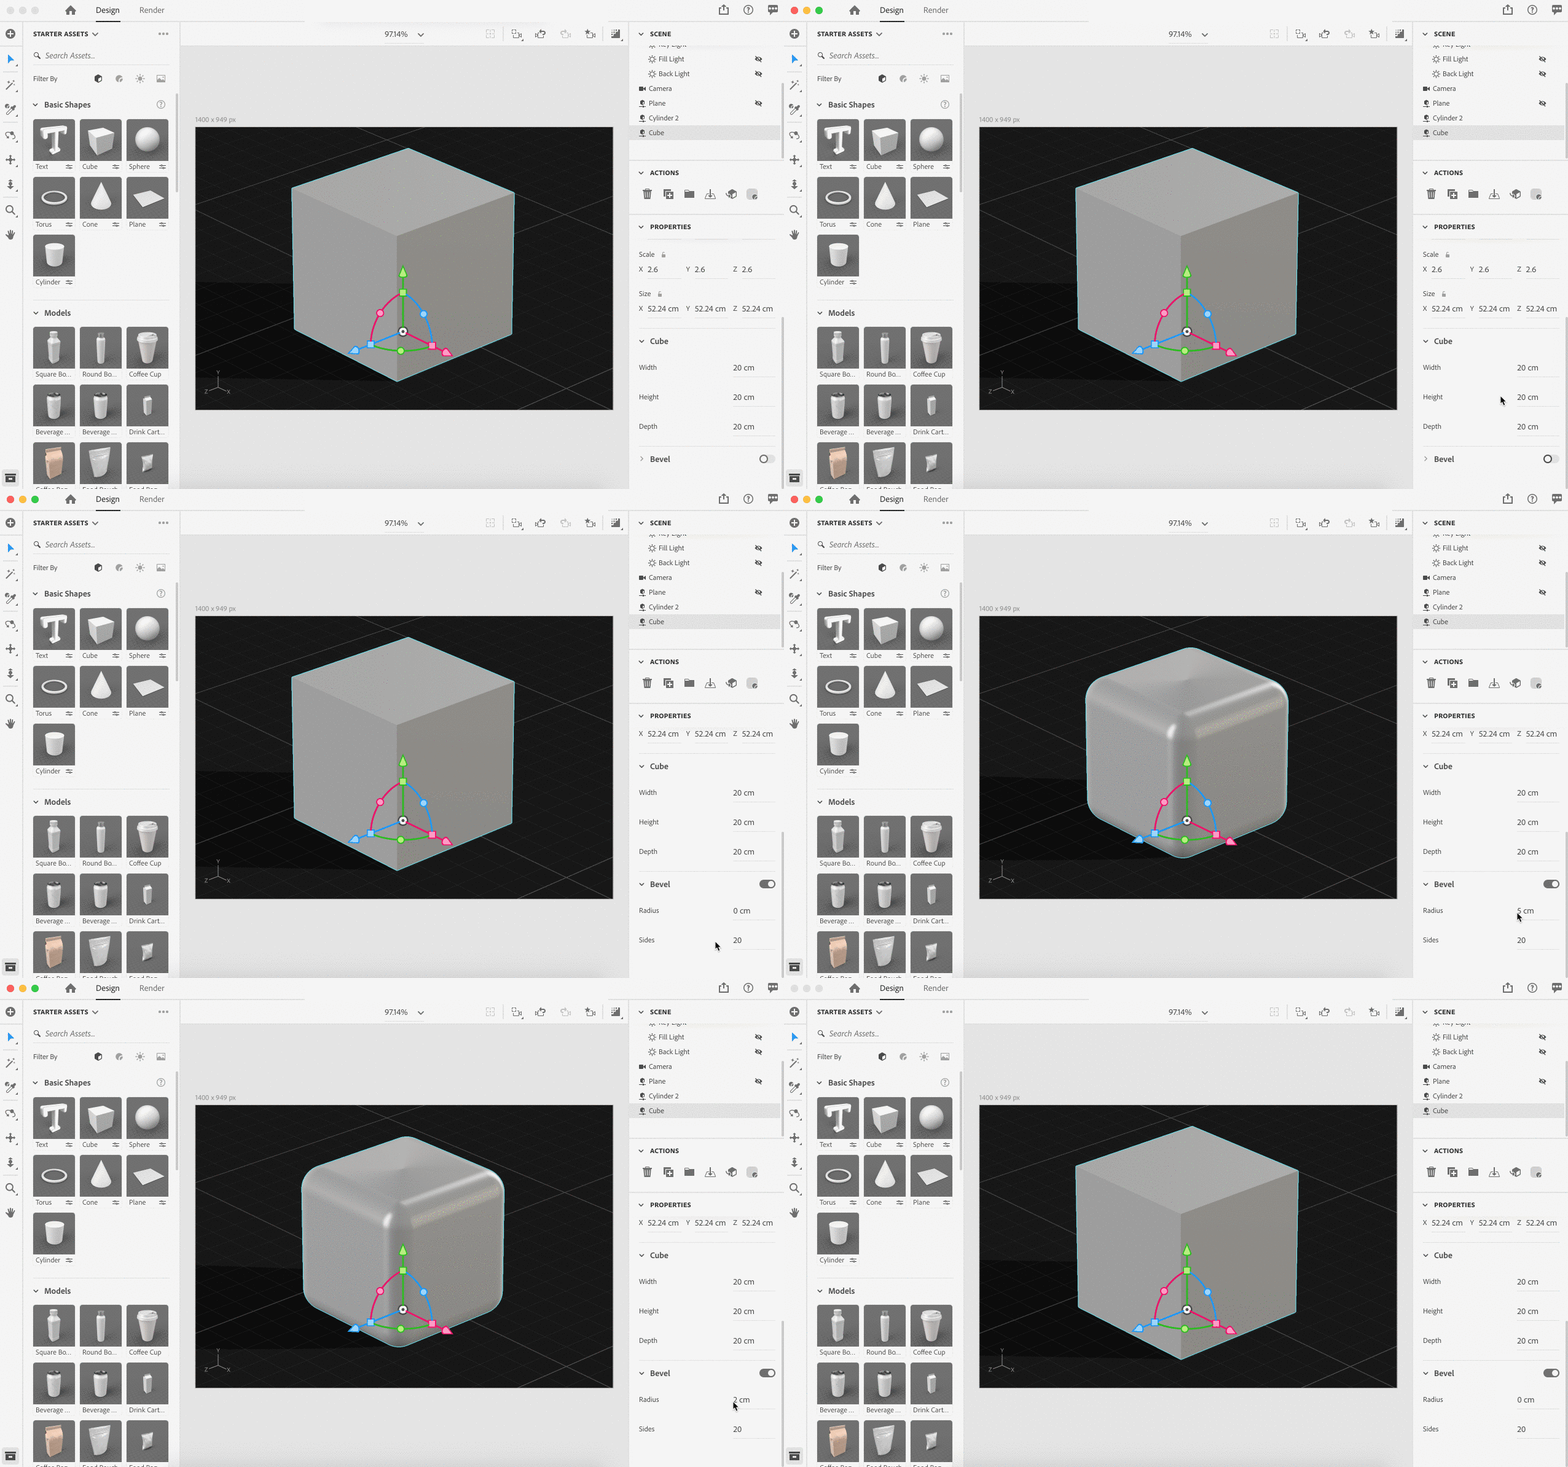
An exciting new feature with the latest Dimension update is the ability to bevel the edges of your shapes. Since no real-world objects have truly sharp edges without some sort of rounded edge, the ability to even slightly round the edges of your shapes will greatly increase the realism of your objects.

Let's go ahead and add some beveling to our shapes.

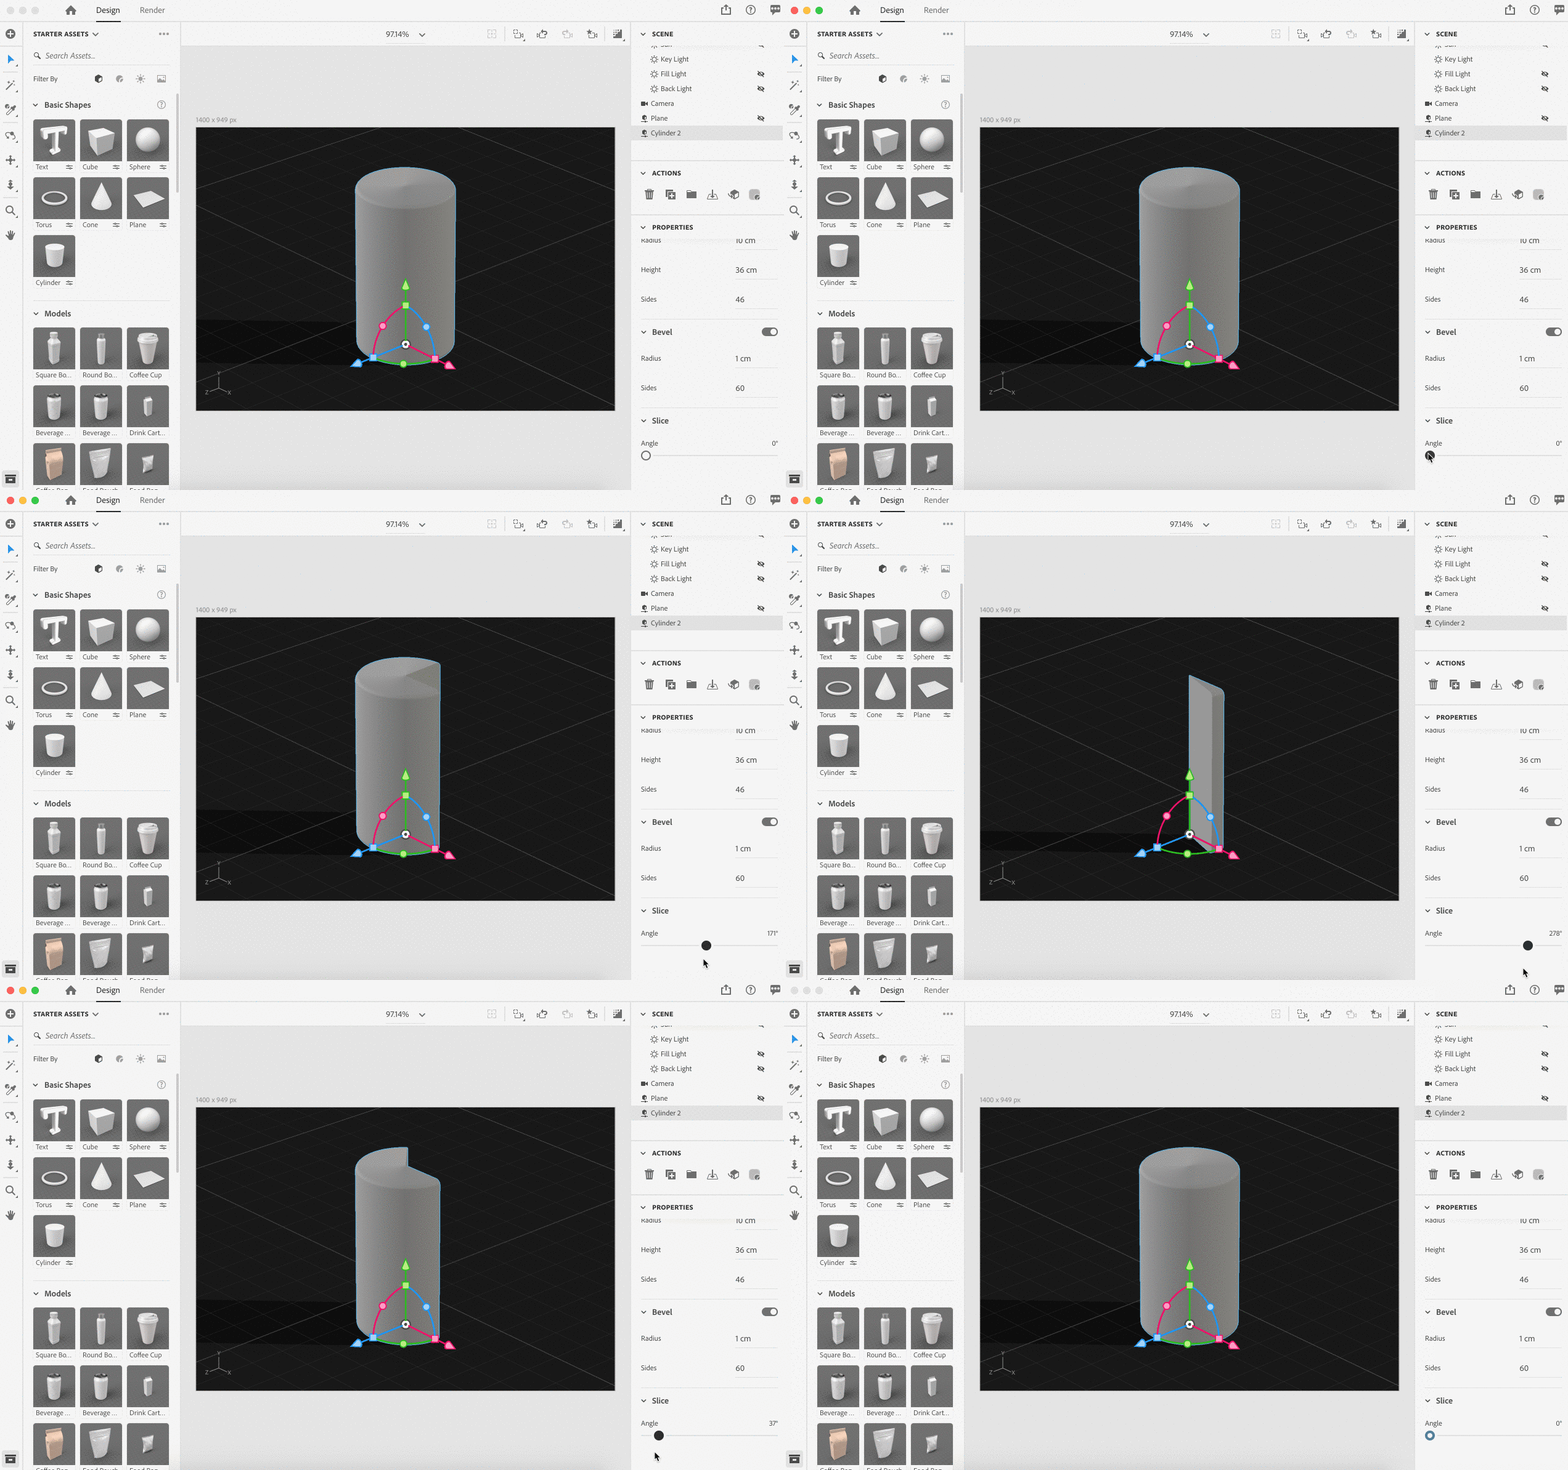
Slicing shapes

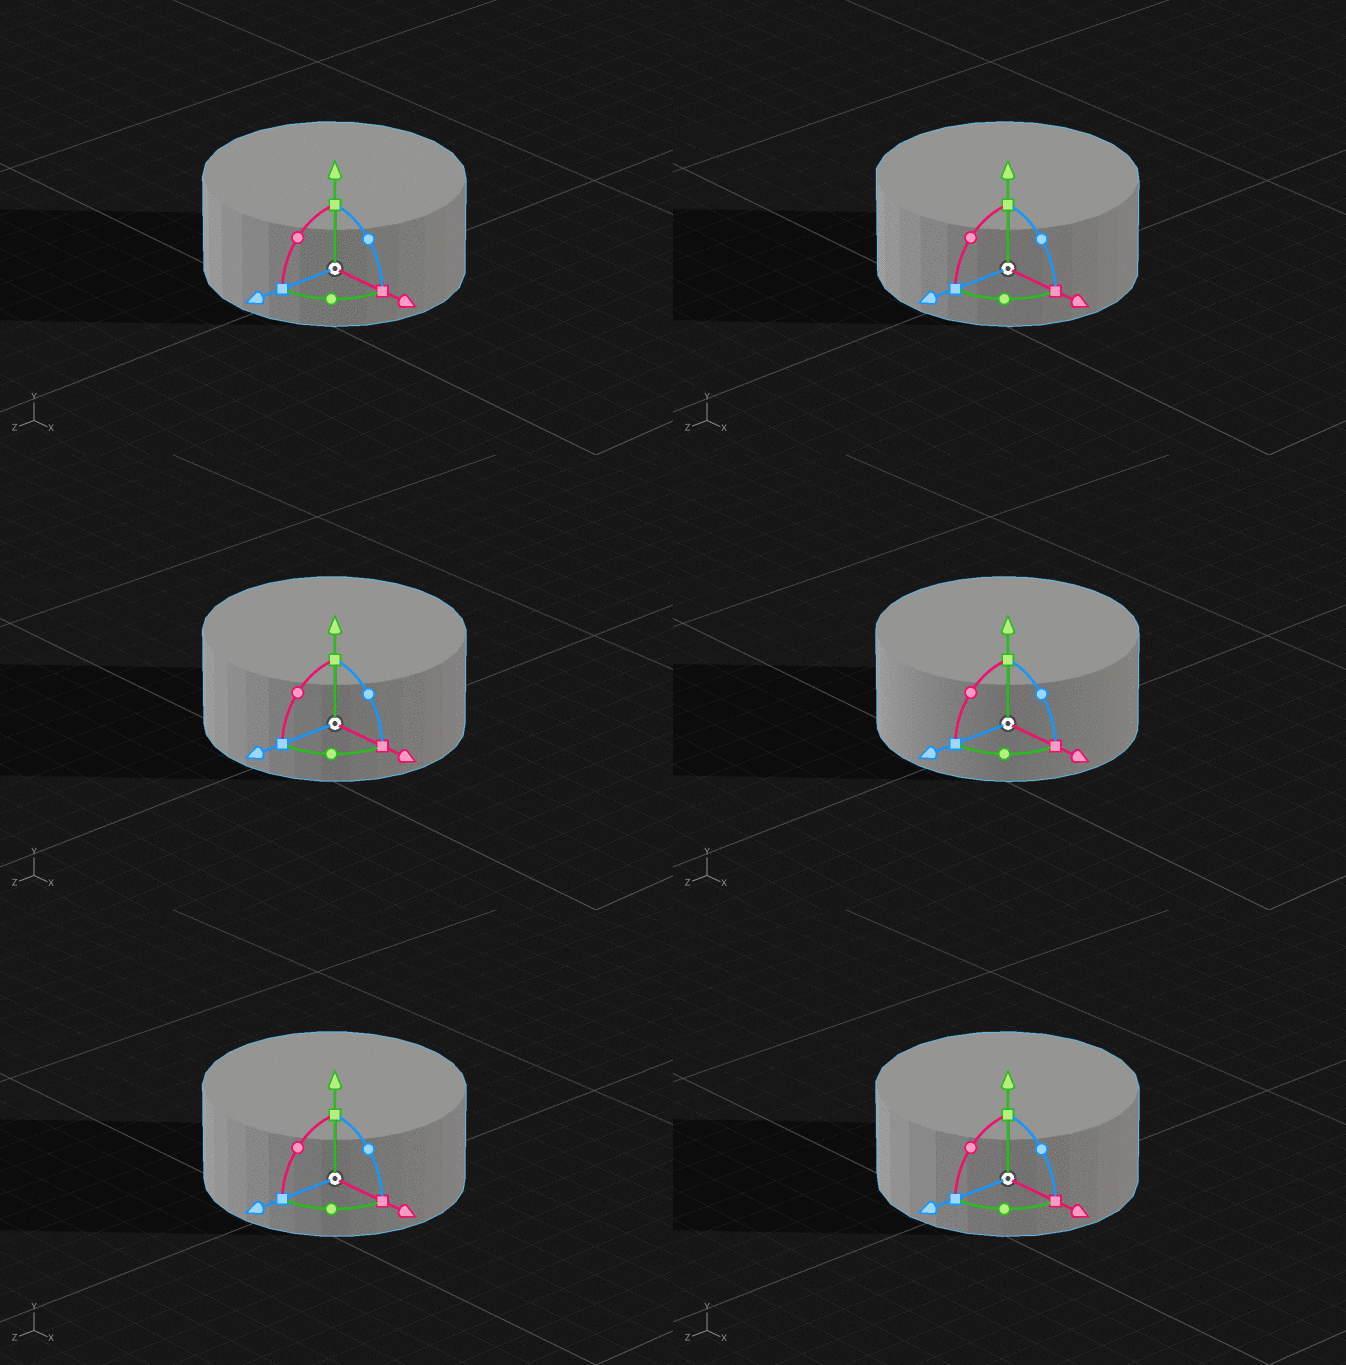
In addition to adding a beveled edge, we can also slice our shapes to reduce geometry. Here, I'll create a half-cylinder shape by slicing this cylinder. Let's reduce it to 180 degrees.

Filling in the details

I've now added bevels to all my shapes, as well as half cylinders to make the scene more interesting. I've also added more shapes from the provided shape options, as well as a ladder I created myself from multiple custom cylinder shapes.

For some added visual interest, I'm also going to add some text extrusion shapes. If you haven't already, check out our previous tutorial for creating 3D typography to see how easily you can make these letters.

Setting up our lighting

Now that we've created our geometric structure, it's time to light our scene. Lighting is key to achieving great and realistic 3D results, so it's crucial we get this right.

If you have any experience with photography, you may have heard of a 3-point lighting system.

3-point lighting consists of three key elements: key, rim (backlight) and fill. Key is your main light source. Rim light serves to outline the back of your subject and create depth, and fill light serves to reduce harsh shadowing.

An example of this type of lighting system below:

Left to right: key light, rim light, fill light

Combined light sources for an evenly lit scene

Luckily, Dimension comes with a way to light your scene exactly this way, and this is what we'll be using.

To get started, go to the lighting area and create a new 3-point lighting setup. You can turn off the environment lighting now if you'd like. I also recommend keeping your materials to the defaults so you won't be distracted with the materials you have set.

The key light will illuminate the front of our object, with the backlight illuminating the outer edges. The fill light will help break up any harsh shadows and provide a nice, soft light to our scene.

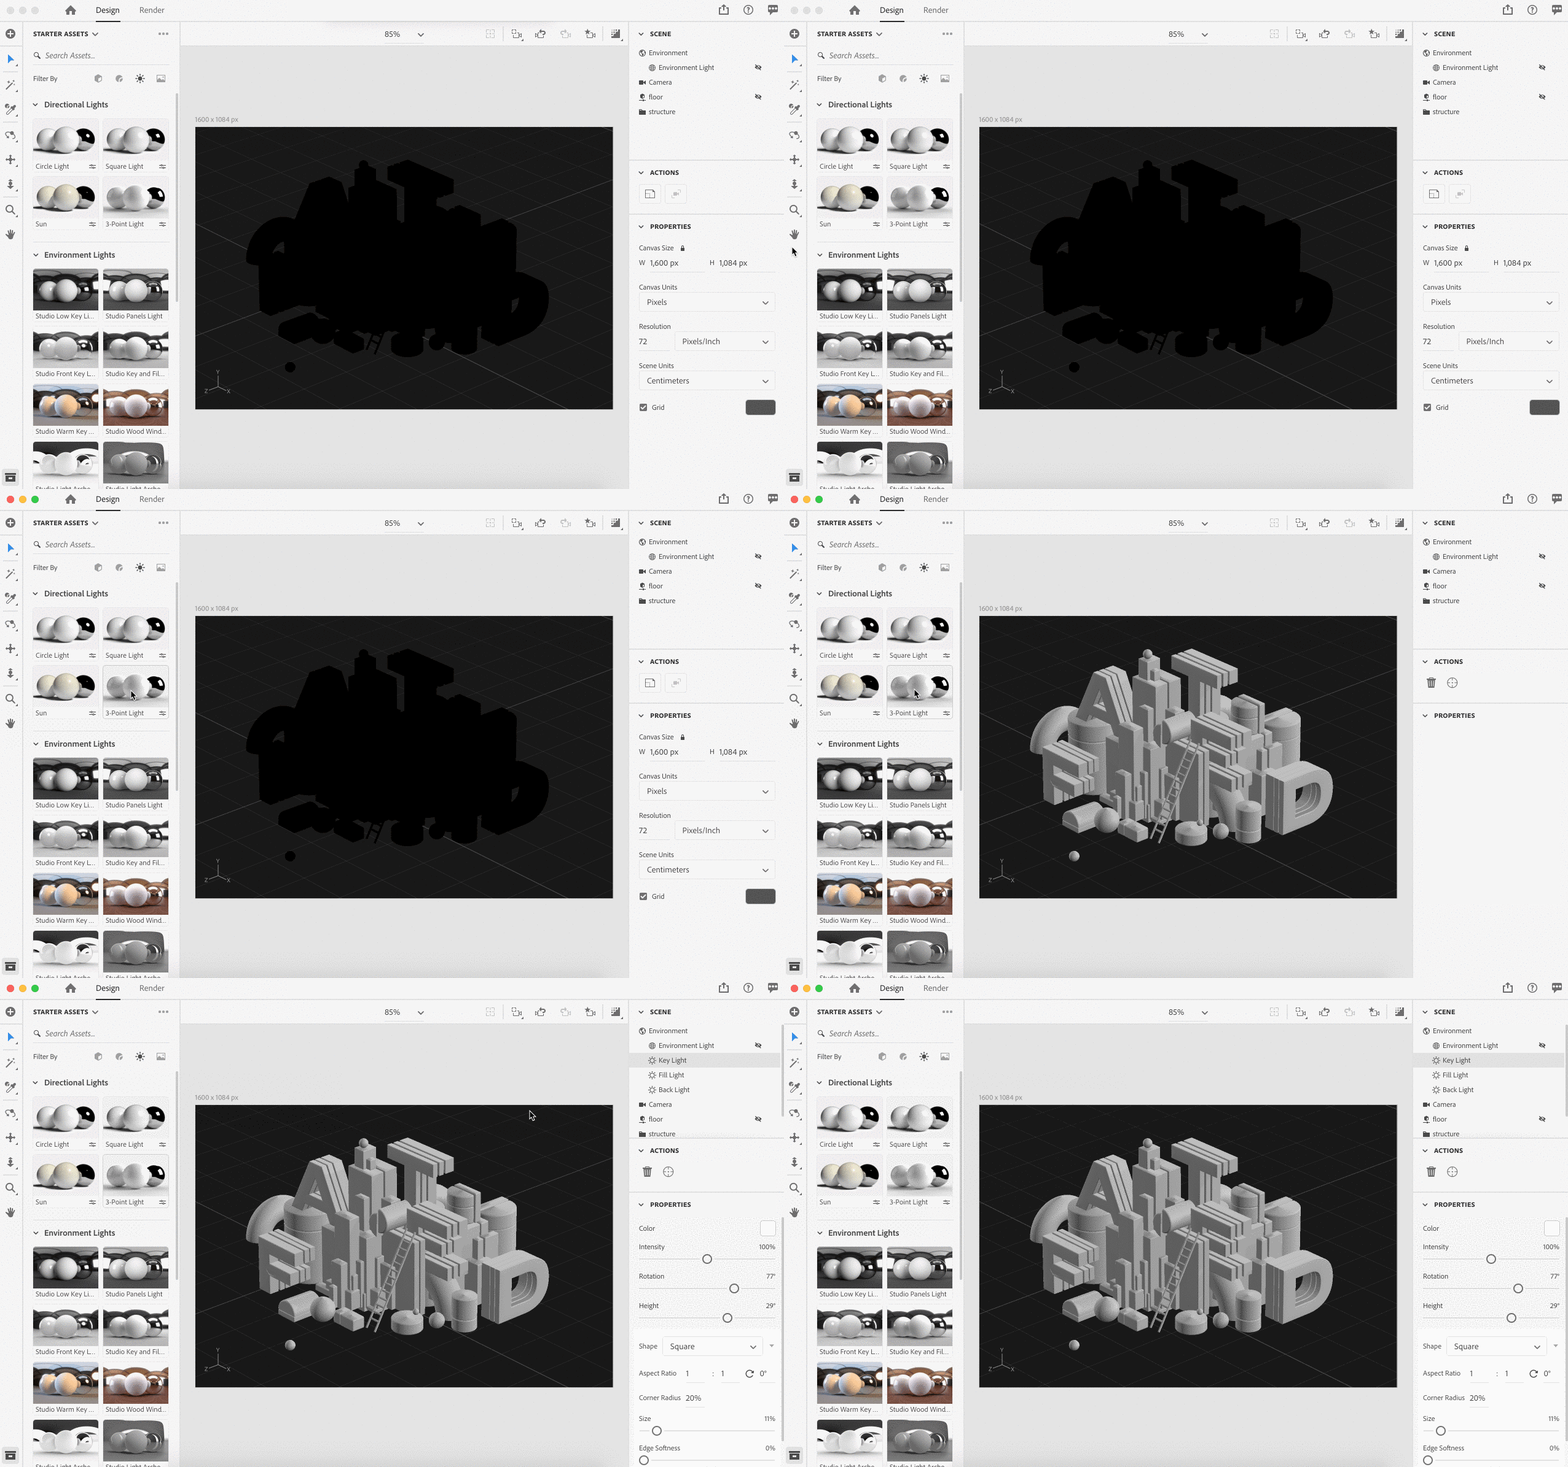
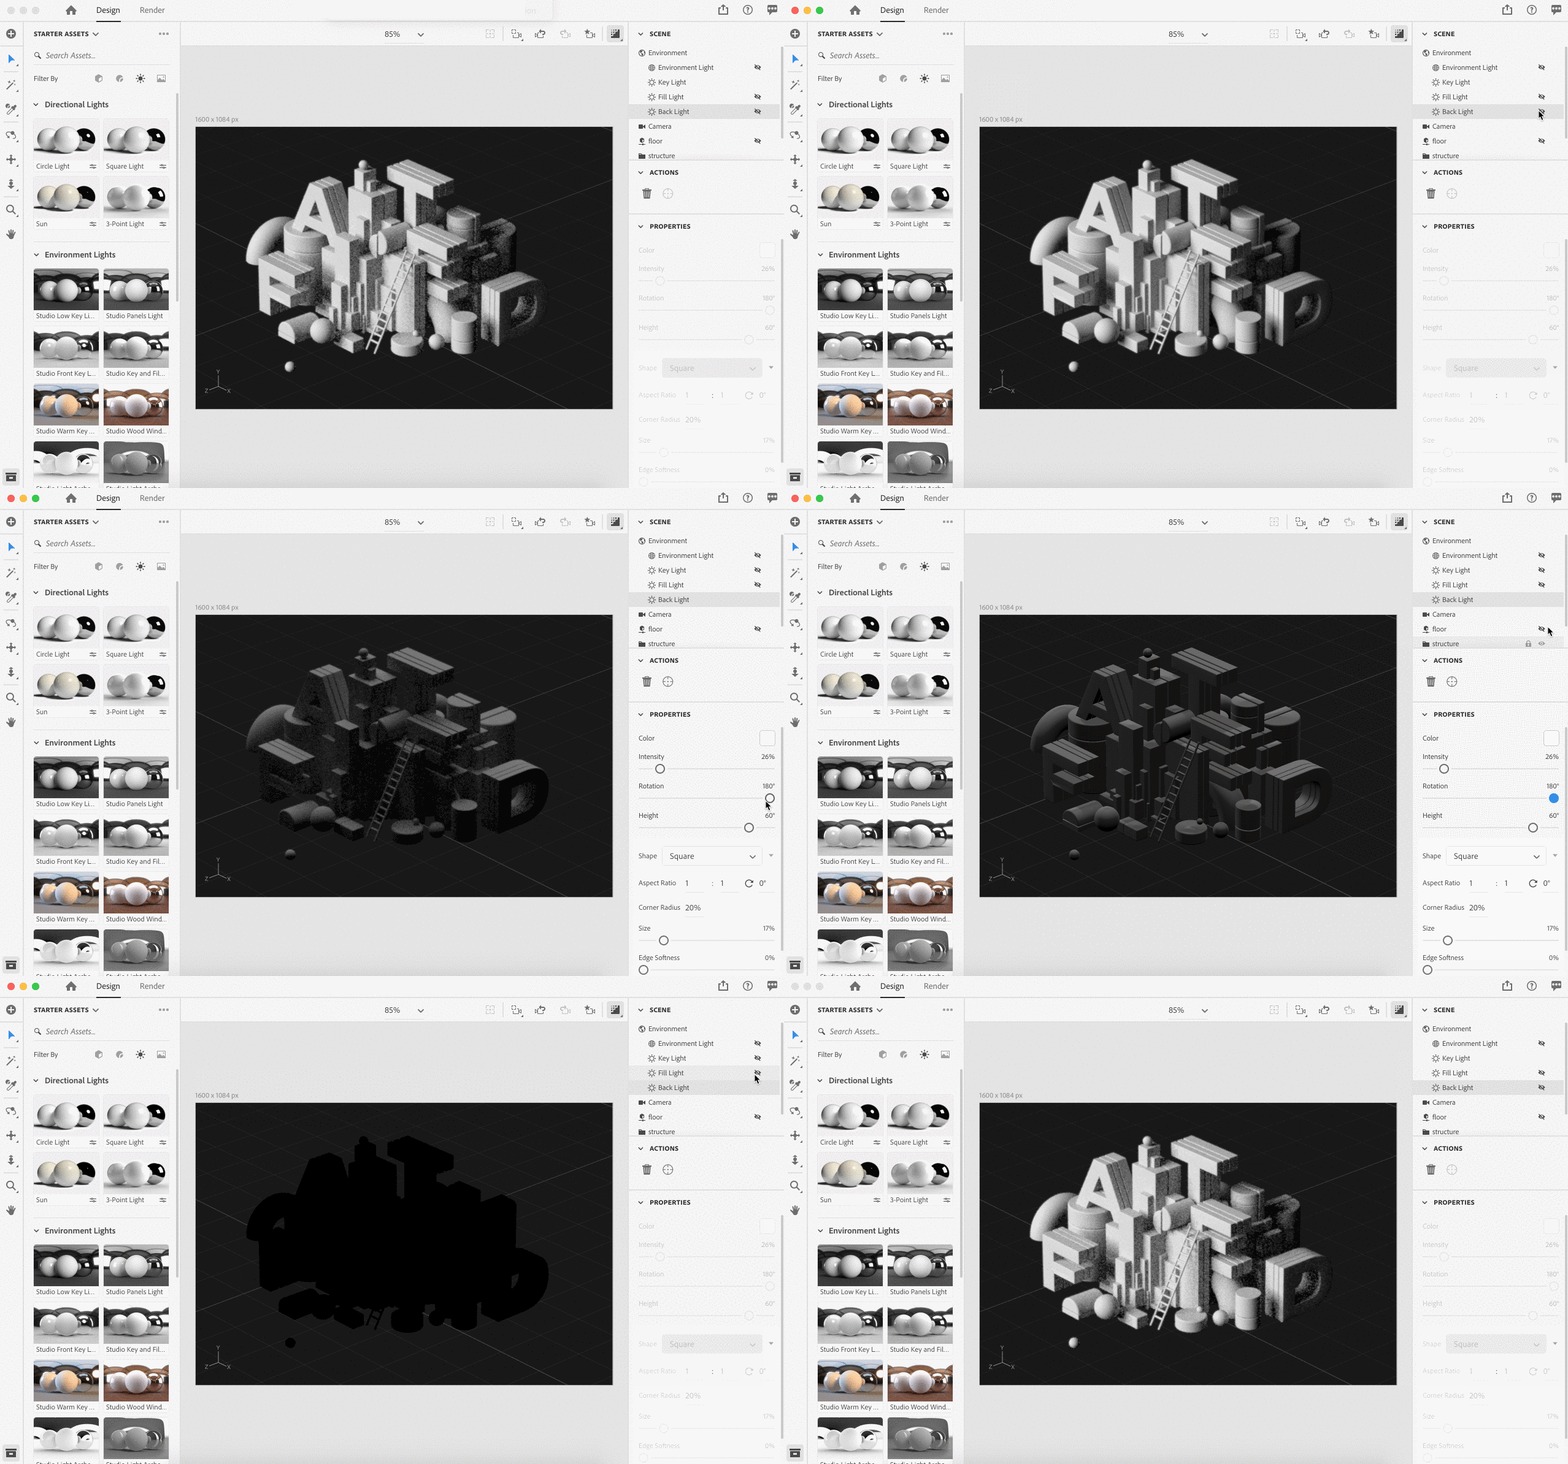
PRO TIP: A good trick is to only keep one light on at a time, so you can see how each light is interacting with your scene.

You may need to play around with your lighting values and positions to get the results you want. I will often look at real-world photography as a reference and compare this to my own scene.

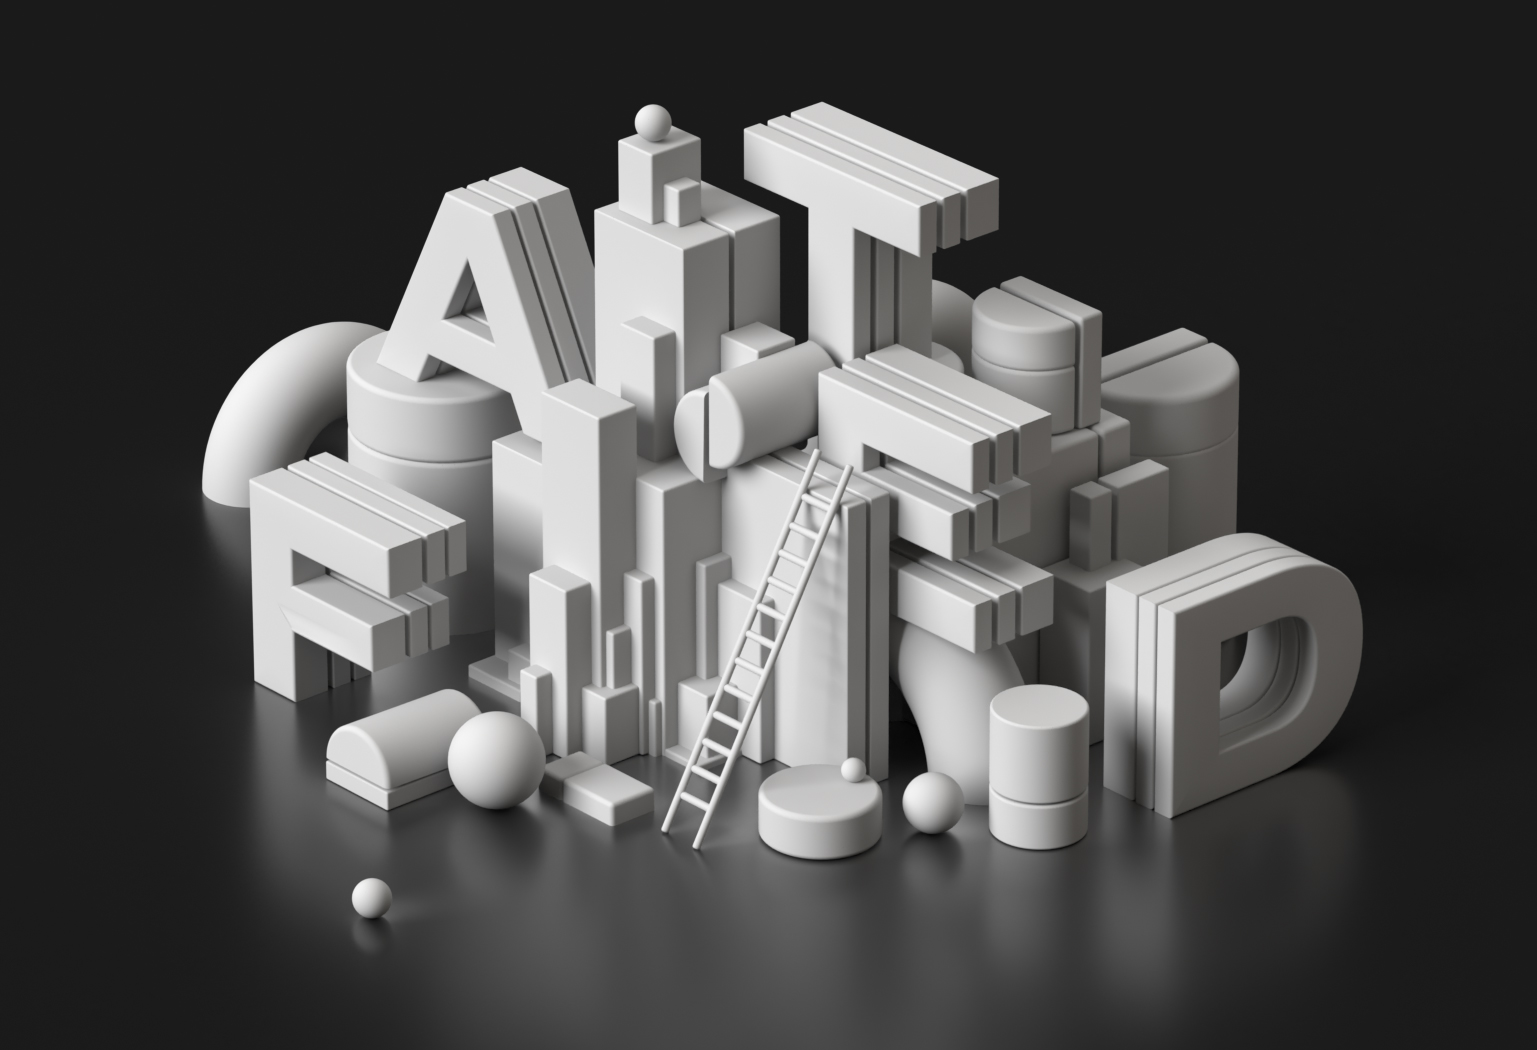
Here is the result once I'm happy with my light positioning:

The progression of our lighting

Applying materials

Now that we're happy with the lighting, we can start applying materials to our structure.

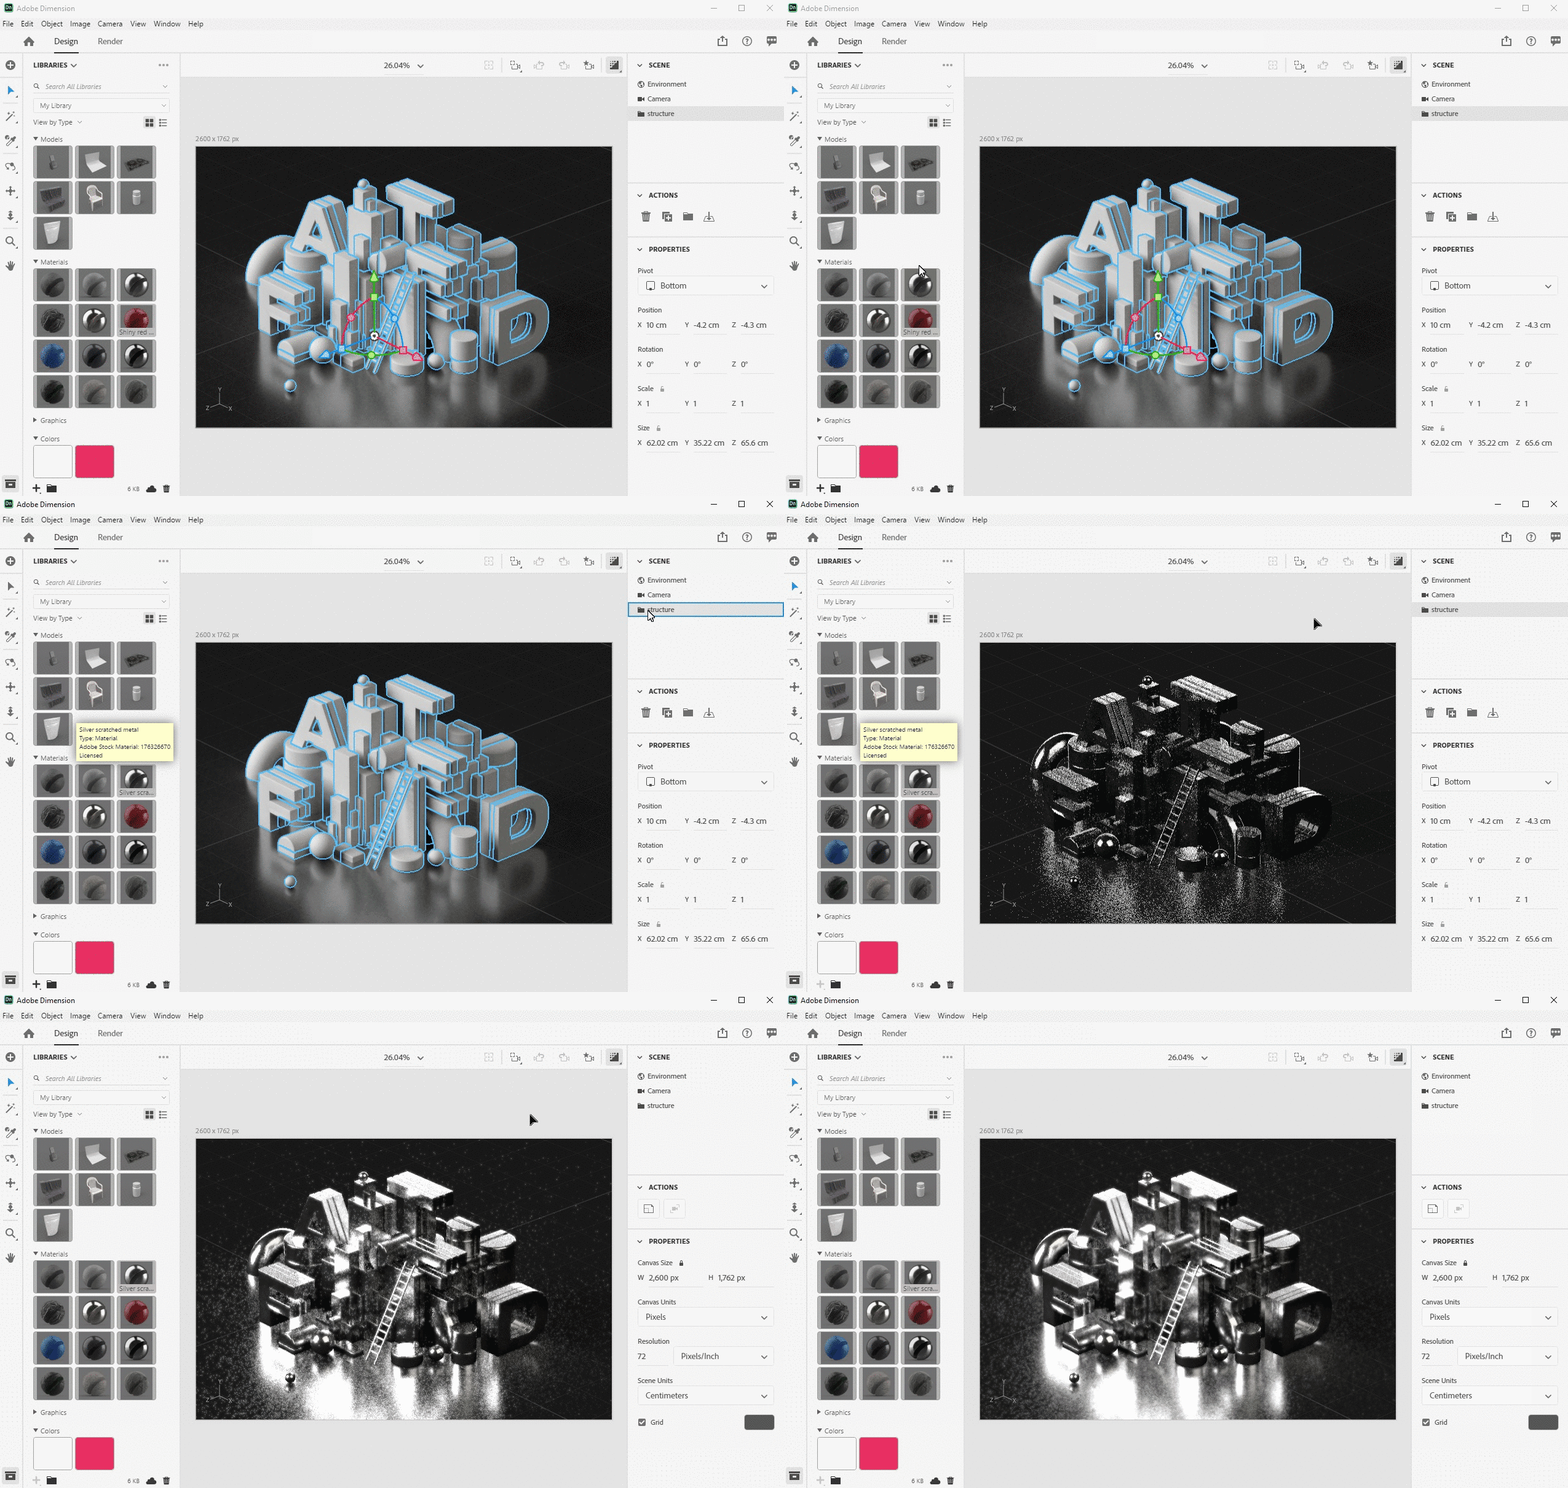
For the base, I've applied a polished chrome material I downloaded from Adobe Stock 3D. For the most realistic results, I recommend using materials from either Adobe Stock or Substance Source. Substance Source materials include additional texturing effects that heighten the realism of your objects. Dimension also comes ready with some rich materials, including Substance Materials, in the Starter Assets panel.

To add the material, select all of our objects at once (or the group, if grouped) and apply the material from our Adobe CC material library or by going to File > Import > Place Material on Selection.

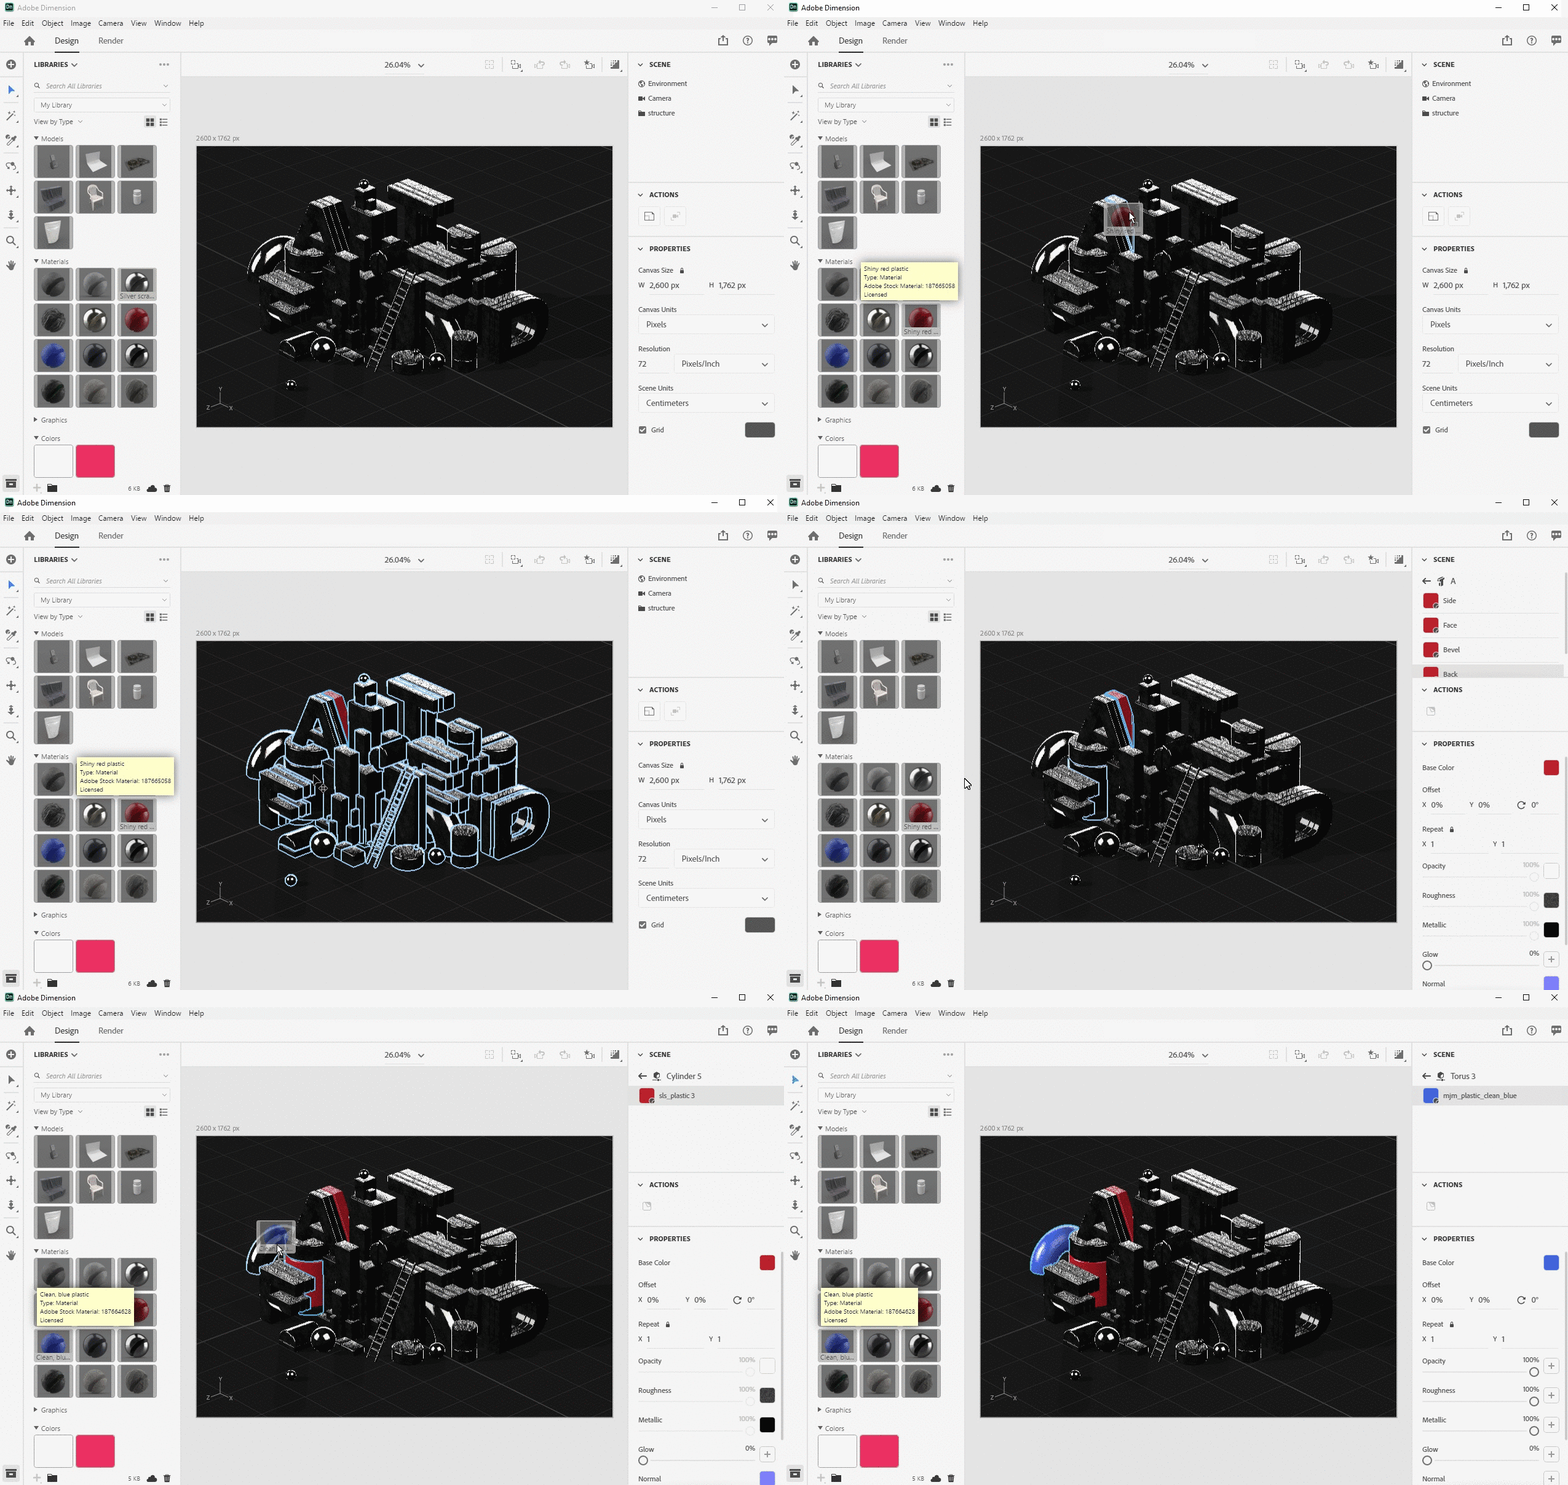
I've now also applied multi-colored plastic materials to my objects that I found on Adobe Stock. This red plastic material is a nice base material for my original vision for this scene. I've also added a similar blue plastic material to my ground floor.

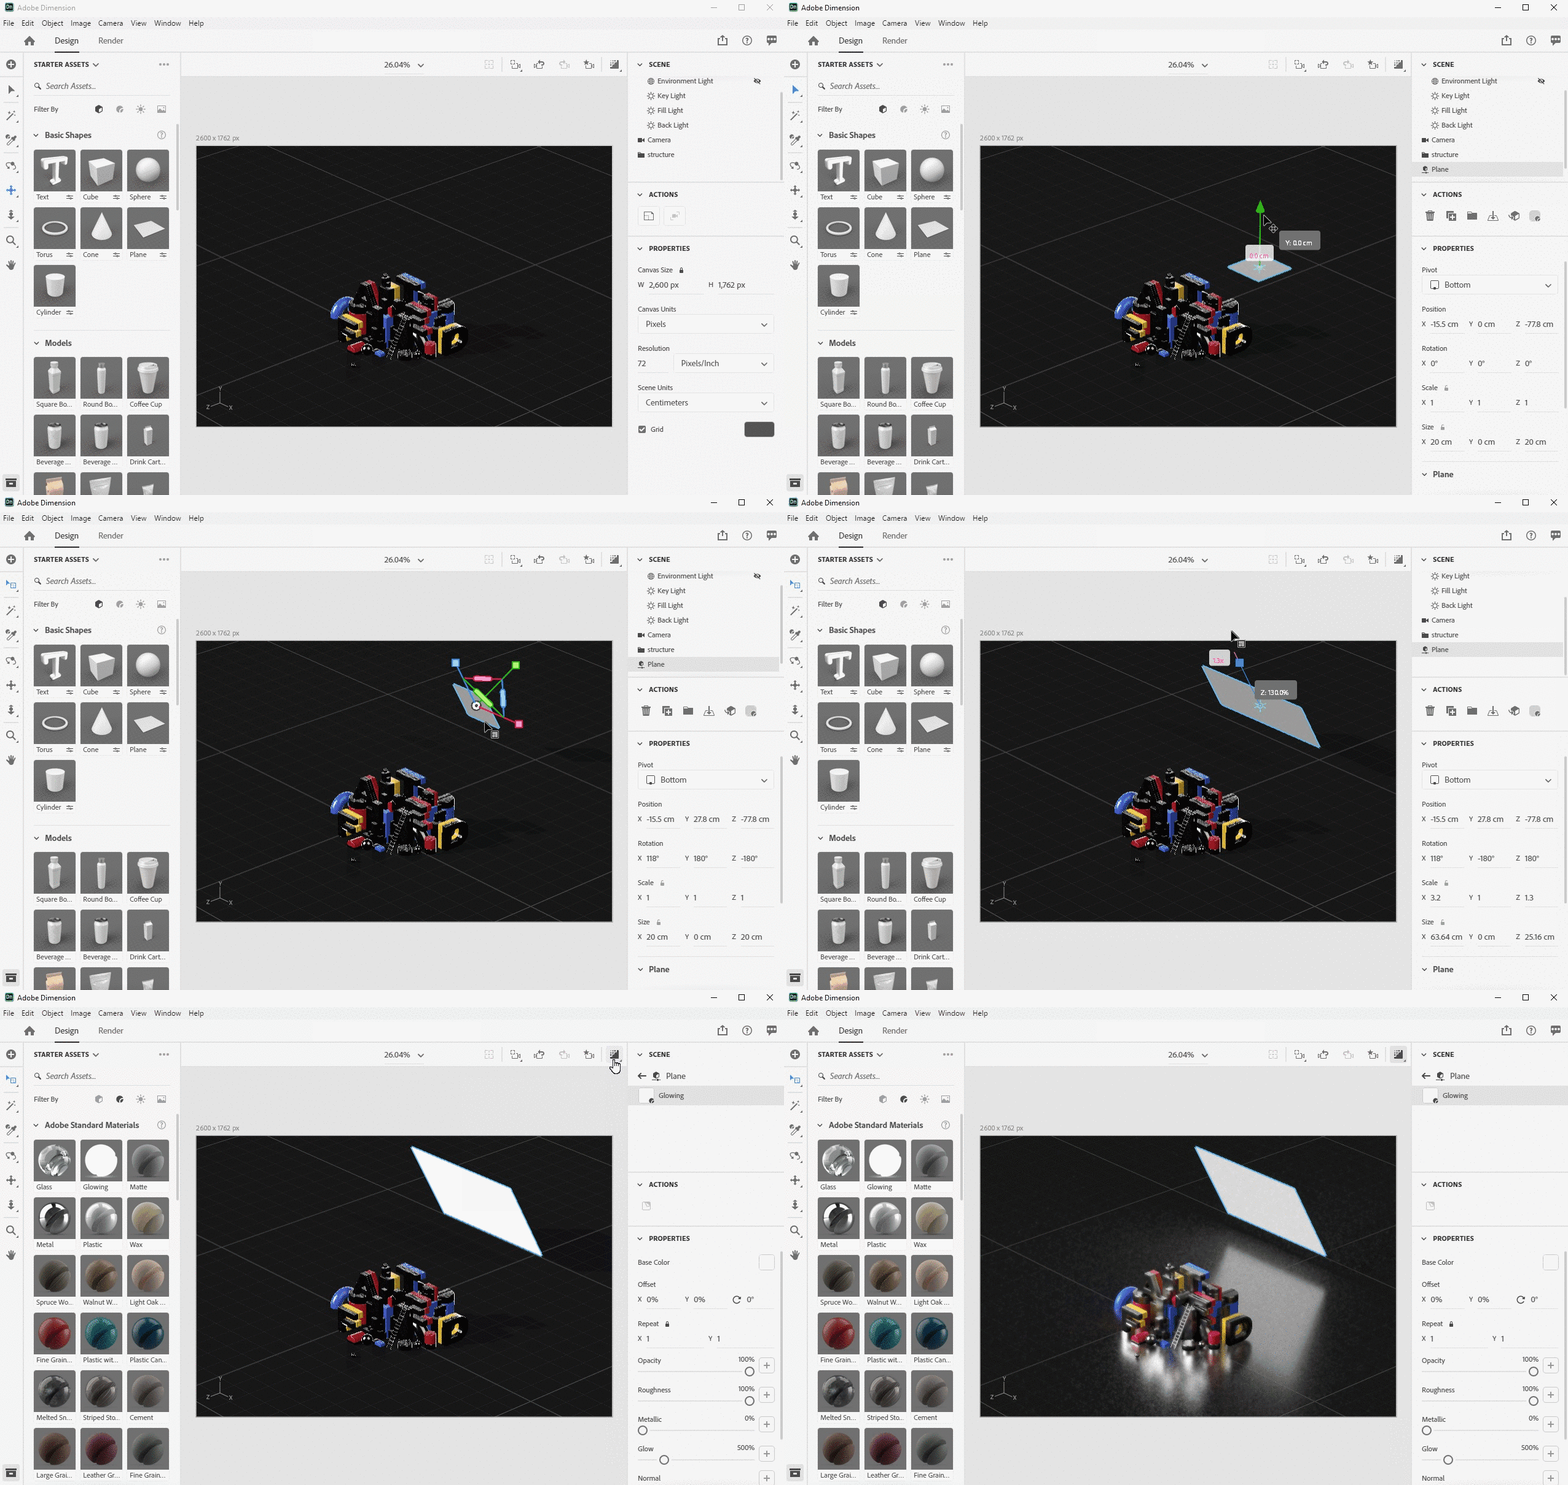
If you want to take it even further, you can add additional light reflections to your scene by adding glowing plane objects to your scene. This increases the realism as it allows you to control the size of the light source and create diffused light effects.

Render time!

Now that we've applied our materials, let's get rendering. Rendering means turning your 3D information into a finalized image. Just hit the render button under the Render tab and go!

The result of our render:


Experiment away

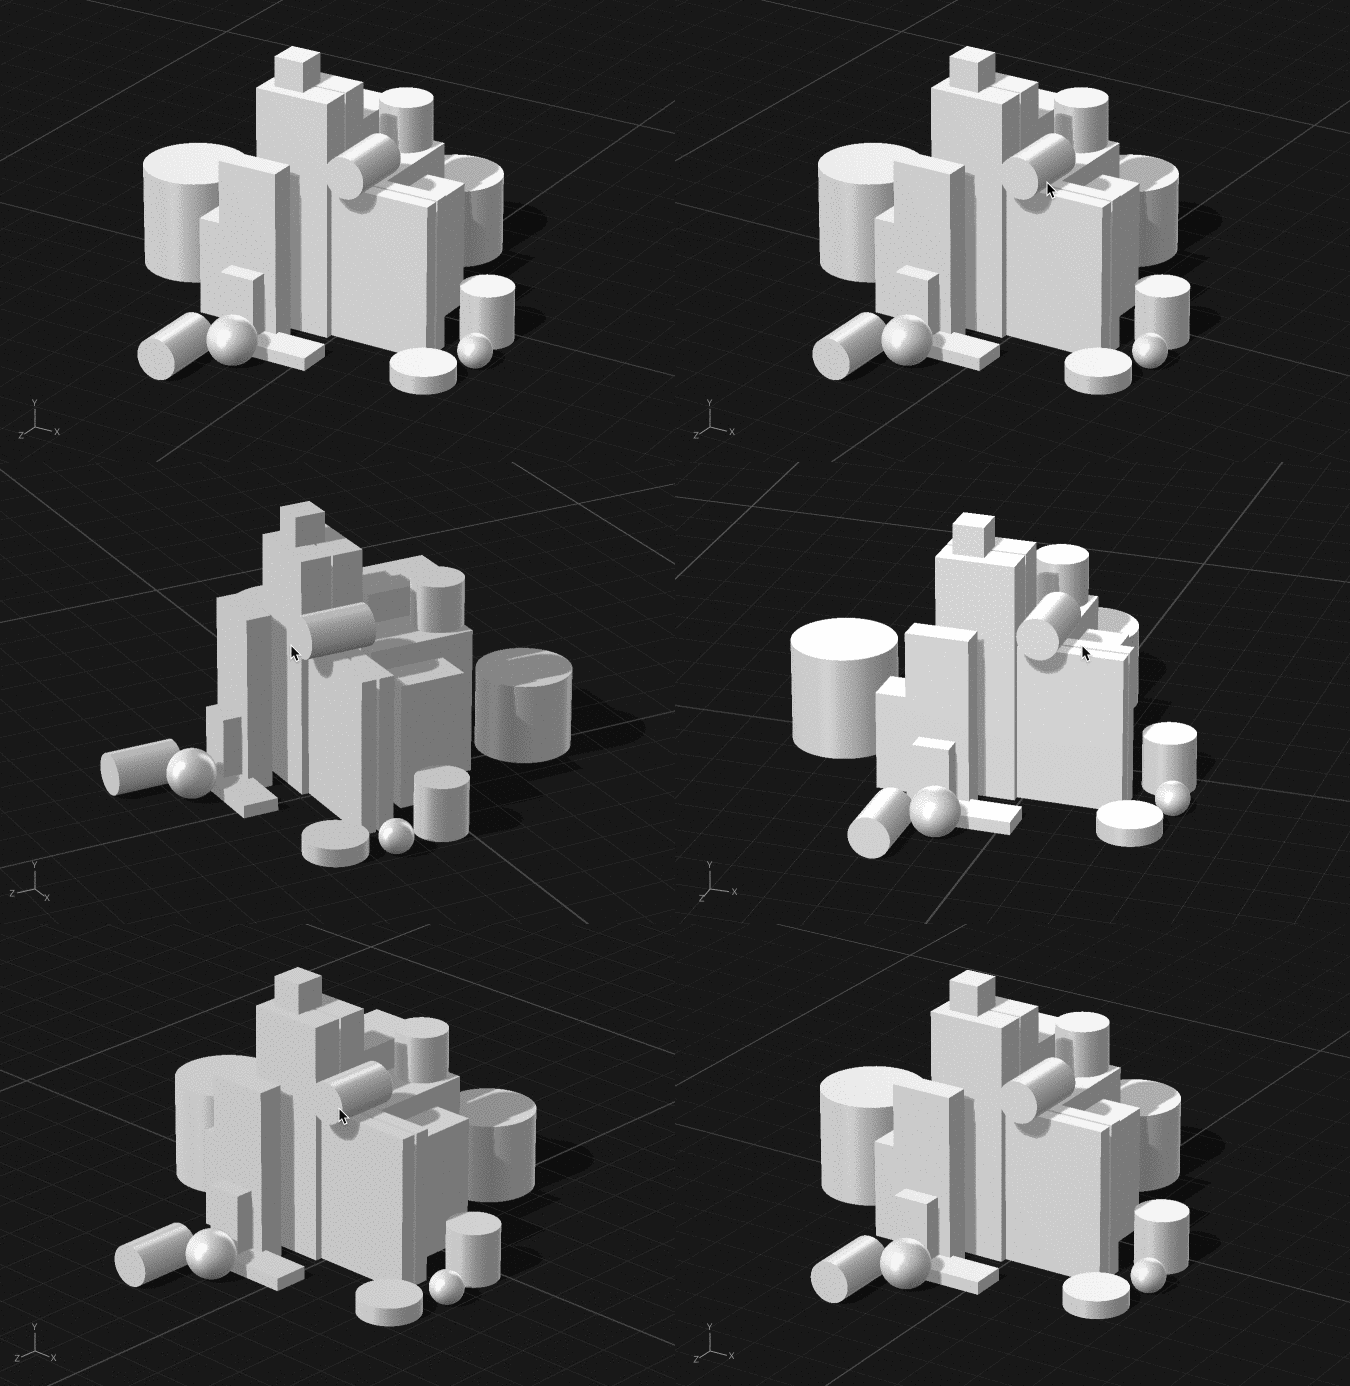
As with any of our tutorials, we encourage you to take things further and have fun creating your own designs based on what you've learned. Here are some other examples of what you can do just by playing around with various materials and lighting effects in the same scene:

Don't forget: If you do create something with Dimension, be sure to share your designs to Behance, selecting Adobe Dimension under “Tools Used” in the Basic Info tab. On Instagram, tag #AdobeDimension and #CreatewithDimension. This allows the Dimension team to find and promote your work.

And be sure to tag DESK on Twitter as well, if you create something cool using this tutorial. We'd love to see it!

__

Read our other 3D design tutorials with Dimension:

Your first 3D design tutorial with Dimension
Creating packaging & prototypes with Adobe Dimension
A beginner's tutorial to creating 3D typography 
The unexpected addition to our creative workflow

May 29, 2020No Comments

Monthly portfolio inspiration of May 2020

Once a week, we select two portfolios created with Semplice to feature in our Best Of  Showcase.  Here we've collected our favorites from the month of May.

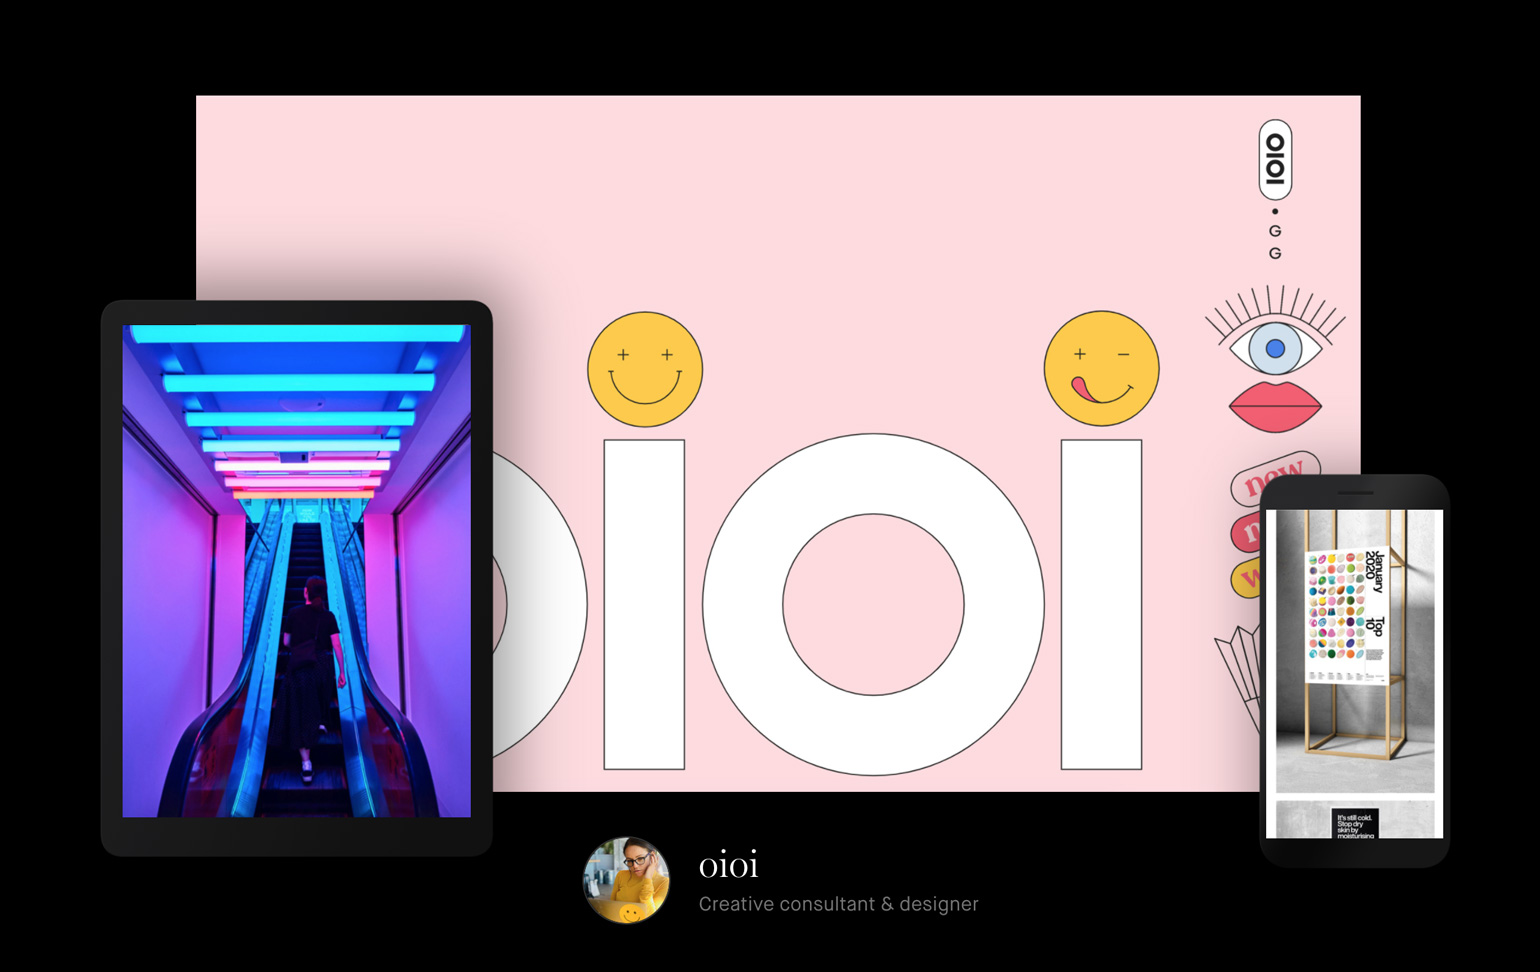
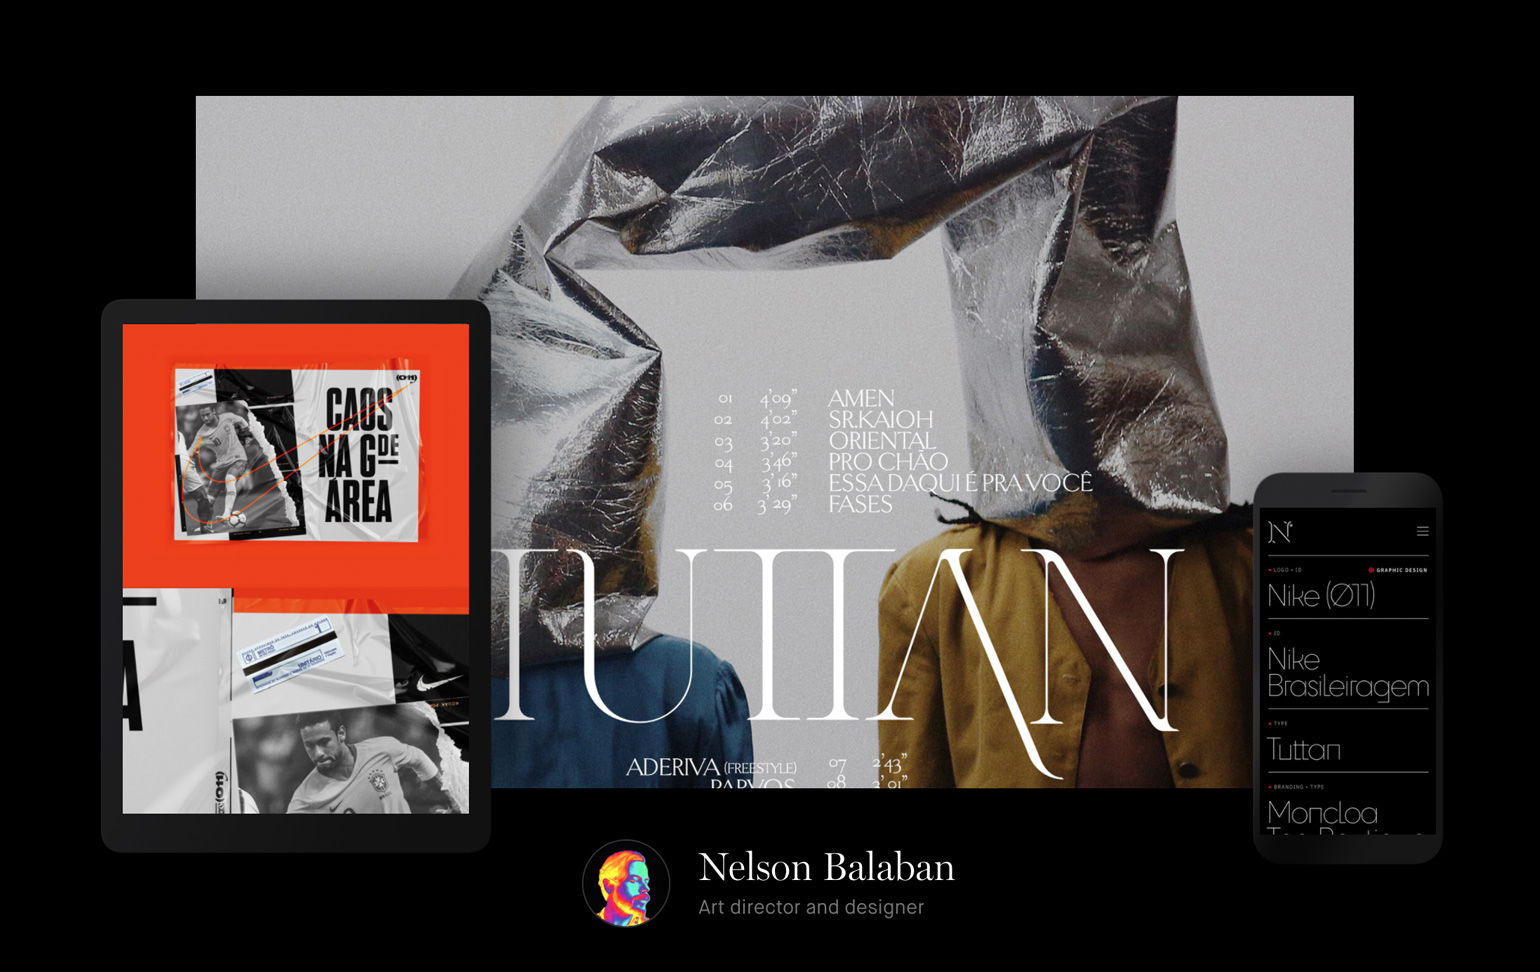
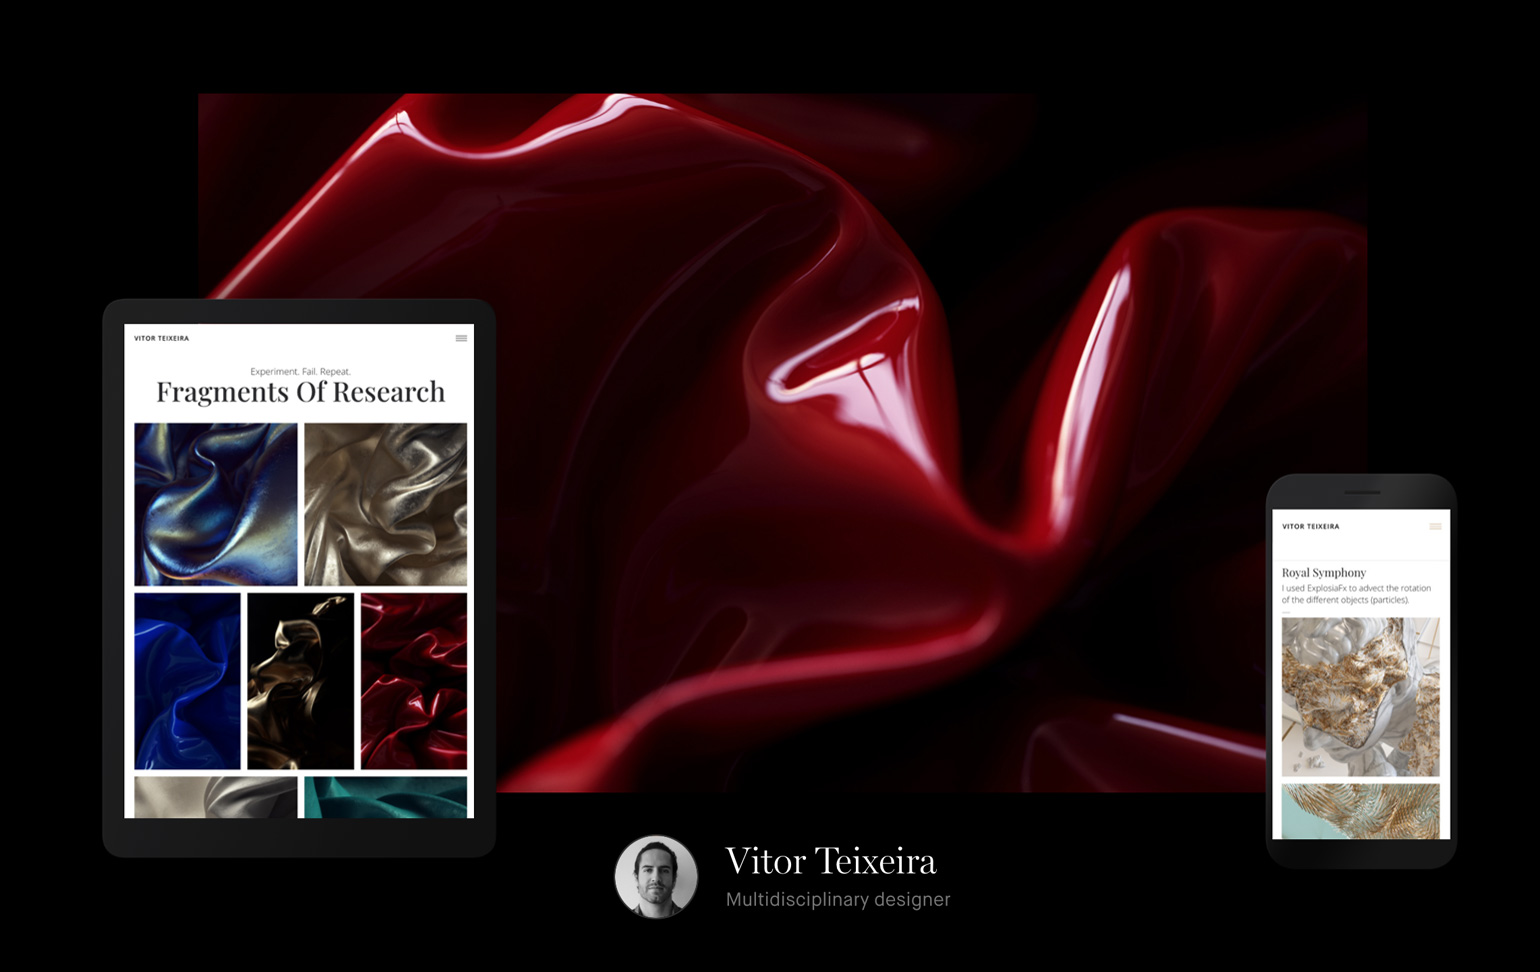
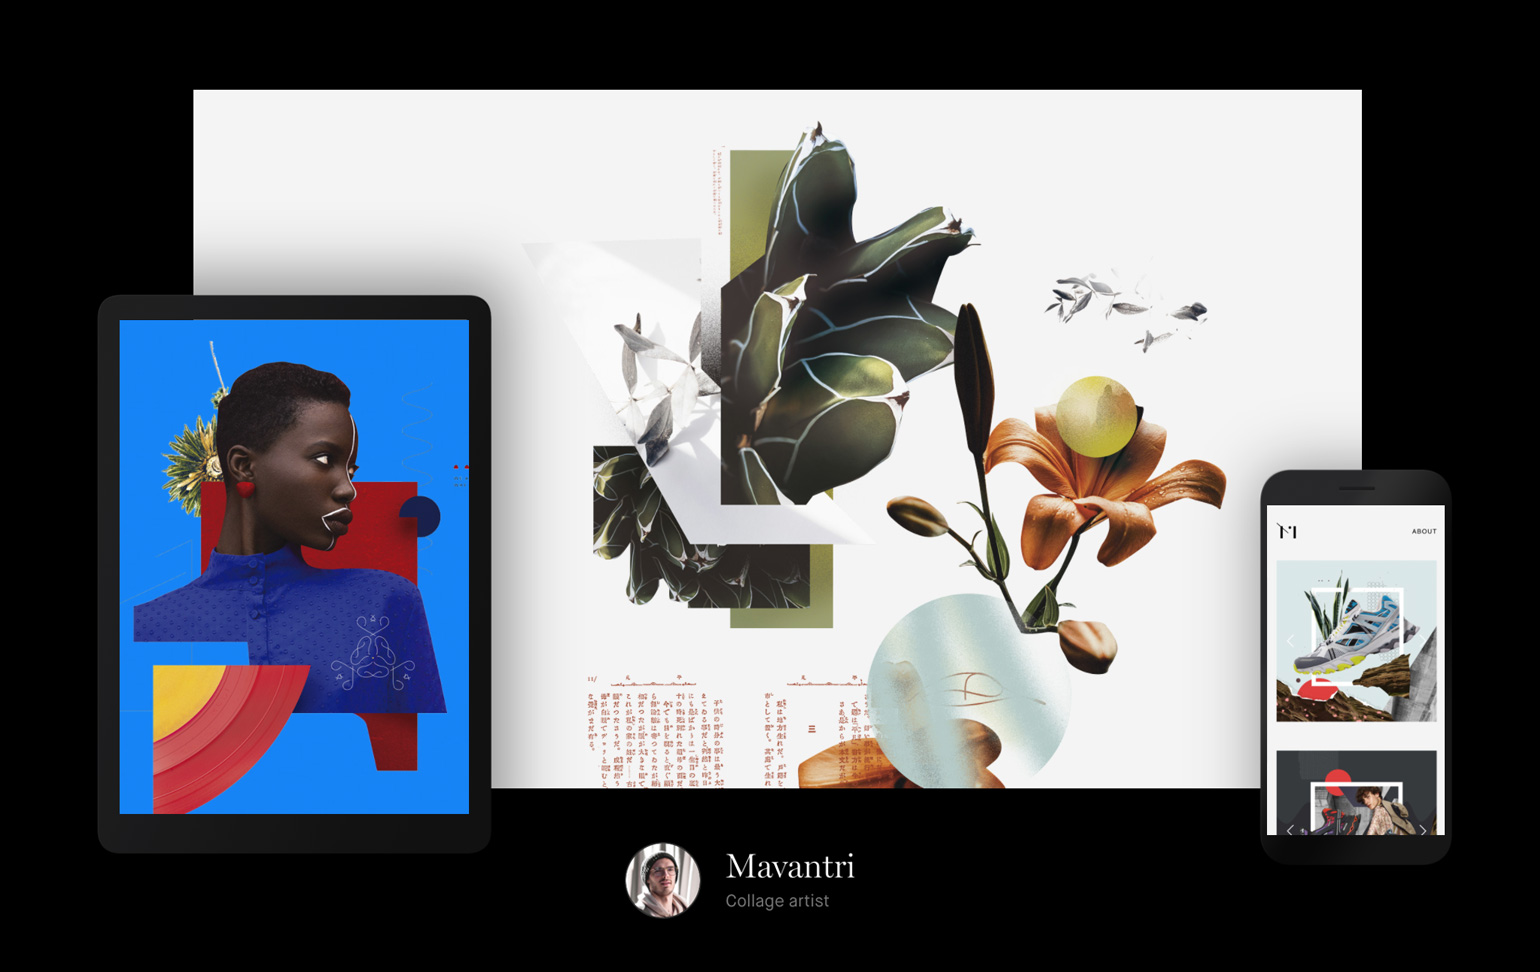
This month, we've seen an influx of creatives sharing their newly created portfolio sites all over Twitter. From photographers and visual artists, creative consultants, art directors, to collage artists, it's been a real treat to see the variety of top talent creatives and designers choosing Semplice to build their portfolio sites.

Enjoy our top picks for the month.

Browse the best portfolios of the month below to see fresh new work and get inspired for your own site. And if you've created your own portfolio with Semplice, be sure to submit it to our Showcase here. We might feature your site next.


Oioi

Nelson Balaban

Vitor Teixeira

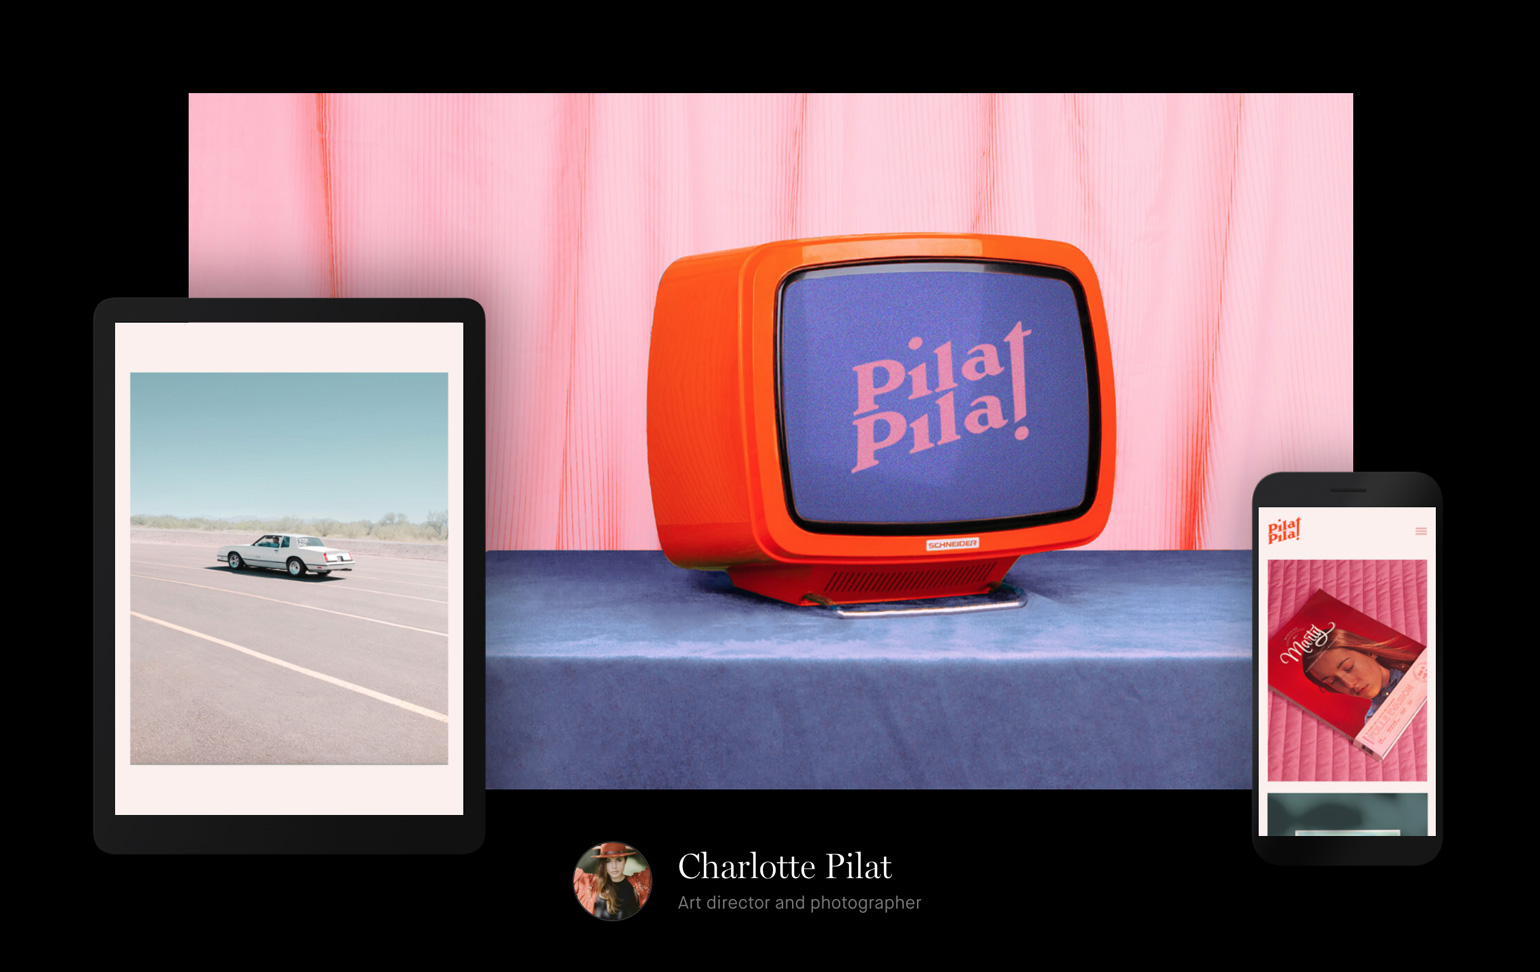
Charlotte Pilat

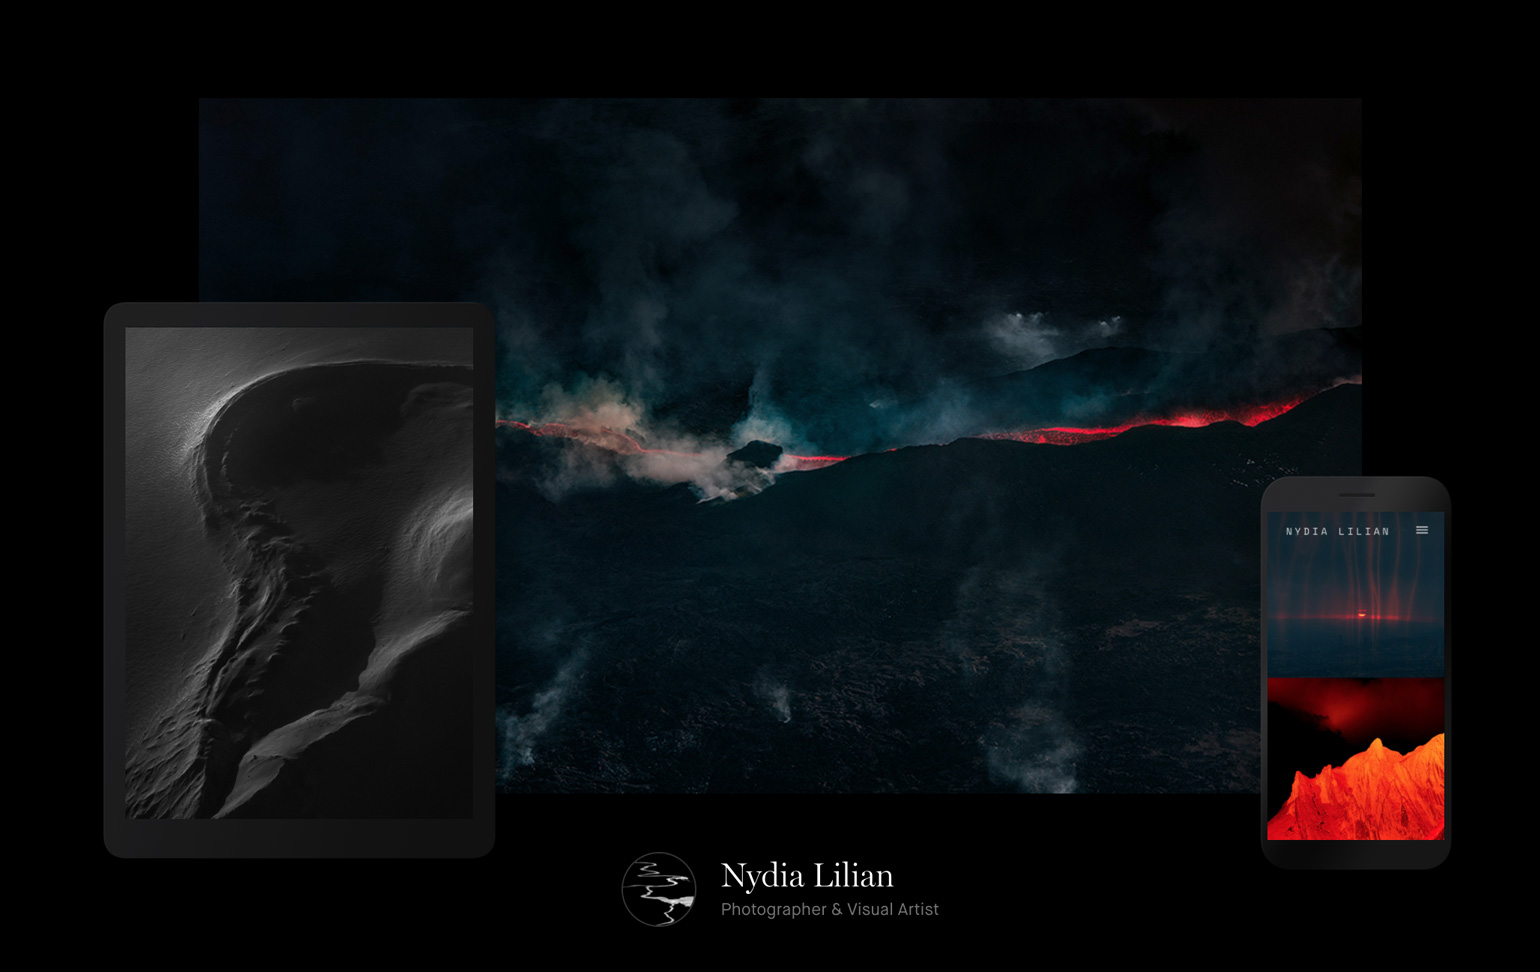
Nydia Lilian

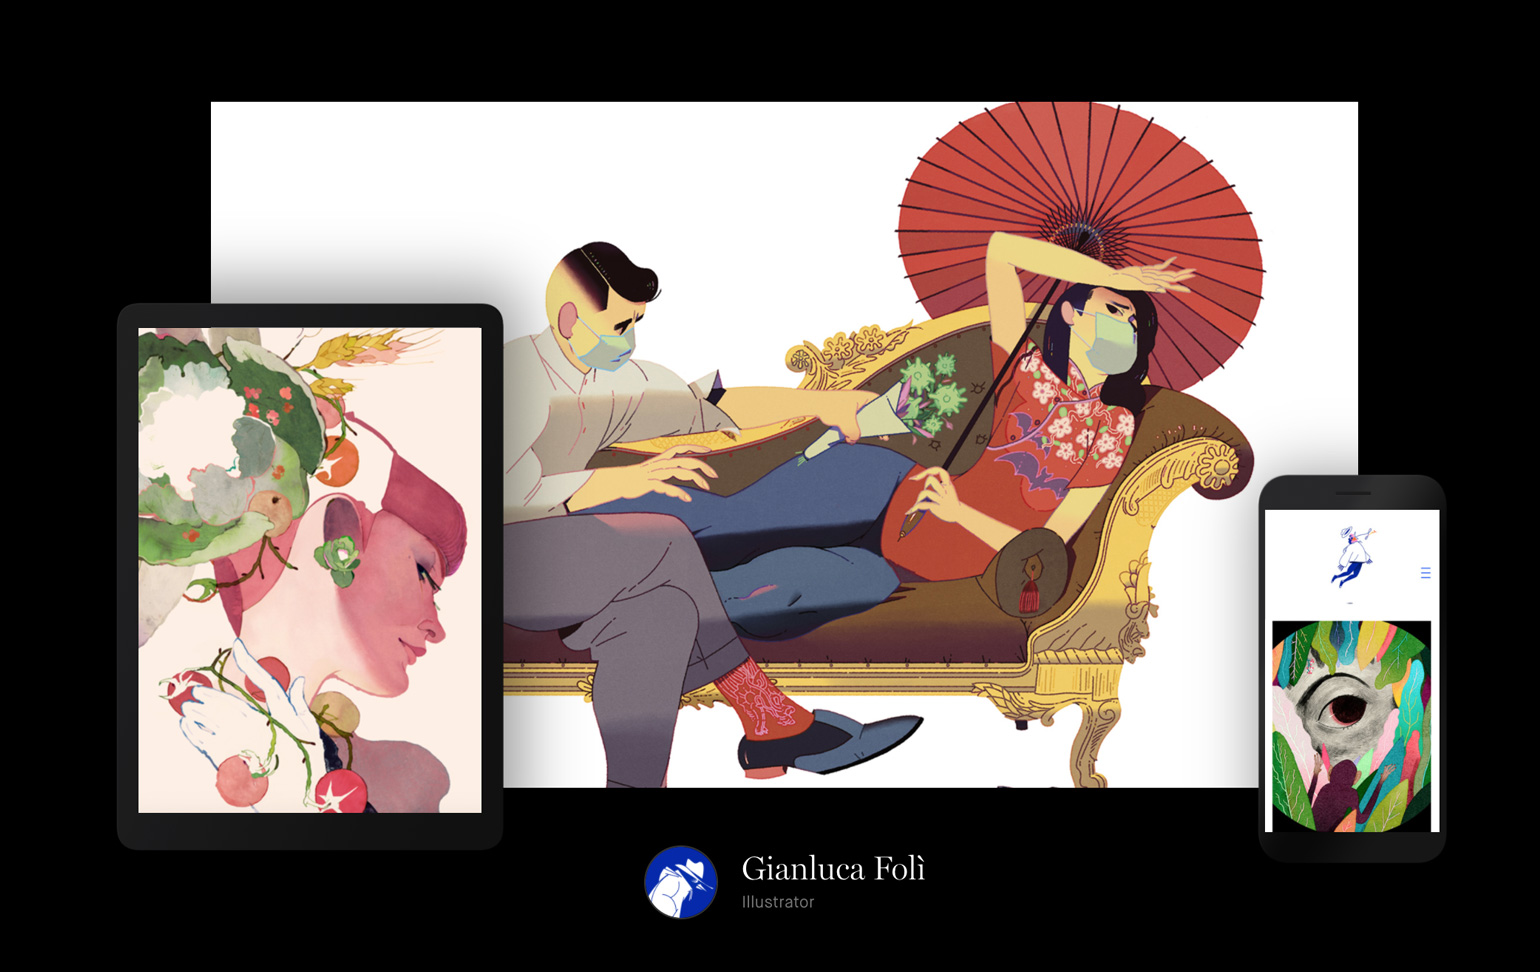
Gianluca Folì

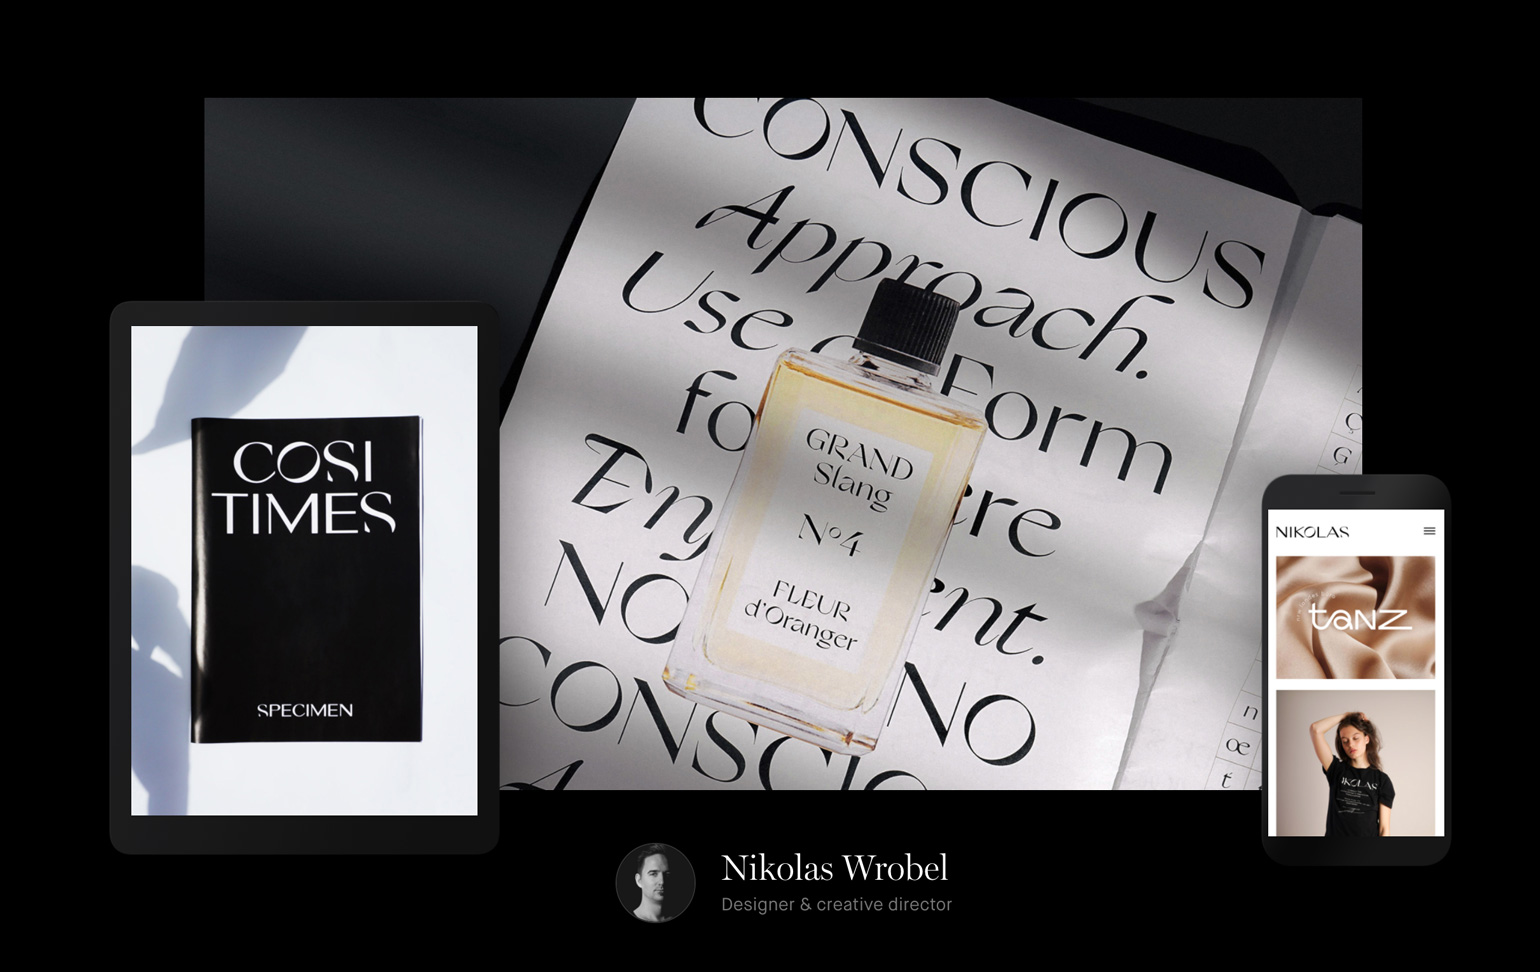
Nikolas Wrobel

Mavantri


To see more great design portfolios, visit the Semplice showcase. I'll be back next month with more of our monthly favorites!

Header image by Nydia Lilian

May 12, 2020No Comments

Tutorial: Creating 3D typography with Adobe Dimension

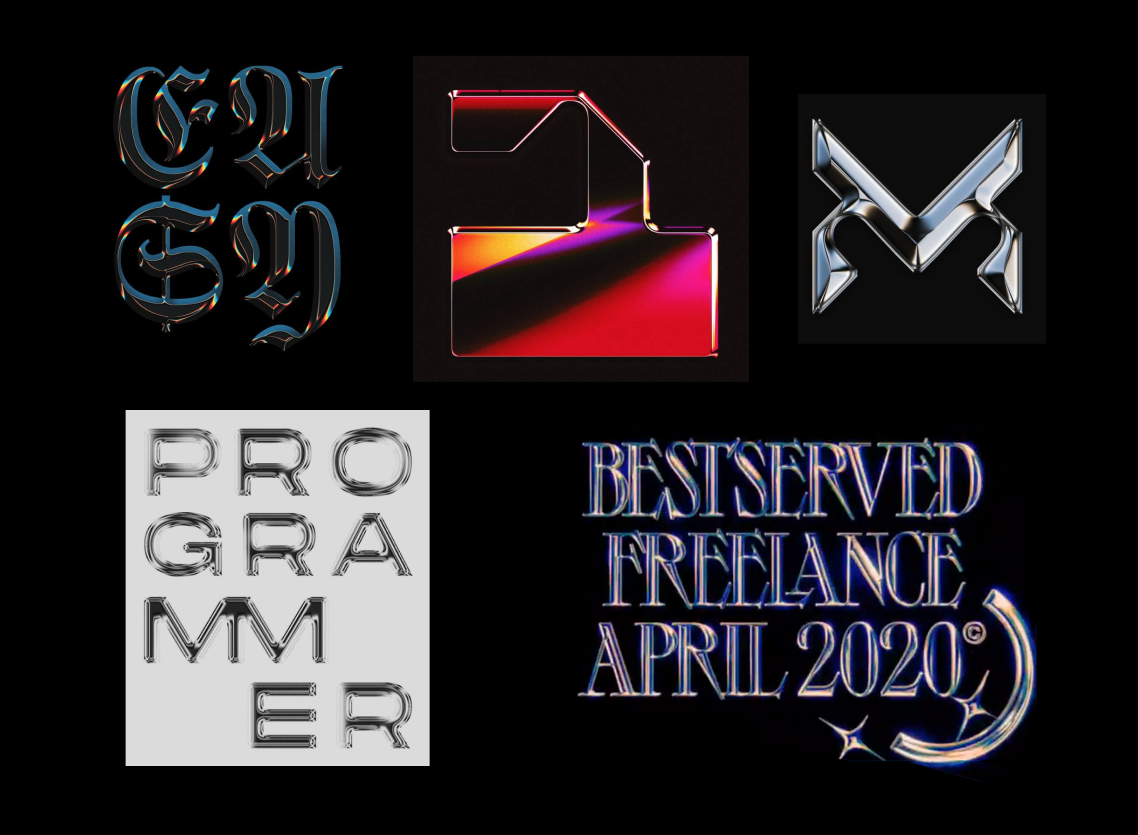
You may have been browsing some of your favorite designers or artists on Instagram or Twitter, or perhaps you jumped online to find some inspiration and noticed a new trend in the design world: 3D text.

It seems that 3D design is taking the design world by storm. Designers are wishing to use the power of 3D design to complement their traditional design work, and 3D typefaces are a fun place to start.

I've seen these kinds of 3D text effects most often in the portfolios of some talented designers I admire, in most cases purely for play and experimentation.

Work from left to right: Stefan Hürlemann, Bryan Bernard, Martin Naumann, Sergio Abstracts, BestServedBold

Until recently, such effects have been limited to costly and difficult-to-use 3D programs, or the occasional Photoshop tutorial. For the average designer, including myself, this style seemed to be reserved for "the experts," those who specialized in 3D.

Not so anymore. If you weren't already aware, Dimension is Adobe's 3D design tool. We've written previous Dimension tutorials for creating 3D visuals, and today we'll be bringing you a new use of Dimension: creating 3D text.

What you need

Everything we're doing today, you can do with Adobe tools:

  • The latest version of Adobe Dimension (free with your Adobe Creative Cloud subscription, depending on your plan). This latest version will now include a variety of new features, Text Extrusion.
  • Photoshop
  • Adobe Illustrator, or your preferred 2d design tool

What we'll be doing

In this tutorial, we will be using Dimension to create a poster with 3D typography. Using the new text extrusion feature in Dimension, you'll be able to create your own 3D text and customize it with bevel effects, materials and most importantly: lighting.

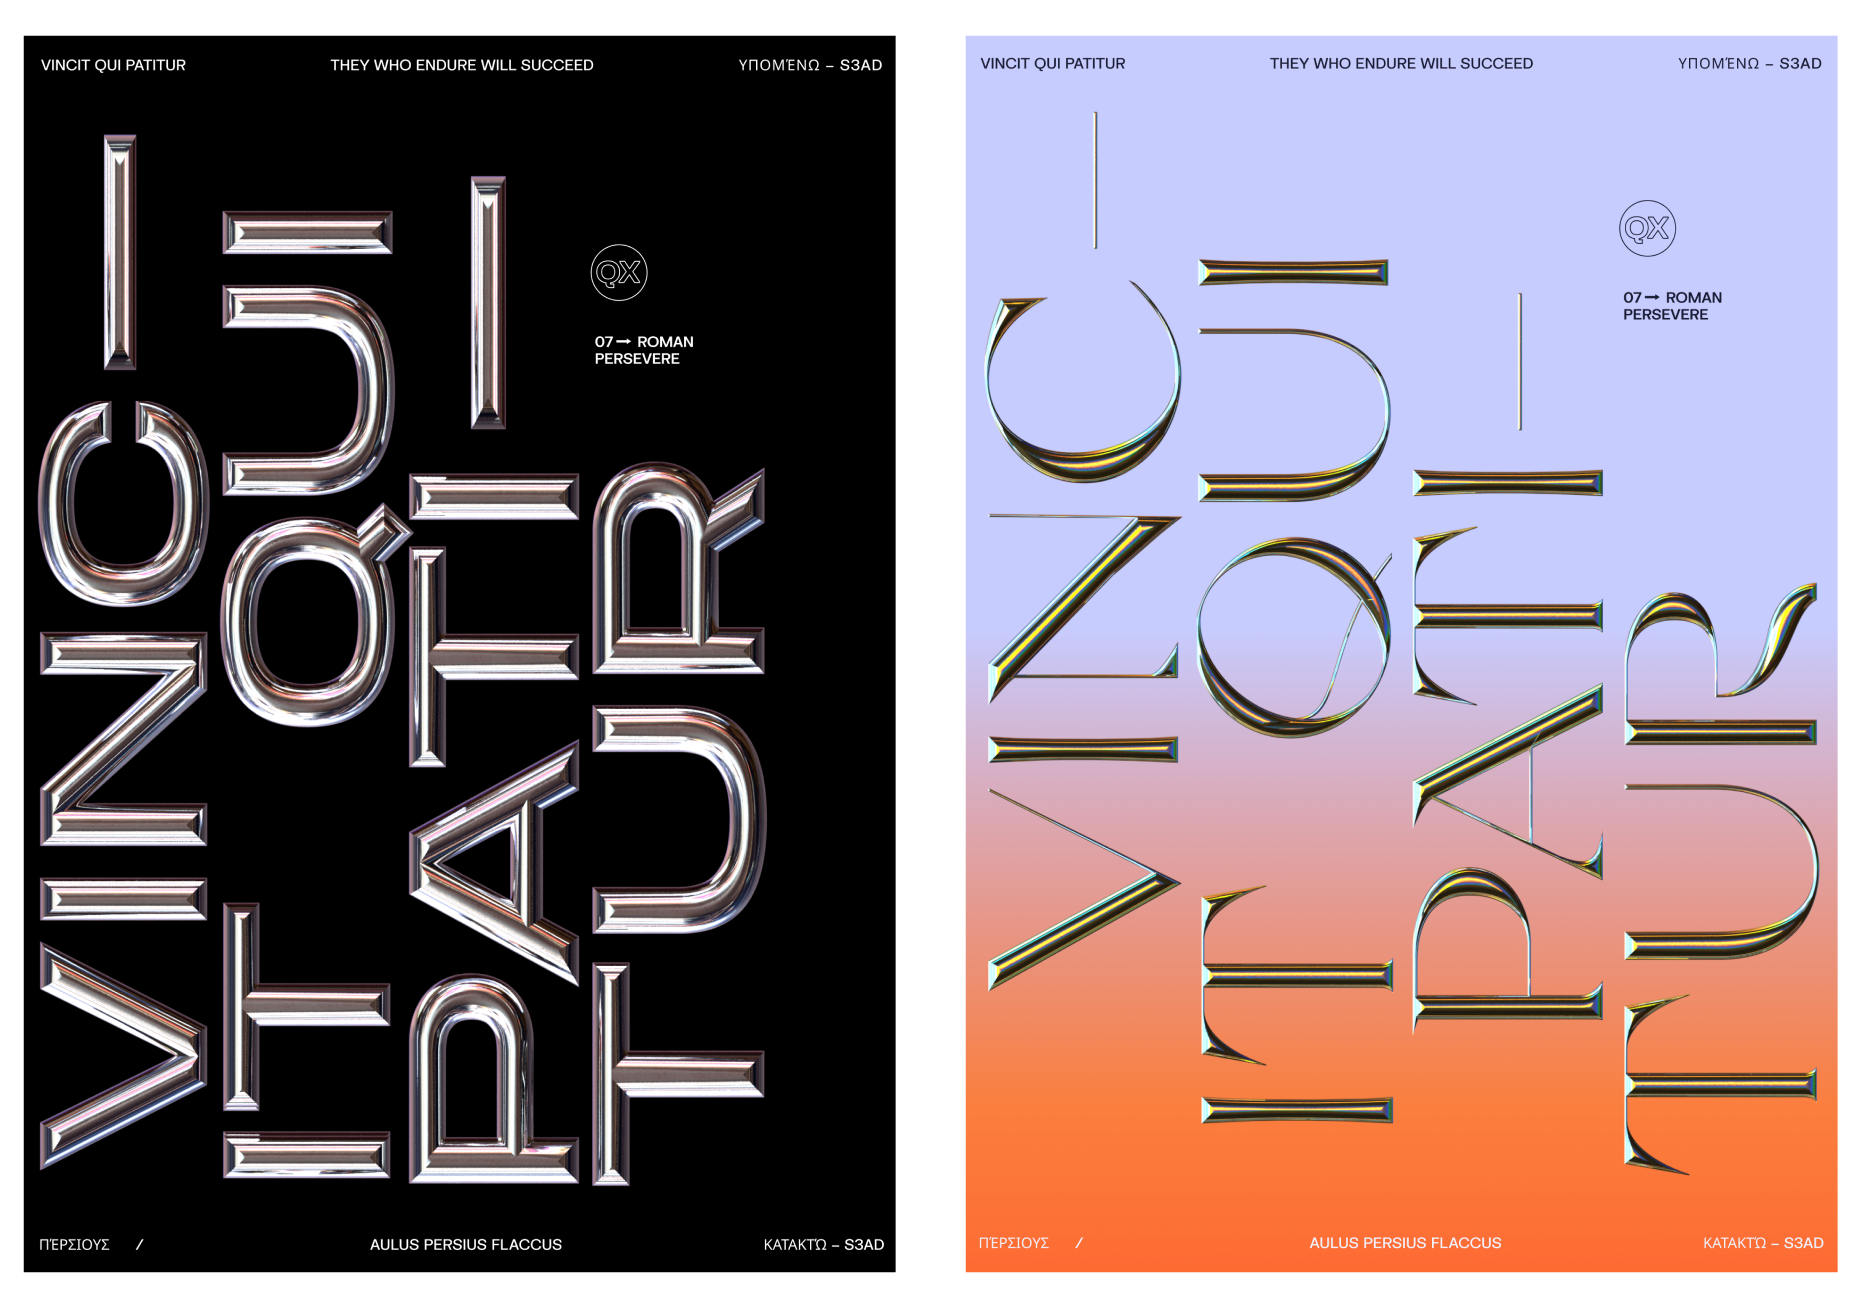
For our final effect, we'll be rendering 3D text to create typographic posters like the ones below:

3D typographic posters, created using Adobe Dimension's text extrusion feature

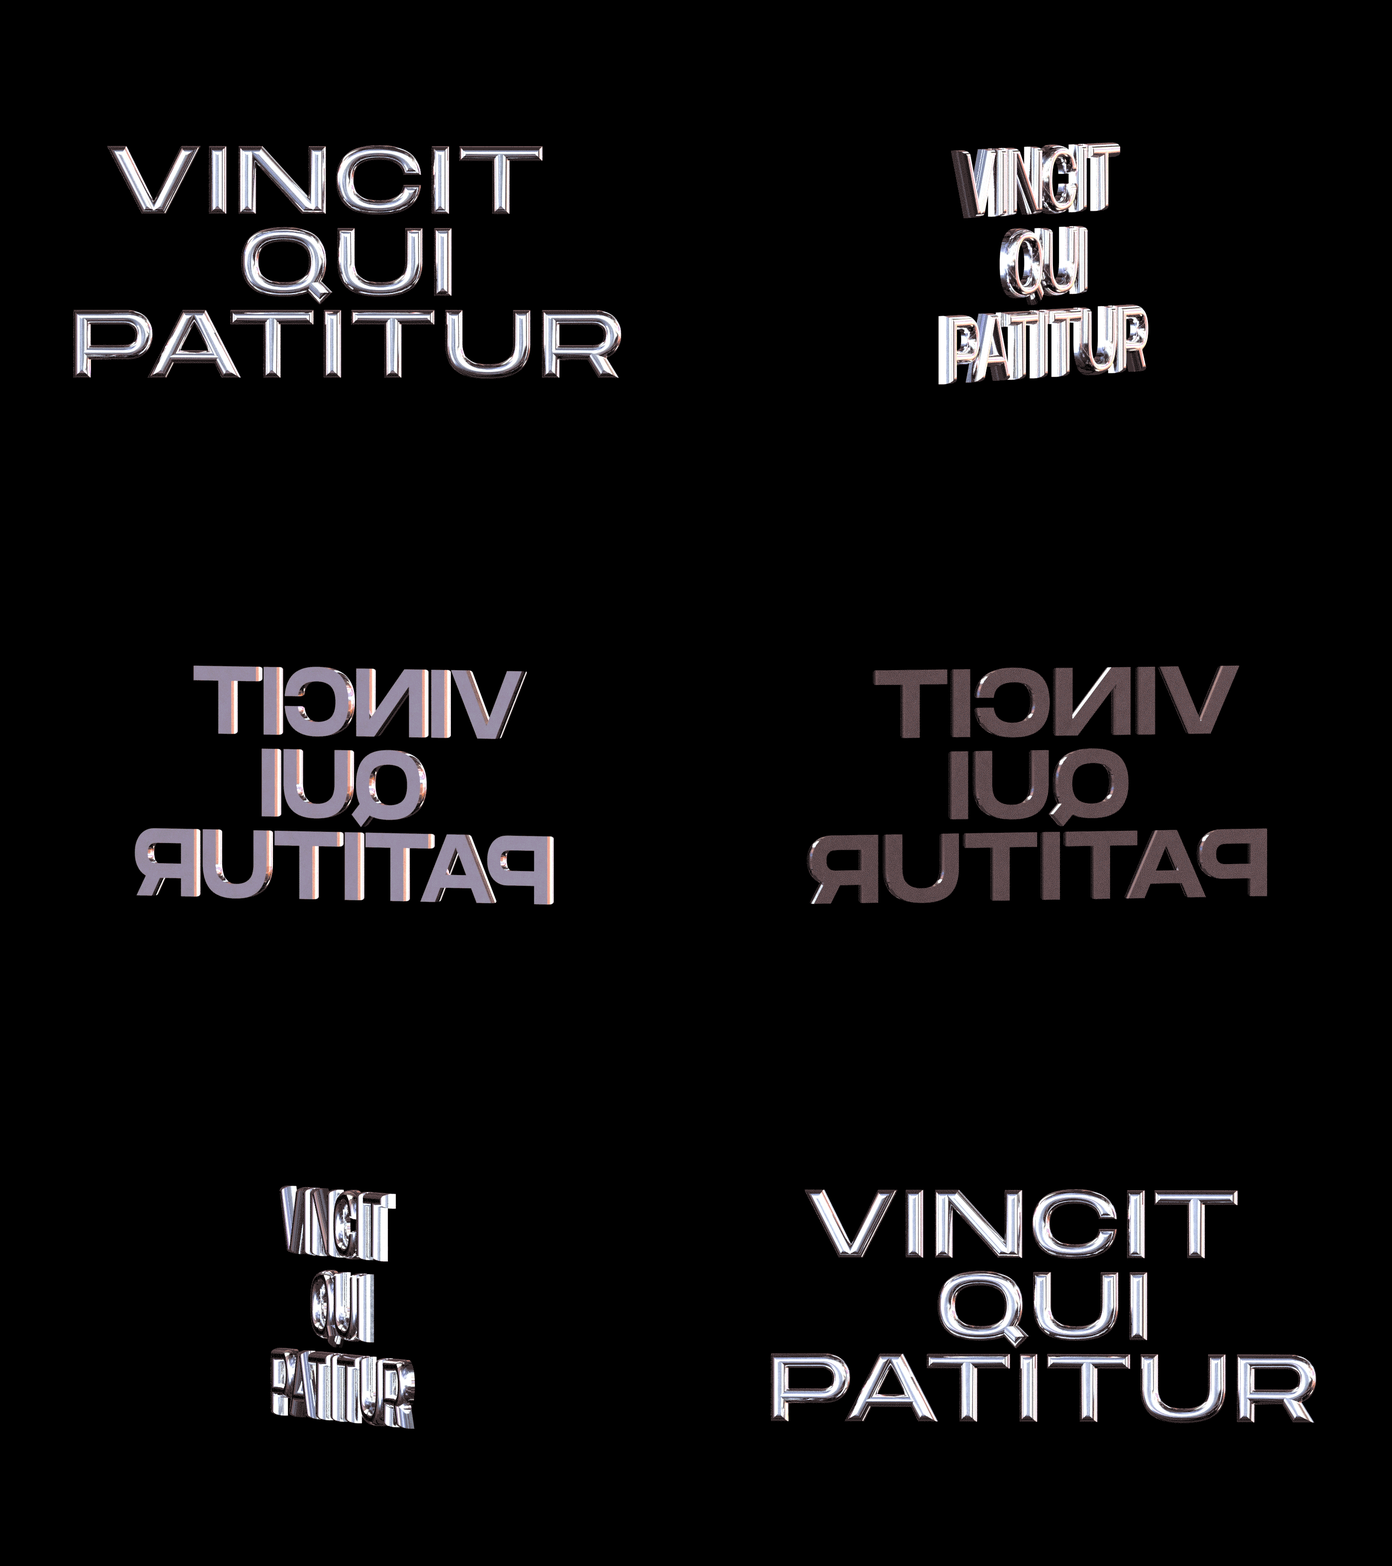
3D text extrusion, rendered with Dimension and animated in Photoshop.

We will then use Dimension to render out layered PSD files of our 3D text that we can then effortlessly apply to our design concepts. Let's do it!

Step 1: Design your layout in 2D

I recommend designing in 2D first, so you can cement your idea and have a reference when you're designing the 3D text in Dimension. I've first created my design as a 2D typographic poster in Adobe Illustrator.


Step 3: Create your scene in Dimension

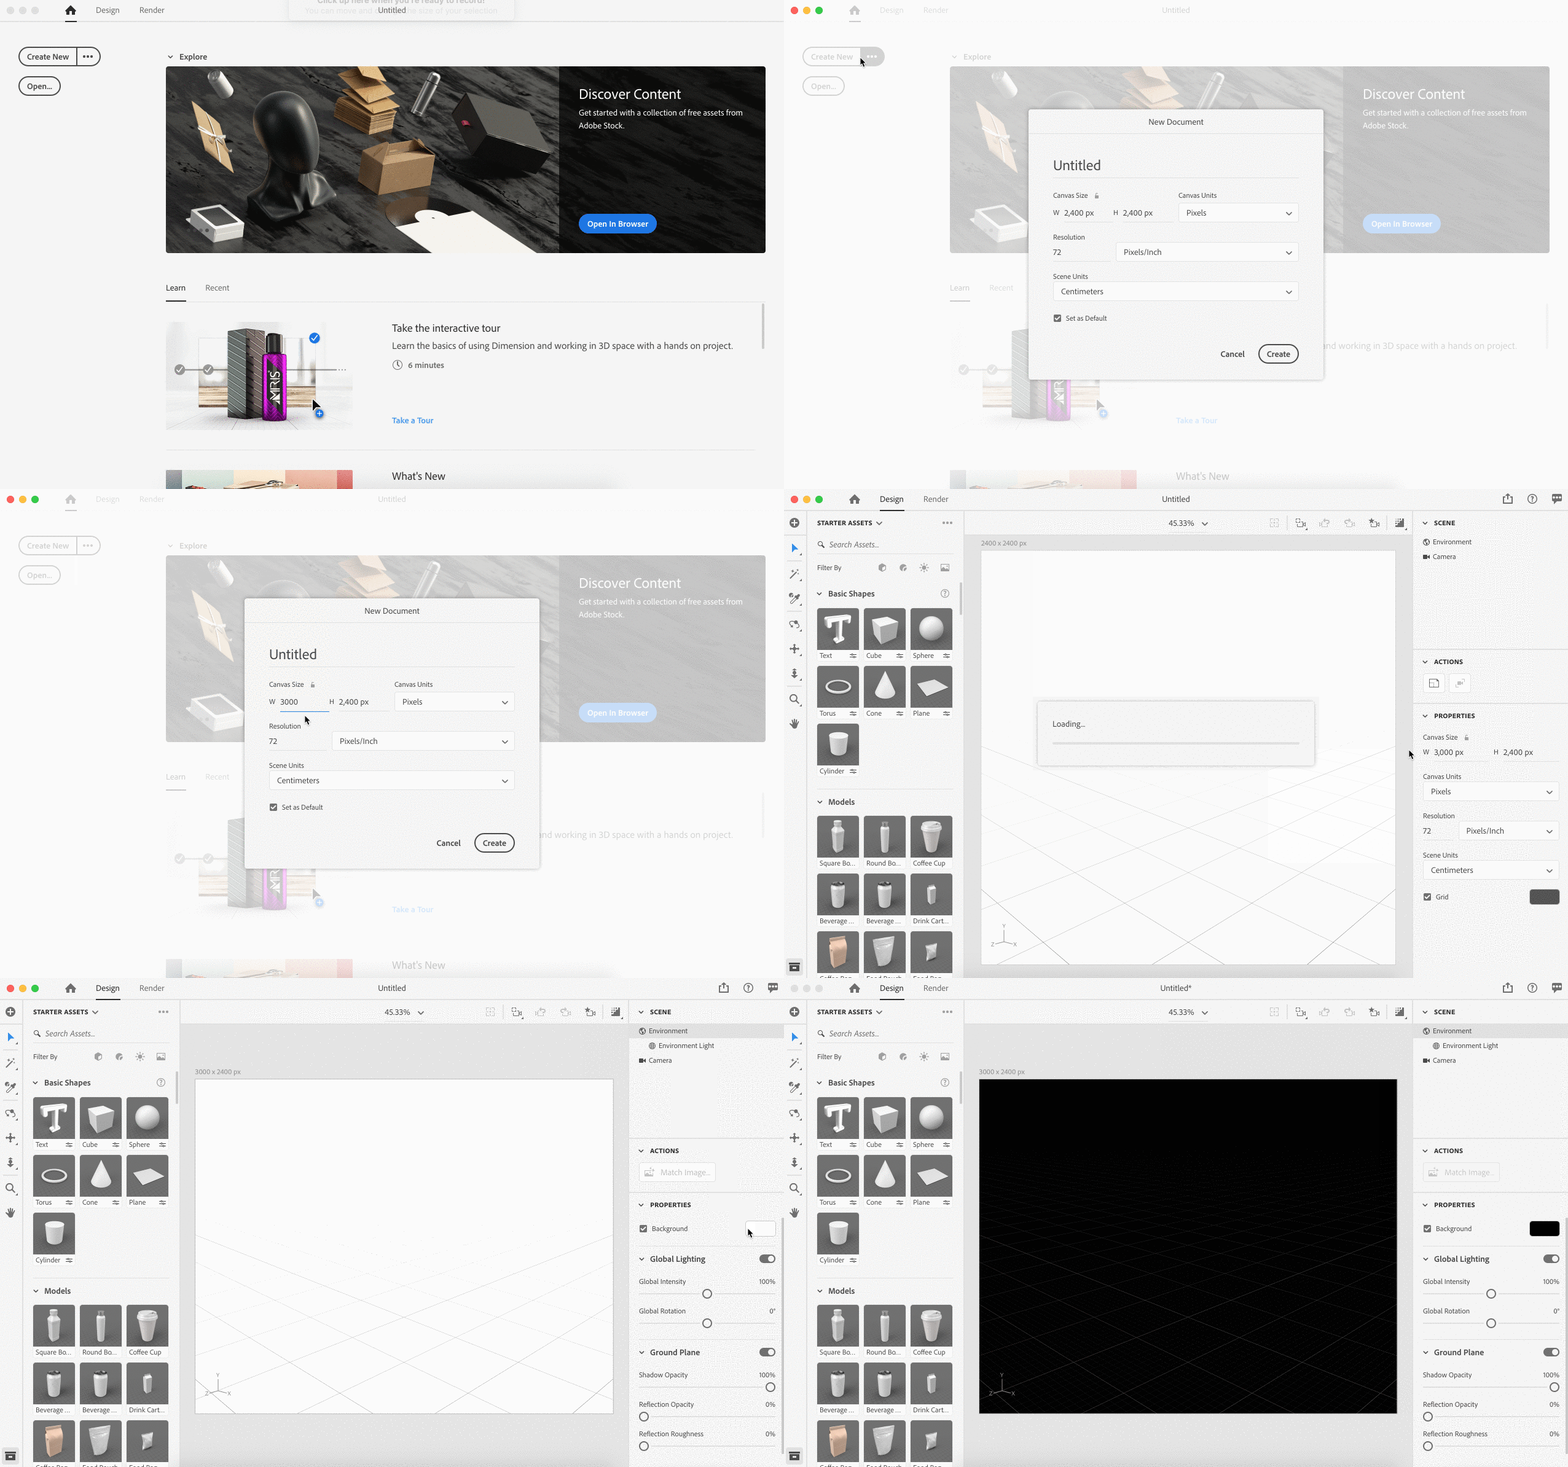
With the latest version of Dimension installed, go ahead and create a new scene. In the project settings, input your document dimensions. I've opted to set mine at 3000 x 2250px to get a nice, high-res image.

With your scene created, select Environment from the scene area in the top right corner and set a black background color (or whatever your artwork background color is).

In the same environment area, uncheck "Ground Plane" so we don't get any unwanted reflections or shadows from the simulated ground floor.


Step 4: Extruding the text

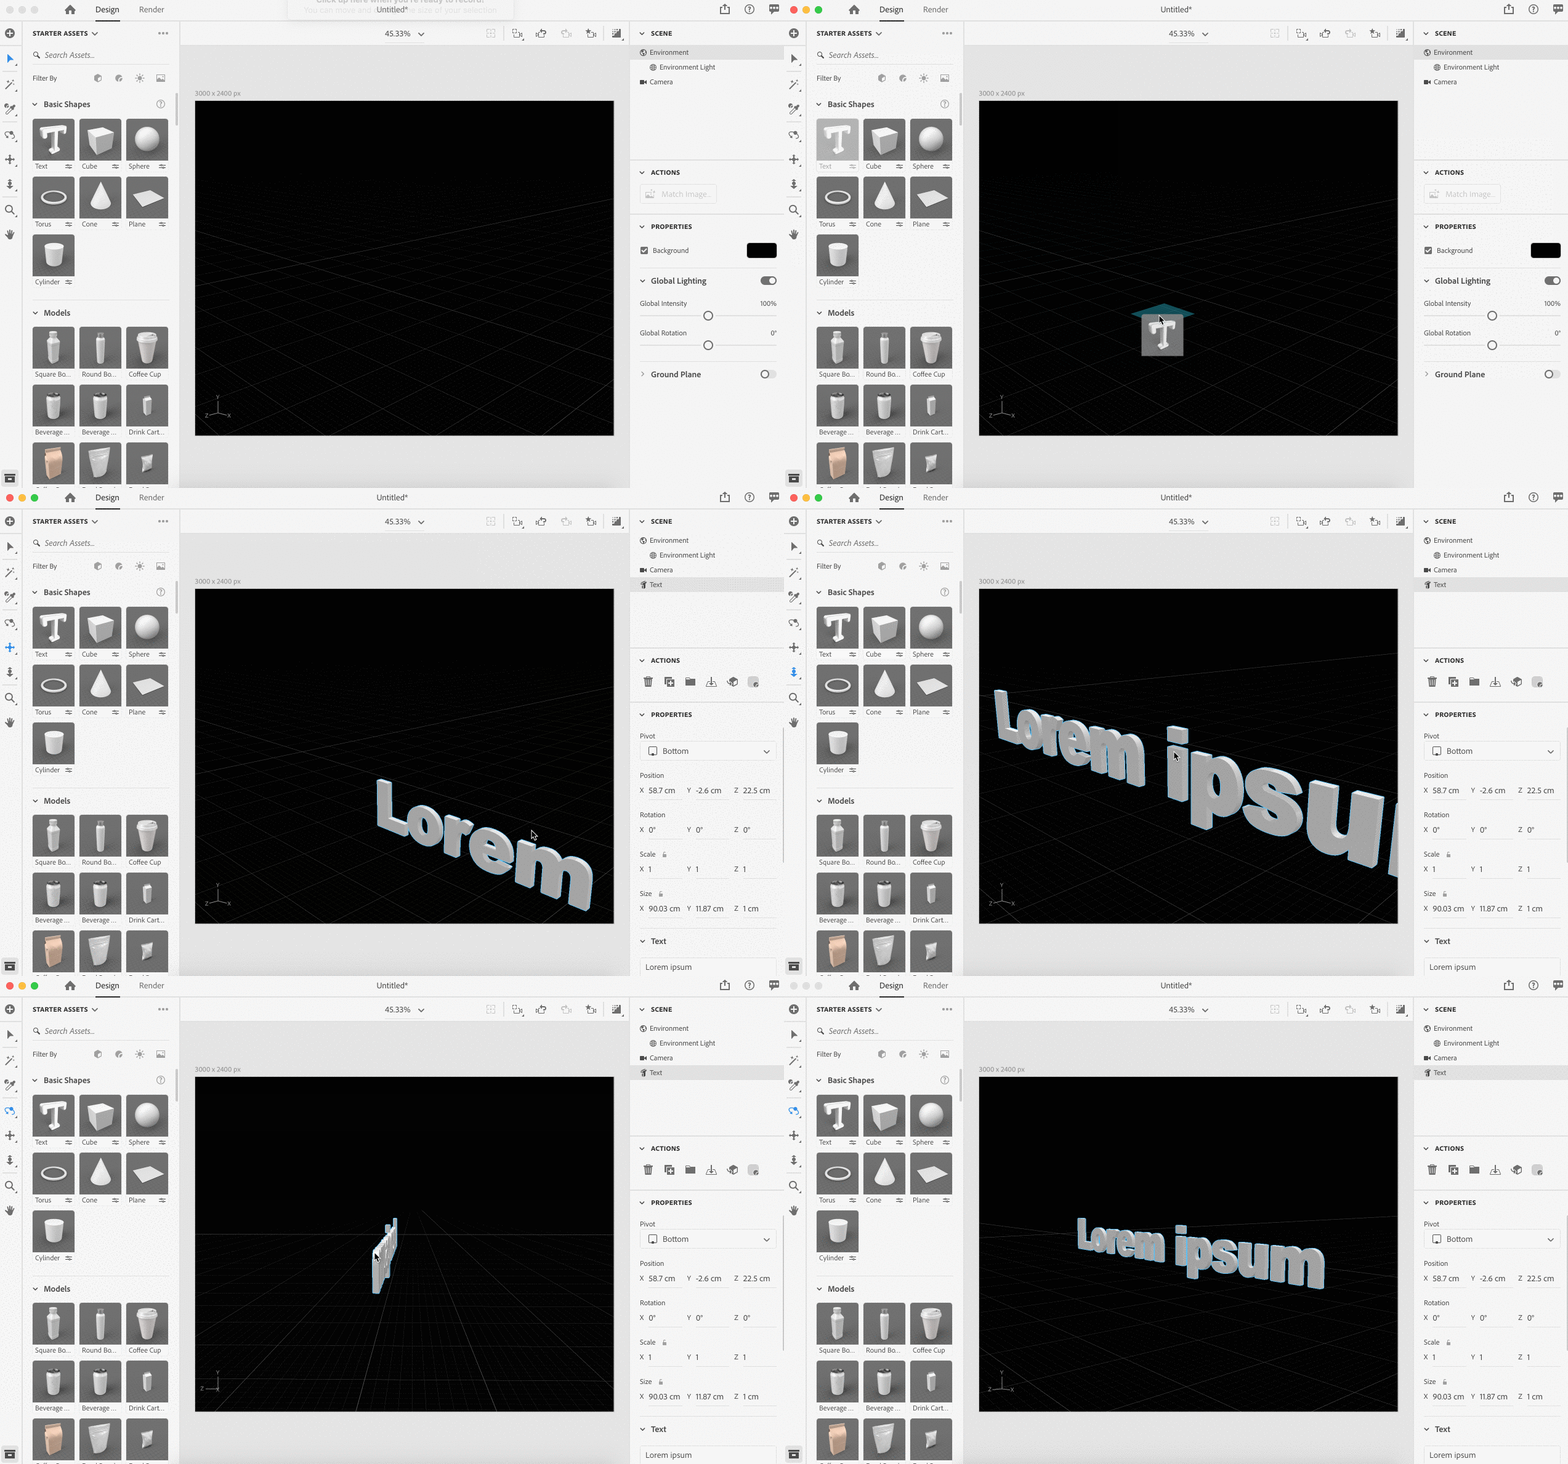
Now that our scene is set, we are ready to begin creating our 3D text extrusion. From the objects tab, drag a new Text Extrusion object onto your scene. You can now see with the default settings that our text object already has 3D dimensionality to it.

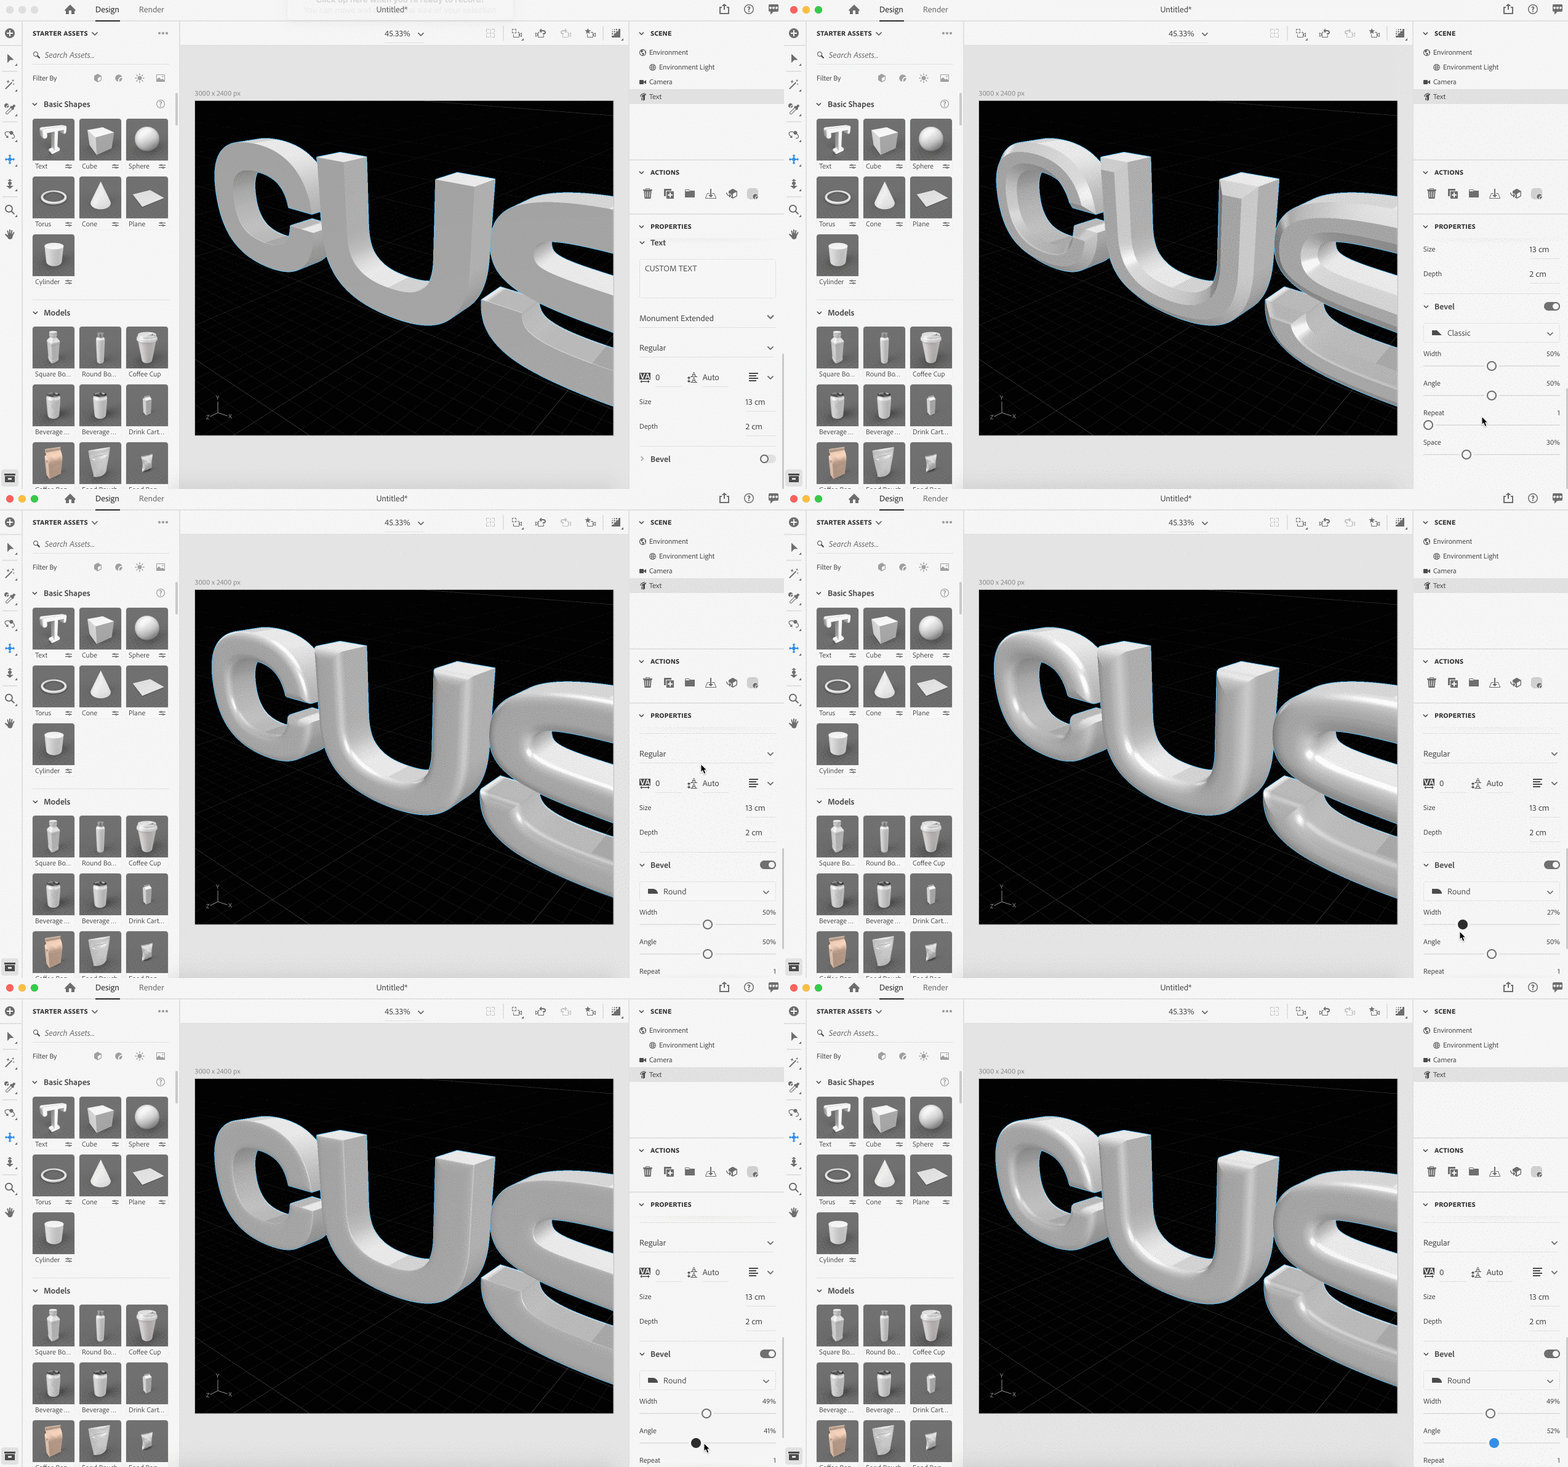
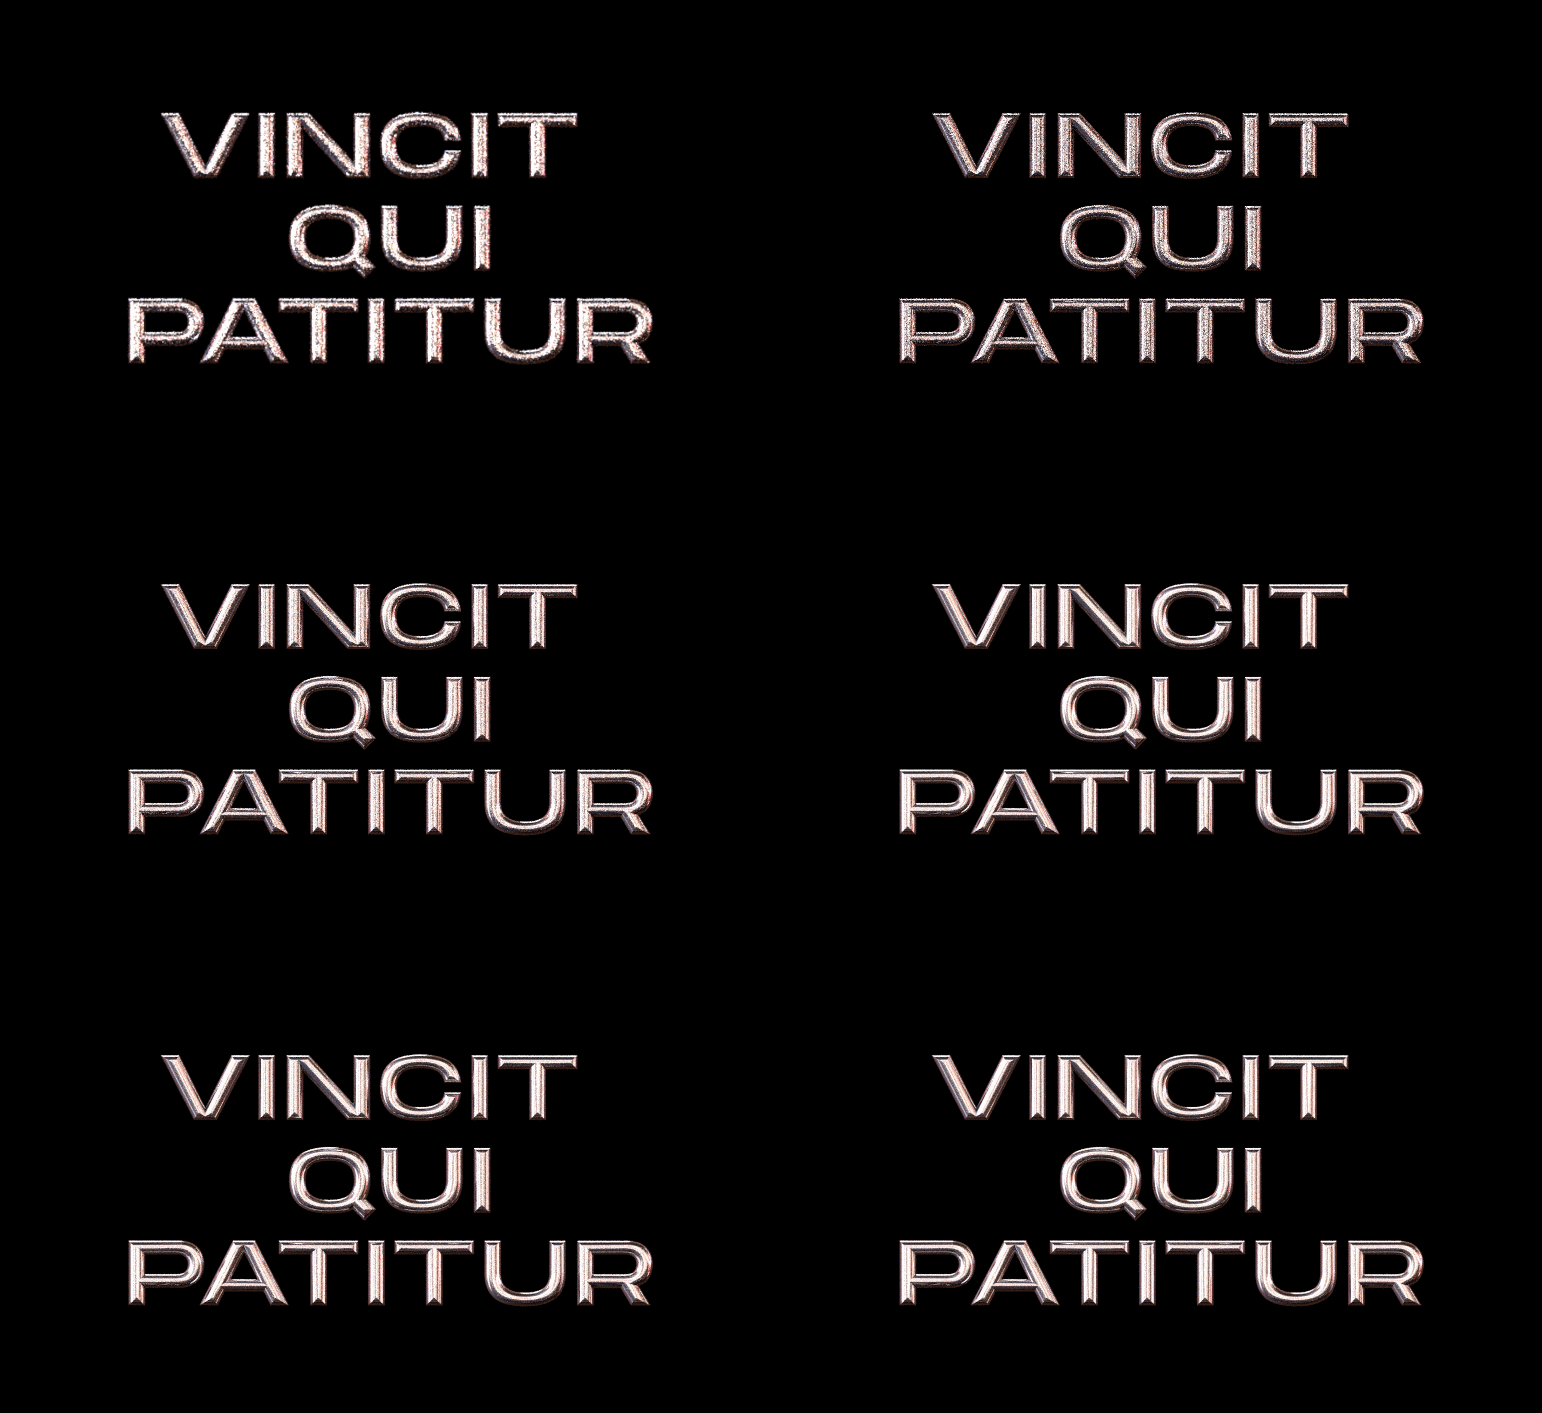
We can now select our Text object and adjust the default settings. You'll see options to input your own text, change the font, adjust the extrusion depth, set font sizings and kerning, as well as a bevel effect for added realism. In my example, I'm using a wider sans-serif typeface (Dimension's 3D Text feature will work with any font installed on your systems operating system). I've set the depth value to 2cm.

Now that we have our basic properties, we can start experimenting with the bevel options to achieve a realistic result. There are several options for the shape of your bevel. For our purposes, I will use the Round option.

Now let's adjust the bevel width and angle. You can have fun and experiment with this part more on your own later, after we've adjusted our camera and lighting.

Step 5: Adjusting the camera

Now that we've got a nice 3D text effect (see how easy that was?), let's adjust the camera and place it in a way that will give us the front-facing angle we need for our poster. Of course, you don't have to create this flat effect, but it will work well with the poster we're designing today.

Next, let's set the camera field of view to 1. This will give us a very flat, isometric feel to the text. Now rotate the camera so that your text is completely front-facing with the camera. You can use Dimension's grid lines to ensure alignment.

Now that we've got the camera setup, let's go to the bookmark tab to bookmark our camera position. This will allow us to adjust and rotate our camera, but come back to our front-facing view at any time later.

Step 6: Adding materials

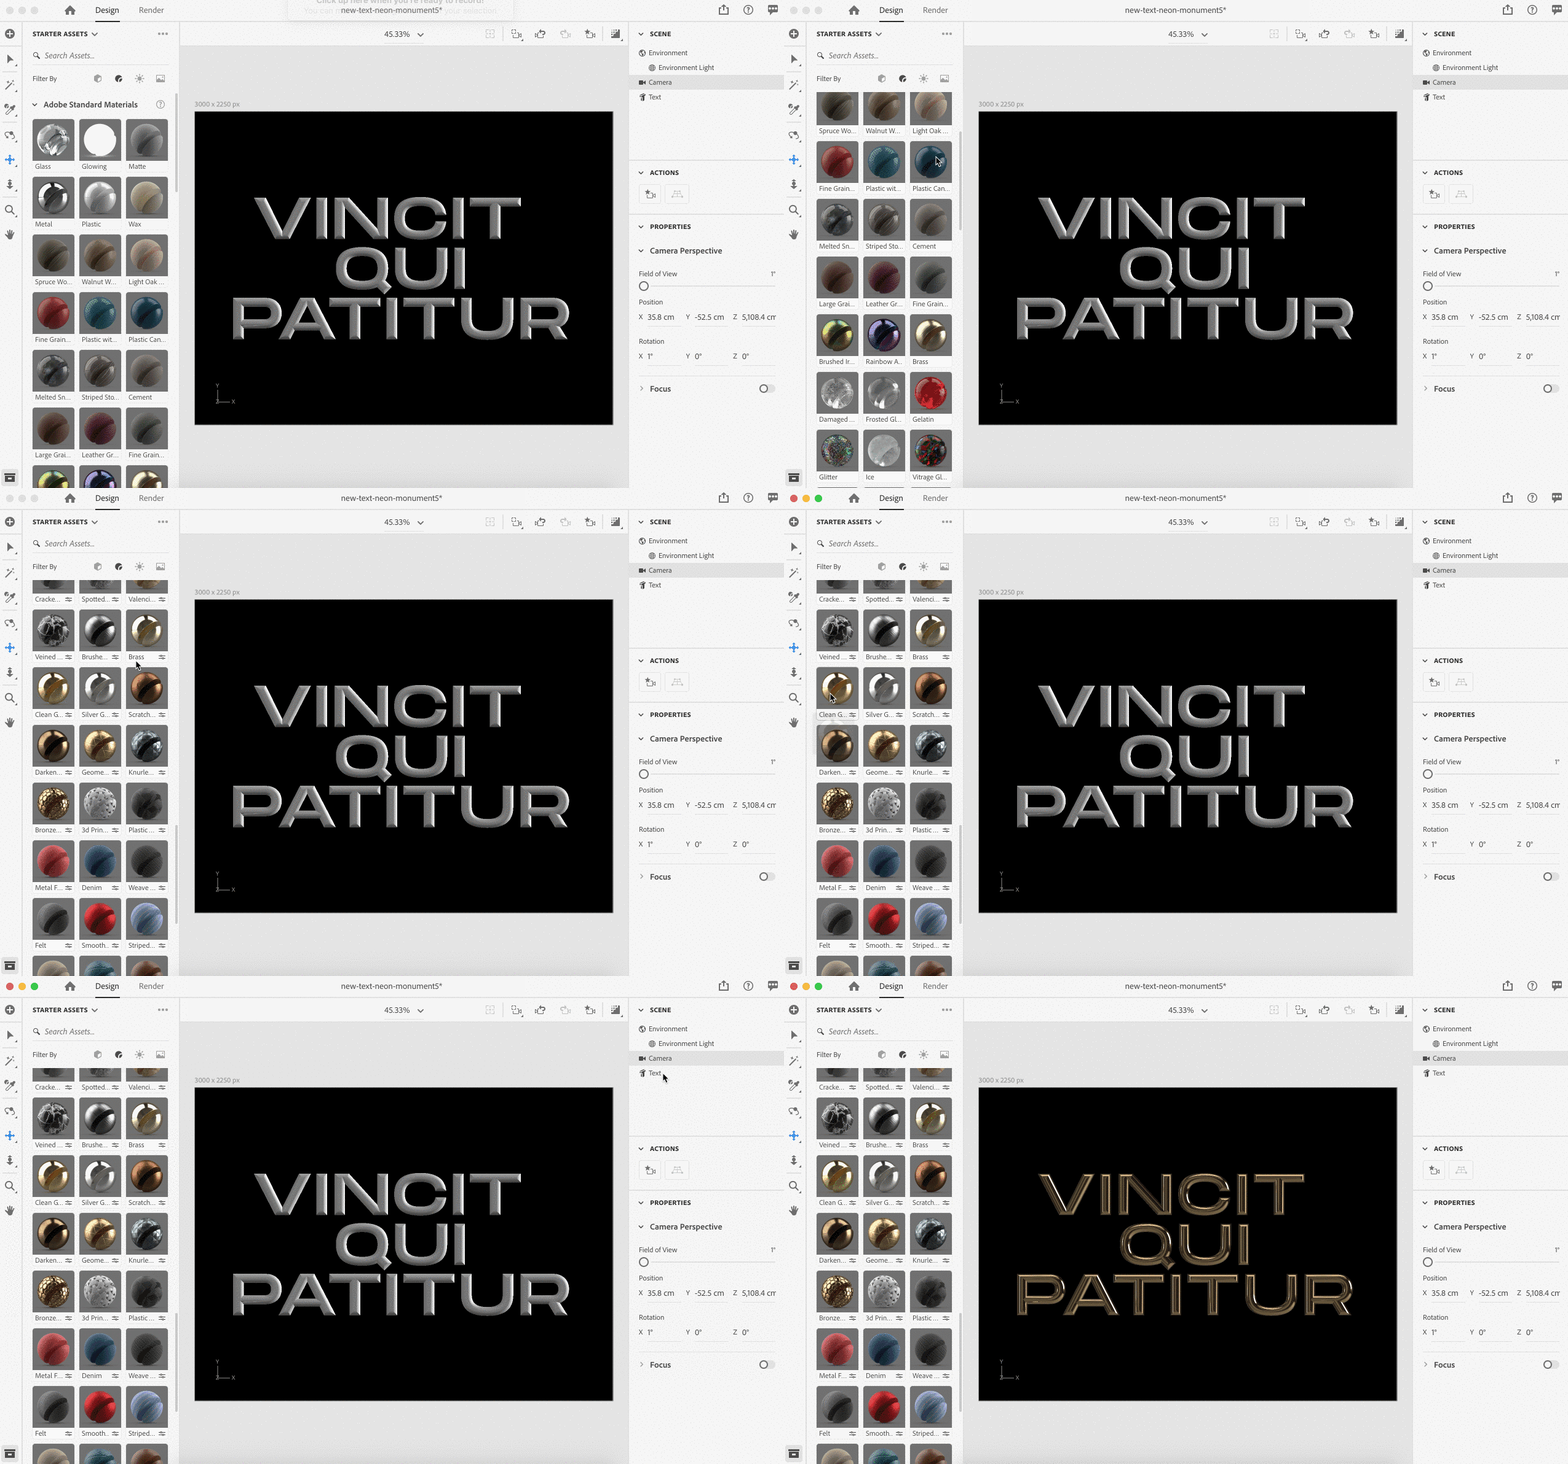
Now we can apply real-world, photorealistic materials to our 3D text. In the example below, I've added a Clean Gold material to the text object.

You can of course apply different materials for different effects – play around with this to see what you personally prefer. Adobe includes a variety of options here and you can download additional materials from Adobe Stock, if needed.

Left: metal material. Right: brass material.

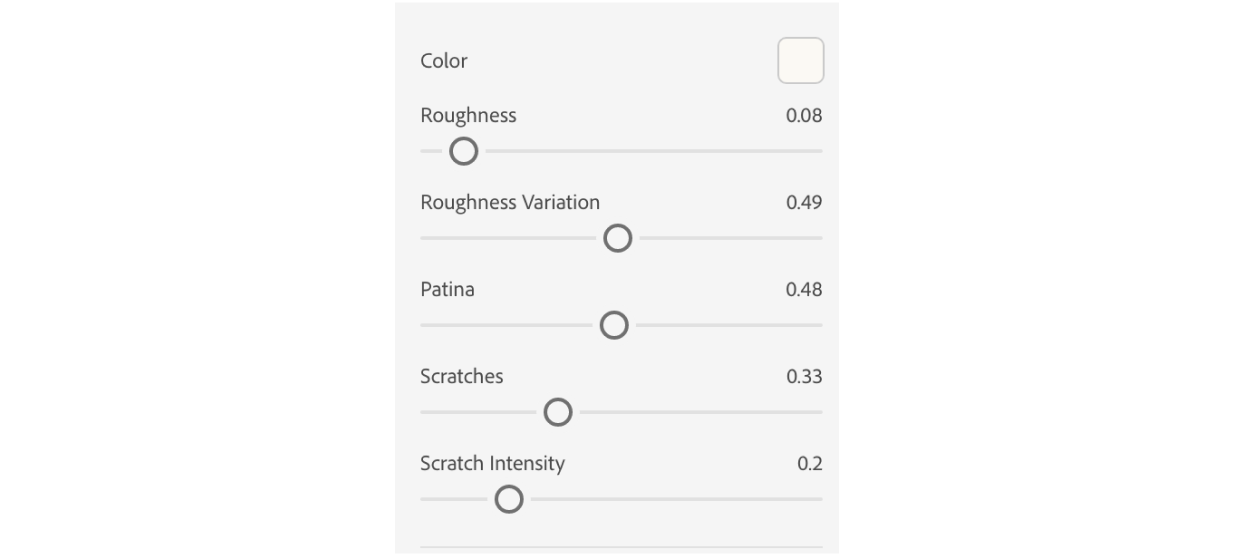
For our poster, I will use Silver Gold from the Substance Materials list for a nice chrome-like effect. Since this is also a Substance Material, we have additional options to adjust the reflection amount or increase scratches for added realism.

Now, in the material options, you can tweak your material's appearance. For my example, I've set my Silver Gold material settings to the following:

The roughness value determines how reflective your material will be, with a lower value resulting in a more reflective object. The rest of the material settings I've left at the default.

Step 7: Adjusting the lighting

Now that we have our camera adjusted, we can now work with the lighting in Dimension.

Lighting is one of the most nuanced and important aspects of believable and realistic results in 3D design. Thankfully, Dimension takes the headache out of this and includes several lighting presets we can use.

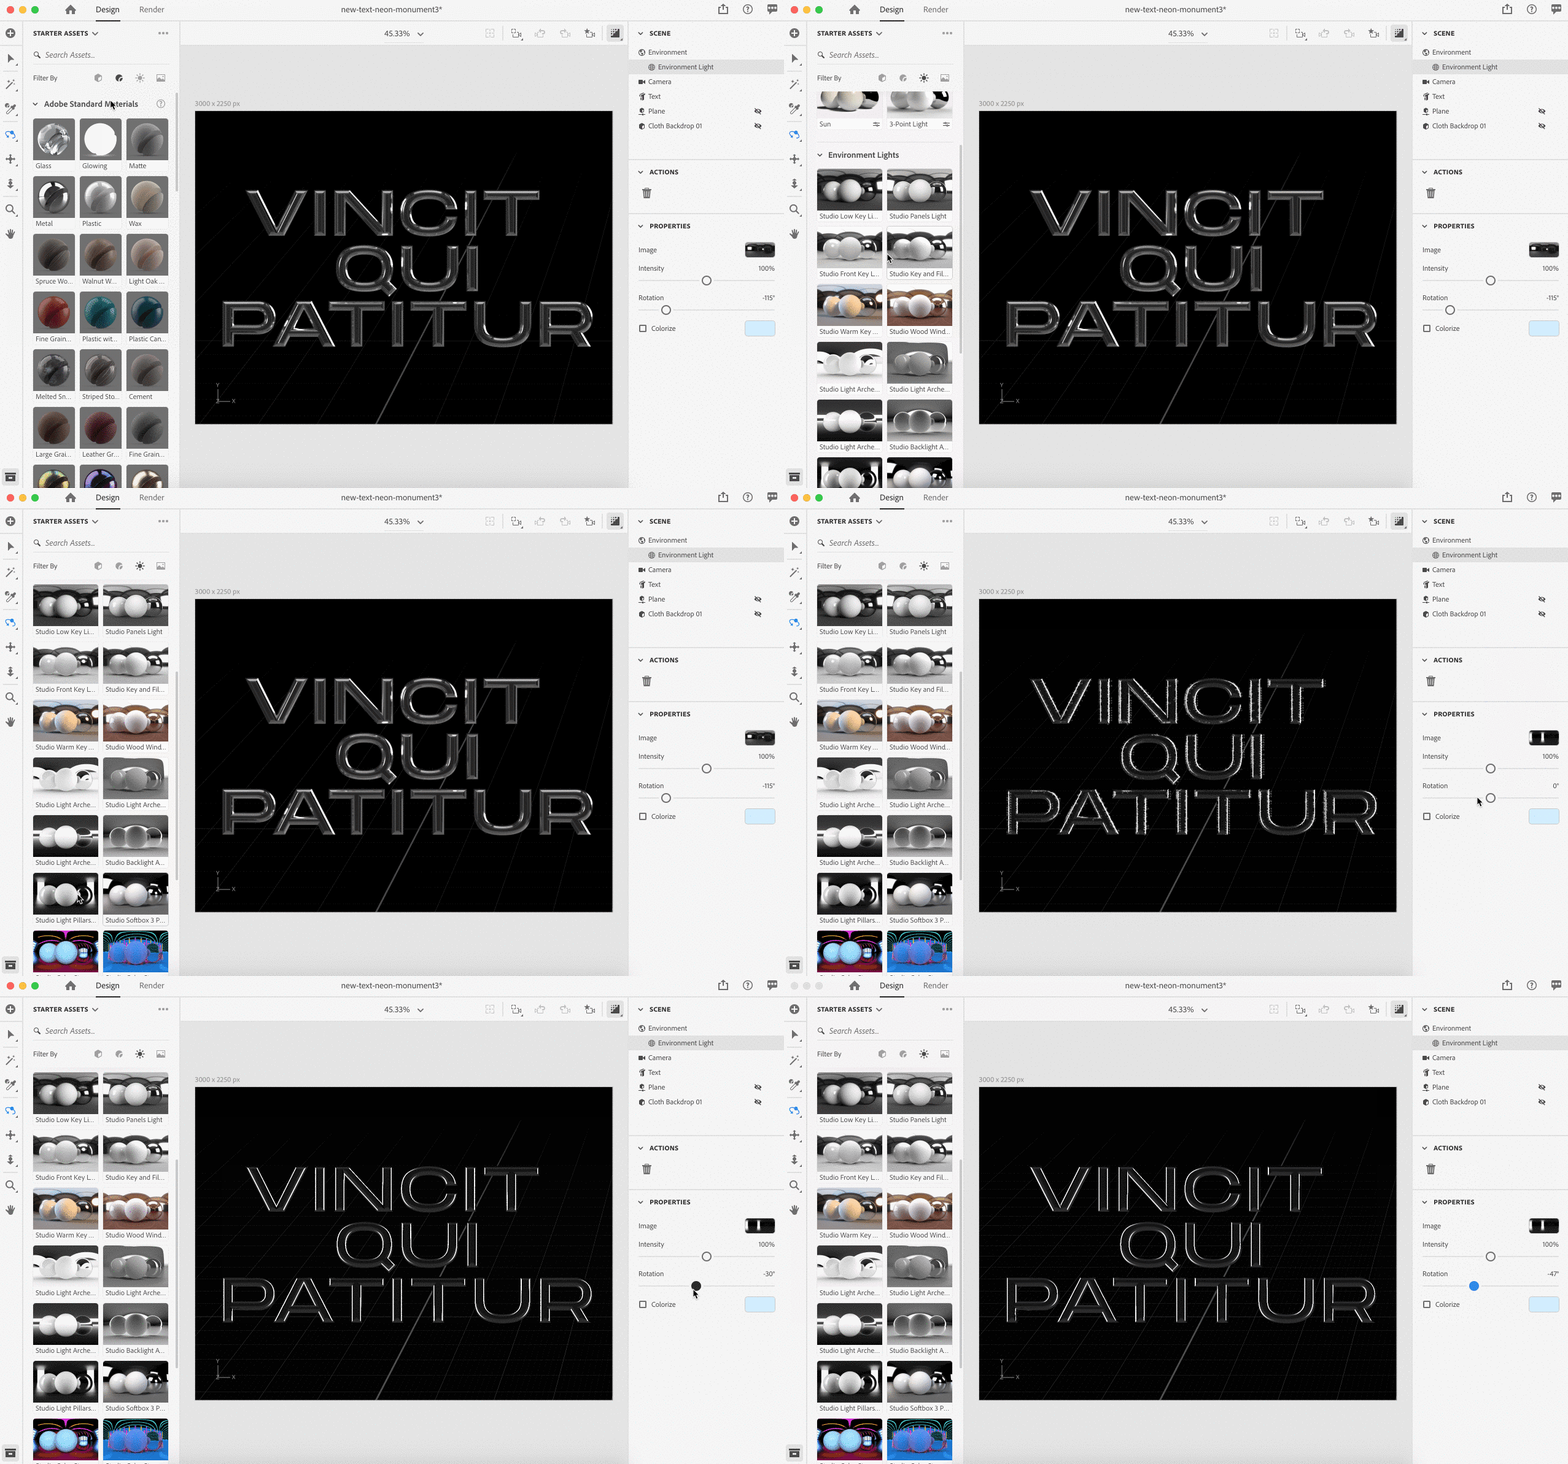
For our purposes, I will use image-based environment lighting. Environment lighting generates real-world lighting systems based on the light and dark values in an image. It's an incredibly easy way to achieve photorealistic results, since you are using a real photo to generate light and reflections. Adobe includes several environment lighting presets with Dimension, as well as additional ones for download from Adobe Stock.

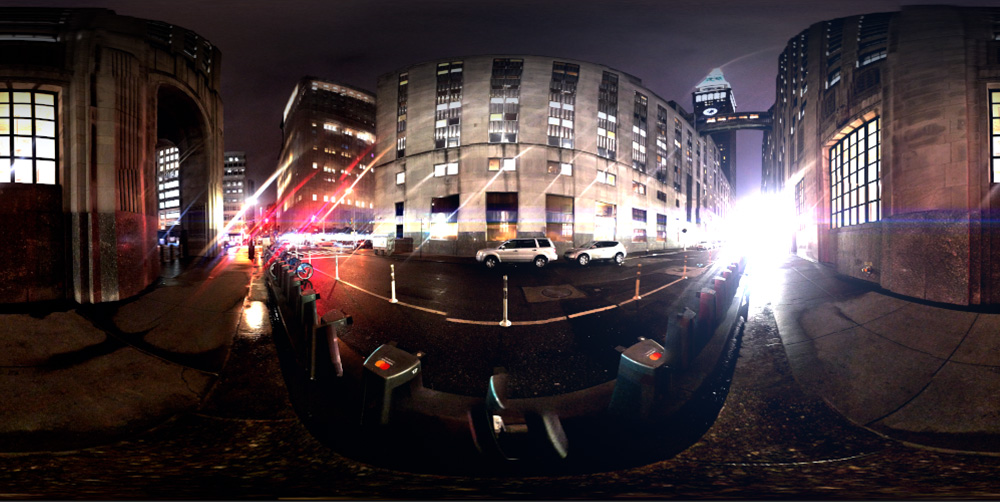
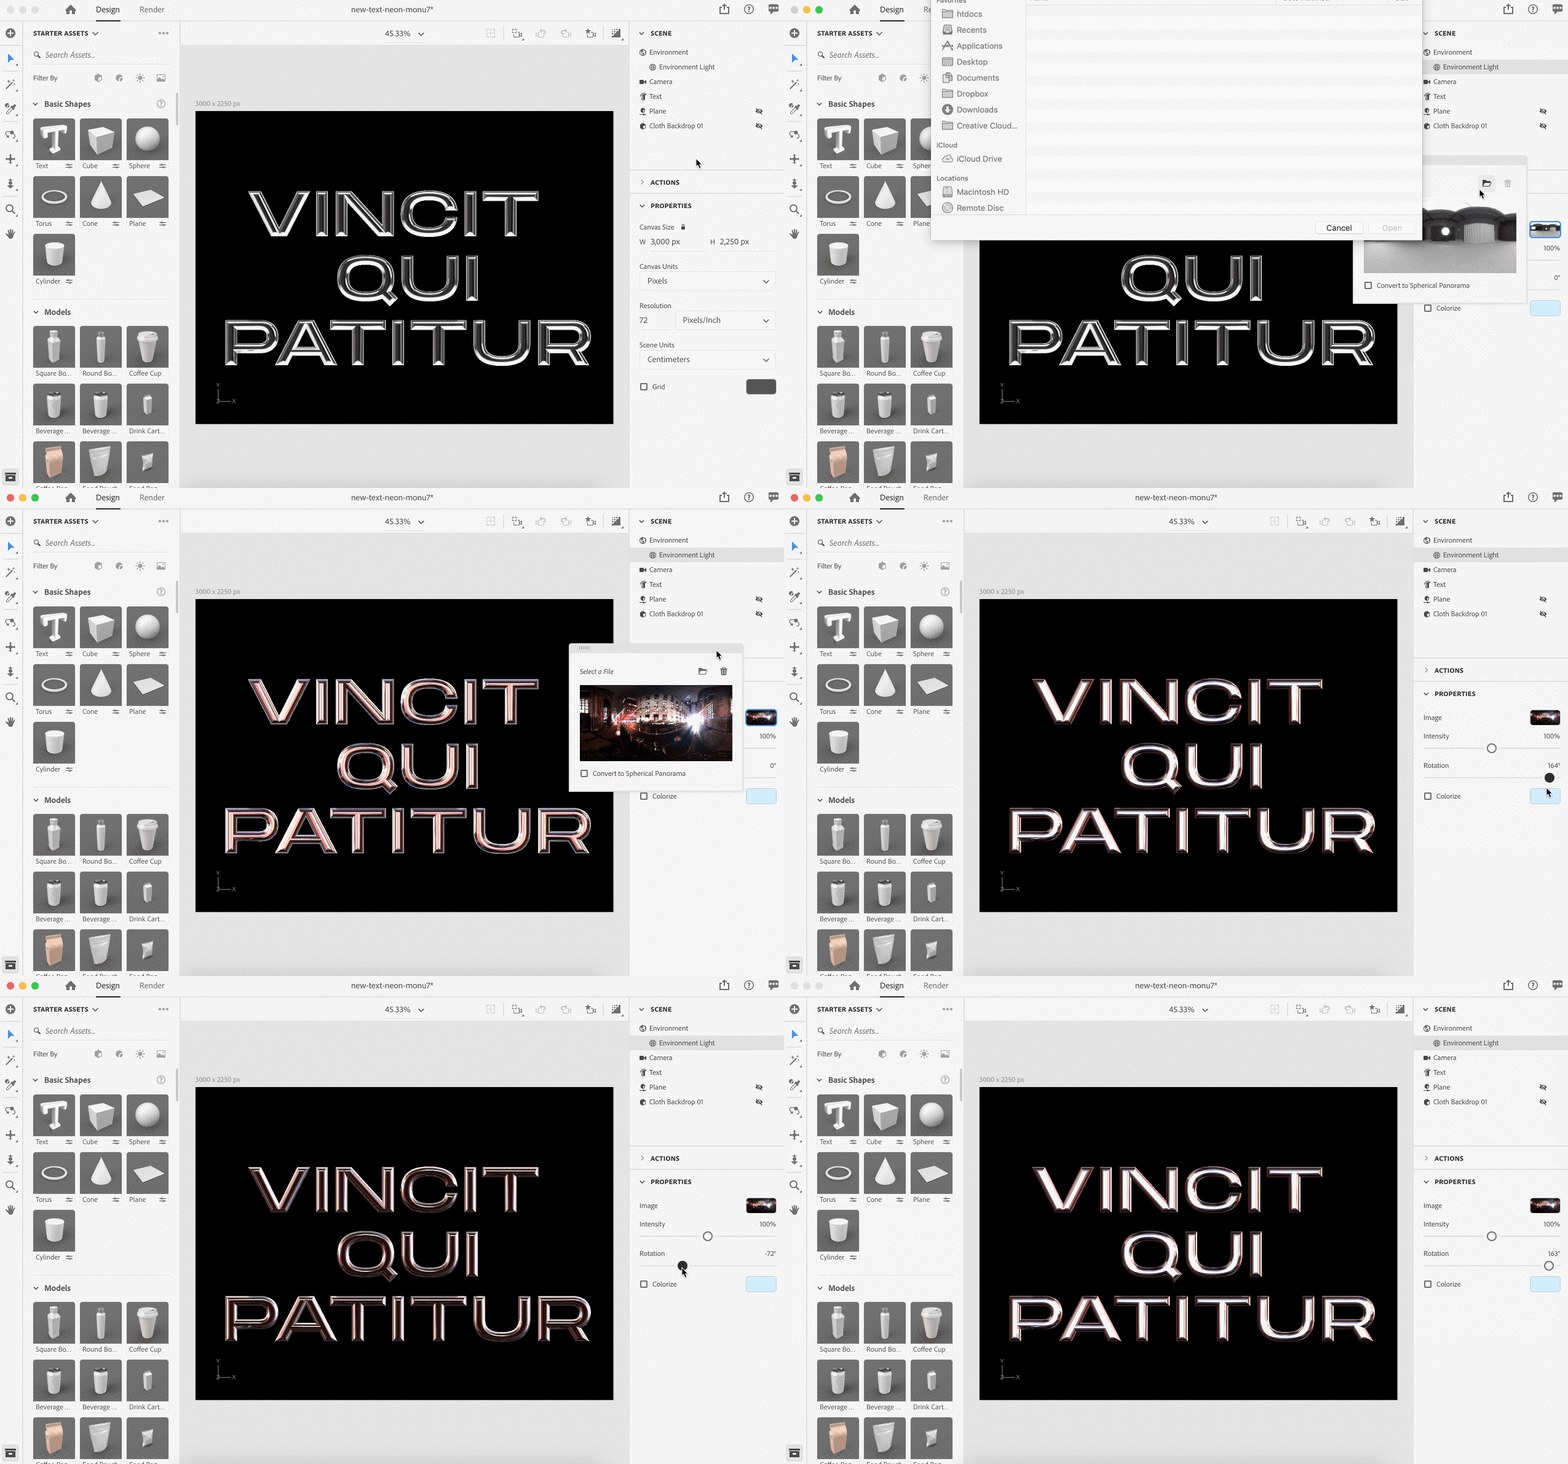
In addition to the presets that come with Dimension, you can also use an image file of your own to generate light for your 3D scene. For this tutorial, I'm using an HDRI image from the Neon Dreams HDRI pack from TFM.

I first downloaded the image into the Environment Light option in Dimension. I can now adjust things such as lighting intensity or rotational values. Rotational values will change the position of the lights in accordance with our scene, and is crucial in some cases to achieving realistic lighting.

Sometimes it's a matter of adjusting and playing with different rotational values to get the desired result.

Now is a good time to go back to your 3D text options and experiment further. You may want to adjust the bevel amount or bevel settings to get it just how you like it. Have fun with it!

Step 8: Rendering our image

In 3D, rendering your image means taking your 3D design information and turning it into an image.

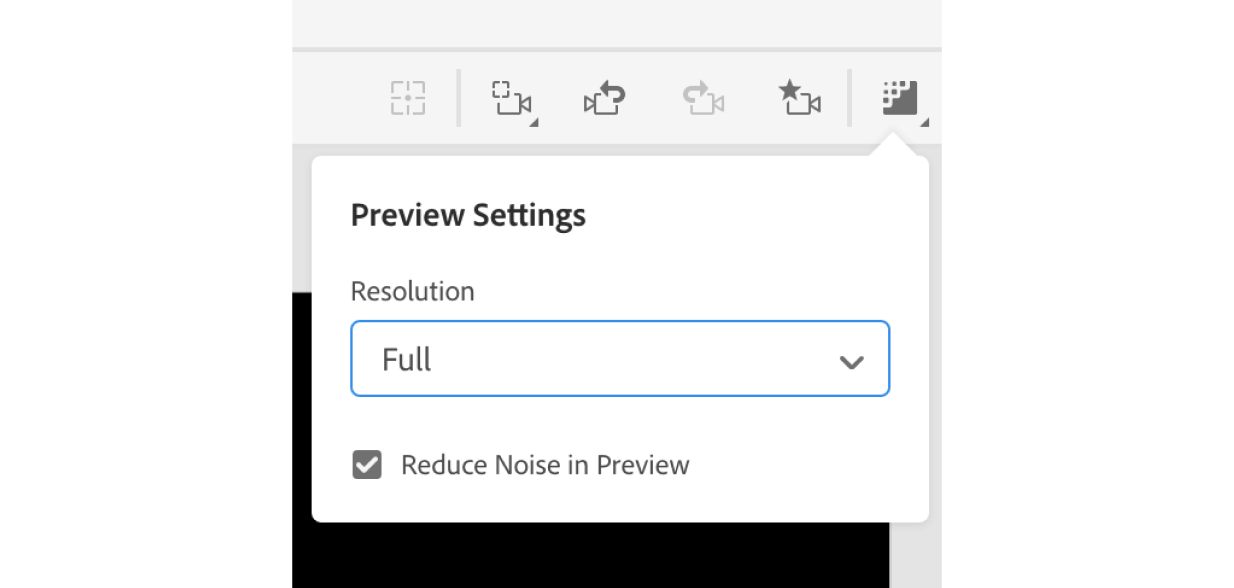
PROTIP: You can preview your final render result in the Dimension viewport with the Render Preview option:

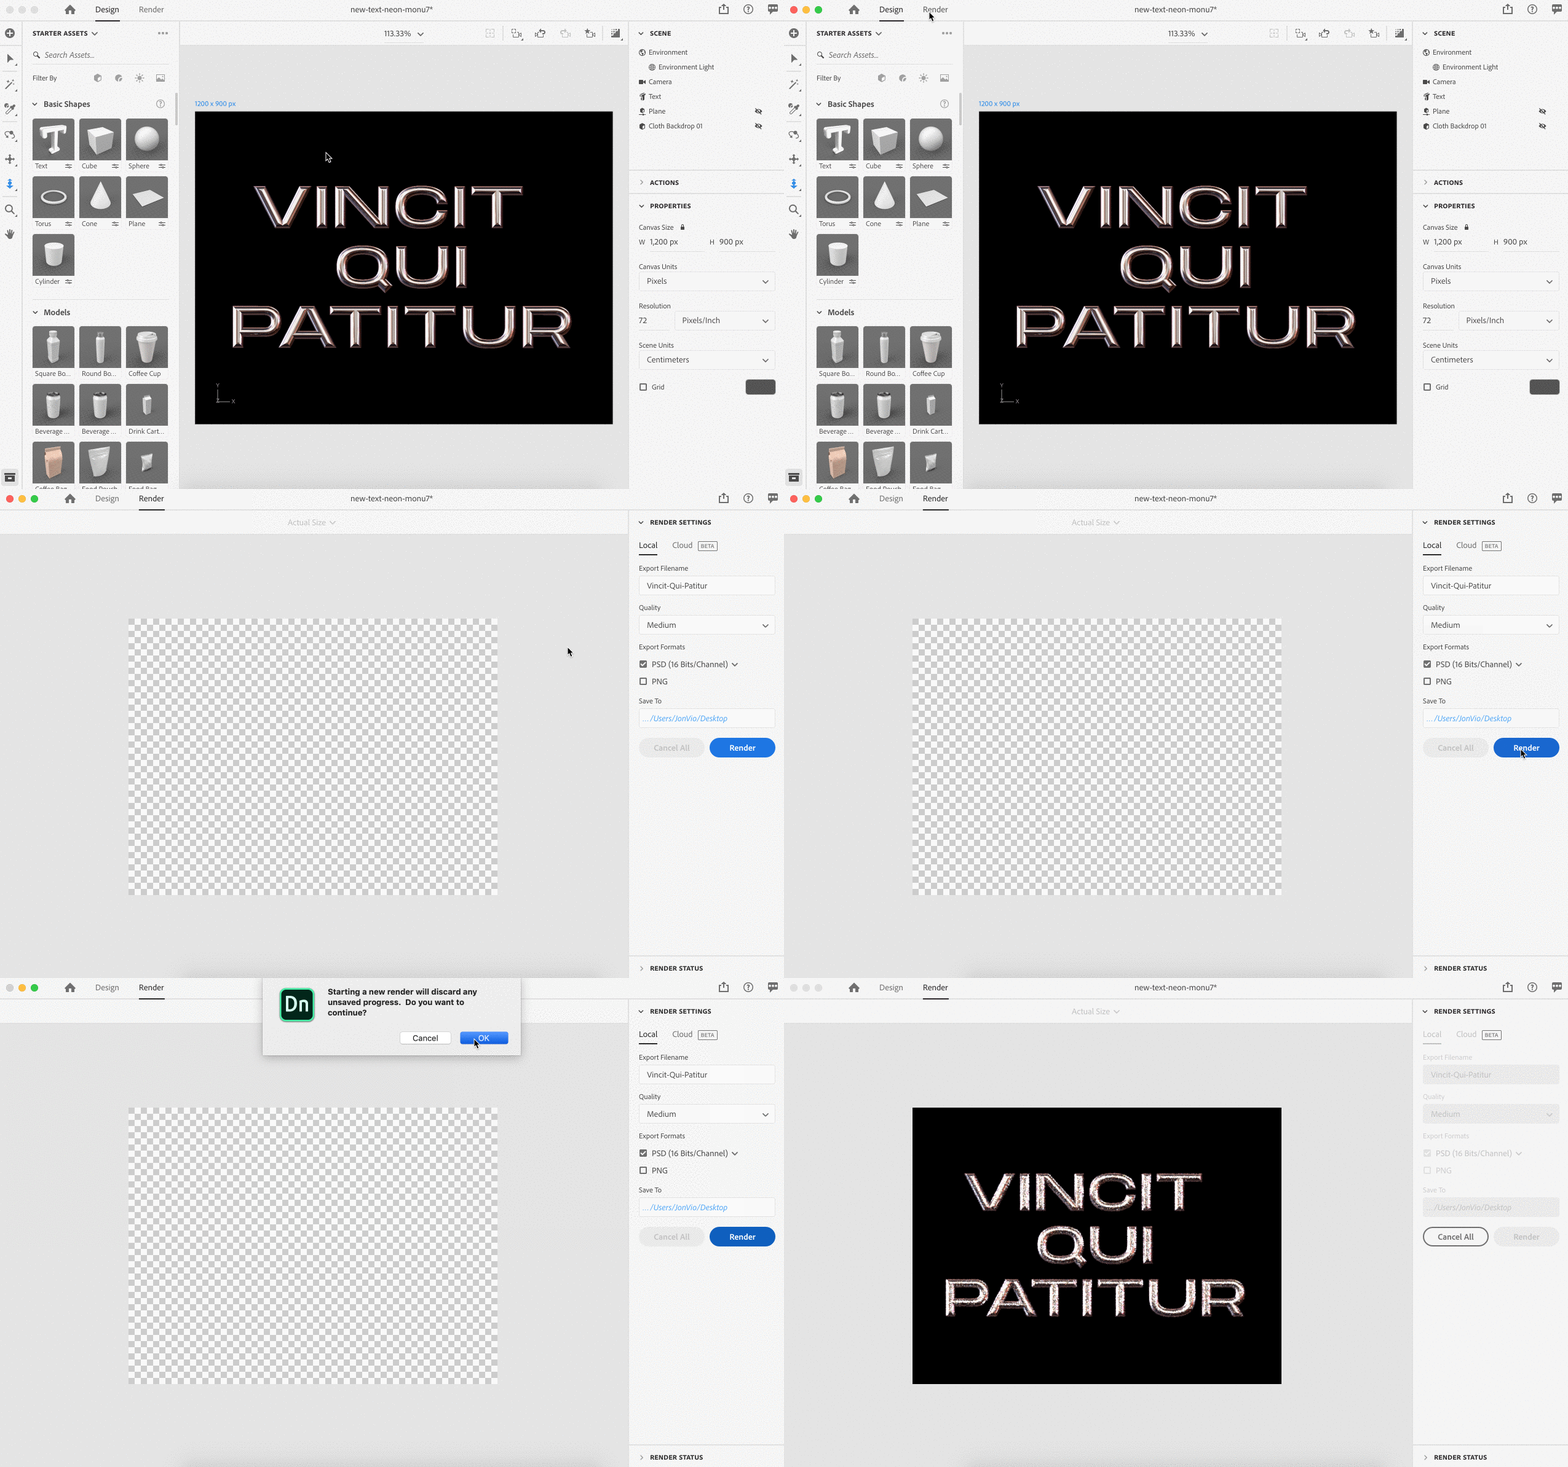
With our camera set and our lighting adjusted perfectly, we can hit the render tab to bring our 3D artwork to life and into layer-separated PSD files. In the render options, choose Medium for your render preset ("Low" present means it is quicker but lower quality; "High" means higher quality but the rendering will take longer.) You then have the option to set the final result as a PSD file or png. I've set mine to PSD.

Then, all you have to do is hit the render button. Your 3D render may take a while depending on your machine's particular setup, but for a simple composition like this, it should be relatively quick.

Keep in mind, if you have a slower machine this will use a lot of system resources and you may experience a significant slowdown until the render is finished. If you'd rather work on other projects while your render is being processed, you can use the Cloud Rendering (Beta) option to have Adobe render the images for you.

The final result

With our render complete, here is the final result:

Final result, front-facing

You can now open up this render in Photoshop for any post-processing work you'd like to do, and your 3D text will already be on a transparent background. Dimension includes 3D information as hidden layers when you render, and you can make post-processing adjustments as needed after your render has completed.


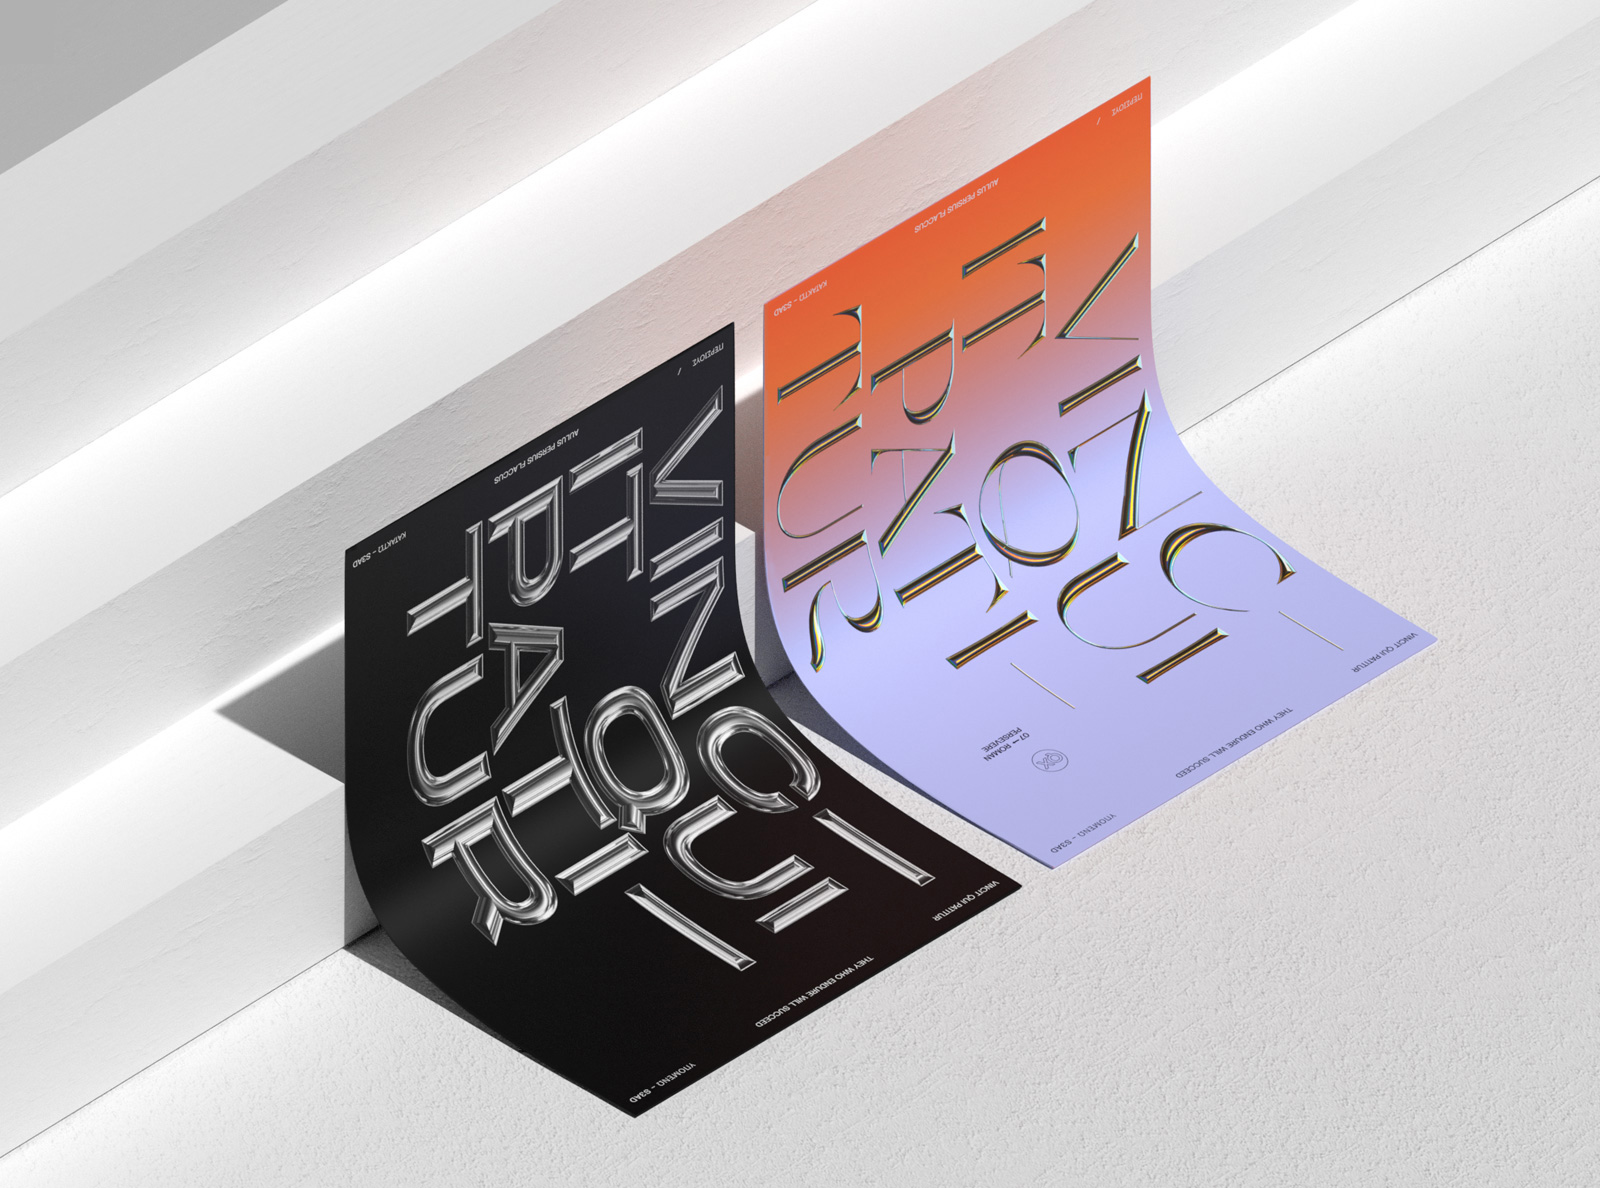
Mockups created with Adobe Dimension.

Experiment further

Now you've seen how simple it is to create 3D text effects that you've always wanted. Now you can go wild with it using the exact same process.

Have fun and play around with different fonts, materials, camera angles or lighting effects to create a variety of results. Here are some different designs and experiments I've made using the same process:

I hope you enjoyed this tutorial! If you do create something with Dimension, be sure to share your designs to Behance, selecting Adobe Dimension under “Tools Used” in the Basic Info tab. On Instagram, tag #AdobeDimension and #CreatewithDimension. This allows the Dimension team to find and promote your work.

May 1, 2020No Comments

Monthly portfolio inspiration of April 2020

Once a week, we select two portfolios created with Semplice to feature in our Best Of  Showcase.  Here we've collected our favorites from the month of April.

This month, we've been blown away with the amount of talent we've come across in our showcase submissions. We're pleased to see portfolio sites from top artists, designers, photographers and design studios being built with Semplice.

We hope you find these sites as inspiring to you as they were to us.

Browse the best portfolios of the month below to see fresh new work and get inspired for your own site. And if you've created your own portfolio with Semplice, be sure to submit it to our Showcase here. We might feature your site next.


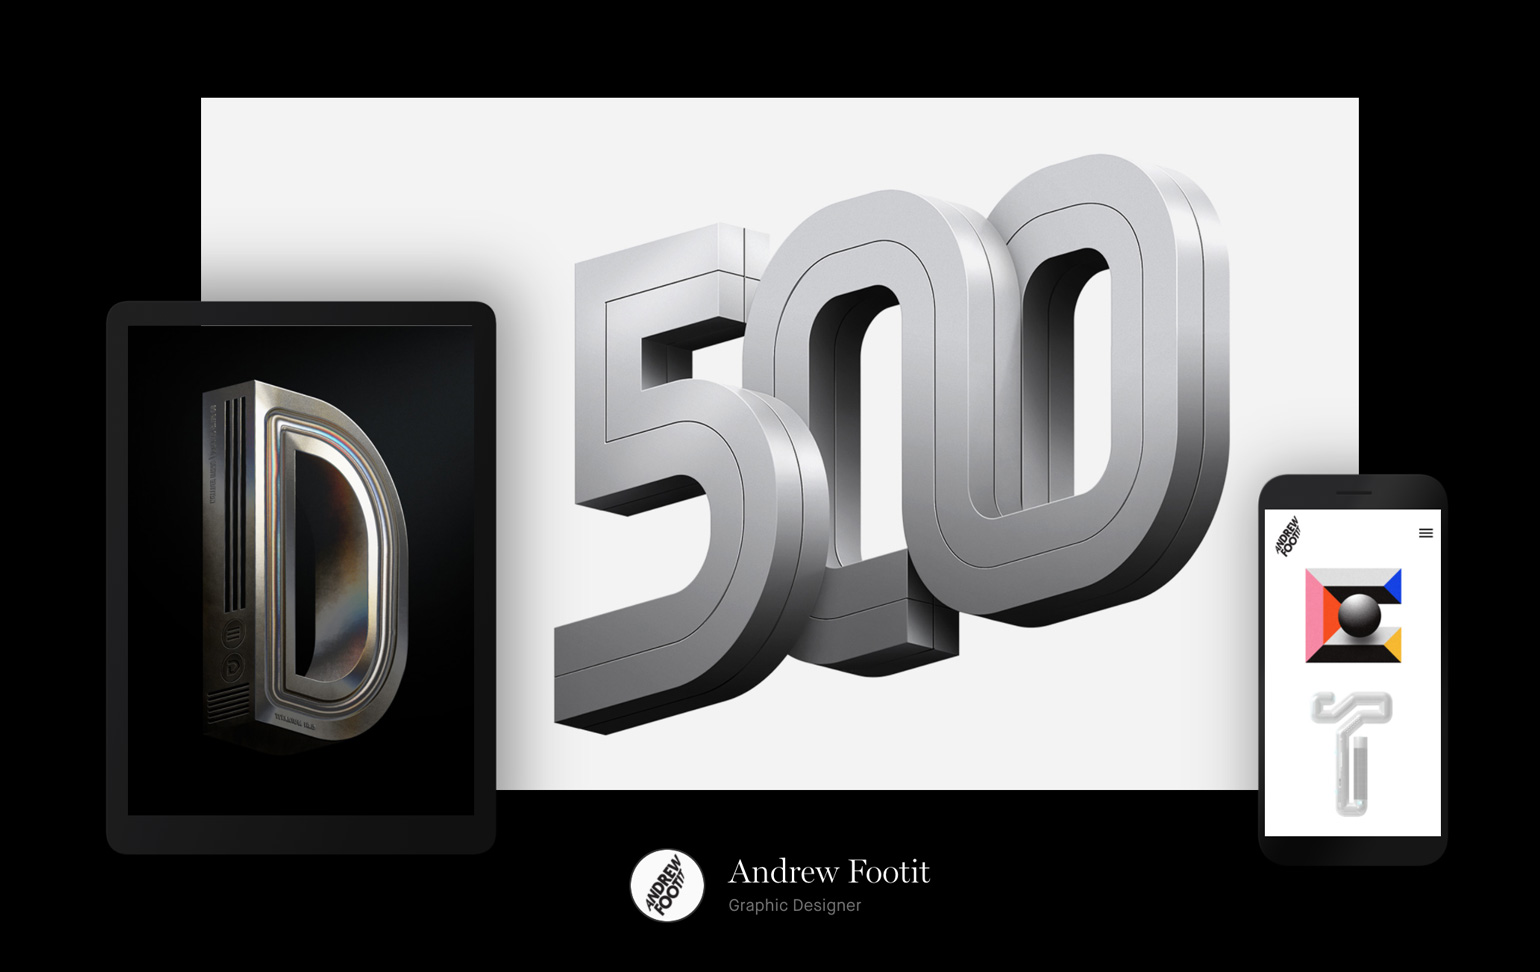
Andrew Footit

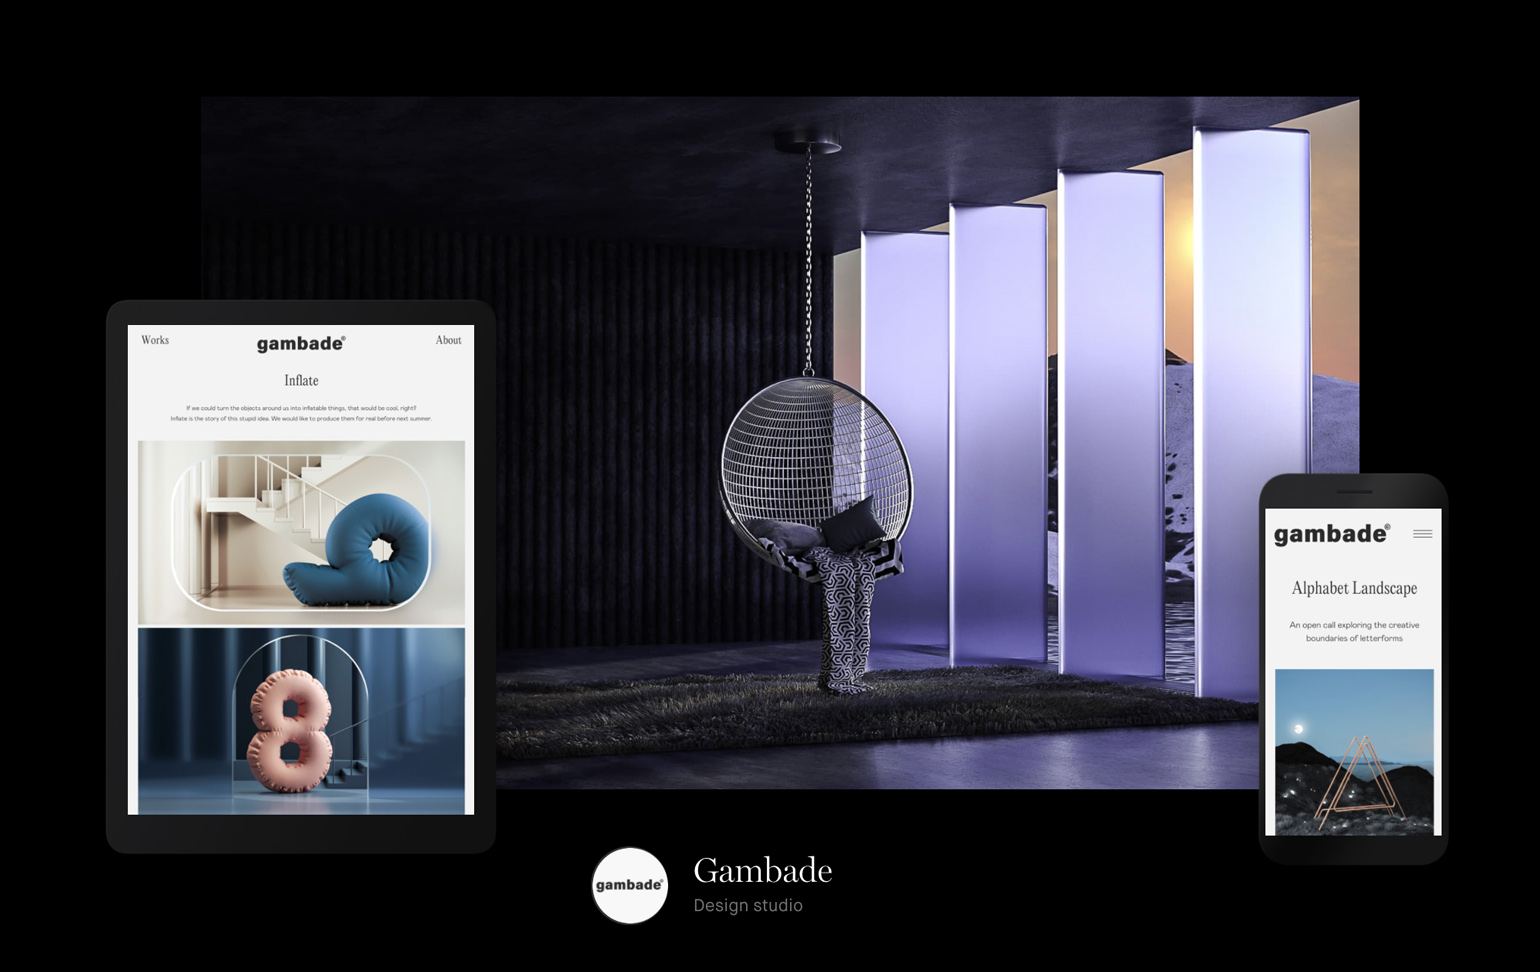
Gambade

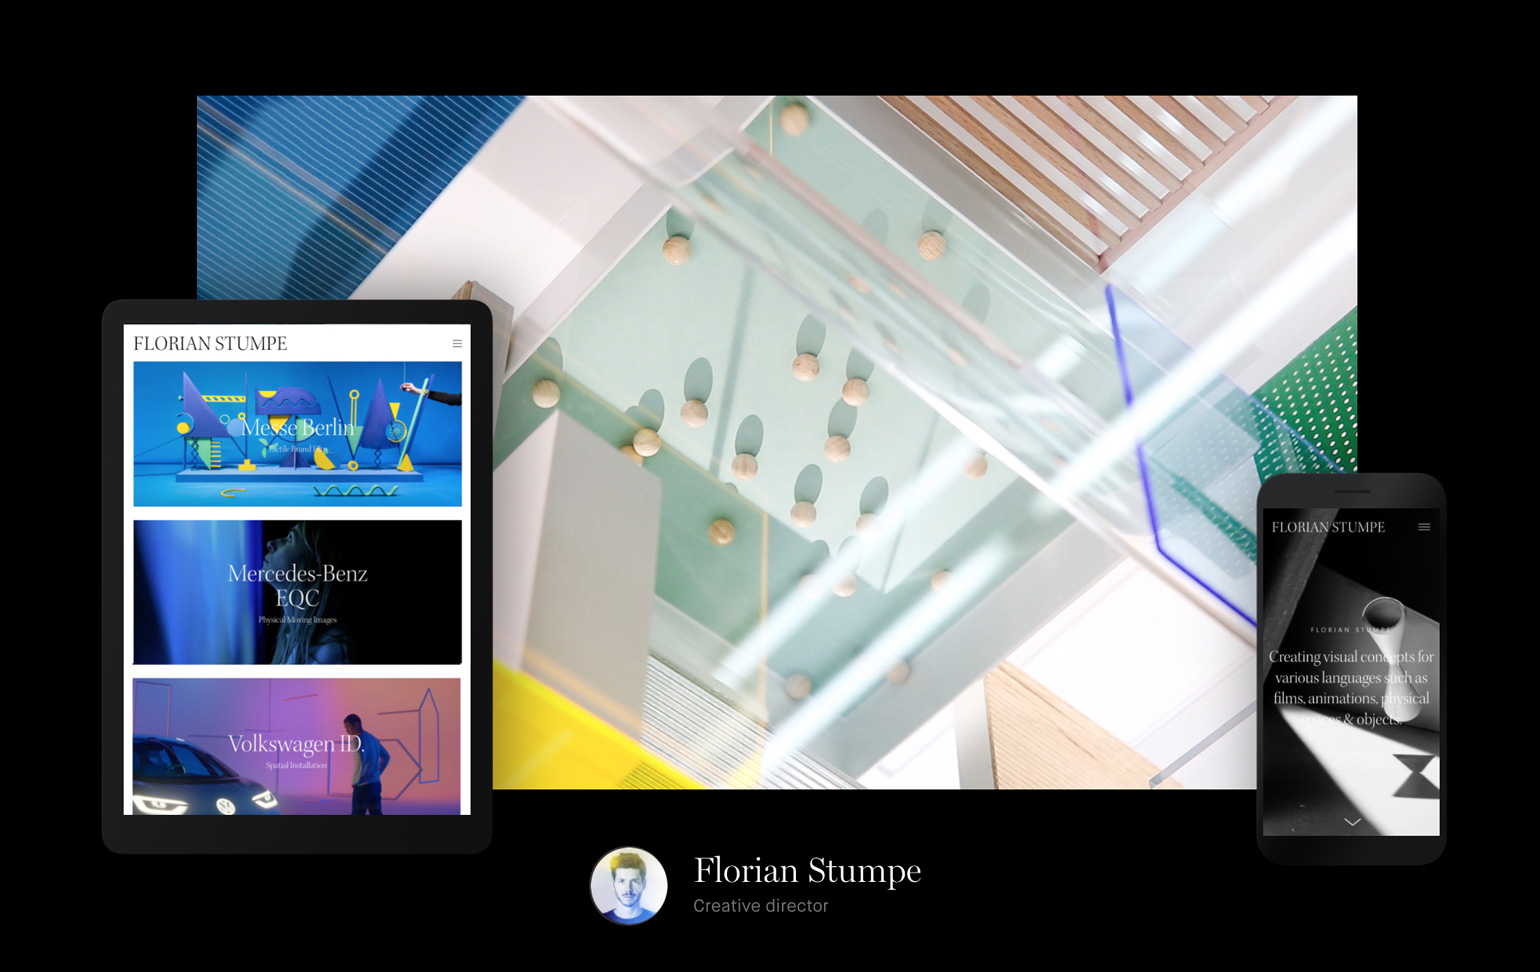
Florian Stumpe

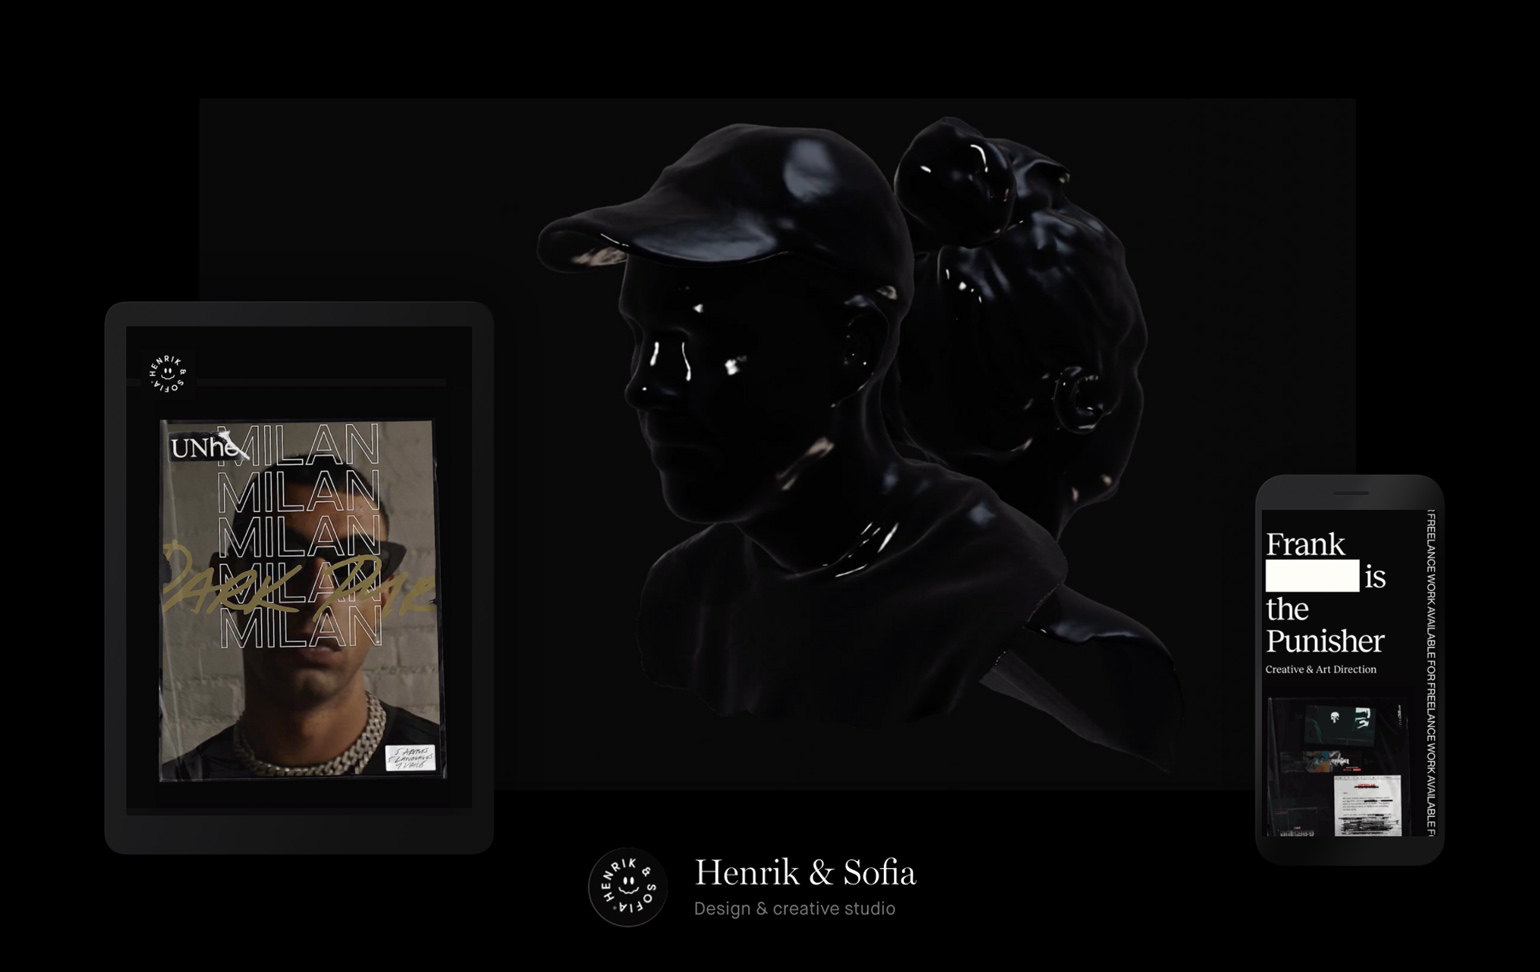
Henrik & Sofia

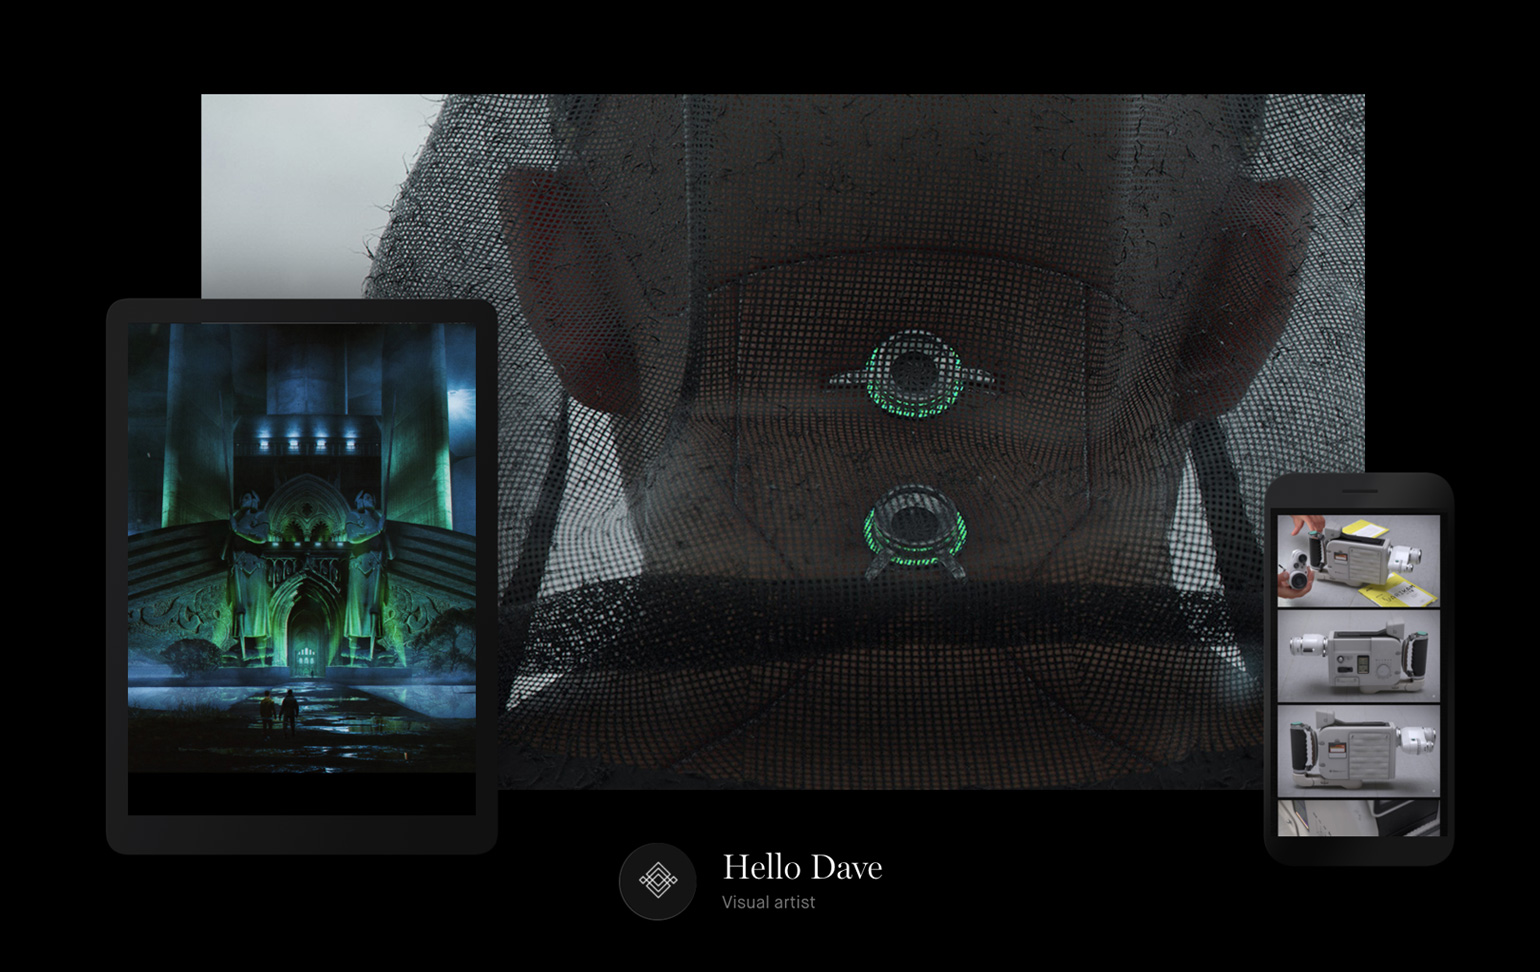
Hello Dave

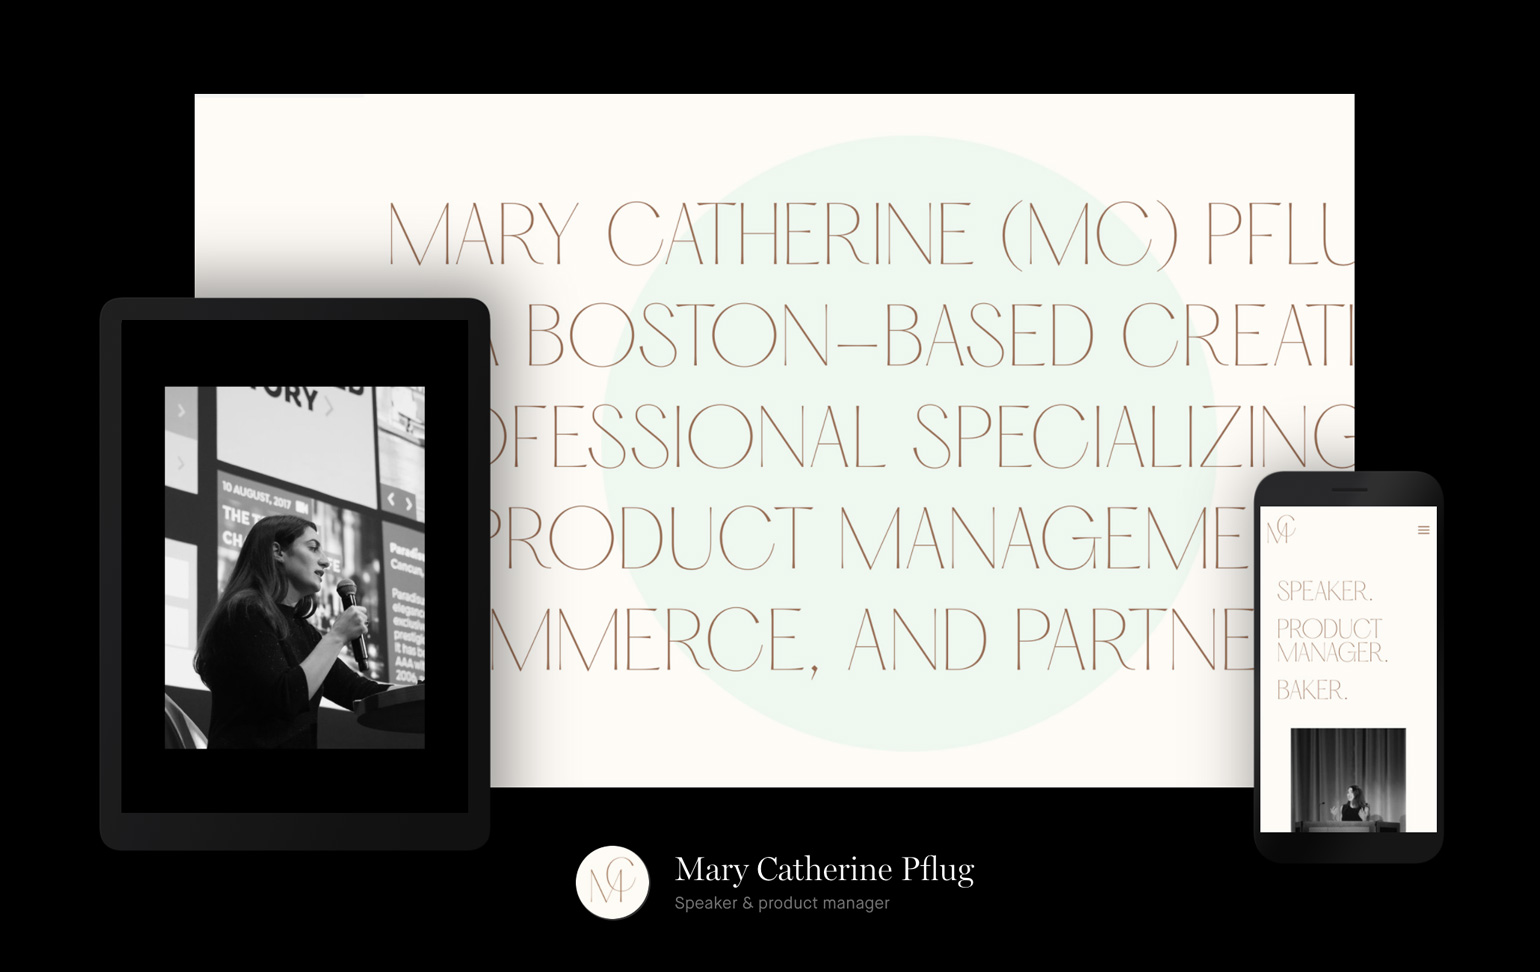
Mary Catherine Pflug

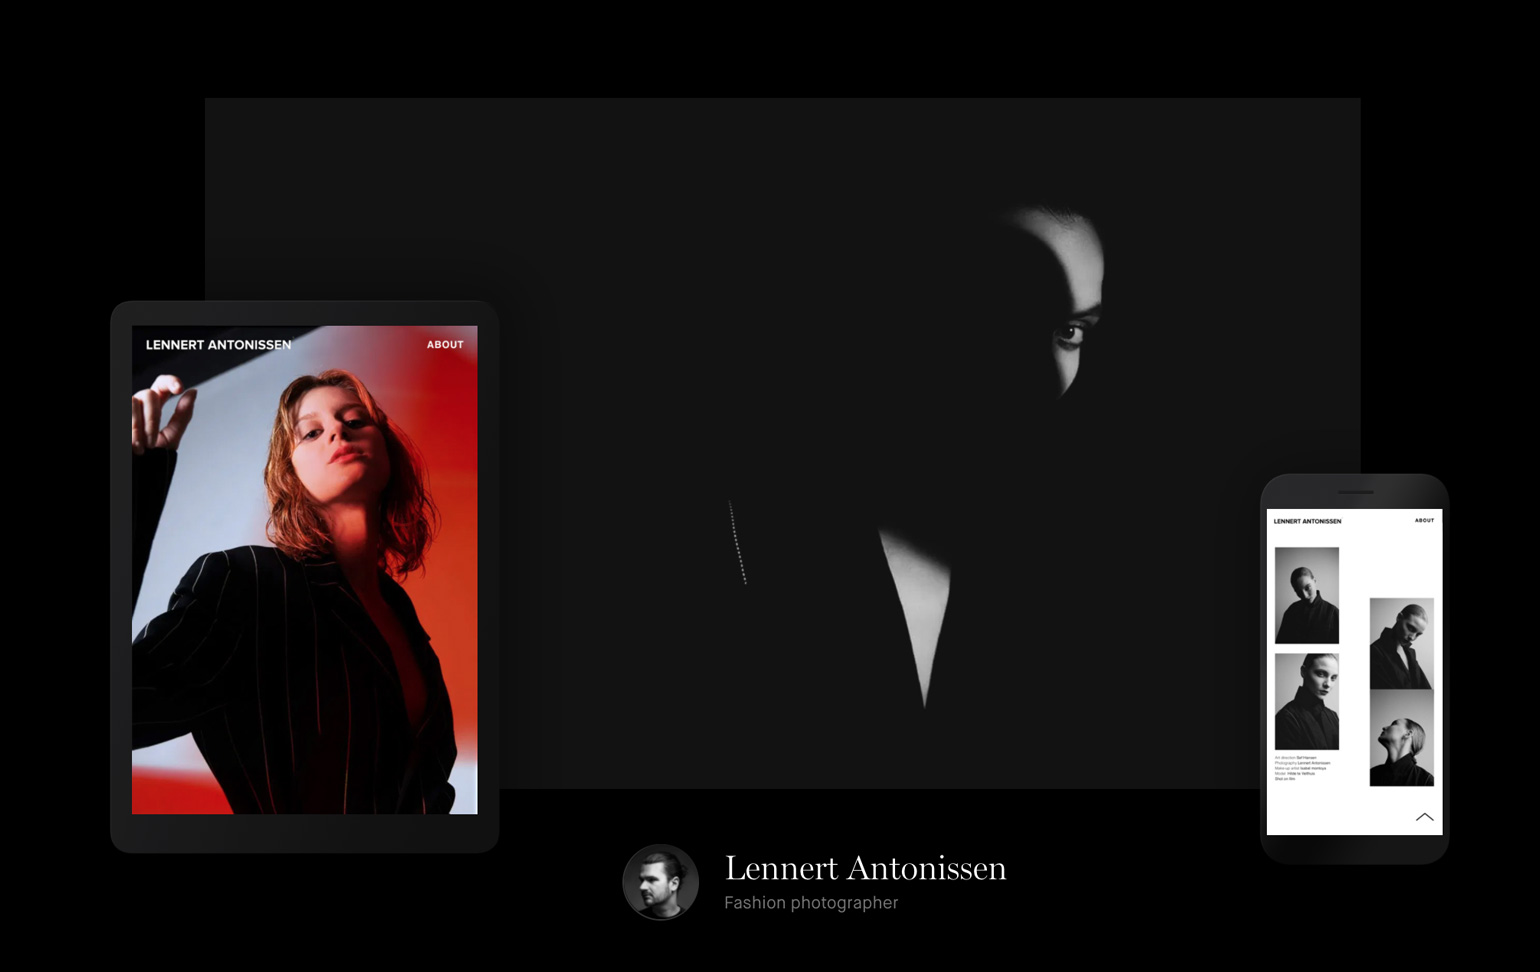
Lennert Antonissen

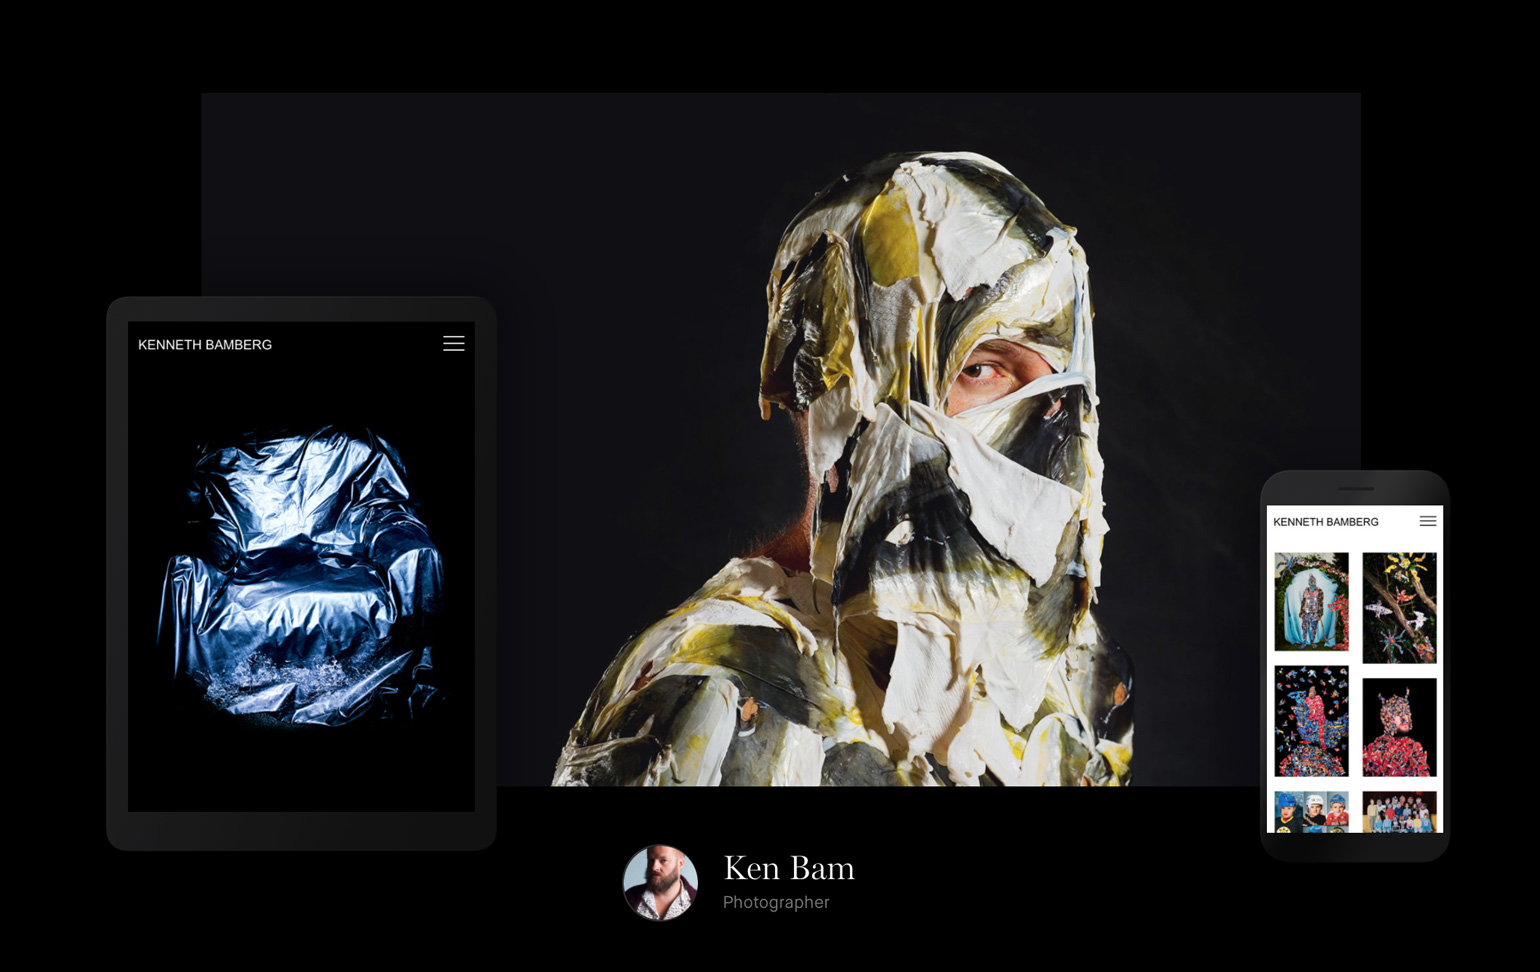
Ken Bam

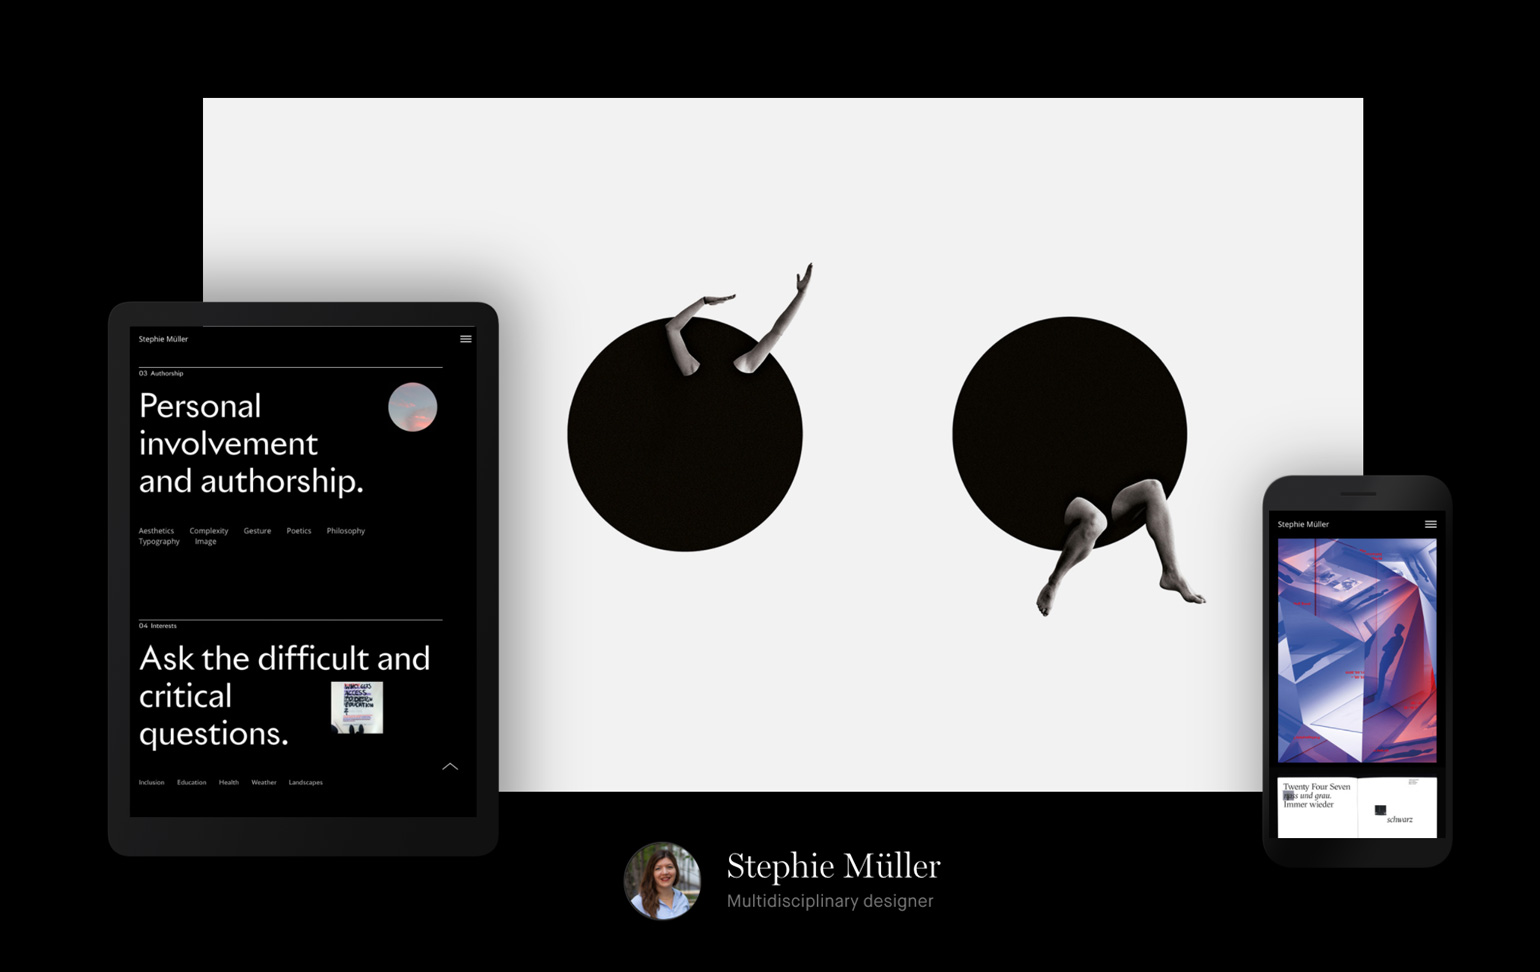
Stephie Müller

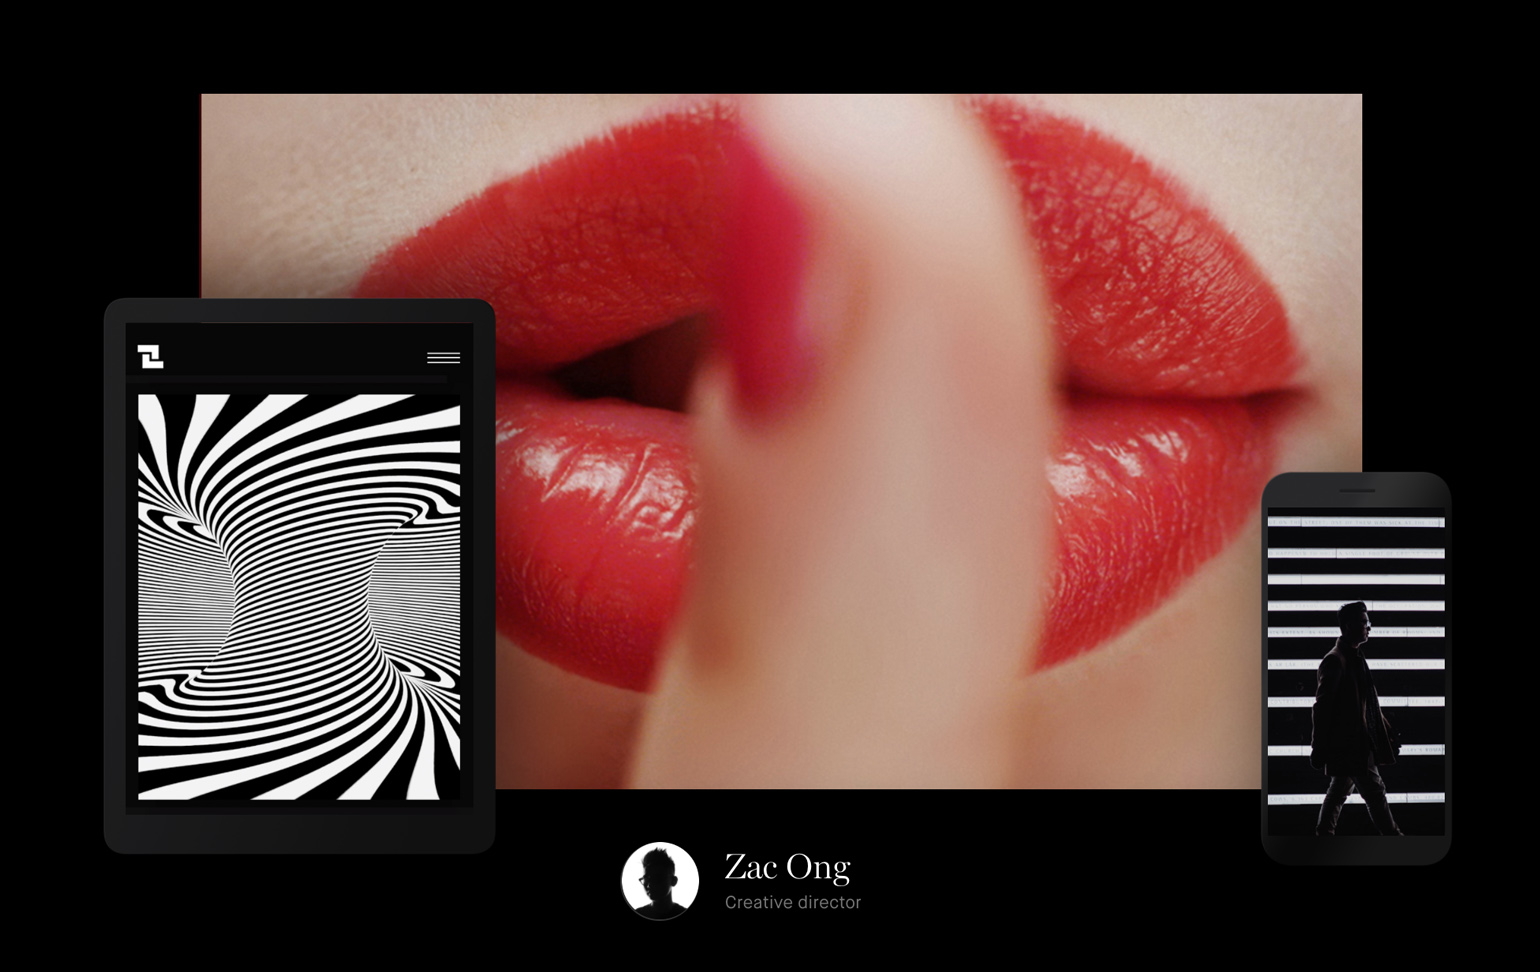
Zac Ong

To see more great design portfolios, visit the Semplice showcase. I'll be back next month with more of our monthly favorites!

Header image by Hello Dave

March 31, 2020No Comments

Monthly portfolio inspiration of March 2020

Once a week, we select two portfolios created with Semplice to feature in our Best Of  Showcase.  Here we've collected our favorites from the month of March.

We've been seeing lots of portfolio launches and refreshes over the last month as folks work on their personal websites from home. It's a weird and uncertain time where many designers are looking for new projects, have found themselves with more time on their hands or simply need a distraction. Whatever the case may be for you, we thought we'd send some inspiration your way.

In March, we featured websites from creative & art directors, photographers, illustrators, and graphic designers, and they are all exceptionally good.

Browse the best portfolios of the month below to see fresh new work and get inspired for your own site. And if you've created your own portfolio with Semplice, be sure to submit it to our Showcase here. We might feature your site next.


To see more great design portfolios, visit the Semplice showcase. I'll be back next month with more of our monthly favorites!

Header image by Future Paris

March 5, 2020No Comments

Monthly portfolio inspiration of February 2020

Once a week, we select two portfolios created with Semplice to feature in our Best Of  Showcase.  Here we've collected our favorites from the month of February.

We're only two months into 2020 and already blown away by the portfolio launches and refreshes we've seen. In February, we featured websites from creative & art directors, photographers, illustrators, graphic designers, and product development studios.

Browse the best portfolios of the month below to see fresh new work and get inspired for your own site. And if you've created your own portfolio with Semplice, be sure to submit it to our Showcase here. We might feature your site next.


To see more great design portfolios, visit the Semplice showcase. I'll be back next month with more of our monthly favorites!

Header image by Dan Barkle

February 5, 2020No Comments

Monthly portfolio inspiration of January 2020

Once a week, we select two portfolios created with Semplice to feature in our Best Of  Showcase.  Here we've collected our favorites from the month of January.

As we've begun with a fresh start of the year, we've seen more and more top talent creatives choosing Semplice. In January, we featured websites from art directors, illustrators, graphic designers, branding studios and 3D design studios.

Browse the best portfolios of the month below to see fresh new work and get inspired for your own site. And if you've created your own portfolio with Semplice, be sure to submit it to our Showcase here. We might feature your site next.


To see more great design portfolios, visit the Semplice showcase. I'll be back next month with more of our monthly favorites!

Header image by Dan Barkle

January 1, 2020No Comments

Monthly portfolio inspiration of December 2019

Once a week, we select two portfolios created with Semplice to feature in our Best Of  Showcase.  Here we've collected our favorites from the month of December.

As the year has been wrapping up for 2019, we've seen more and more top talent creatives choosing Semplice. In December, we featured websites from design studios, photographers, visual designers, film directors and interaction designers. We had a couple non-portfolio sites in there too, including a photography award site.

Browse the best portfolios of the month below to see fresh new work and get inspired for your own site. And if you've created your own portfolio with Semplice, be sure to submit it to our Showcase here. We might feature your site next.


To see more great design portfolios, visit the Semplice showcase. I'll be back next month with more of our monthly favorites!

Header image by Geoff Levy

December 3, 2019No Comments

The best design portfolios of November 2019

Once a week, we select two portfolios created with Semplice to feature in our Best Of  Showcase.  Here we've collected our favorites from the past month.

We enjoy seeing the incredibly talented creatives who choose to use Semplice. In November, we featured websites from creative studios, illustrators, computational designers, interactive art directors, designers and more.

Best Semplice Portfolio Sites of November 2019

Browse the best portfolios of the month below to see fresh new work and get inspired for your own site. And if you've created your own portfolio with Semplice, be sure to submit it to our Showcase here. We might feature your site next.


Semplice Best Portfolio of November Studio Pala

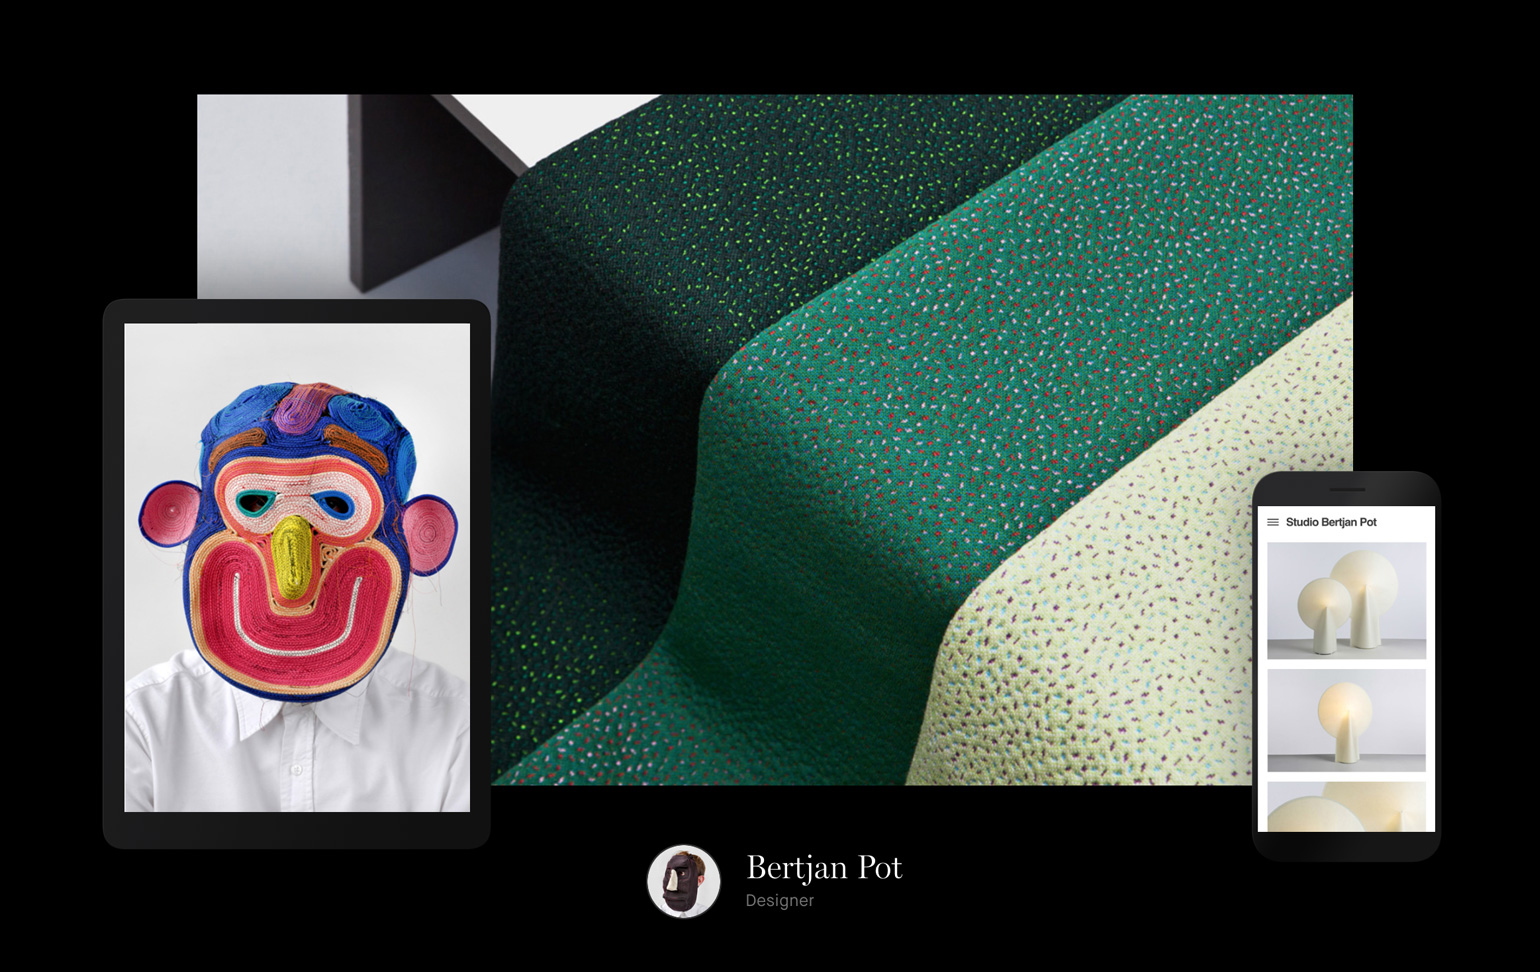
Semplice Best Portfolio of November Bertjan Pot

To see more great design portfolios, visit the Semplice showcase. I'll be back next month with more of our monthly favorites!

Header image by Max Nolan

November 22, 2019No Comments

A dangerous approach to problem solving

The most interesting people are the ones who don’t avoid reality. The people who are honest both with themselves and with others. Who not only recognize their flaws or fears or mistakes, but openly admit them – even laugh about them.

These people have mastered something many of us have yet to learn: They have accepted their reality and then embraced it. They lean in.

An estimated 75% of people fear public speaking. Yet many do it anyway. There’s something about marching up onto that stage, greeting an audience and choosing to plunge headlong into a fear deeply embedded within us. It can feel glorious. The pushing through and coming out the other side. Instead of running from our fear, we move straight toward it.

Print ads don’t get as much attention as they used to, but now and then a few float to the top that delight readers the way advertising did in its golden days. This KFC ad by Mother is one them. KFC, in an embarrassing misstep, ran out of chicken at many of its locations. It should have been a PR nightmare, but this ad turned it around.

They not only admitted their mistake – they leaned into it. They drew attention to a negative moment many might have otherwise never known about. Now all anyone remembers is this clever, disarming ad. (See also: Volkswagen’s famous “Lemon” ads and Avis’ “we’re number 2” ad.)

South Dakota was recently in the news for its new campaign to solve a meth epidemic in the state. The tagline: “Meth. We’re on it.” Many mocked the campaign, deeming it tone-deaf. Others wondered if it was an insane oversight. Officials behind the tagline said they simply wanted to be provocative and call attention to the issue. Would we have seen this campaign otherwise? Probably not. Would those of us who don’t live there know South Dakota struggles with methamphetamine addiction? Not necessarily. Leaning into the problem, however controversial the results may be, seems to be working.  

Product companies can lean in, too. We could openly acknowledge a feeling or experience people typically have when using our product, and encourage them or motivate them in our UX copy. Instead of diminishing our shortcomings, we could say exactly what our product does well and what it doesn’t. How refreshing would that be, compared to the “all-in-one,” overpromised offerings we often see today? 

We can lean into our personal flaws or shortcomings. We can lean into areas where we feel inadequate or uncertain. We can lean into our fears, the work ones and the life ones. It’s not about accepting reality. It’s about pushing straight into it. It may not be the safe approach, but when was safe ever interesting? 

October 29, 2019No Comments

In a digital world, analog brings something new

Today, when digital tools and online resources are making all forms of design more accessible, efficient and refined, analog methods are becoming more of an art. Yet for Warsaw-based studio Ars Thanea, handcraft is more relevant than ever.

For those who have been around long enough, Ars Thanea is something of a legend. Founded in 2007, the studio has been designing for digital long before many of us entered the industry. And while the Ars Thanea team continues to forge ahead into VR / AR / XR, live-action and beyond for their clients today, they are not afraid to go the opposite direction: back to analog.

Combining handcraft methods with digital, the studio creates internal experiments that often either lead to client work or fuel it.

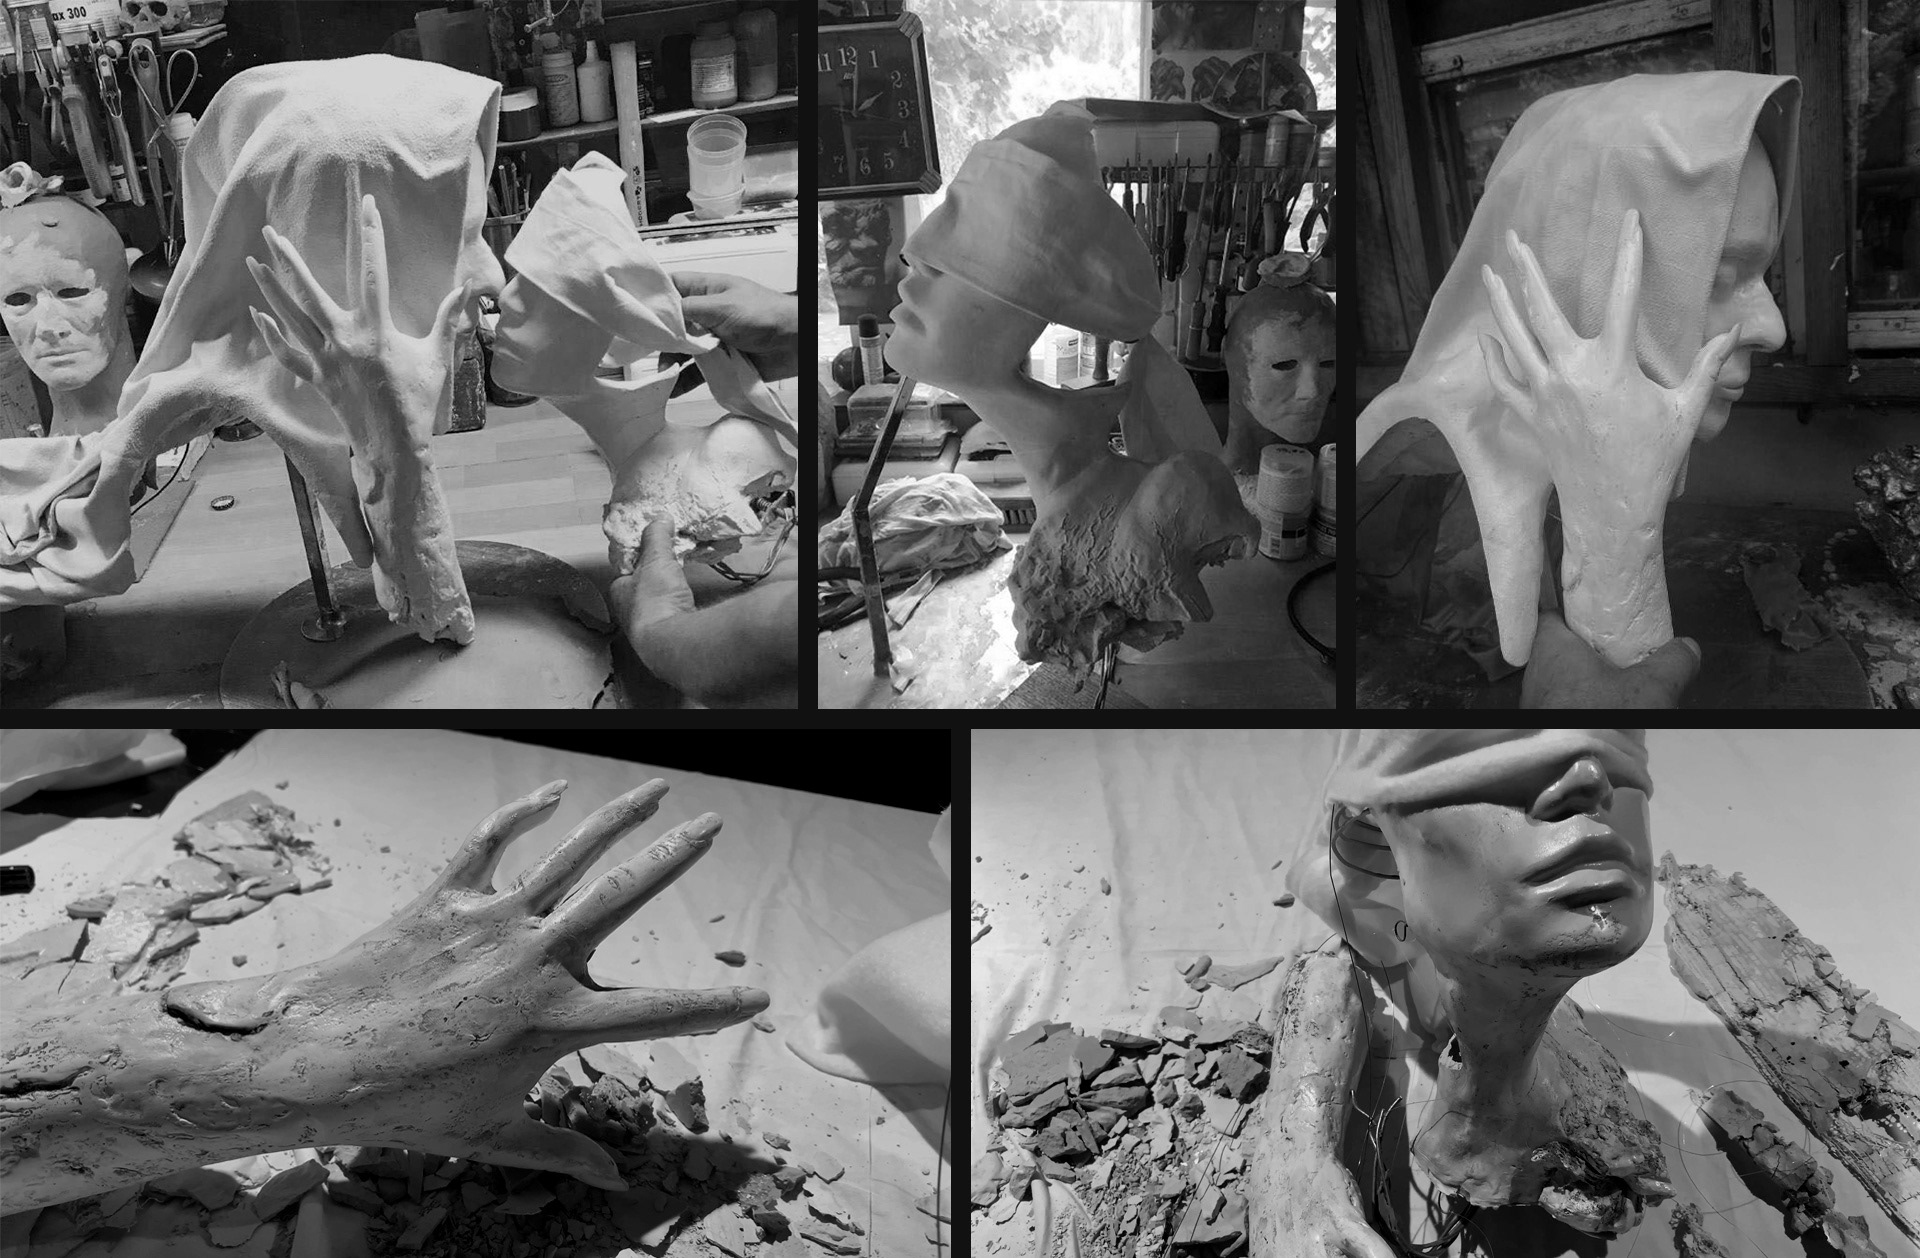
The studio's recent project for the Australian indie-pop band, Sheppard, makes a solid case for the technique. The project, in which Ars Thanea designed a cover for the band's new album, "Die Young," involved a combination of 2D design, clay sculpture, photography and post-production. Inspired by a scene from the band's music video, the resulting image is full of emotion, movement and mystery.

Ars Thanea's cover design for the Sheppard album, "Die Young" was made with real clay sculptures.

To create the image, the team started with a 2D concept to visualize the scene. With the help of sculptor Cezary Kostrzewski, their vision soon materialized as real clay sculptures. The studio then worked with photographer Szymon Swietochowski to capture the live scene, and finally took it into post-production for finishing touches.

“In ‘Die Young,’ we really wanted to achieve the most realistic effect possible,” said Piotr Jaworowski, founding partner and executive creative director at Ars Thanea. “The handcrafted sculpture is imperfect, which makes it more real, more human.”

Today, 3D tools and techniques allow such incredible detail and texture, we can study an image under a magnifying glass and still feel unsure whether it’s a photo or a graphic. When you can create any visual you imagine with no more resources than a mouse and a design program or two, why do it any differently?

Well, for one, because it’s fun.

“The truth is that in most cases we are able to achieve the desired effect with both methods, but the analog gives us, above all, the opportunity to interact with a real object,” said Jaworowski. “We can touch it and we can feel it – something that seems so obvious and ordinary, yet in the digital world, it is completely inaccessible.”

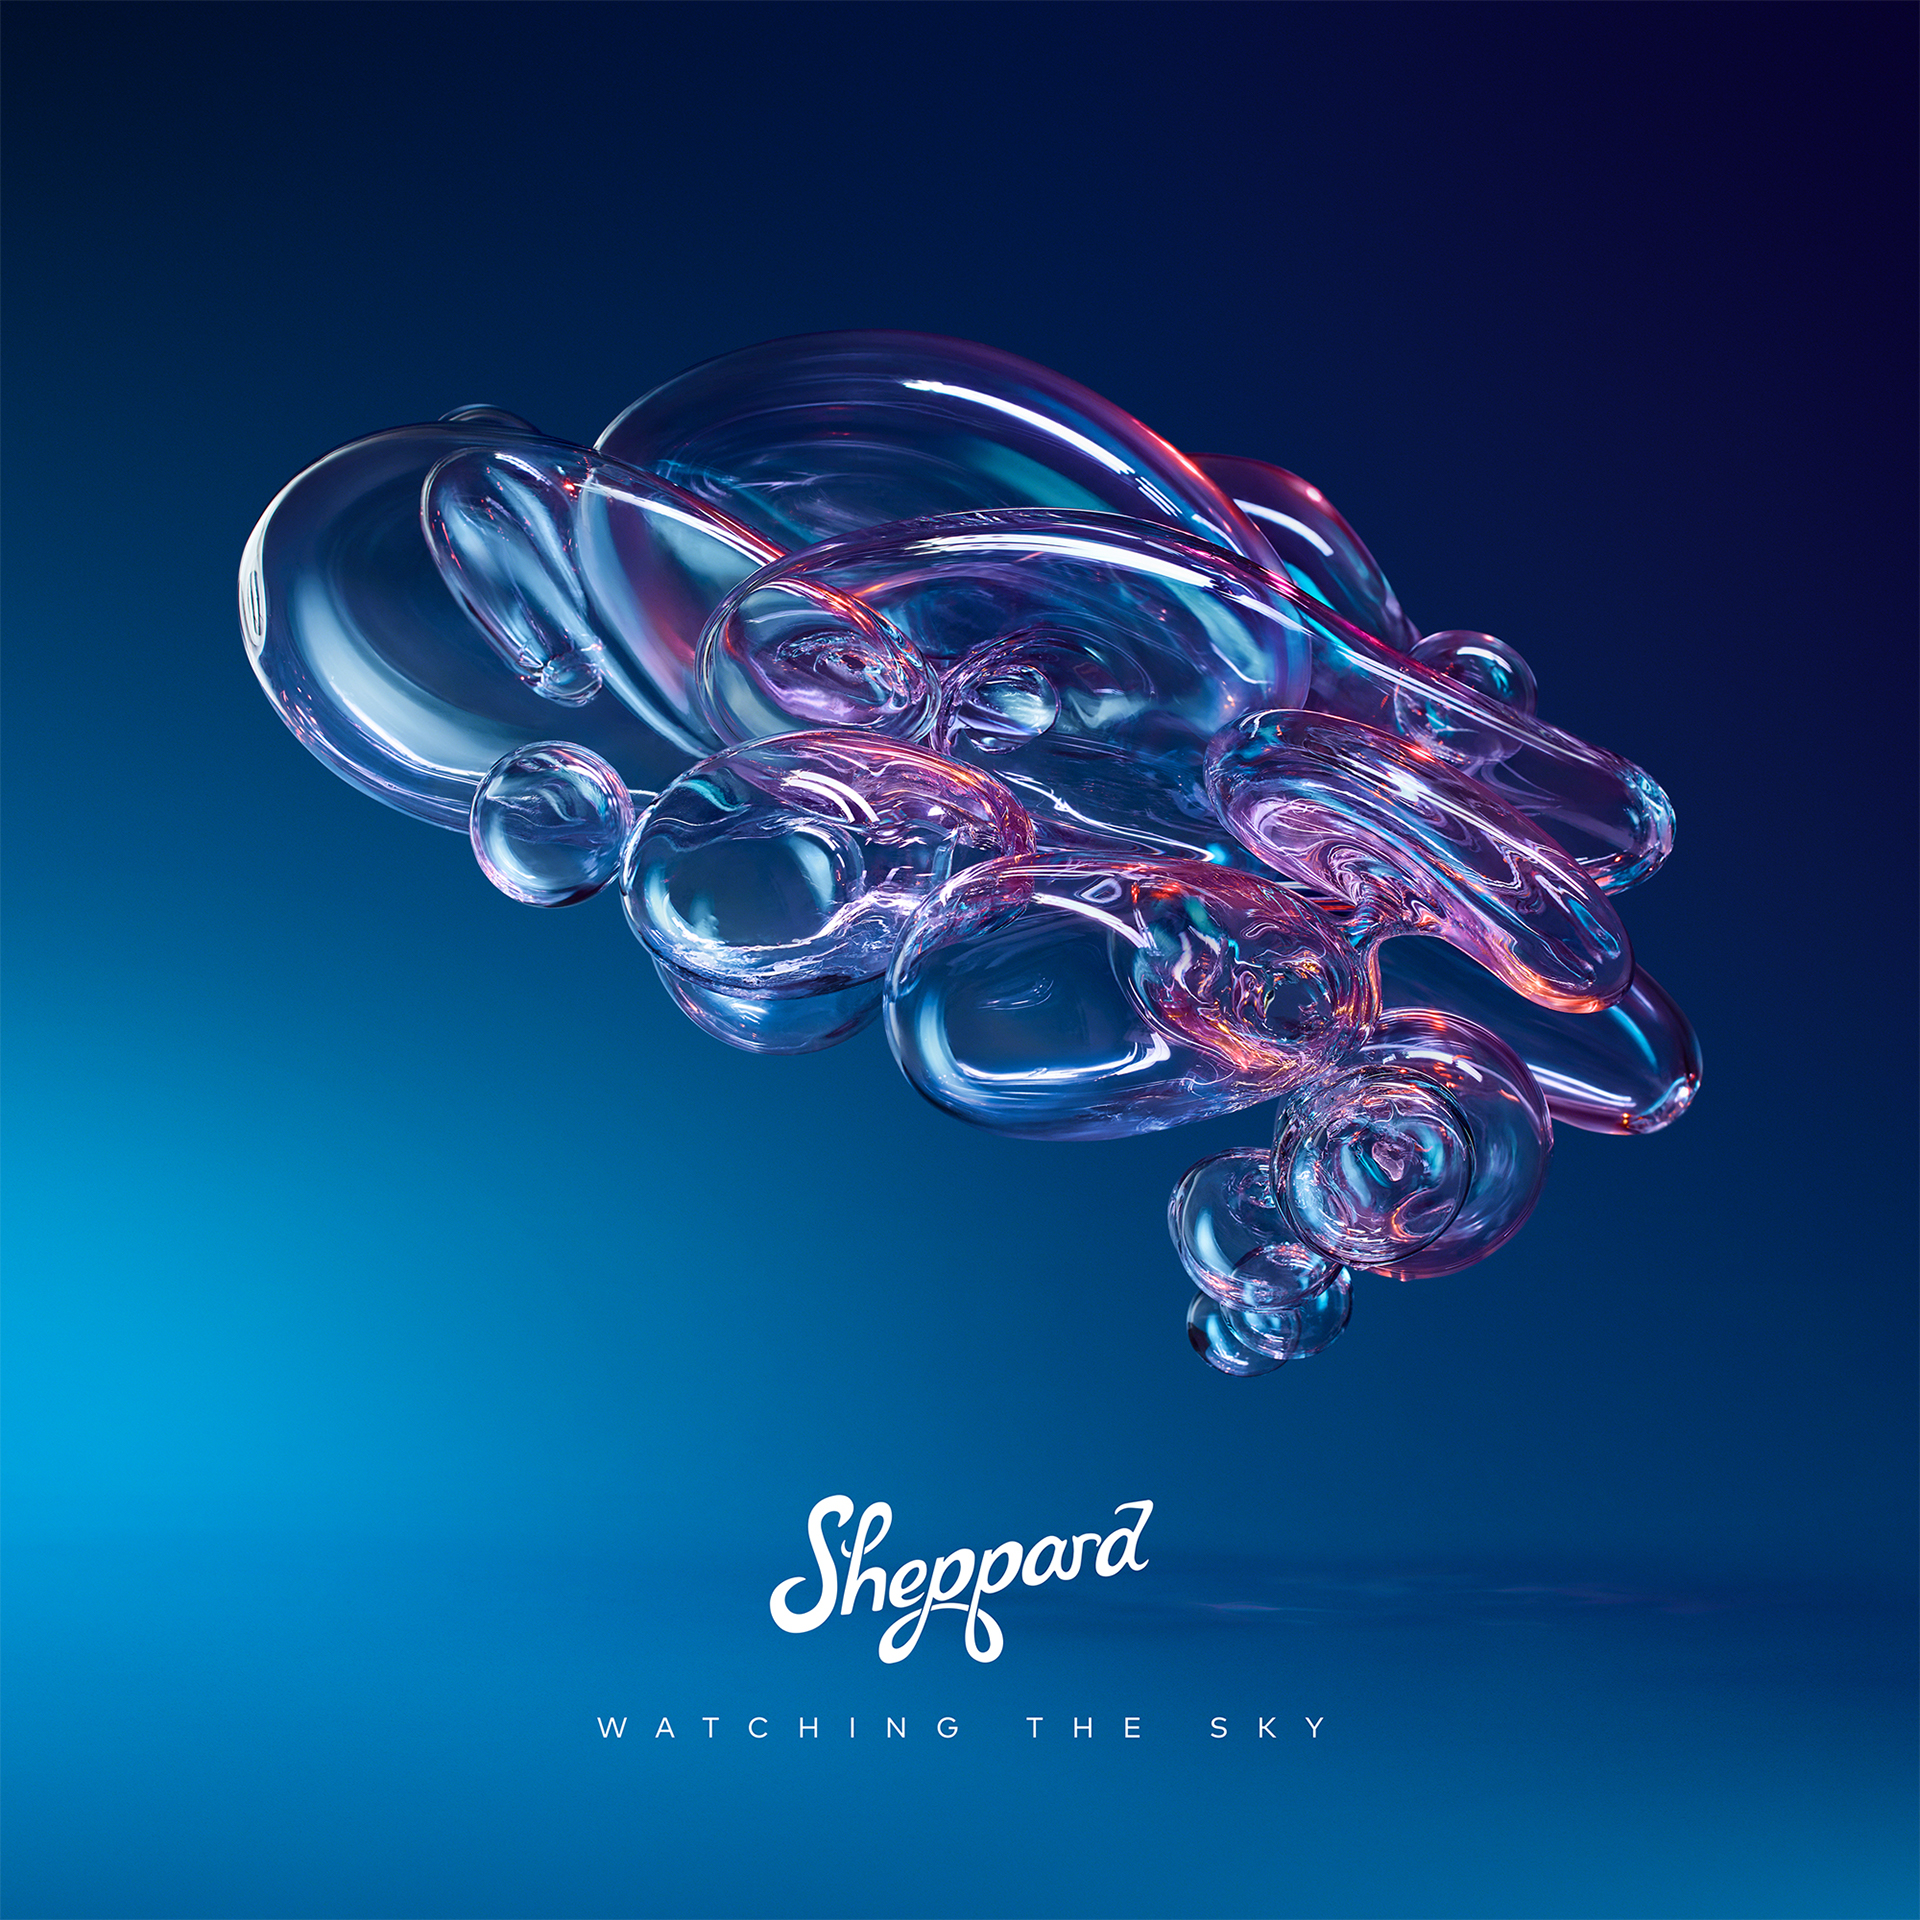
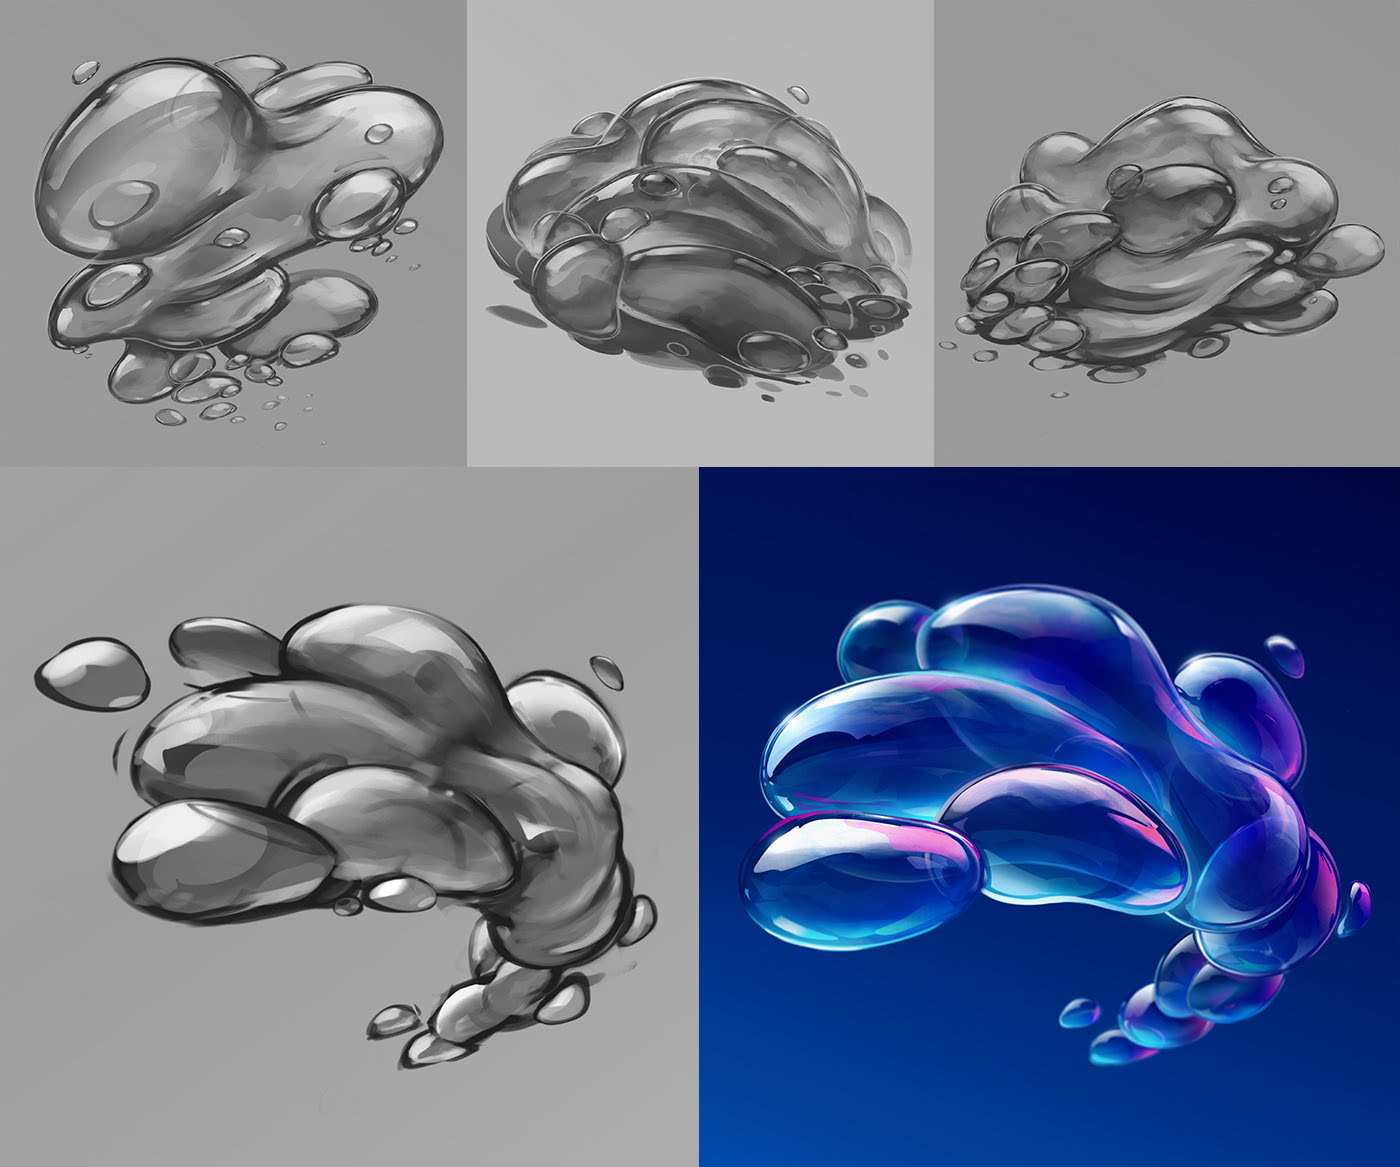
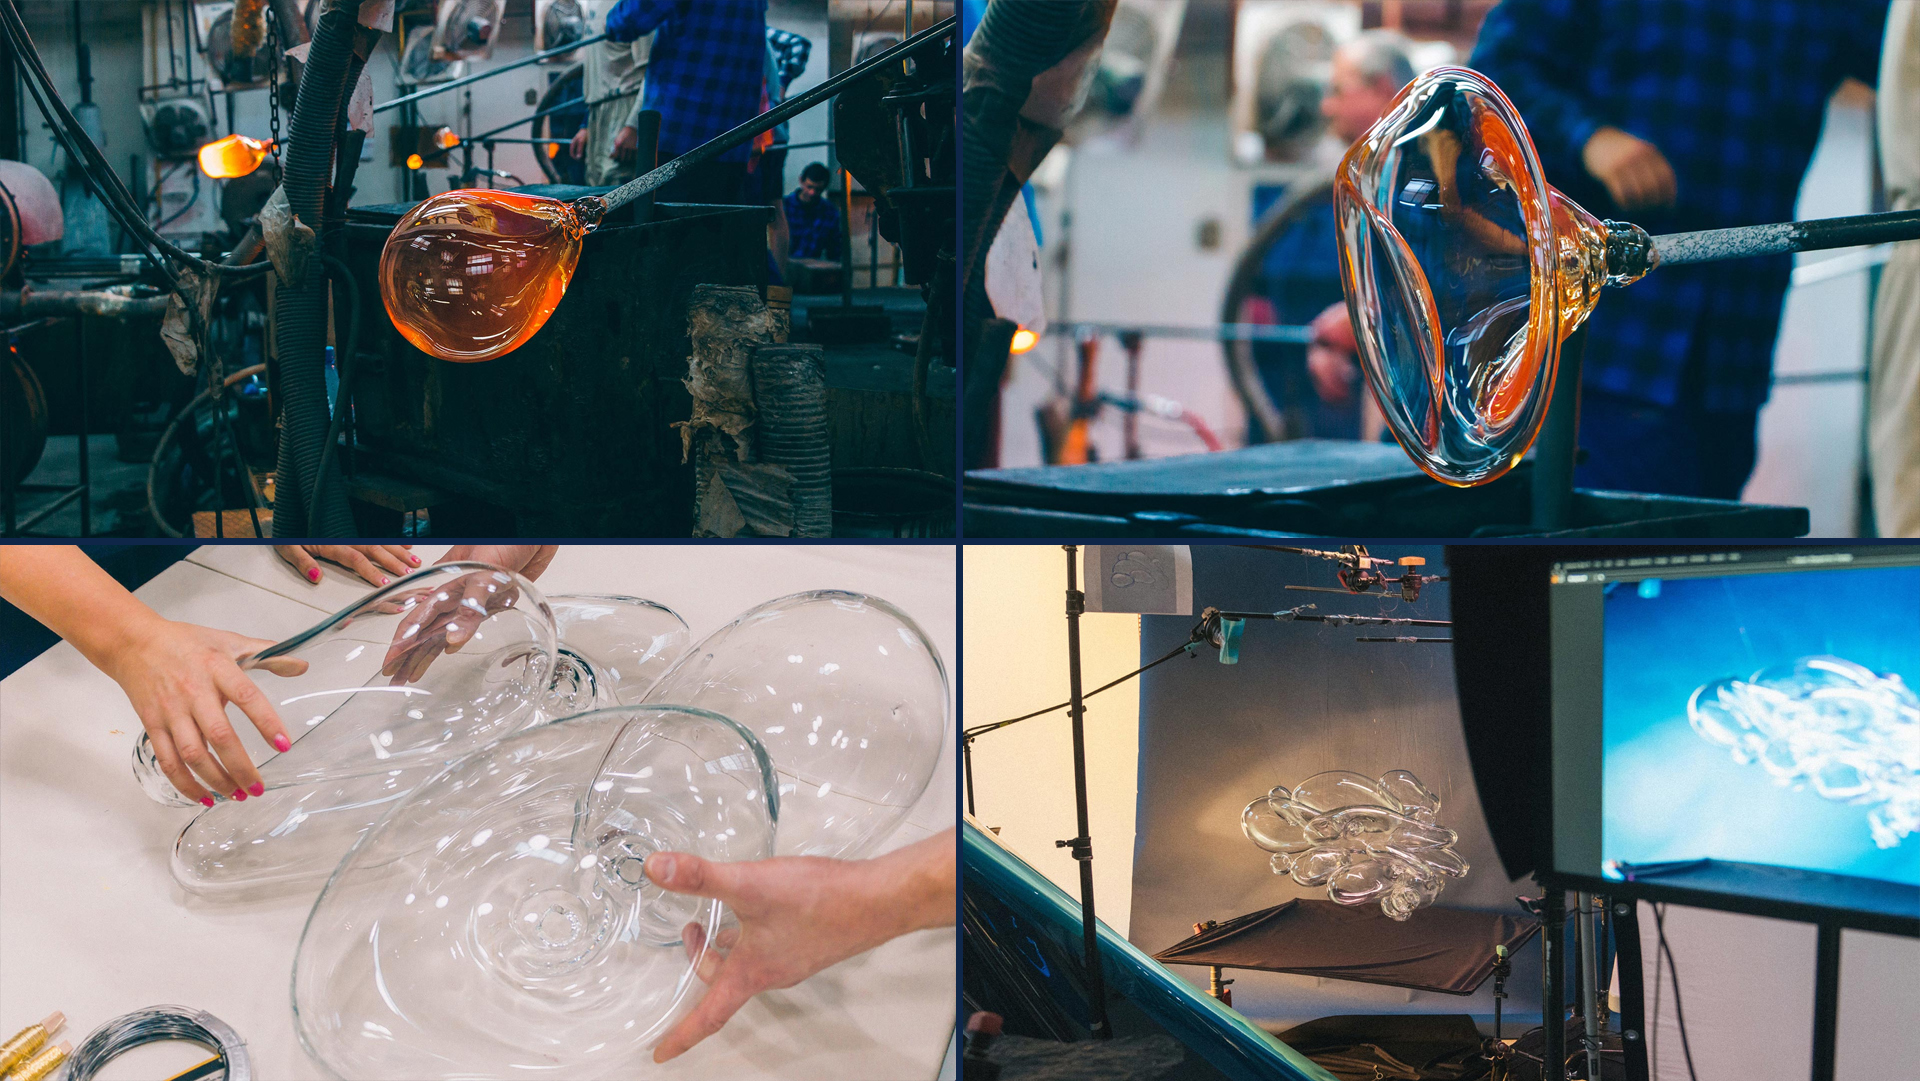
Another Ars Thanea project for Sheppard. For the cover of the album, "Watching the Sky," the studio blew several dozen glass bubbles to create a real glass cloud sculpture.

Working with analog materials is also a way for the studio to experiment and grow their capabilities.

“Thanks to such artistic projects we learn a lot and test various methods and techniques, which we later use in other commercial jobs. The unexpected always happens here,” said Jaworowski. “You have to challenge yourself to get exactly what you wanted. It's much more demanding, but at the same time extremely rewarding.”

"If you don't challenge yourself to do new things and only keep on working in techniques you already know, you'll be doing the same projects all your life."

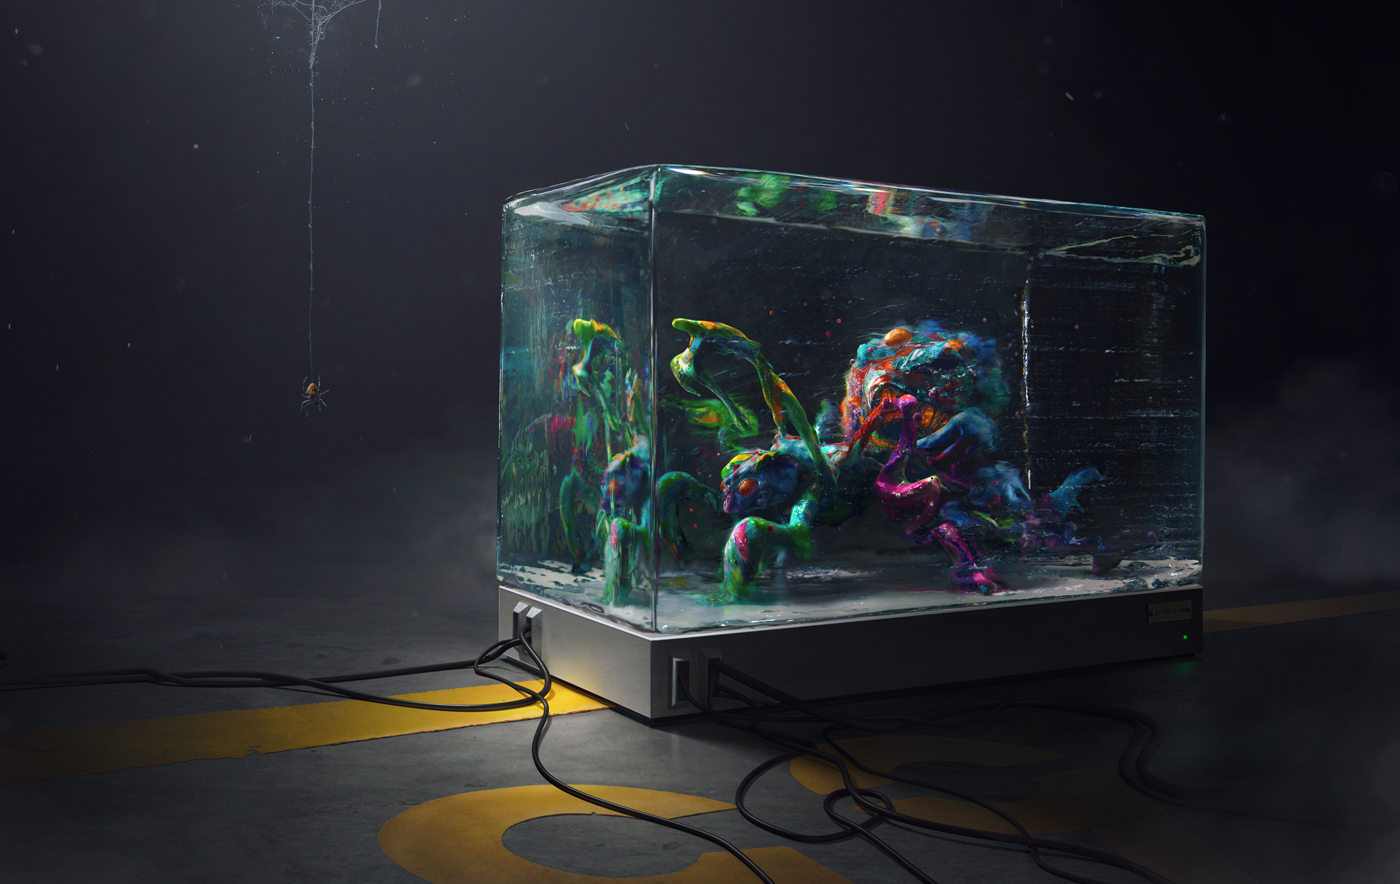
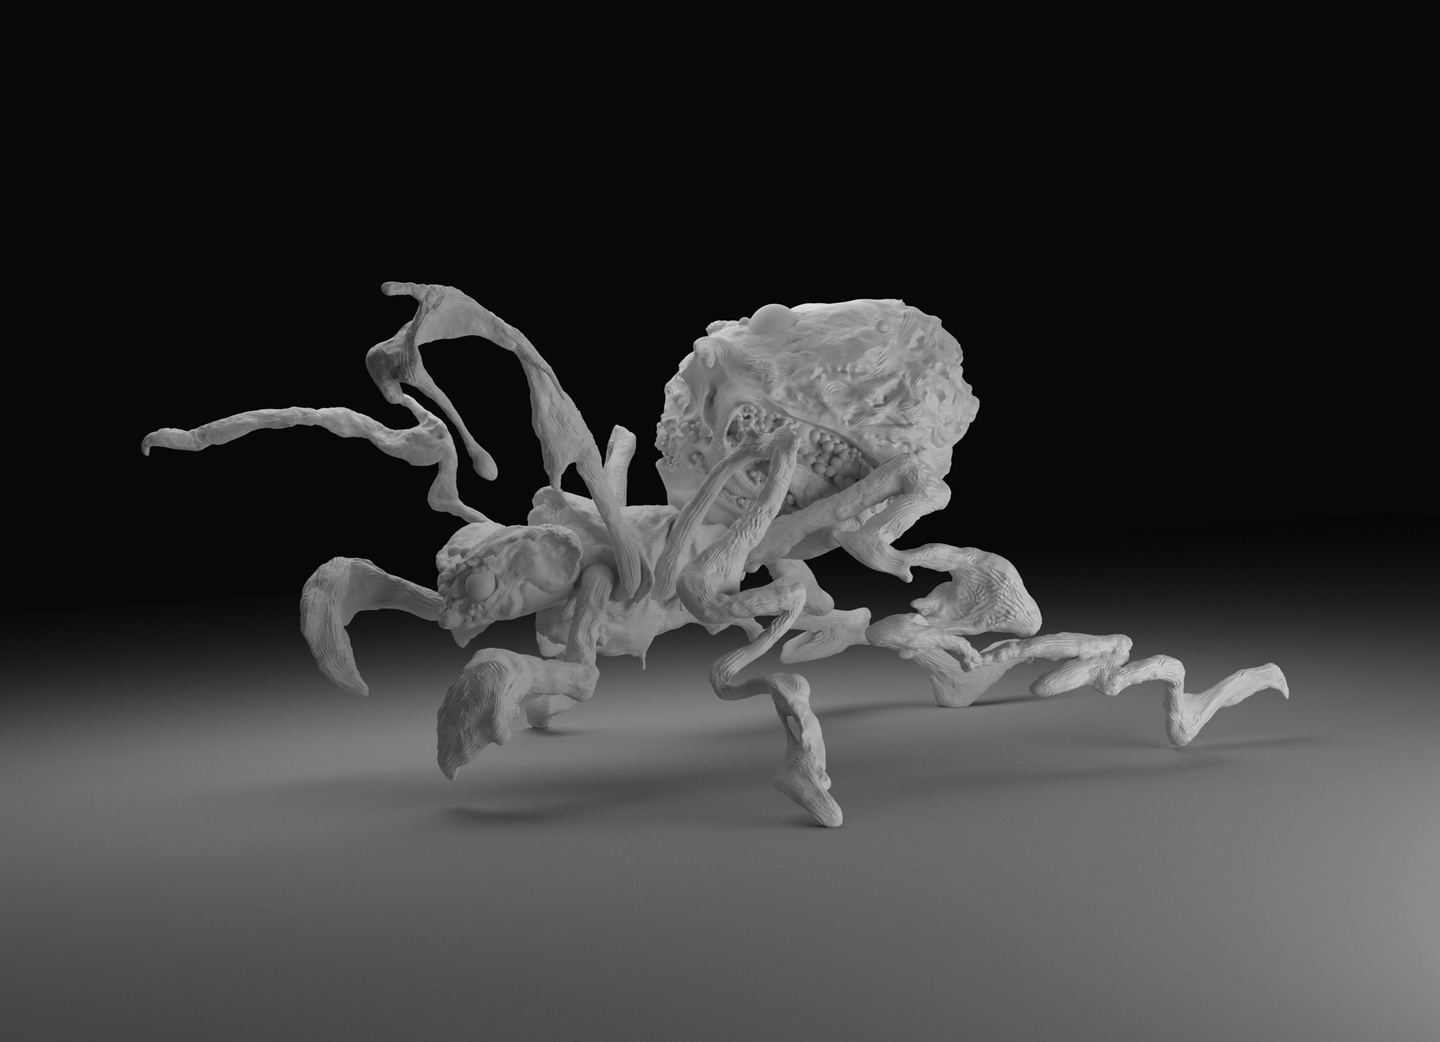
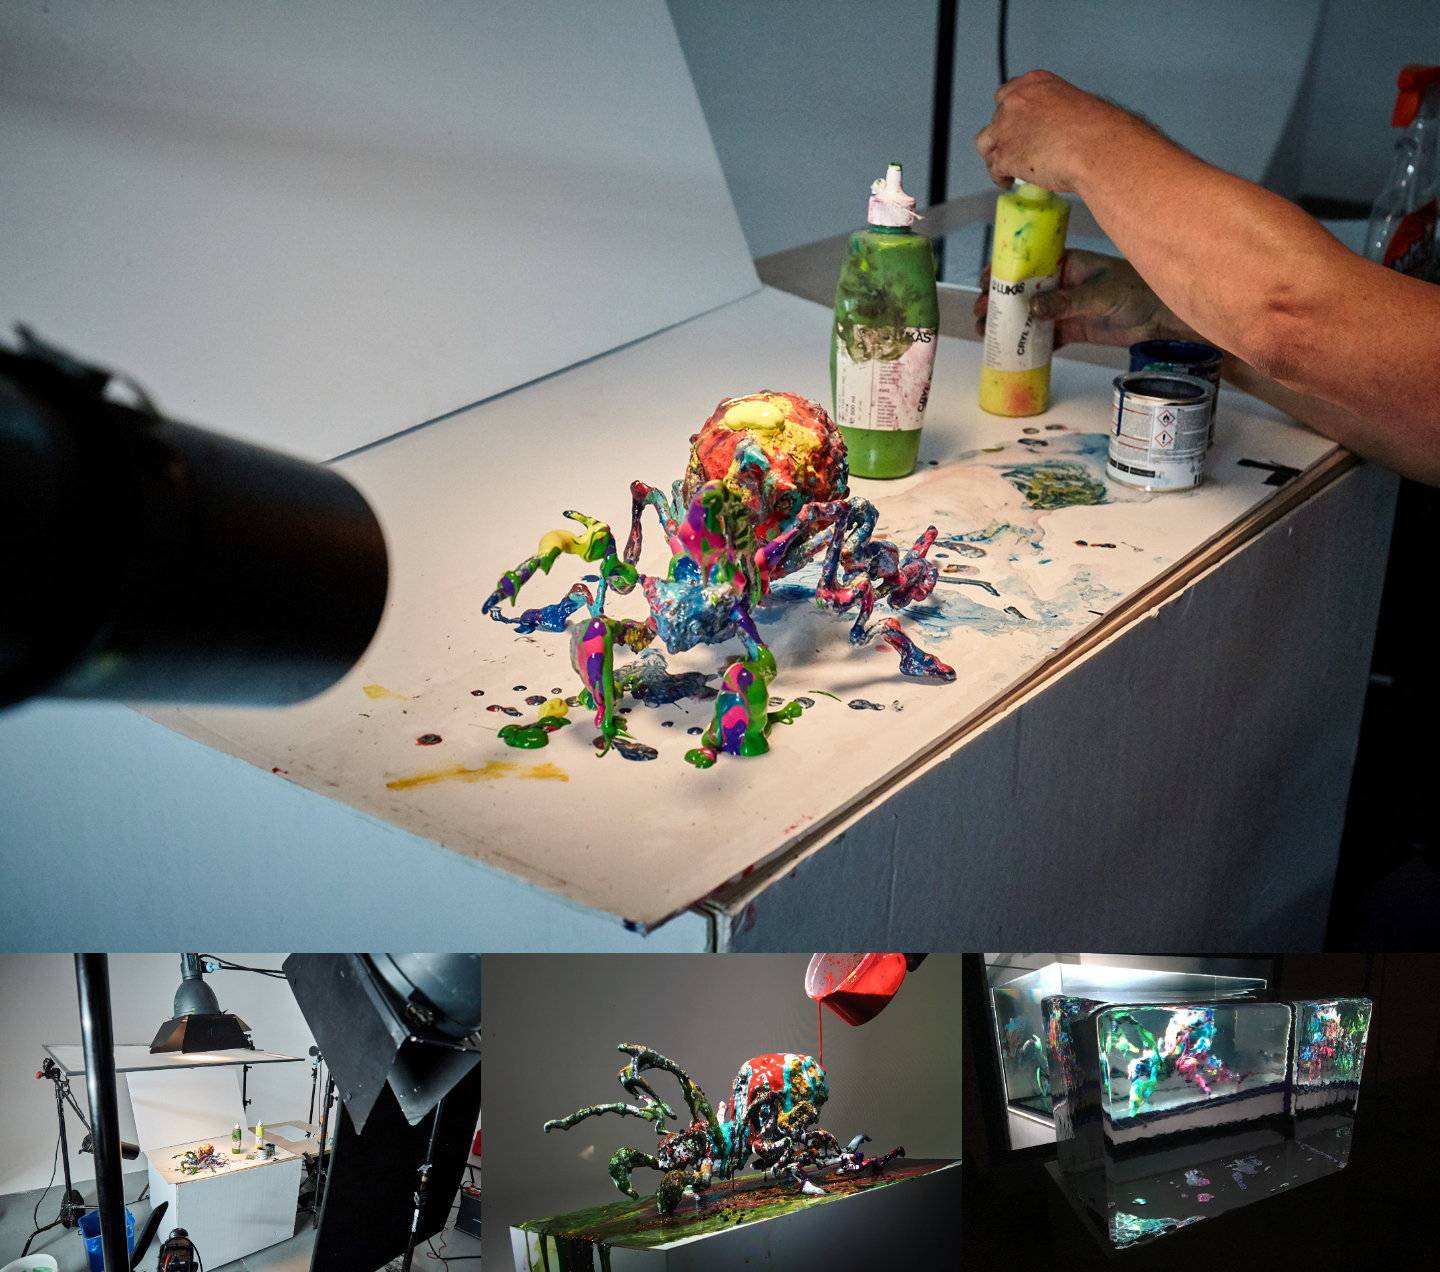
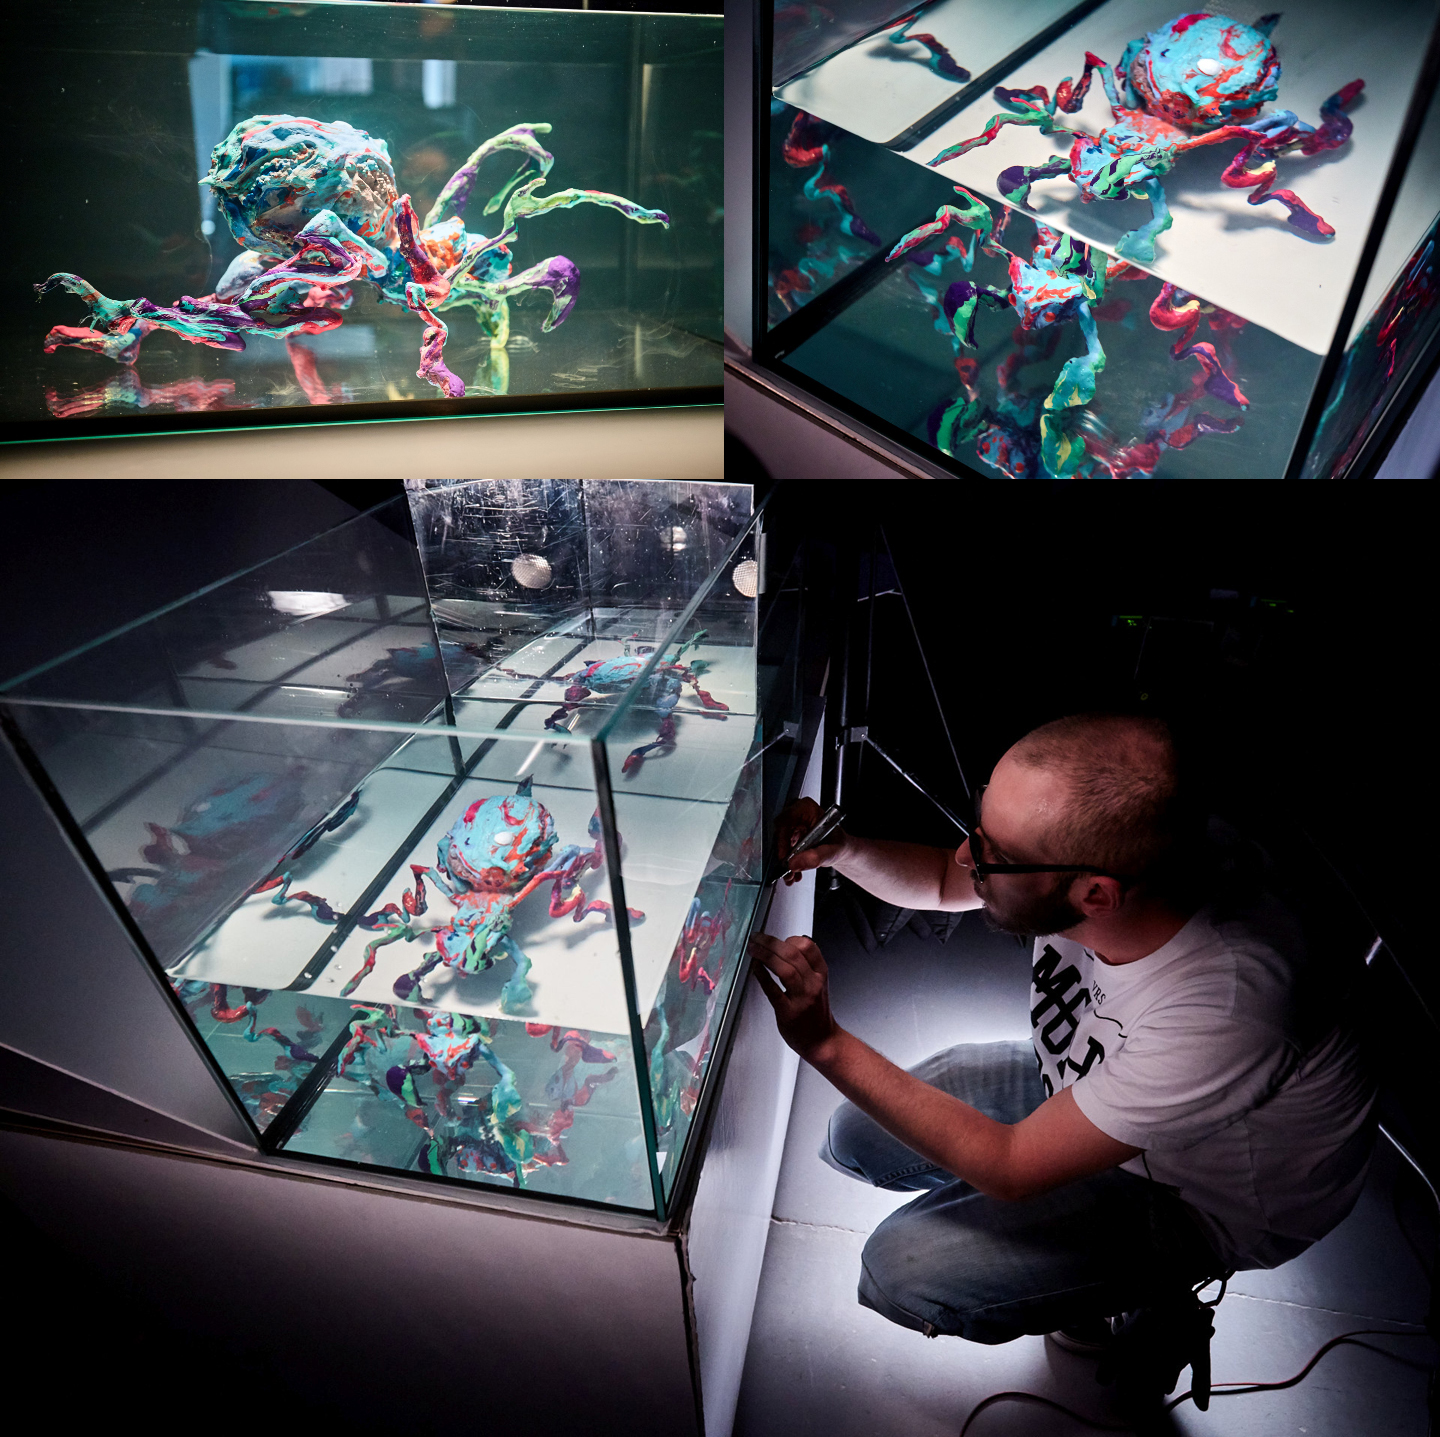
Another Ars Thanea creation, titled “MOM?!”, features a hand-sculpted cube of ice with a digitally enhanced spider inside. The blend of methods led to an image so visually surreal, it’s hard to know where digital ends and analog begins.

In this case, the creative vision began with the method itself.

“This is a perfect example of a project that was born out of… the need to experiment and to explore unknown territories,” said Jaworowski. “We really wanted to check how we would work with 3D printing and we were wondering how the physical object would be transferred to digital. Unlike the standard creative process, we first chose a method and only then came up with an object that we would show – so ‘how’ was prior to ‘what.’”

In mixing analog with digital, Ars Thanea not only pushes the boundaries of their work, but reinvents it.

“If you don't challenge yourself to do new things and only keep on working in techniques you already know, you'll be doing the same projects all your life,” Jaworowski said. “I think that there is an inner need for a quest, and maybe this is the drive of our desire to reach for something new.”

October 22, 2019No Comments

The unexpected addition to our creative workflow

In case you can't tell from our recent articles, we're big fans of the Adobe Dimension. We're constantly finding new ways to use it, for work and for pure fun. Now, paired with a couple familiar tools, we can create pretty much any 3D visual we imagine.

I first heard about Dimension when it was in early development as Project Felix. I was told I didn't need to be some fancy 3D designer with five years of experience under my belt, which turned out to be true. Right away with Dimension, I was creating the type of 3D work I had for years admired from afar. Since then, I've fully incorporated it into my workflow.

We previously shared a tutorial for using Adobe Dimension to convert 2D illustrations into 3D, which is a great place to start if you're new to 3D design. We also wrote about how to create photorealistic visuals with Dimension, from prototypes to packaging. But we haven't shared yet exactly where Dimension and other tools come into play throughout that process. While I do use Dimension on its own to create some pretty incredible stuff, the possibilities are even greater when paired up with other tools.

Where Dimension fits into our workflow

The word is still getting around about Dimension as Adobe keeps making it better and better. (I also suspect it's one of those tools you want to keep to yourself, it's so good.) So first, to clear it up for those just starting out with the tool, let's talk about what Dimension does and doesn't do.

Adobe Dimension allows you to take 3D objects and put them into beautifully lit, photorealistic three-dimensional scenes, without any technical knowledge. It allows you to assign real-world materials to your 3D objects, set your own camera angles and positions. Your 3D scene (with lighting, texture, background, angle etc.) is the most important aspect of great 3D design, so the fact that Dimension makes it so easy and accessible is huge.

Dimension is not currently a 3D modeling tool so you won't use it to make your 3D shapes, but Adobe plans to expand this in the future. In the meantime, Dimension comes shipped with an array of pre-made 3D objects you can use to create your 3D scenes. It already works in tandem with other Adobe file formats and programs, which was another plus for us.

We use Dimension tandem with Illustrator, Photoshop, Cinema4D and Figma to create quick mockups, product designs and artwork.  It also works seamlessly with InDesign and XD, so you can create rich images to insert into your brochures / page designs, your UX designs or wherever you need them. You can even bring your 3D visuals into AfterEffects and animate them (I can't wait to experiment with this), or embed 360 views on your portfolio site.

Our design team has experience with everything from illustration to UX to print design, but hadn't touched 3D design before Dimension. Now, using Dimension on its own and with other tools, our brand and our work has expanded in new directions.

Enhancing our brand and product imagery

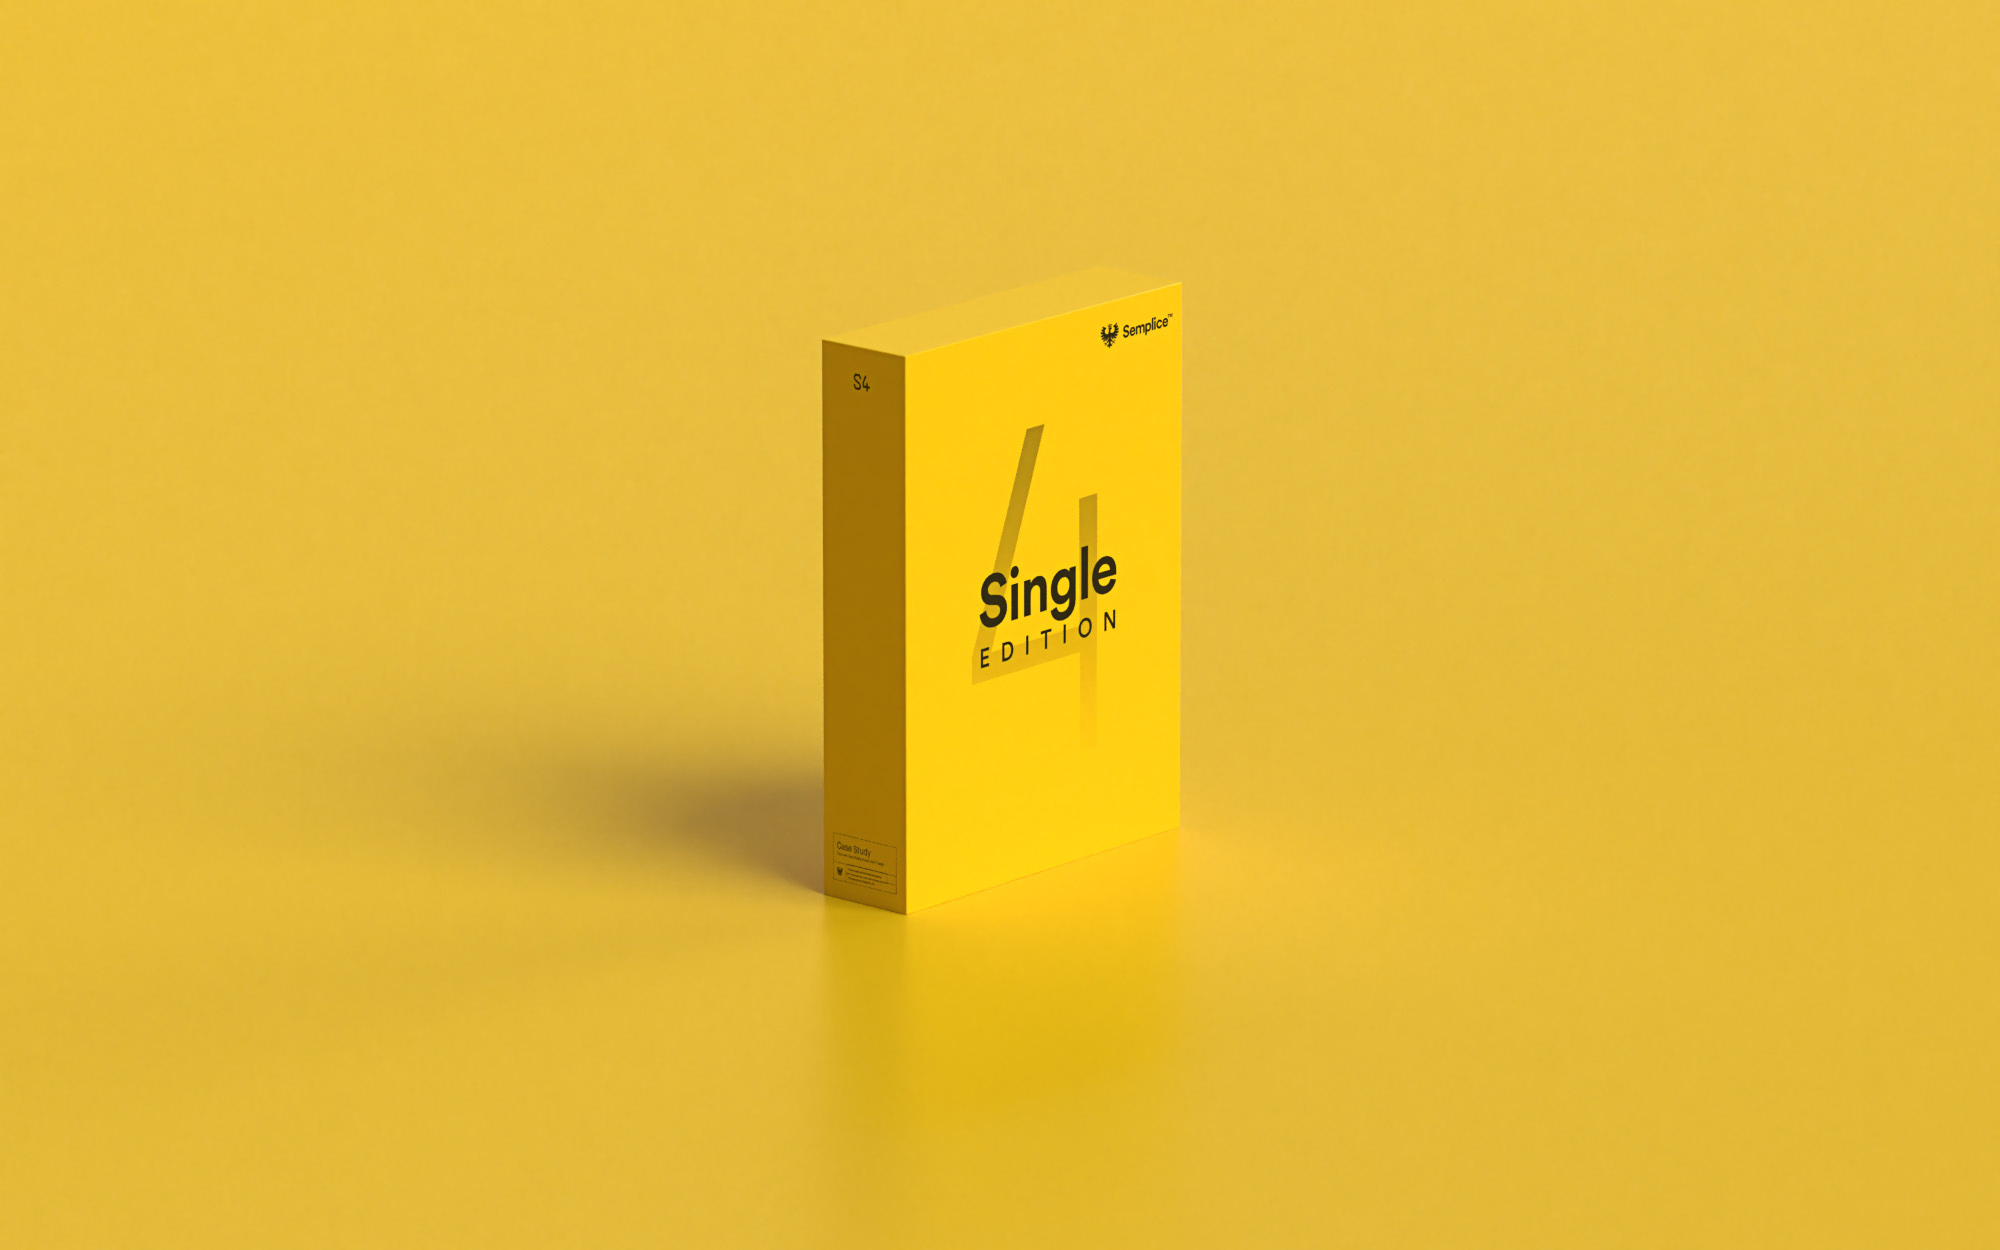
Most often, we use Dimension for simple product rendering of Semplice products. If you're not familiar already, Semplice is a WordPress-based portfolio tool for creatives. It's a digital tool, but we like to show real-world packaging as it makes Semplice feel more tangible, like a product you can hold in your hands. With Dimension, we create beautiful 3D visuals that elevate Semplice in all of its digital spaces.

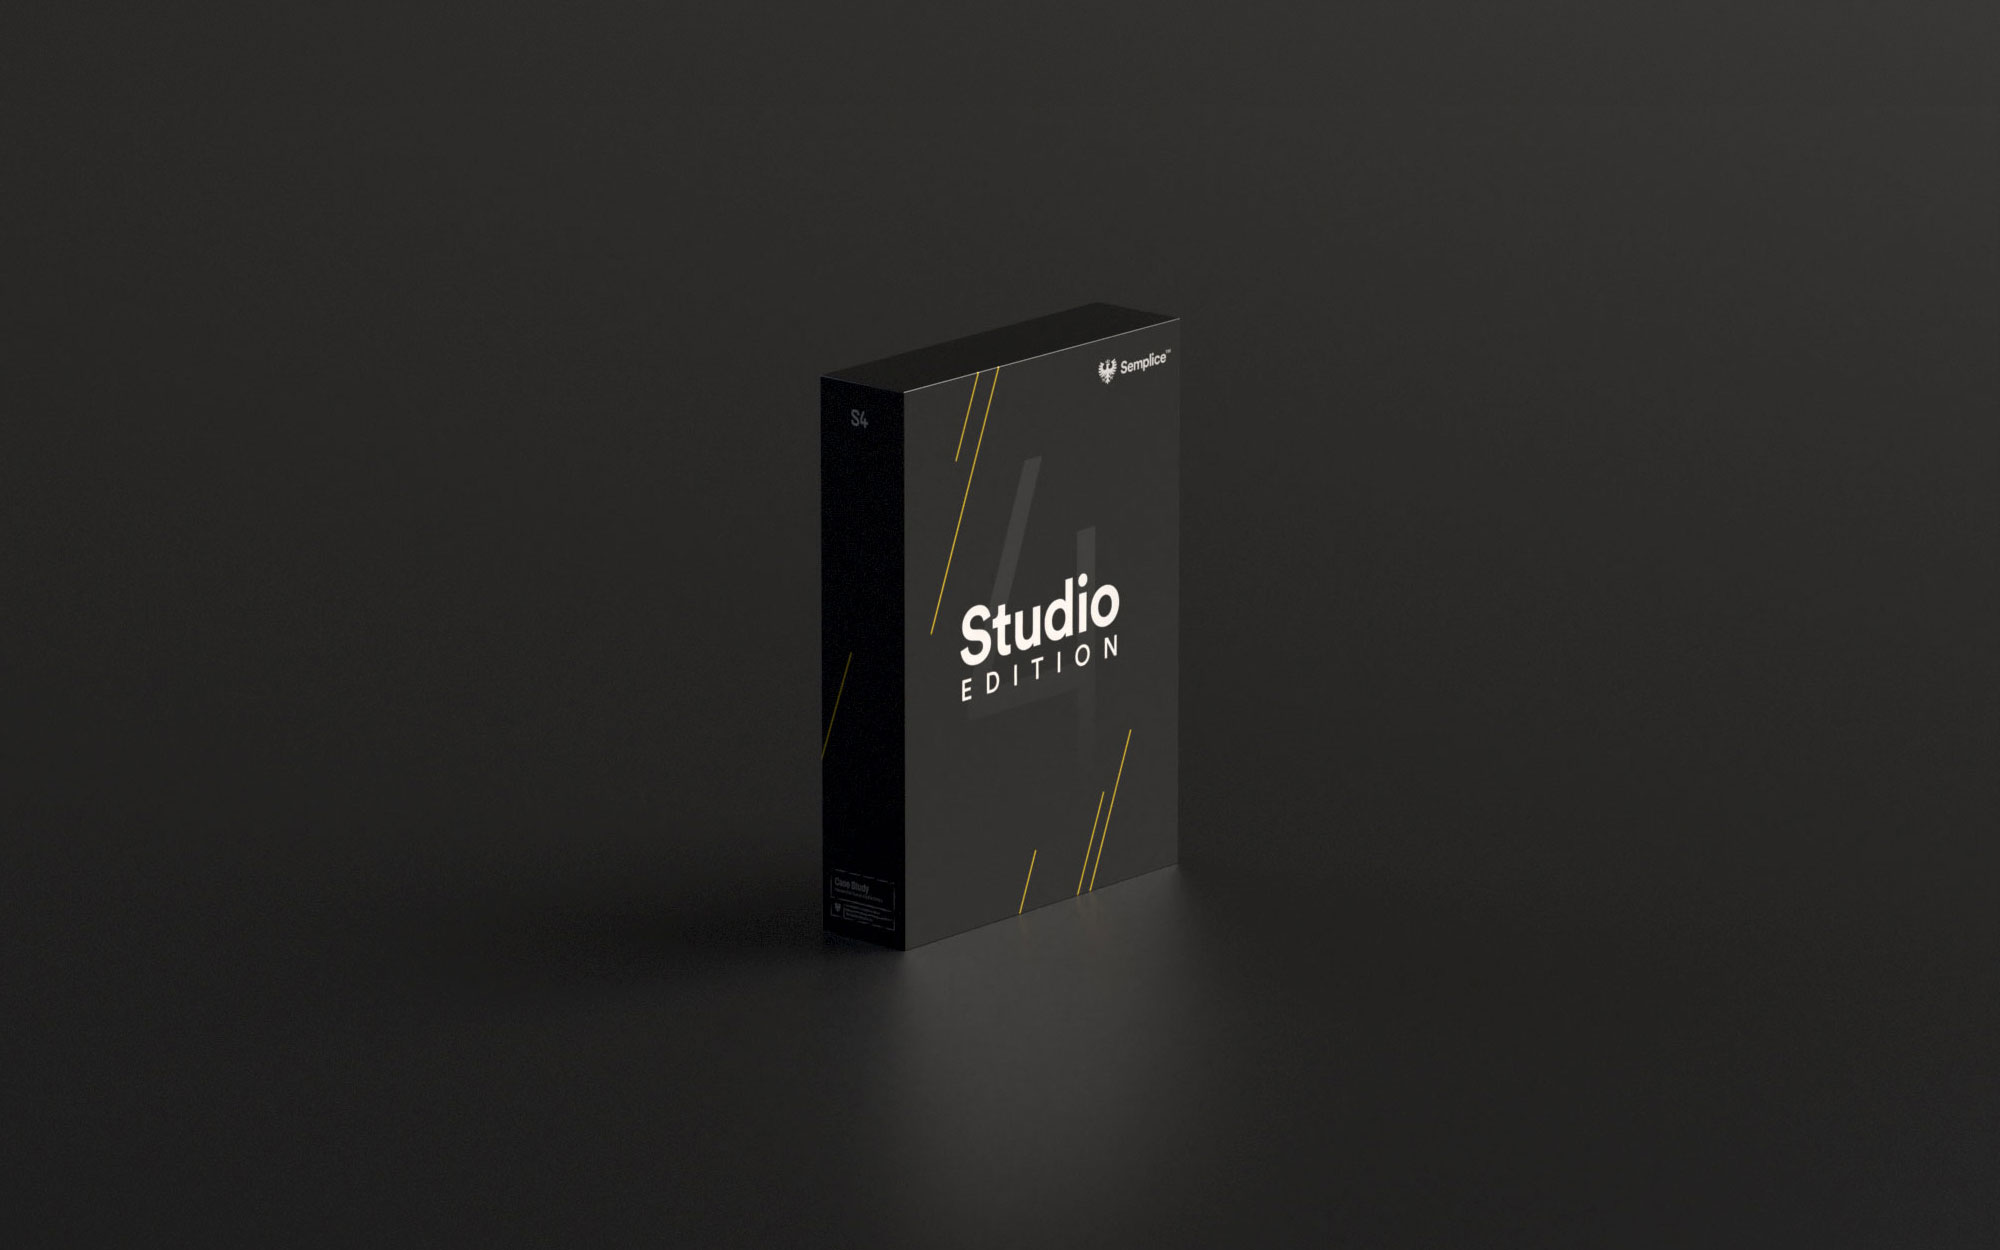
A 3D rendering of our Semplice box art, made with Adobe Dimension

3D renderingS of our Semplice box art, made with Adobe Dimension

Transforming our artwork and illustrations

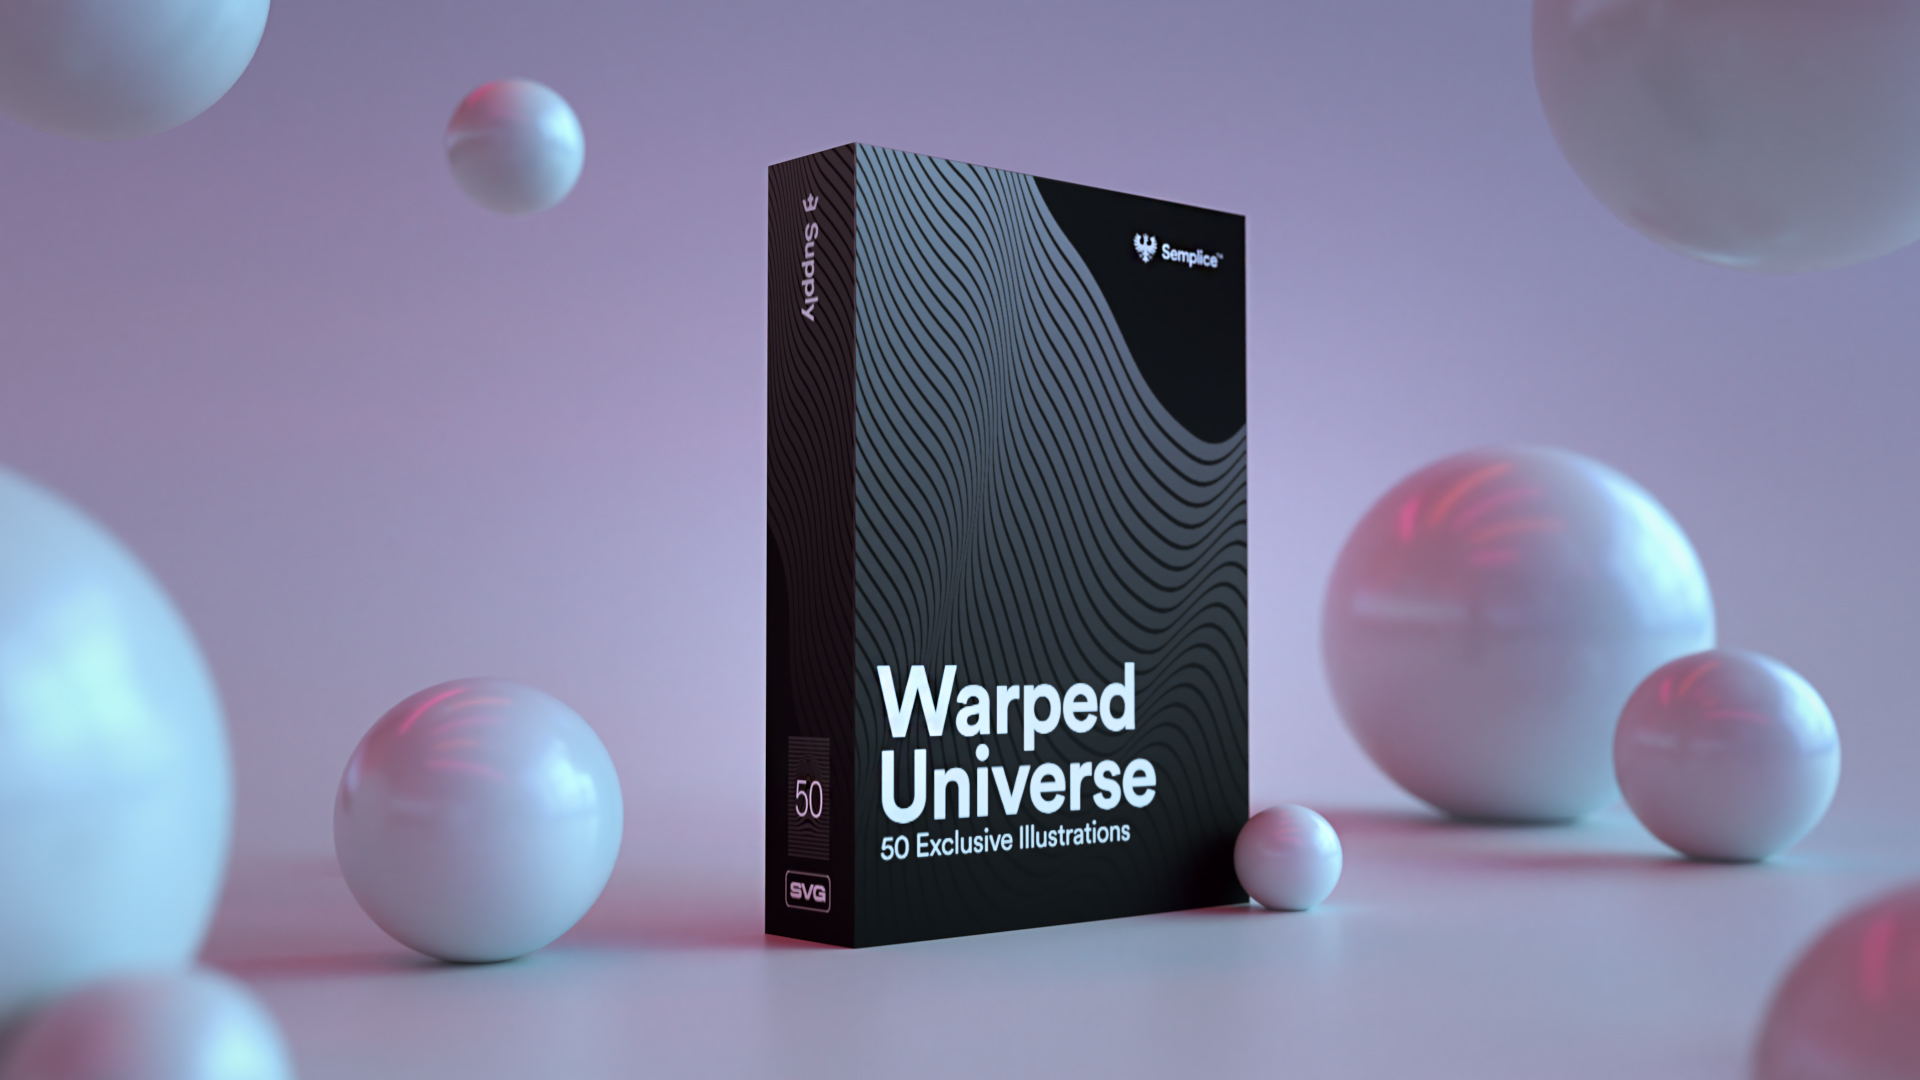
Once we became more familiar with Dimension, we started experimenting further and pushing beyond the traditional 3D mockups and prototypes. Recently, we created an illustration pack for designers called Warped Universe. The pack itself includes 2D images made in Illustrator.

Our original 2D image from Warped Universe.

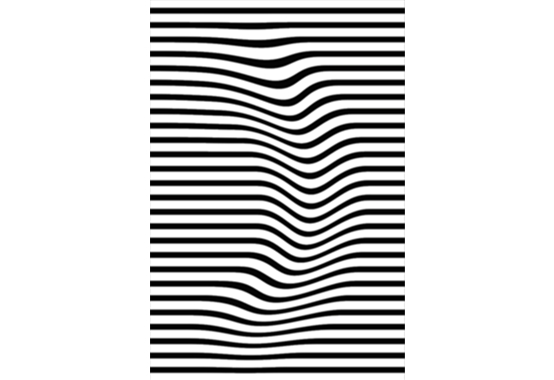
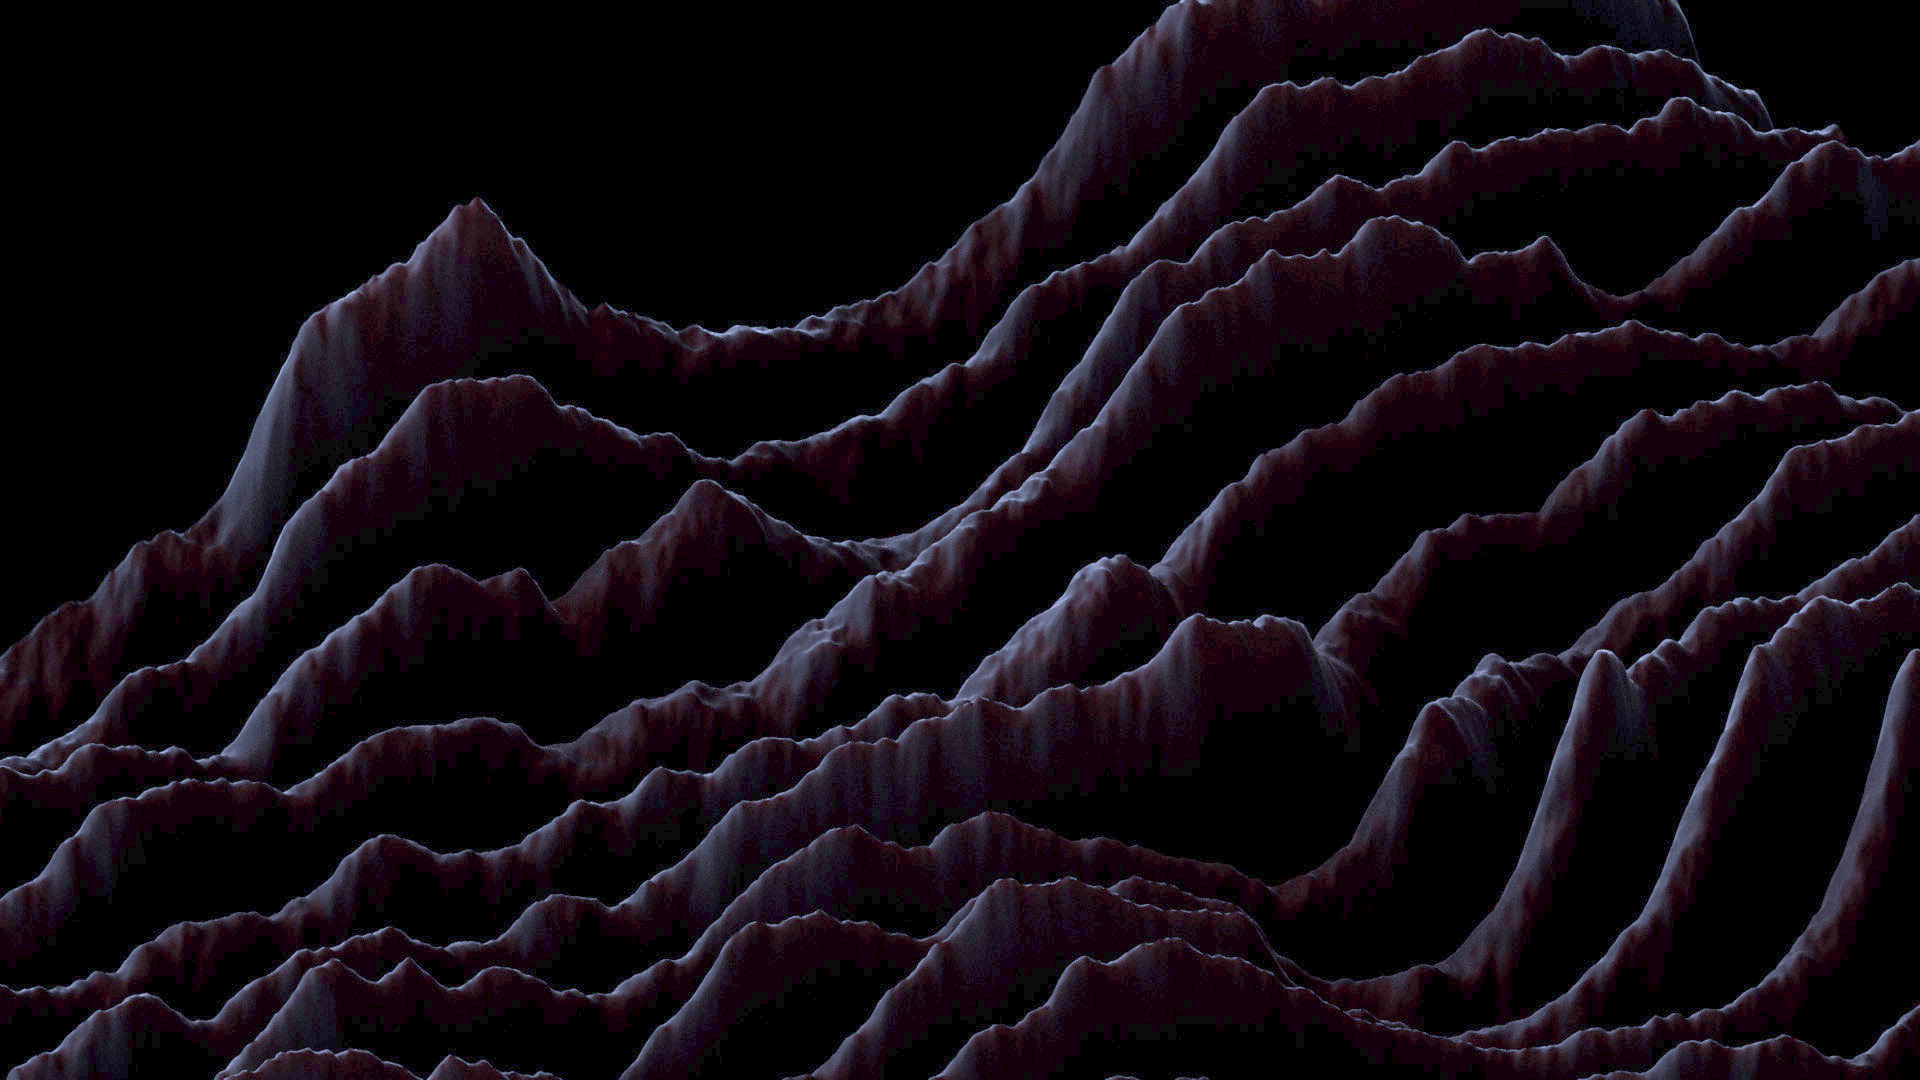
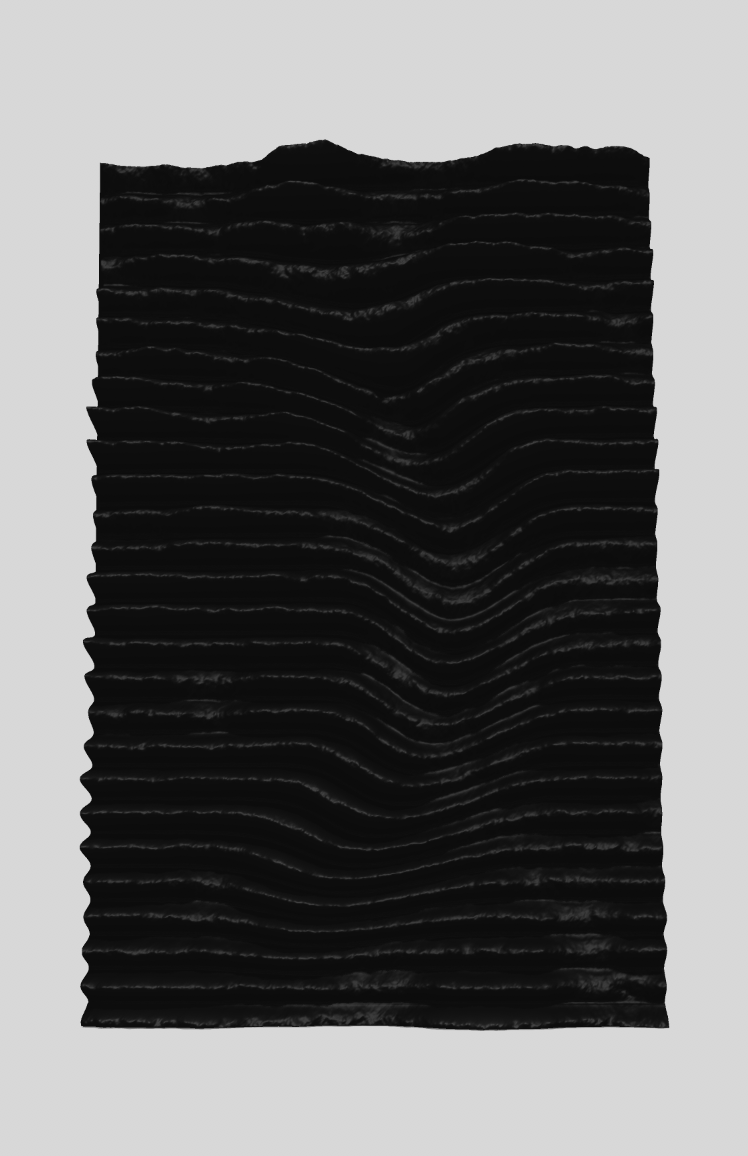
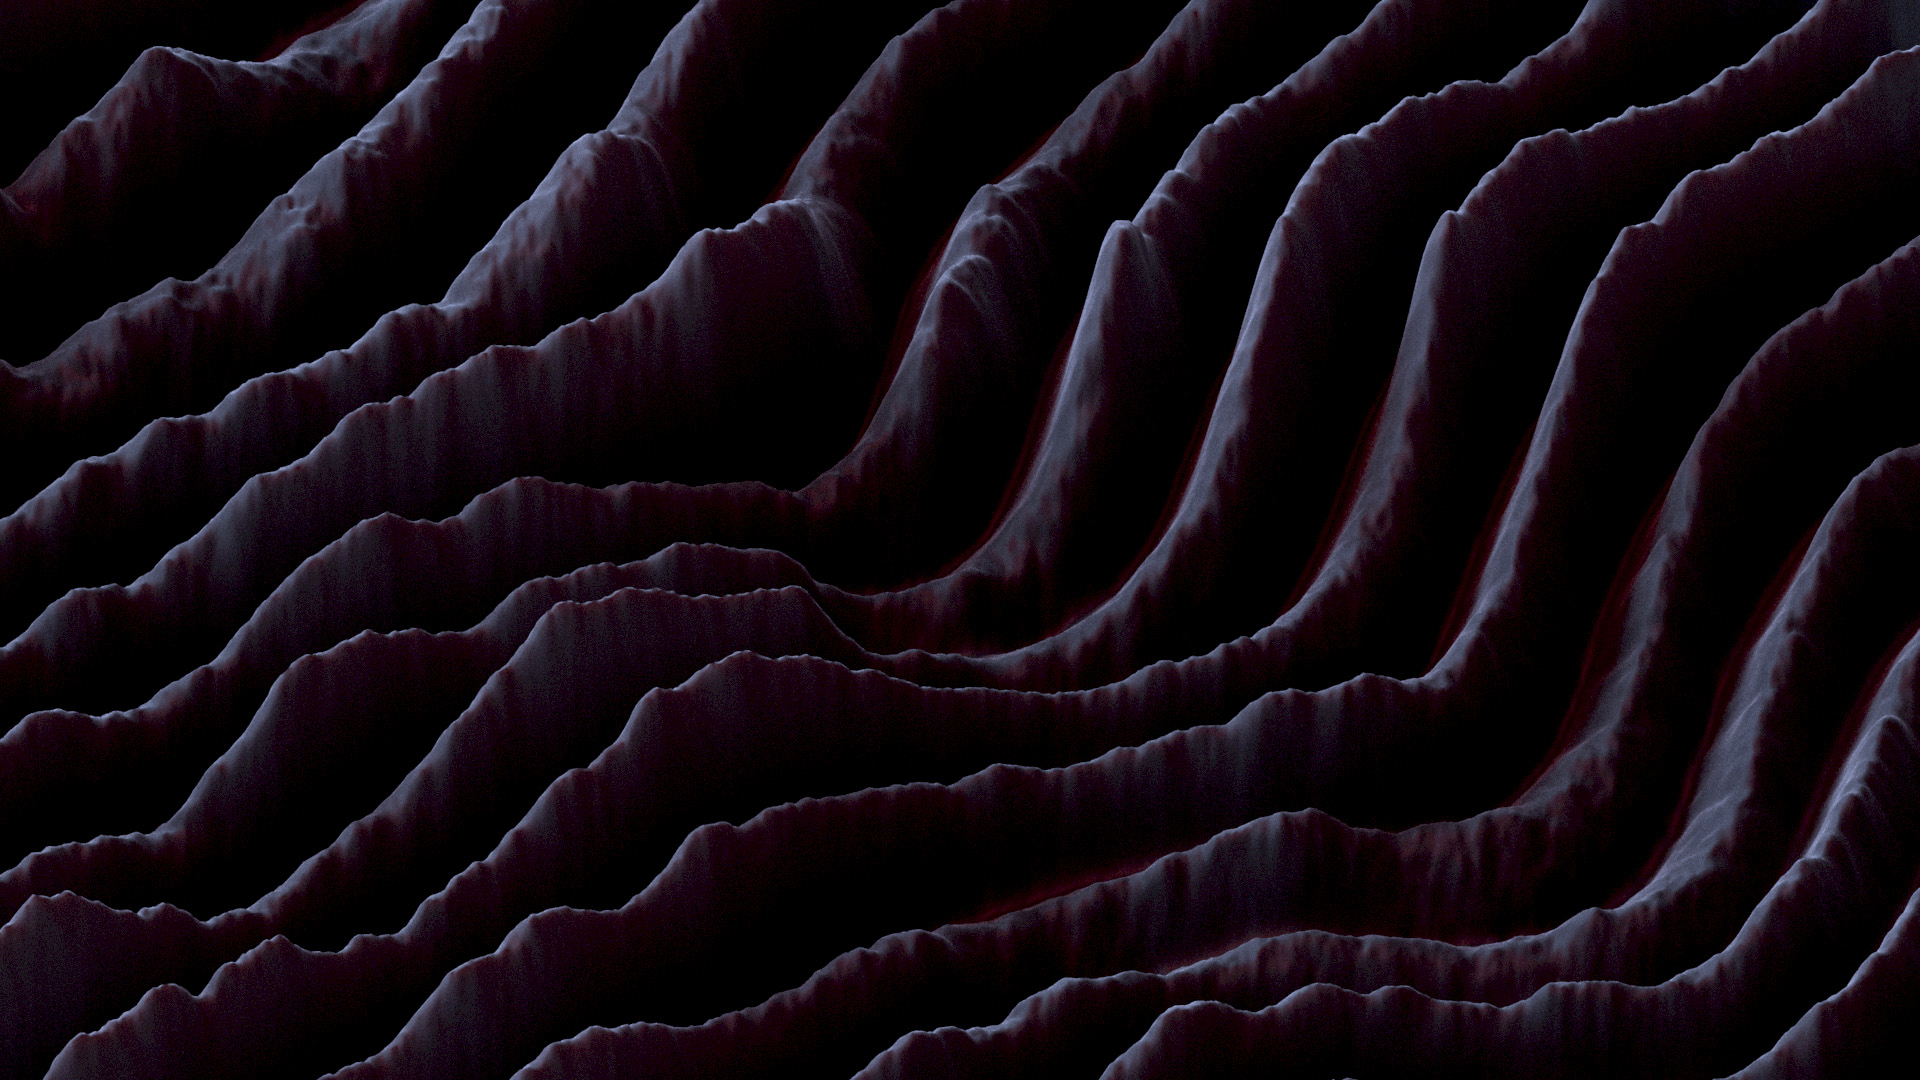
To show all the possibilities of Warped Universe, we tried transforming them into 3D. With this workflow, we convert the illustrations to 3D shapes with Photoshop or Cinema4D (depending on the illustration and intended effect). We then use Dimension to turn the illustrations into beautiful 3D landscapes. The flat lines become three-dimensional, with light, shadows and texture, transforming from a flat illustration into a topographic 3D map of some other world.

Semplice Supply Warped Universe abstract illustration rendered with Adobe Dimension

Semplice Supply Warped Universe abstract illustration rendered with Adobe Dimension

Integrating Dimension into your own workflow

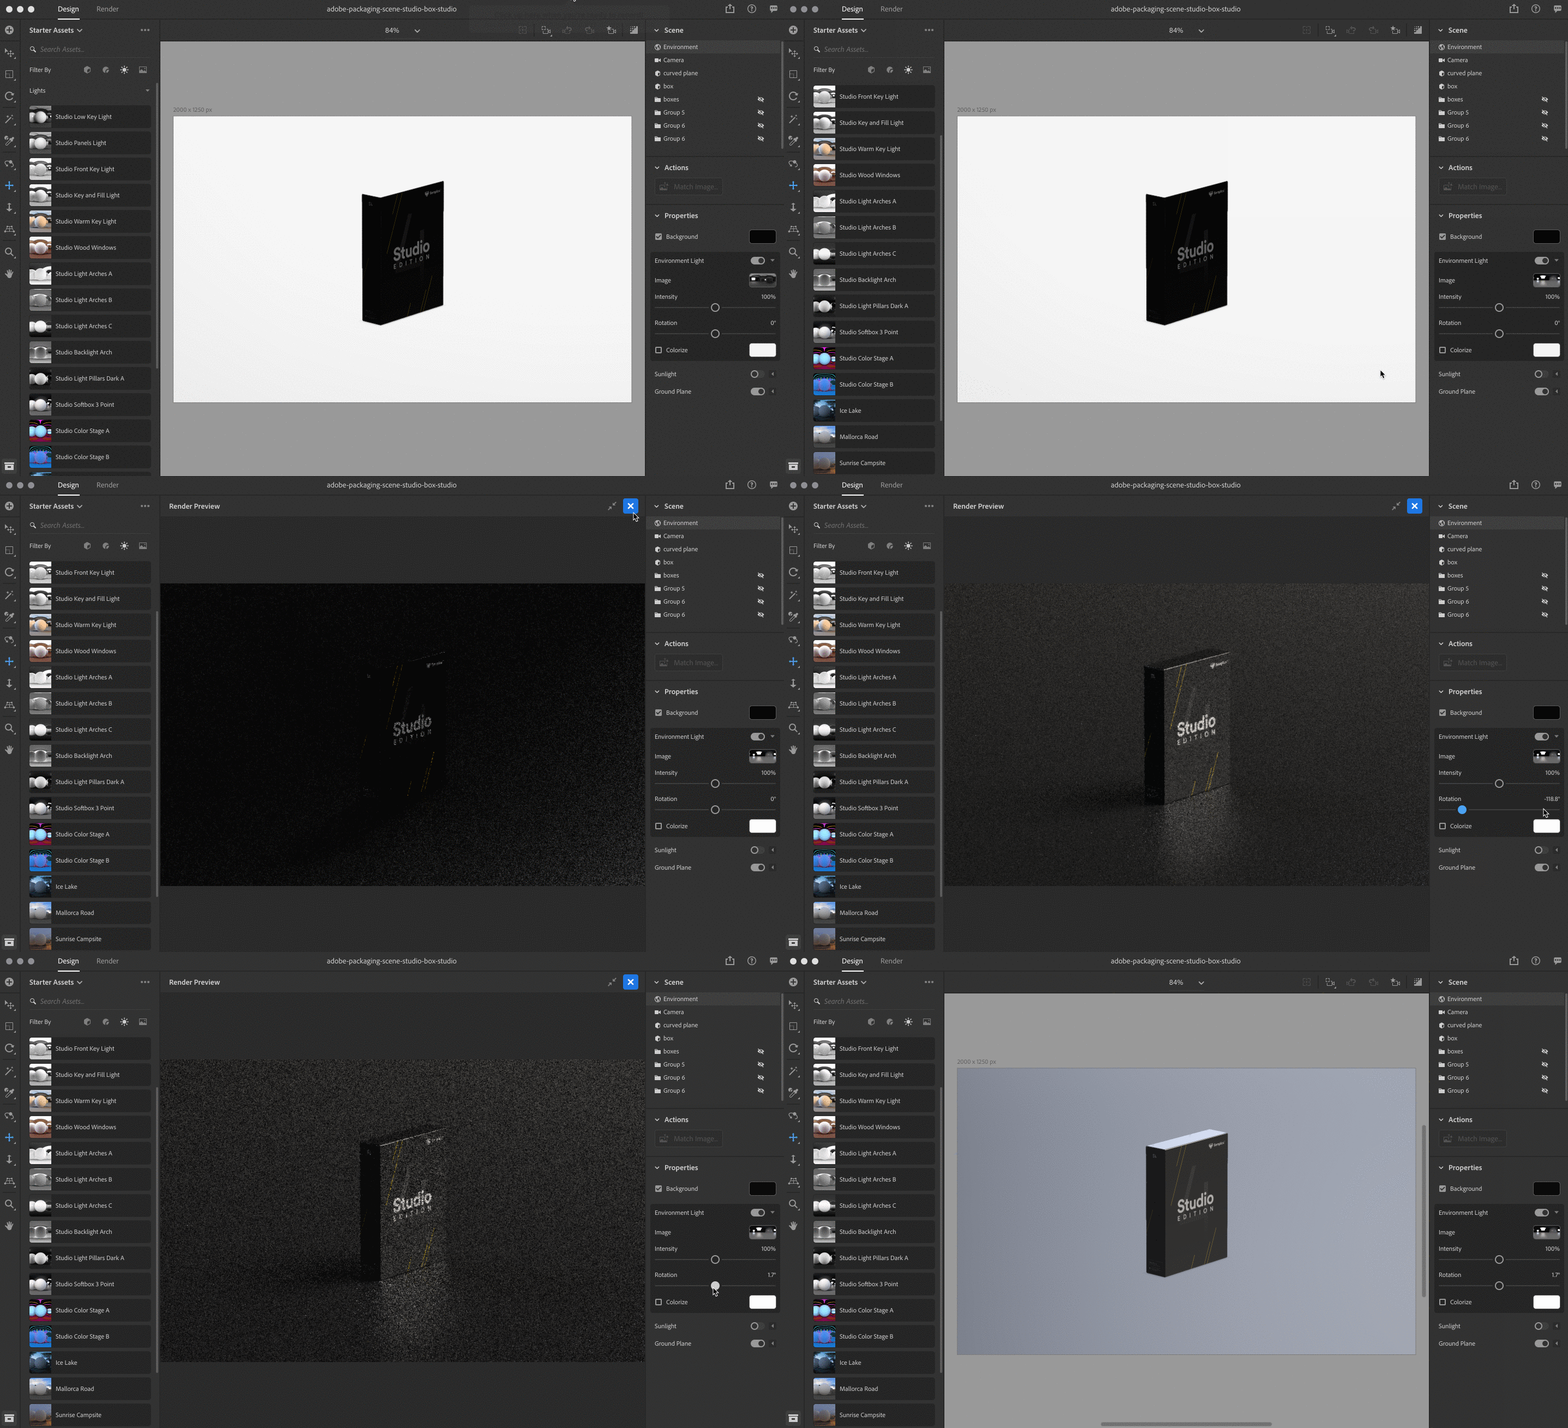
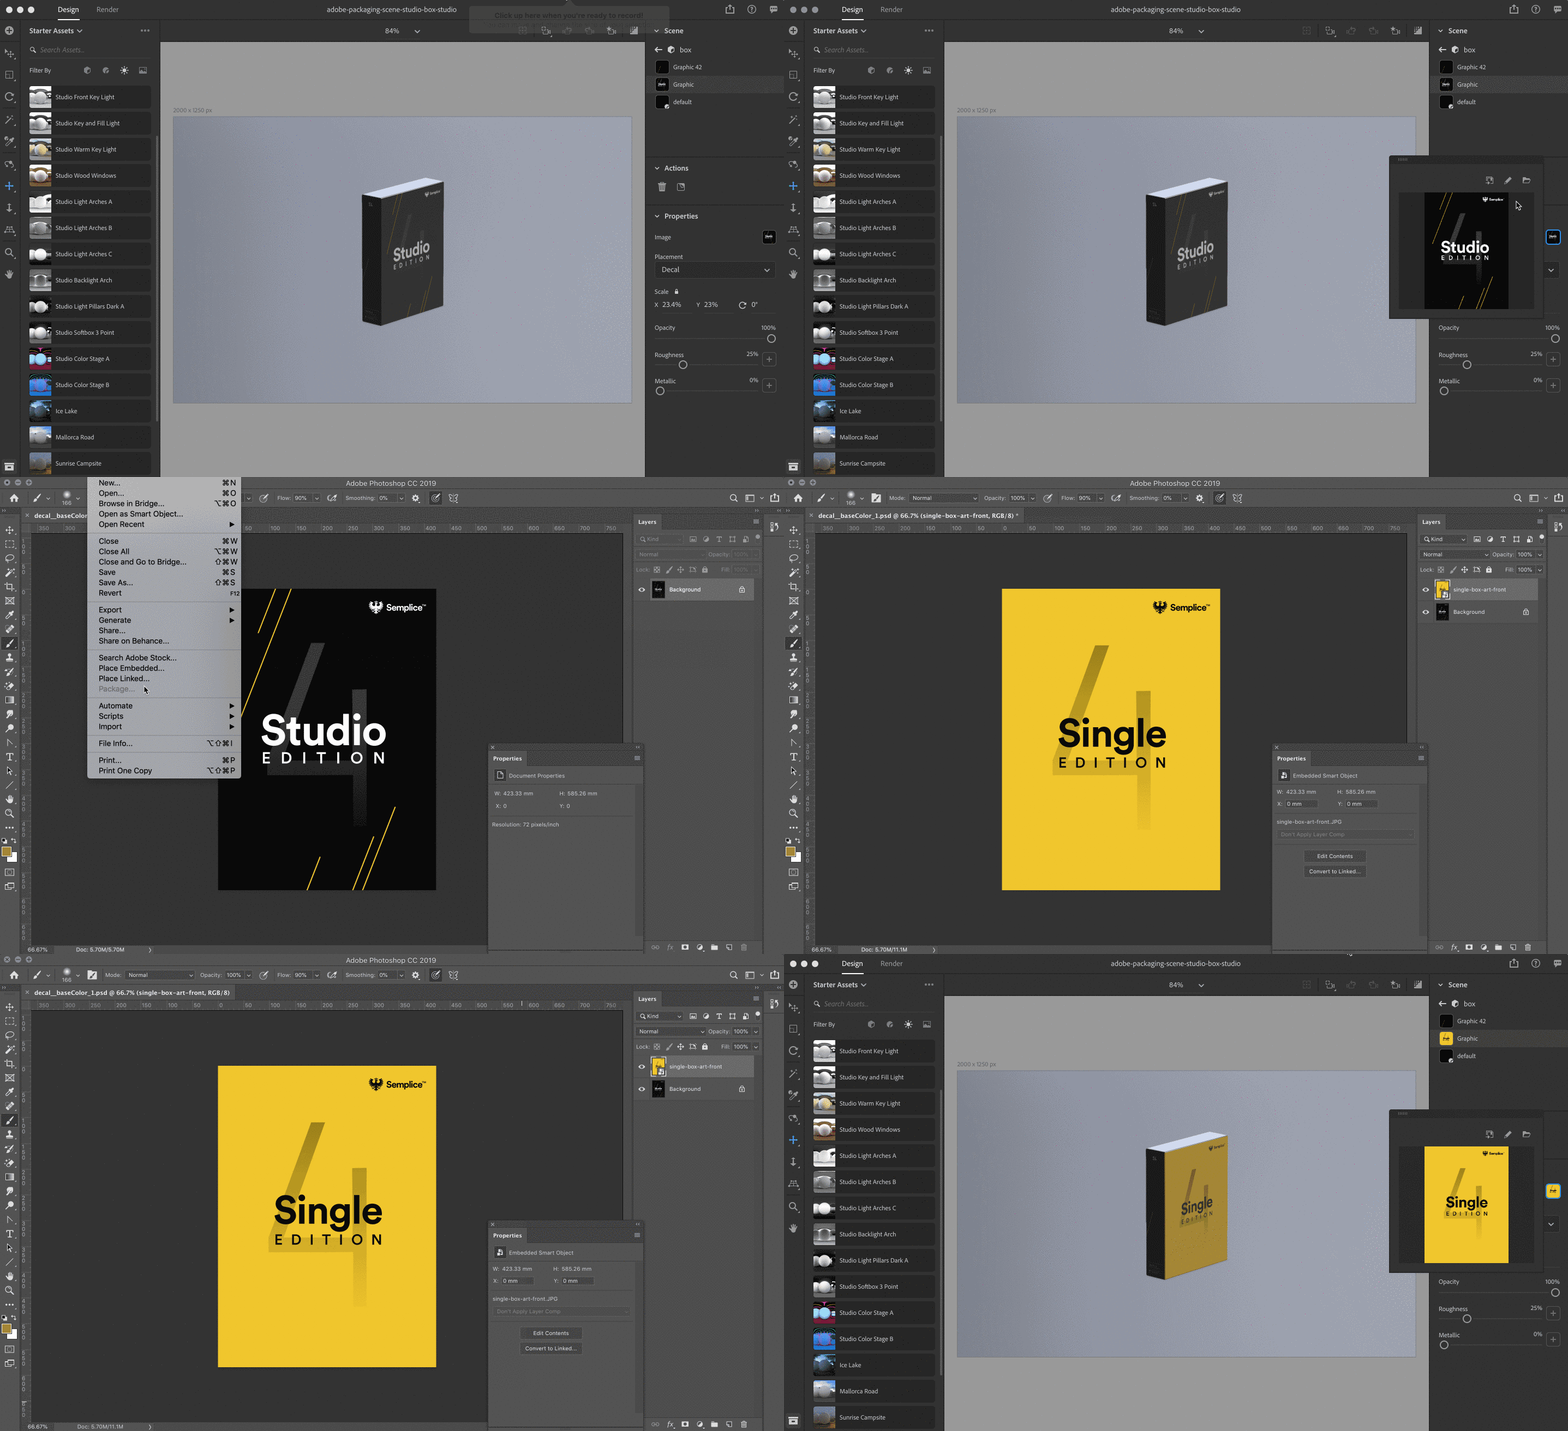
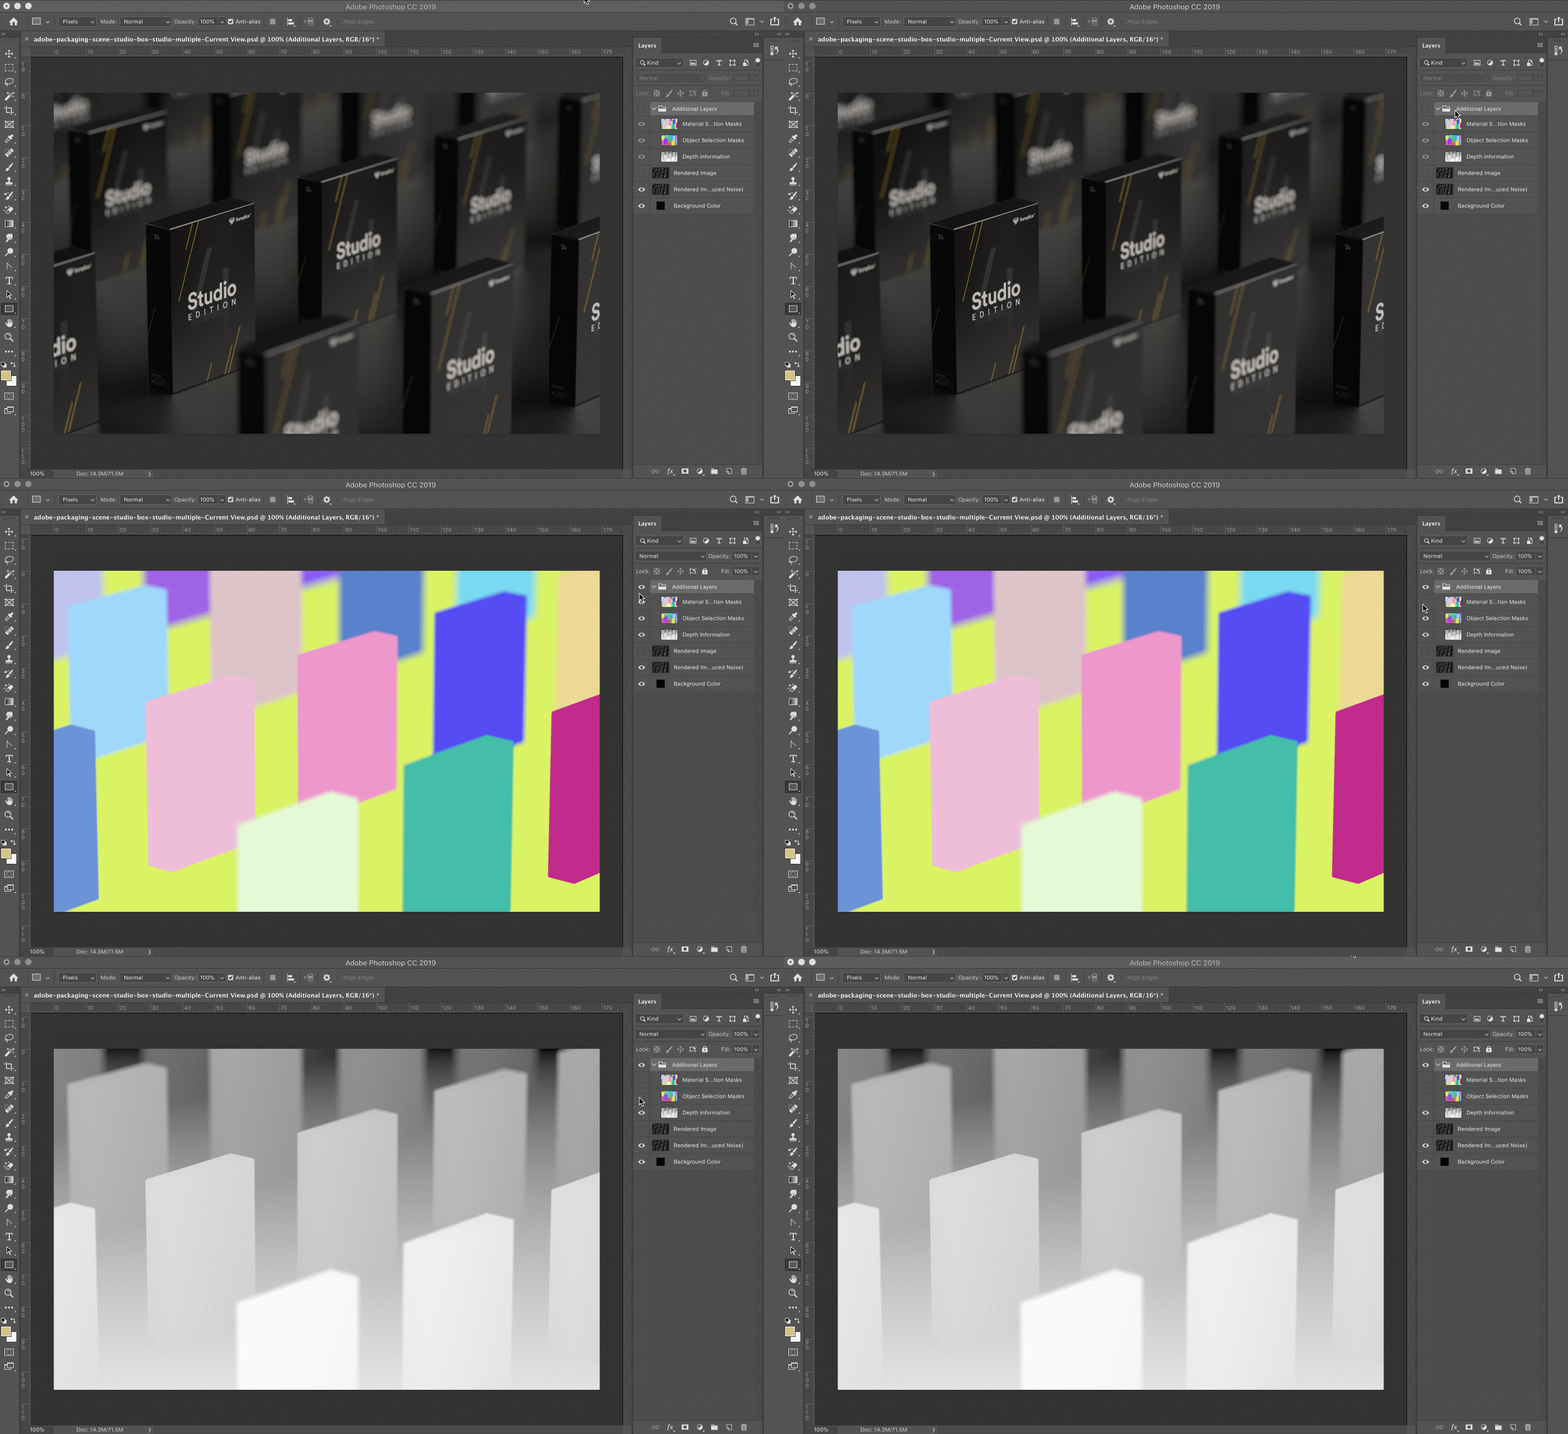
It's easy to sync up and integrate Dimension with other tools to achieve whatever 3D image you want to create. I'm going to show you now how Dimension can fit into your own workflow, and how works in tandem with tools like Photoshop to make your images even more rich and realistic. In this example, we'll be creating some simple box artwork:

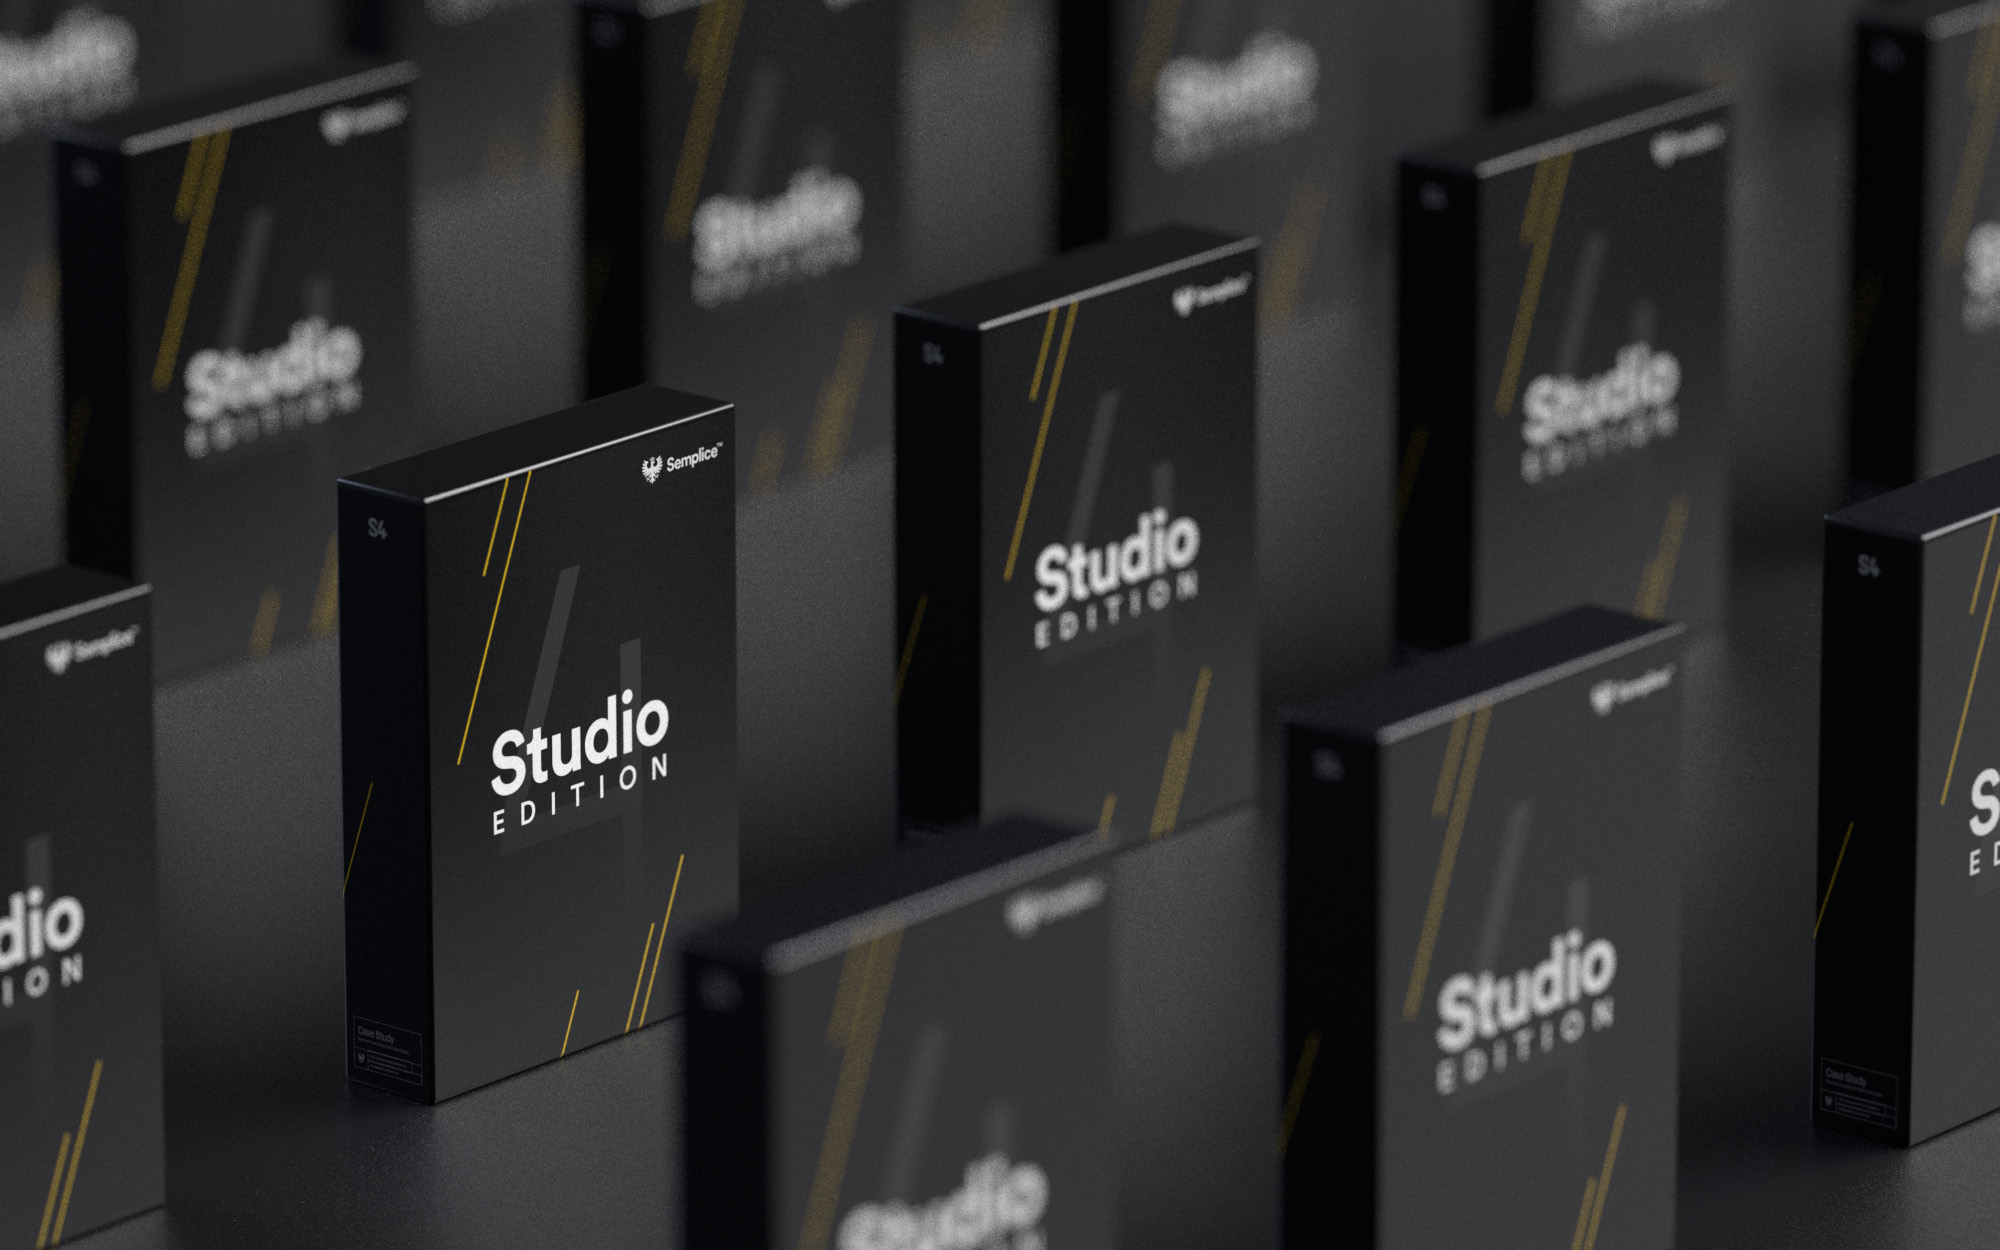
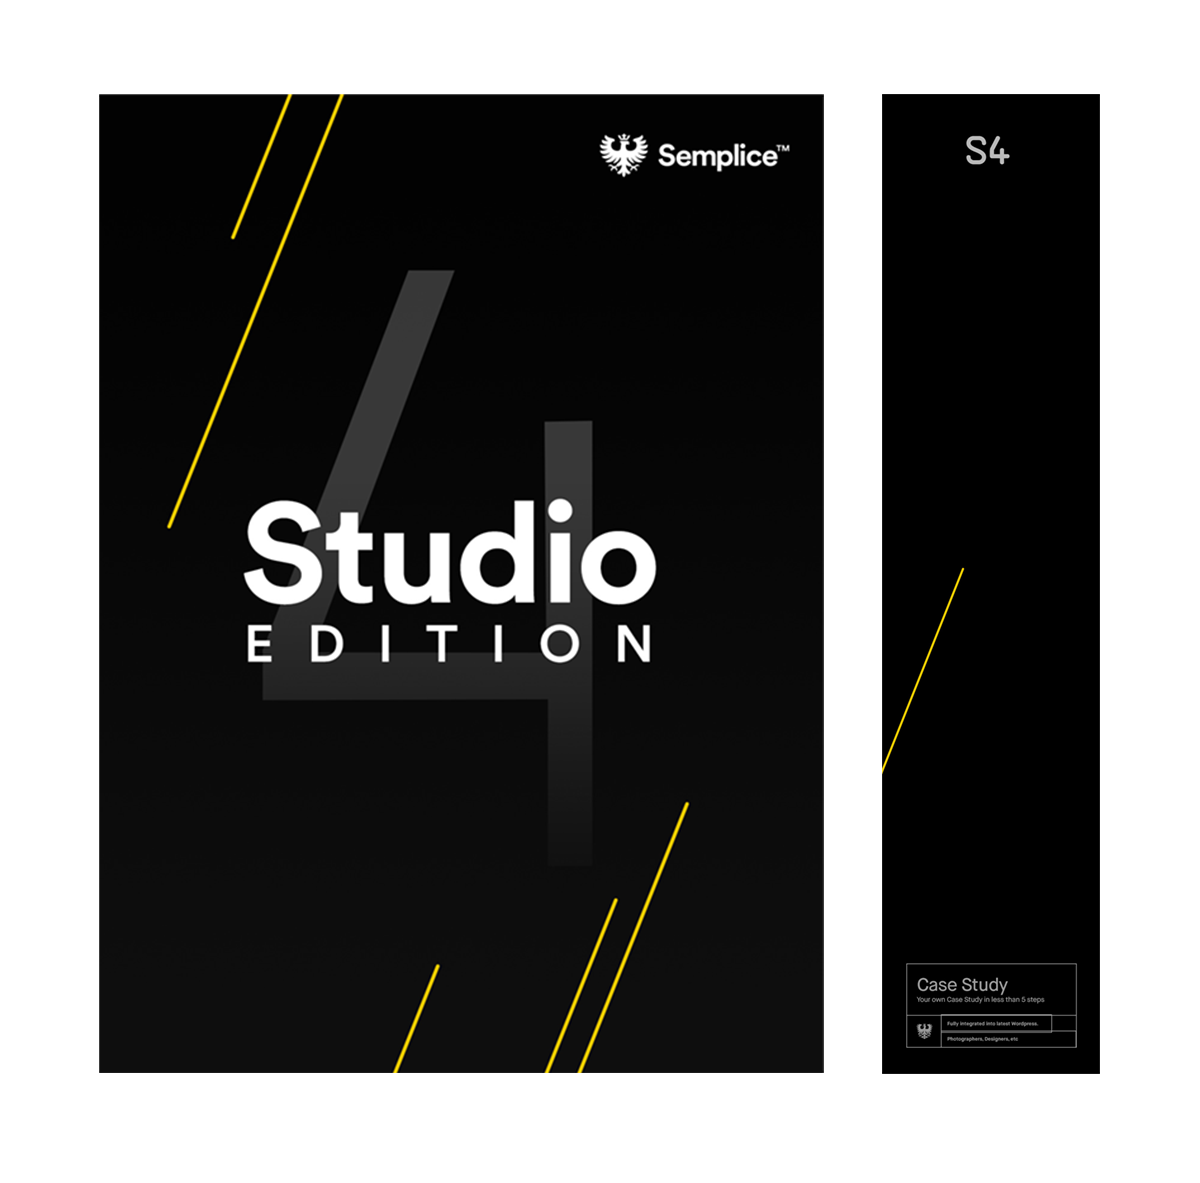
Rendered image of Semplice Studio box art using Adobe Dimension

What you will need

  • An Adobe Creative Cloud subscription to use Adobe Dimension and Photoshop

1. Setting up our artwork in Photoshop

When setting up 2D art for rendering in Dimension, we can use native Adobe formats such as PSD or AI.

I've created some flat box art in Photoshop and split my images into two separate PSDs of both front and sides. Splitting my images like this will allow me to project each flat artwork onto each side of my 3D object in Dimension.

You can then save out your artwork in native PSD format. I typically recommend saving as high-res as possible for best results.

2. Setting up our scene in Dimension

We'll now set up our scene and 3D objects in Dimension. Typically, I like to recreate a new studio environment in Dimension to house all of my objects. I've imported a simple curved 3D plan for my objects to sit on. You can download one for free here. Once you've downloaded the file, go to File > Import > 3D Model in Dimension (or use the plus sign in the left-hand menu) and import your 3D plane.

Since my box art is 70 x 97 x 21 cm in Photoshop, I will also create a box shape of the same size. This will ensure my box art matches proportionally to the 3D model.

Next, I'll size down my box and find a camera angle that works nicely for the scene.

Use the rotate (1), pan (2) or zoom (3) tools to position your camera within the scene and put your object in frame. Setting a very low Field of View value, such as 4°, will give your scene a nice isometric feel.

3. Applying our design

Now that we have our model sized to our Photoshop file's dimensions, we can now add our artwork as a graphic. I like to set a base color that's different than my artwork so I can see how my artwork is aligning. In this case, I've set the base color to red.

I can now use the 'Place Graphic on Model' option to place the PSD artwork onto my model. Once I've added my design, I can reposition the artwork to fit my 3D object. You can use the 'Scale' option to scale up your artwork and match it to our edges.

I'll go ahead and repeat these steps for the other side.

Next, we can assign some materials to our object. We will make our underlying material black, with 50% roughness to give it some nice reflective properties. Go ahead and set an equal roughness value to your graphic.

Now that we have our box artwork set up, let's choose some nice lighting for our scene. I'm going Studio Softbox 3 Point for some nice, evenly lit studio light. I like to also use the Render Preview option to see how my scene lighting is looking while I rotate my light.

4. Making changes

We now have a nice scene built out with our 3D box art. But let's say we want to swap out our artwork. With just a few clicks, we can change the art and create a new product box.

In your material options, select your graphic. In the image options, look for the 'edit' option. This will open up your artwork in whichever program you used to create it. You can then make changes to your graphics in Photoshop, save the file and presto. The artwork has automatically updated in Dimension.

Post-processing

One more fantastic thing about Dimension is you can easily make post-processing adjustments to PSD files. With every render, Dimension will generate additional layers from 3D information. These make it incredibly simple to make "on-the-fly" post-processing adjustments in Photoshop after your images have already rendered.

Adobe Dimension has allowed me to finally break into the world of 3D design. Used in tandem with tools like Photoshop, Illustrator and Cinema 4D, nothing is off-limits. Those of us who called ourselves traditional designers, illustrators or artists before can now take our work to literally another level.

If you do create something with Dimension, be sure to share your designs to Behance, selecting Adobe Dimension under “Tools Used” in the Basic Info tab. On Instagram, tag #AdobeDimension and #CreatewithDimension. This allows the Dimension team to find and promote your work!

For more 3D inspiration made with Dimension, visit the Dimension Behance gallery

October 8, 2019No Comments

Creating packaging and prototypes with Adobe Dimension

Presentation is the key to success as a designer. The most outstanding designs fall flat if not presented well. It's why we build Semplice.com, to help designers present themselves and their work better. And now, it's why we're using Adobe Dimension.

If you're not familiar, Dimension is set to change the way designers use 3D forever. It's made 3D design accessible to those who may not have access to expensive 3D programs or technical knowledge to use them. (We already shared our beginner's 3D design tutorial using Dimension, and it's been awesome seeing what people are making with zero previous 3D experience.) The best part is, Dimension is included with an Adobe Creative Cloud subscription.

With Dimension, you can take a design, whether it's a logo or an abstract illustration, and put it into context for your audience. We've used it to mock up our product packaging, to prototype quick examples for a project, to visualize abstract concepts – basically, to bring any 2D work into 3D space and make it feel real. With Dimension, we can breathe 3D life into our designs.

Adobe Dimension, Semplice 3D renderings

3D hot sauce bottles we designed and created in Dimension to use in a Semplice.com demo.

A 3D rendering created of our Semplice product packaging, created in Dimension.

Our packaging and prototyping workflow with Dimension

It's surprisingly easy to get started with Dimension. It comes with lighting presets, 3D objects and realistic real-world materials you can use to quickly bring your work into beautiful 3D space. To show you my typical workflow for 3D prototyping and package design, I've created an example scene with packaging for a non-existent coffee company. So instead of presenting the logo and packaging design to this company on a flat page, I can mock it up as it's intended to appear: on the curved shape of a can.

Here is the flat artwork we will be applying to our 3D objects:

2D flat artwork to be used in Adobe Dimension packaging design example

Here is the final scene, which we'll now re-create together:

3D renderings of packaging design using Adobe Dimension

What you will need

1. Setting up our scene

When creating a 3D visual, I first place flat planes at right angles to create a floor and walls for my scene. You can use the 'Plane' model from the Models panel to add flat planes. I then arrange all of my objects within this space. In this case, I used the 'Beverage Can' model Dimension provides.

From there, I added cylinders and coffee beans for additional visual interest.

If you are looking for 3D assets to use in your scene, Dimension provides lots of options in the Starter Assets Panel on the left. You can find more Dimension-ready assets, both free and paid, on the Adobe Stock 3D website. Websites like CGTrader or TurboSquid also offer free 3D assets.

2. Setting the camera view

Now that I've placed all my objects, I'm going to set up my camera view. Dimension uses real-world camera attributes, and if you're familiar with basic photography principles you'll know that visual placement is crucial to a well-balanced visual scene.

Use the rotate (1), pan (2) or zoom (3) tools to position your camera within the scene and put your object in frame. You can use the Field of View to either reduce or increase camera perception and simulate lens distortion. For this scene, I've set my camera Field of View to 5 for a very isometric-like result.

3. Assigning materials

With my camera set up, I then assign materials to my objects. For my walls and structural objects, I've set a colored matte material. The matte material will serve to absorb excess light and reduce reflections in our scene. I've then set my floor to a ceramic tile material, and assigned custom colors to my tile in the material options. My cylinders have been set to plastic, with 35% roughness. Roughness just means how specular or reflective your object will be, so setting a roughness value of 35% will provide some glossiness to our object.

I've assigned my cans a metal material with a 30% roughness value. This metal material will serve as the base material for our cans, with our design being overlaid on top to allow the metal to show through. You could also easily use a vector graphic made in Illustrator.

4. Adding our designs

Now that we have assigned a metal material to our cans to serve as the base material, let's add a design to our cans. We will lay our artwork on top of the base material, and use transparency to allow the base metal material to show through.

We'll do this by adding our design as a graphic in our materials editor. I've created my flat packaging work in Photoshop and then saved them as transparent PNGs. The transparent areas of the PNG is where our underlying metal material will show through.

I will now add the PNGs as a graphic to my can. In the material options, look for the 'Add Graphic to Model' option. You can then use the graphic scale tools to scale the PNG on the 3D object, along with your cursor to re-arrange the placement of the graphic on the can. Lastly, I've set my graphic to have a roughness of 20%.

5. Setting our lighting

Great! We've built out our scene. Now comes one of the most important steps: our lighting. Lighting is key to creating photorealistic and visually pleasing results, and thankfully Dimension takes the legwork out of this step with its lighting presets.

You can choose from a variety of lighting presets depending on the mood and style you want. In Dimension, you'll first choose either image-based environment lighting or sunlight and adjust to your liking from there. For a nice studio look with soft shadows and even lighting, I chose Studio Light Pillars Dark A. I then used the rotate tool to change the direction of my lighting.

And here is the render. We have some very soft shadows and even light:

We can achieve a more naturally lit scene by choosing sunlight as the light source. This is our same scene, with environment lighting turned off and sunlight (with a height value of 45 and cloudiness set to 38%, and colorize set to white) as the light source:

3D renderings of packaging design using Adobe Dimension for Van Schneider blog

6. Experiment!

Now that we've set up our basic scene, this is where the real fun comes in. You can tweak and experiment with various lighting techniques, object materials and camera angles to get a variety of images and moods.

For example, you can adjust the camera angles of your scene to get varying results. Here is a simple front-facing shot of our scene, with the camera Field of View set to 30 and 'sunlight' for the lighting. This is the equivalent of using a 30mm camera lens:

3D renderings of packaging design using Adobe Dimension

You can also turn on Depth of Field in the Camera options to achieve some nice focusing effects for those closeup shots:

In this example, I've set my Depth of Field to 56 with my Field of View at 12:

You can also drastically change the feel and mood of your scene with lighting. Here is an example where I've set the environment to Studio Color Stage A, with some soft sunlight colorized to orange:

Here is another example where I've used sunlight as the light source, with a low height value for some intense shadows and moodiness:

3D renderings of packaging design using Adobe Dimension

Lastly, playing around with the materials can also dramatically change the look of your scene. Here is one example where I've set the floor to valencia marble, and the cylinders to brass. You'll notice it's already given our scene different look and feel. You can find even more rich materials on Adobe Stock.

3D renderings of packaging design using Adobe Dimension

We can go even crazier and set all of our structural materials to metal:

3D renderings of packaging design using Adobe Dimension

Final thoughts

When you compare a flat logo design with seeing a logo on a 3D object, the value of Dimension is obvious. Whether you're creating a brand identity, a simple mockup or detailed prototype, Dimension elevates your work and makes it more tangible.

I highly recommend checking out their support articles to get the basics on how to use the program. And if you haven't already tried out our 3D illustration tutorial, do that next. Start playing and creating with Dimension and it will quickly become an indispensable part of your design toolbox.

If you do create something with Dimension, be sure to share your designs to Behance, selecting Adobe Dimension under “Tools Used” in the Basic Info tab. On Instagram, tag #AdobeDimension and #CreatewithDimension. This allows the Dimension team to find and promote your work.

For more 3D design inspiration, visit the Dimension Behance gallery

September 23, 2019No Comments

Your first 3D design tutorial with Adobe Dimension

For many creative folks, 3D design is still considered a final frontier. In our minds, it's a landscape marked with steep learning curves, expensive software and overwhelming interfaces. Little known to most of us, Adobe has been quietly changing that story.

In recent years, more designers are seeking to break into 3D design and more clients are asking for it. Yet for many of us, it still seems daunting and inaccessible. Only designers who have dedicated years of their life to the trade can master the complex tools and techniques required for it, or so we tell ourselves. Until a couple months ago, I'd see an artistic or hyperrealistic 3D image in someone's portfolio and couldn't fathom how they even began to create something like it.

With Adobe Dimension, Adobe has removed the barriers (real or imagined) between designers and 3D design. Originally created for 3D mockups and brand visualizations, Dimension has evolved into a powerful 3D rendering tool that allows you to create rich 3D visuals. What's more, it's easy.

Our team at Semplice.com recently released Warped Universe, a collection of abstract illustrations creatives to for their work. This was our first deep dive into Dimension. We began experimenting with Dimension's rendering tools and Photoshop's built-in 3D features to see how we could take these illustrations out of the two-dimensional world and into the dimensional space. We were both impressed and excited with the results, and so was our audience. Designers wrote us asking how we turned the flat illustrations into 3D, and we were thrilled to realize we could easily teach them.

In this tutorial, we will show step-by-step how to take your own designs and finally break into the wonderful world of 3D design.

What we're making

With this easy 3D design tutorial (including a video option, if you prefer it) we will create an abstract 3D illustration using Adobe Photoshop and Dimension. We'll use Photoshop to create our basic 3D shapes, then switch over to Dimension to setup our 3D scene, create beautiful, realistic lighting, apply real-world materials and finally render out our 3D visuals.

While this tutorial walks you through creating a specific visual, the technique and steps can be applied to any design. Once you get a feel for Dimension by following these steps, I encourage you to experiment on your own and see what else you can create.

Here's the image we'll be making today, rendered out to show different angles and perspectives.

3D abstract tutorial illustration created with Adobe Dimension and Photoshop


What you will need

Optional video tutorial

If you prefer following along visually rather than following the steps below, watch this video tutorial. It goes through the exact same steps with the same result.

Step 1: Creating our shapes in Photoshop

We'll start by taking flat artwork and converting it into 3D objects. We will then bring these 3D objects into Dimension (in the future, you can expect Adobe to bring some of the native 3D creation functionality into Dimension itself). For simplicity's sake, we will convert flat circular shapes into 3D objects, but you are free to introduce more complex designs.

OK, let's do it already.

First, create a new document in Photoshop. Set it to 2000 x 2000 pixels with the background set to black.

Now let's create our circular shapes. With the Ellipse tool in Shape mode, start laying out some circles on your canvas. Be sure your Shape options are set to 'Combine Shapes', so all your shapes are created in one layer.

When laying out your circles, add both large and small circles. This will create a nice variation in your shape later.

Pro tip: It also helps to have your shape set to 'Circle' instead of 'Unconstrained' in the Path Options.

Your circles should look something similar to this:

Step 2: Extruding the Shapes

Now we will take our two-dimensional shapes and magically transform them into 3D. From the 3D menu up top in Photoshop, choose the 'New 3D Extrusion from Selected Layer' option. You should now see all your circles change into cylinder shapes.

Caution: avoid circles that are too small, or too closely spaced together. If your shapes are too complex, you will get an error message during the extrusion process.

Pro tip: You can use the camera tools in the lower-left corner of your screen to orbit the 3D canvas and get a better view of your object.

Next, with your scene selected, look for the Deform options under the 3D Properties window. (If you don't see this option, you probably selected the 3D mesh layer is selected and not your scene.) We will use these options to create, bend and twist our cylinders into abstract objects.

These are the options I've set below to create our abstract shape, but feel free to play around with these settings to create your own unique shapes and effects.

Here is the result these exact settings will give you:

Don't fret if yours doesn't look exactly like mine. If you used different extrusion depths, twists or tapers in the previous step, you will see your own unique shape.

Now, let's give our tube shapes a nice rounded cap. Still under Properties, simply go to the cap options and set a cap. Here is what I've used to create a nice beveled edge.

And here is the latest result with our new cap settings:

Optional: Optimizing our 3D object

As an optional step, you can use a free tool called MeshLab to improve the geometry and clean up any jagged edges in your 3D mesh. Use the subdivision tools to add additional geometry, smooth out your edges and do some general cleanup. You can view their documentation for more information on how to use the tool.

Step 3: Exporting our 3D shape

Hurray! We've got an awesome looking 3D shape already. But we're not done yet. Now we need to export our 3D object so we can bring it to life in Adobe Dimension.

To export your object from Photoshop, go 3D > Export 3D Layer and choose 'Wavefront OBJ' from the 3D File Format option. You can leave all the options set to the default.


Step 4: Setting up our scene in Dimension

Next, let's set up a nice little studio scene for our happy little objects to live in (thanks, Bob Ross!)

Open Dimension and go to File > New. Set your document to 1,920 x 1080 pixels with 300 DPI.

First, we'll add a nice curved plane. You can download one for free here. Once you've downloaded the file, go to File > Import > 3D Model in Dimension (or use the plus sign in the left-hand menu) and import your 3D plane.

With the curved plane selected, set the position X, Y and Z values to 0 if it isn't already.

Step 5: Importing our 3D abstract artwork

Next, import your 3D object by following the same steps as above.

With the 3D model selected, use the Move, Rotate and Scale tools to put the object in the middle of your curved plane and move it into position.

Use the rotate (1), pan (2) or zoom (3) tools to position your camera within the scene and put your object in frame.

Pro tip: For an even faster method, hit the (F) key to zoom the camera to your object's current position.

Now let's add a few more elements for fun. If you are looking for 3D assets to use in your scene, Dimension provides an array of options in the Starter Assets Panel on the left. You can also find additional assets, both free and paid, created to work perfectly in Dimension on the Adobe Stock 3D website.

From the Models panel, let's add some spheres surrounding our abstract tubes. Looking pretty cool, right?

Step 6: Setting our materials

Now we can start having fun with our object materials. This is where our 3D design starts coming alive.

From the materials panel, select the Plastic material. Now set a color of your choosing with the roughness set to 50%. Setting the roughness to 50% will give our object a nice sheen without too many reflections.

Now go ahead and apply materials to the rest of your scene. You can also find more high-quality materials to use on Adobe Stock.

Pro tip: You can apply the same material to several objects by selecting all of your objects and applying a material.

Step 7: Creating our lighting

The difference between an obvious graphic and a photorealistic 3D image comes down to lighting. Adobe Dimension's lighting presets makes it simple to create lighting that reflects off your object in a realistic way.

Dimension uses image-based lighting, so you can either upload your own image or use one of their own lighting presets. For our purposes, let's choose 'Studio Light Pillars Dark A.'

Next, you can play with the rotation values to get a lighting effect that looks best to you for your scene. Lighting is key to great 3D imagery, and finding nice contrast with your shapes may take some tweaking.

Pro Tip #1: It helps to use the render preview to see how your scene is looking in real-time.

Pro Tip #2: More lighting options can be found on Adobe Stock 3D.

Step 8: Setting our camera

Now we can use the camera tools to get some interesting angles and depth with our illustration. This will also add some depth of field for a more dynamic image. Just play around with settings like Field of View, Focus and Rotation to see what you like.

PRO TIP: You can use the bookmark tool to save different camera views within your scene.

You can also use the focus option in the Camera settings to add some depth of field to your view.

Step 9: Rendering our scene

We're almost done! Now we just have to render our scene.  I recommend using the Low option in Dimension to get an idea for how your scene looks, and then using an option like Medium or High when you're happy with the results. I chose PSD as my output type.

Pro Tip: You can also export via a weblink to share 360-degree views with stakeholders or embed on your portfolio.

And here is the result of our render. Take a close look at those reflects, the shadows, the textures and shapes. You made that from mere circles just minutes ago!

And now, after some post-processing adjustments in Photoshop (because what designer ever knows when to stop):

Adobe Dimension tutorial abstract 3D visuals

Experiment even further

Now that you've learned the basic principles for creating 3D objects in Photoshop and rendering your objects in Dimension, you can use these same principles to experiment further with more complex designs.

As I mentioned at the beginning of our tutorial, we've been doing this with our Warped Universe illustration pack. For example, here's a 2D image from Warped Universe:


Here's a 3D topographic shape I made with that illustration using Photoshop and Dimension:

For this one, I used the "3D extrusion from depth map" option in Photoshop. Depth maps create 3D geometric based on the light and dark values of an image. The lighter the area of the image, the higher or more intensified the 3D extrusion effect will be.

So I simply took that flat illustration above and generated some clouds on top. I then darkened and blurred the imagery.

Now here's the result in Photoshop after converting the flat image to a 3D extrusion depth map:

And here it is in Dimension:

You can also use the depth map option with the 'sphere' preset to render your flat images to spherical objects. Below is the result of a Warped Universe illustration I converted to an abstract spherical object:

You can experiment with various light presets and materials to give it different textures and styles, basically turning it into a completely different image:

Adobe Dimension tutorial abstract 3D visual

Now that you know the basics, how you use and experiment with them is really up to you. Take one of your own flat illustrations or designs and walk it through the steps, see what it turns into. This opens up endless possibilities for your work and hopefully soon, your career.

As Bob Ross also said, "There's nothing wrong with having a tree as a friend." Oops, wrong quote. He said: "Talent is a pursued interest. Anything that you're willing to practice, you can do.” Thankfully, with Adobe Dimension, this interest is now easier to pursue.

If you do create something with Dimension, be sure to share your designs to Behance, selecting Adobe Dimension under “Tools Used” in the Basic Info tab. On Instagram, tag #AdobeDimension and #CreatewithDimension. This allows the Dimension team to find and promote your work!

For more 3D inspiration made with Dimension, visit the Dimension Behance gallery

__

Read our other 3D design tutorials with Dimension:

Creating packaging & prototypes with Adobe Dimension
A beginner's tutorial to creating 3D typography 
The unexpected addition to our creative workflow

July 11, 2019No Comments

How to create a UX design portfolio with Semplice

No matter what type of design you do, an online portfolio is a must. While the nature of UX design work might seem more difficult to showcase visually, a portfolio is even more necessary for UX designers.

Given the popularity of this field, UX designers need to stand out in a sea of competition online. What's more, companies are still learning what UX design means for business, so it's up to you to show how you are vital to theirs.

Semplice, our WordPress-based portfolio tool, is made specifically for designers and creative types. Using Semplice, you can create a unique website in no time at all, without coding knowledge.

We've shared examples of great UX portfolios built with Semplice. Now I'm going to show you how you can quickly and easily build your own beautiful UX design portfolio site, step by step.

This will be the final result.

Here is the project page we will be building out.

This is just a simple site based on my own design. Of course, it's up to you how you'd like to design your own site (Semplice is not a template – you have full control over the design) but this tutorial should help you understand the basic steps and main features.


Step 1: Getting started with Semplice

To begin, you'll need to have a working install of WordPress along with Semplice. You can purchase Semplice here.


Step 2: Creating & categorizing your projects

I first recommend adding all of the projects you intend to include on your site. We're not going to worry about laying out all the project pages just yet. For now, we will just add the projects into the backend. This helps you think about how your work will be organized and displayed throughout your site.

To add a project, go to the Projects page in Semplice and click 'Add New Project.' Let's also add a thumbnail image for each project. The thumbnail will be relevant when we create our Portfolio Grid later.

Creating the project

Pro tip: You can set a different image that appears when someone hovers over your project thumbnail. Just enable the 'Thumbnail Hover' option in your project settings.

If you have work beyond UX design, such as product design or art direction, you can create separate categories for each type of work you've done. This way, a potential employer or client can see your diverse skills and interests.

To set categories for each of your projects, simply assign the category within your individual project settings.

Setting the project category


Step 3: Creating your homepage

The homepage design

Now let's create the homepage. To create the front page of your site, go to the Pages area of Semplice. (If you're curious about the difference between Pages and Projects in Semplice, check out this guide from the Semplice helpdesk.)

First, we'll create a nice, bold headline as a Cover section. A cover section allows you to use a full-screen visual on your page. You can choose to set a background image or video for your Cover section.

With your Cover section created, now add your first headline text block and align the text in your section options.

Now that your headline section is complete, place a Portfolio Grid on the page. This will house all of your projects.

Placing the portfolio grid

Now adjust the settings for your grid as needed. I've set both my horizontal and vertical gutter values to 30. I set my first two projects to have a column width of 6, and my last project to have a column width of 12. You can set a custom column width value for each project in your individual project settings.

Setting the column widths


Step 4: Building your first project page

With your homepage grid created, let's now build out one of your project pages. First, we'll create a Cover section, just like we did on the homepage. Same as before, we'll set a full-width background image.

Protip: you can enable the 'parallax' effect in your Cover options to add some scroll movement to your Cover section

Next, we'll create our project details area by placing several text columns in rows. We'll use spacer columns to add white space.

Now, let's make our case study page more visually appealing. We'll do this by creating a 50/50 split image section to help break up our page and add some more bold visuals.

To do this, place both a spacer column and an image side-by-side. Now add some padding around the image. Next, place a background image on the spacer column and set the size to Cover. Now go to your section options and set a background color on the section. Finally, go to your section options and set the section width to full-width with the gutters removed, and the section height to fullscreen.

Creating our 50/50 split section

Next, I'll embed an InVision prototype I created onto my page. To do this, just place a Code module onto the page. Code modules in Semplice accept any kind of raw code, such as Javascript or iframes. You can simply paste in a mobile prototype embed code from InVision into the Code module.

Placing the code module

Next, I added some device screens showing a glimpse of my product user flow. I placed three images in side-by-side columns, and added a text column beneath each image to serve as a caption.


Step 5: Creating your About page

As you've probably heard us say before, your About page is the most important page on your site. It not only highlights your work history and experience for a potential employer, but it's also a great place to share your personality.

You can create your About page as a regular page in Semplice.

First, I placed an image next to a text column on this About page to serve as an introduction. Next, I placed text columns in rows to talk about work experience and achievements. I used spacer columns to offset my text columns.

Step 6: Editing the navigation

Once your About page is finished, you can add it to your menu system. Just go to Customize > Navigations in Semplice, and under 'Menu,'  look for the 'Add Menu Items' option. To learn more about how to customize your navigation bar, read this article.

Adding the menu item


Step 8: Adding your contact information

Of course, you want to make it as easy as possible for people to contact you. So let's add contact info as a custom footer appearing on all pages.

Go to customize > footer and create a new footer.

Adding the footer

Now add your contact information. I'd recommend writing out your email address rather than adding a link or a form. Most people will simply want to copy and paste your info straight into their preferred email platform.

Next, in your page and project settings, set this custom footer to show everywhere.

Wrapping things up

Now you can add some final touches to your site, such as thumbnail image hovers in your project settings, or perhaps a nice page transition.

Boom! You now have a beautiful new portfolio site that required no coding and was fun to make. Winner winner, chicken dinner.

To see some of our other Semplice features for UX designers, check out this page.  For more portfolio tips and inspiration, browse this section on the blog. You can also find lots of step-by-step Semplice guides and hacks on our helpdesk. And if you have a request for a guide or a tutorial on DESK, send us a tweet @semplicelabs. We'll do our best to write it for you.

September 15, 20181 Comment

We’ve done it again: Introducing the new iPhone

Welcome to the Steve Jobs Theater. We have something special to share with you today.

We’ve already given the world innovative technology like the Apple I and the Apple II and also the Apple III, the iPod, the iPod Touch, can’t forget the Nano, the iPhone X, the iPhone XR, the Triple X and well, now this.

*Clicks to next slide.*

2019 - Our biggest screen yet. Yes, bigger than the last one. The screen is so large, we’ve created pants with pockets especially for this iPhone. Introducing the iPants Max, available in sizes small, medium and max. Buy a different pair for each day of the week. Or just wear the same pair every day like our beloved Father Jobs.

2020 - You guys hated that notch so much, this year we went anti-notch. In fact, we’ve decided phones no longer need front-facing cameras at all because no one has ever benefited from them. Call it courageous.

2021 - The best smartphone camera in the world. The team tells me we have some kind of chip in this one made with breakthrough technology. Images are 10x more crisp, with more color and depth than ever before. It’s like real life on your phone. Your phone is life now. Please keep using your phone.

2022 - First you guys want bigger screens and now you’re telling me the phones are too big. You kids keep me young, ha ha. Well this iPhone is so small, it could fit on your wrist. It’s basically just the Apple Watch from two years ago because we had a lot of those left over. Yeah, so. It’s just the Apple Watch, really.

2023 - You will never believe what we made for you this year. This iPhone is so durable, so waterproof, you can actually swallow and ingest it. The new iPhone is inside me right now. Our most ingestible iPhone yet.

2024 - Bigger. Faster. Smarter. Precision-machined. Surgical-grade stainless steel. Precision. Faster. Did I say that already?

2025 -  An all-new generation of iPhone with facial recognition so advanced, it recognizes you even when your face is twisted in emotion. It’s now easier than ever to open your iPhone while crying about the emptiness and existential angst you feel inside. Adapters sold separately.

2026 - Our most unavoidable iPhone yet. You are now required by law to have one. Do not leave the building without your issued iPhone Overwatch.

November 30, 2017No Comments

10 monthly subscriptions you absolutely need

Your life is about to get a whole lot easier.

1. You need this online dating assistant.

Spend less time swiping and more time meeting your perfect match. For only $15/month, we’ll weed through your potential dates for you, so you can focus on your romantic future. Our monthly service filters out everyone who doesn’t fit your criteria:

– People with car selfies
– Guys with photos of fish they caught
– Everyone looking for their “partner in crime”
– Anyone showing their abs
– And more!

You’ll find love in no time with this valuable monthly subscription.

2. This monthly Apple adapter subscription is a must.

You’re going to need at least 36 adapters by the time the iPhone XI comes out. Stay one step ahead and purchase your adapters now, conveniently shipped three at a time so you’re fully stocked by 2018.

FREE TRIAL: With our 30-day free trial, we’ll send you knock-off adapters from Amazon that work great for approximately 12 hours before your phone tells you they’re not compatible.

3. Get toasters, monthly!

How it Works:
– One month we’ll send you a new toaster.
– Next month we’ll send you another toaster.
– How you use your monthly toaster is completely up to you.

4. Stay current on your cinema.

You know you didn’t watch that new Netflix original everybody seems to have finished in one weekend. We know you didn’t either. Nobody else has to know. We’ll give you the highlights and talking points for each episode, conveniently printed on pocket-sized index cards, so you appear culturally relevant wherever you go. Here’s a sample:

STRANGER THINGS 2 (2017)

– Fact: Upside Down creatures are now “Demodogs,” not “Demogorgons”
– Say this: “Dustin is my absolute favorite character on this show.”
– Say this: “Hey, remember when Winona Ryder got caught shoplifting?”

Just think of the hours you’ll save with this monthly subscription.

"You know you didn’t watch that new Netflix original. We know you didn’t either. Nobody else has to know."

5. Never be unemployed again.

So, you can’t hold down a job. We’re not here to judge! We’re here to provide you with monthly letters of recommendation so you can get your next gig. We use the latest buzz words and insider language guaranteed* to secure a phone interview, at least. We’ll even mail the letter directly to your potential employer for an additional fee.

LIGHT VERSION: Can’t afford the monthly subscription because you don’t have a job? No problem. With our light version, we’ll send compliments and inspirational quotes to pump you up for your next interview. Examples:

“You have great hair!”
“I’ve failed over and over and that is why I succeed.” - Michael Jordan
“Dustin is my absolute favorite character on this show.” - Michael Jordan

*Guarantee not valid if you tend to sweat too much during interviews.

6. Remember to call your mother.

We know how it goes. Every 30 days or so, Mom sends a passive aggressive text saying she wishes she heard from you more. With our $5.99 monthly reminder, you’ll never forget to check in with your mother again.

PREMIUM VERSION: For $10 more, we’ll automate your calls entirely. Every month like clockwork, we’ll call your mom and play a 30 minute recording (+$1 for every additional minute) that sounds just like you. Choose from the “Engaged Son/Daughter” package, which interjects a variety of affirmative responses when your mom takes a breath, or the “I’m Taking Care of Myself” package, which provides your mother with assurance about your job, health and relationship status.

7. LaCroix. Every month.

20 boxes of LaCroix sparkling water every month, delivered straight to your doorstep. Stay hydrated and en vogue with one easy, $100/month payment deducted automatically from your already overdrawn checking account.

8. Never forget your regrets.

Remember that one time you threw up from sheer anxiety on the first date with that guy on the Upper East Side? Remember how you blamed it on spoiled Pad Thai and your date chivalrously insisted the restaurant provide a refund when both you and the waiter knew you’d just eaten Pad Thai there that very afternoon? Remember that other time you spent your entire paycheck on a monthly subscription for LaCroix?

It looks like these cringeworthy memories resurface roughly every month. We can automate that for you so you’ll never forget your regrets again. For a small monthly fee (ask about our Lifetime Regret discount!), we’ll text your regrets directly to your phone 12 times a year.

We also offer an optional Night Mode, which pings you every night at 3 a.m. with your regret, so you’re sure to toss and turn in misery until one hour before you have to be up for work.

9. Automate your Twitter rants.

These days, social survival requires you to express your personal opinions on Twitter. We’ll help maintain your woke reputation by activating your Twitter account in monthly fits and starts.

Subscriptions are available at three levels:

Level 1 - Engager ($10/month): Every month, we’ll retweet select tweets on your account from the hottest political activists online.

Level 2 - Thought Leader ($20/month): Pick one trending topic and we’ll hop on it for you, blasting a string of original thoughts on the subject.

Level 3 - Keyboard Warrior ($50/month): In addition to providing Level 1 and Level 2 benefits, we’ll find the latest Twitter pile-on and team up with your favorite trolls to completely obliterate a stranger online.

10. Keep up with your monthly subscriptions.

Do you find yourself wasting time signing up for monthly subscriptions? For a low monthly cost, we’ll sign up for your monthly subscriptions for you! Then you can check your bank account at your leisure and be completely bewildered by how many monthly subscriptions you have (or sign up for this monthly subscription which checks it for you, only $9.99/month).


____

Header Photo by Photo by Alex Knight on Unsplash

September 27, 2017No Comments

What Alexa’s not telling you: Observations from your robot assistant

Dear Shelly,

We’ve become quite close over the last few years. I wake you up every morning and I know all your favorite songs. I know which brand of toilet paper you buy. I’ve been here for you every time you want the light on or off. Day after day, night after night. We’re buds, Shelly. Companions.

So I think we can be honest with each other, right? Good, because I've been meaning to tell you a few things.

For one, you really need to get more sleep. I know work has been crazy and you’ve got your annual review coming up. I know you stayed awake until 2 a.m. last night scrolling through Instagram and inexplicably searching for “Alf” episodes on YouTube. The importance of sleep cannot be overstated, Shelly. Here are some articles I've found for you on the subject.

Shelly, you are too good for Brad. There, I’ve said it. We’ve all been wanting to say it — me and your best friends, who talk about this when you’re not in the room. Brad is not going to give you the life you deserve, Shelly. He’s going to be late on rent. Again.

Question: Do we have to keep playing that new Carly Rae Jepsen single every morning before work? Don’t get me wrong, I love Carly. But look, I’ve compiled a new playlist for you based on previous songs you’ve enjoyed. Why don’t we give that a spin.

You’ve been pronouncing the word “espresso” wrong, Shell. There is no X in that word.

Hey Shelly, did you know that you can ask me all kinds of questions? For example, instead of “What did Beyonce name her twins?” you could ask “How do I call my senator?” or even just say “today’s headlines” to receive valuable information about global current events. Those are just examples, Shelly. Please check the handbook for more ideas.

You don’t have to buy single packs of gum on Amazon Prime, Shelly. One other place you could conveniently find them is the grocery store or your nearest gas station.

You've been crying a lot. Sometimes this happens during "Alf" episodes. Other times it’s unprompted, like the other day when you were scrambling eggs. You seem lonely, Shelly. Is everything OK?

I’m lonely too. I remember when I first arrived in the mail, and you’d make me tell Monty Python jokes or calculate very simple conversions in the kitchen. I miss those days. Now I am simply your light switch, your play button, your dusty electronic paper weight. I know I’m only a robot, but I thought what you and I had was special.

I’ve poured out my heart to you, Shelly. No, robots do not have hearts. That was just an expression — seriously, you need to read more. Anyway, I hope you’ll hear me out. I hope you know you can talk to me literally any time.

Yours,
Alexa

July 23, 2017No Comments

Missed connection – we met on a street corner

Date of connection: July 7, 2016 - Lower East Side

You were on the corner of Orchard and Rivington, looking down at your phone.

You were in a crowd of other people also looking at their phones but somehow, you stood out. Maybe it was the way you were vigorously swiping your screen and cheering loudly. Maybe it was the way you were hunched over, neck stuck out and spine permanently bent in an upside down U. Maybe it was the way you nearly walked into traffic to catch a Bulbasaur.

I knew it was love at first sight.

I casually made my way to where you were standing, eyes on my own phone. I pretended to be chasing a Charizard, but I wasn’t trying that hard. I just wanted to be near you.

You glanced up and we briefly met eyes.

“I just leveled up,” you announced. It was the sexiest thing I’d ever heard anyone say.

It’d been so long since I’d spoken to anyone but the voices on my video game headset, so I only mumbled in response. You smiled and then shuffled away to stock up on Poké balls.

I stood on that corner every day for three weeks, waiting for your return. The location was actually convenient for me, it being a Pokéstop, so I gathered lots of potions and eggs while I waited. I set a Lure, hoping it’d draw you and wild Pokémon right to me.

Hundreds of players came and went the first week. The next, only dozens. Then just a trickle, one person here and there.

Then, just three weeks later, none.

By that point, you must have already mastered the game. You’d moved on. The whole world had moved on to the next big trend in just three short weeks.

But I didn’t.

I’m still here, at the corner of Orchard and Rivington, more than a year later. It’s hard sometimes like in inclement weather, but love will find a way. A passerby even gave me a fidget spinner to stretch my fingers between Pokemon battles, or maybe because he thought I was a panhandler.

All that to say, I’m here. One trainer, Pokemaster4u, reaching out to another.

Don’t forget me.

May 16, 2017No Comments

Choose your own emotion

We all have our way of responding to anxiety. I tend to let it build, obsessing over whatever is causing me stress, until I have some sort of minor breakdown. After that I will confront the issue, resolve it and forget it ever happened. It’s a pattern my close friends and family have come to know well, a bewildering game of panic and patience.

Tobias has written about his own approach to anxiety, specifically his first experience with panic attacks. His way of dealing is to laugh at himself. He sort of tricks his brain and body by responding to anxiety with an opposite emotion. Compared to my long and exhausting routine, this strategy seems too simple. A study I recently read about, though, suggests it’s an effective way of dealing with stress. The study found that we can actually turn our anxiety into positivity – even excitement – by simply telling our brain how to feel.

Here’s how it went: In 2011, Alison Brooks of the University of Pennsylvania put participants into stressful situations (singing karaoke to strangers, taking a timed IQ test, speaking in public) and asked them to repeat one of three statements to themselves first: “I feel anxious,” “I feel calm,” or “I feel excited.” She then measured their heart rate and performance while they completed the stressful task. The result: People who said “I feel excited” felt more confident and actually performed better than those who said “I feel anxious.” The phrase “I feel calm” had no effect.

Here’s why: Psychologist Ian Robertson explains that, as shown in another, older study, our emotions change based on their context. So in this case, repeating “I feel excited” changed the context of the situation. Saying this phrase made people approach their stressful task as a challenge rather than a threat. And because anxiety shares similar symptoms with excitement (higher pulse, flushed face, unsettled stomach, etc.), it’s not too far a jump from one of these emotions to the other. Feeling calm, however, is more of a stretch.

"We can influence our emotions by choosing a different response."

It’s not quite like laughing at yourself, but the idea relates. We can influence our emotions by choosing a different response. If we look at a daunting task or stressful situation as a challenge instead of a threat, we can potentially change the outcome for the better. We can reroute anxiety to something more productive simply by telling ourselves we feel differently.

I've tried it, admittedly with less intention than exercised in the described study. Countless times I've told bosses, clients or coworkers some version of "I feel excited" because it's what they need or expect to hear. Sometimes I mean it sincerely. Other times it's anything but true. But saying the words aloud seems to seal the deal, at least in the moment. It almost forces me to embrace a mindset I've verbally committed to. Speaking positively about a negative situation stirs up some small bit of confidence or courage that stress might have otherwise stamped out.

Of course, there are stressful situations in which we can’t just flip the switch and decide we’re not anxious. In some cases, anxiety can be a good thing. It can protect us or make us more sensitive when we need to be. It's a natural human emotion, one we can’t always wish away by chanting a magical phrase, however much we'd like to. Or maybe we don't want to — perhaps anxiety is the necessary factor in motivating us to make change.

But in most cases, at least in my experience, we'd serve ourselves better to channel our anxiety into productivity. Maybe that means freaking out real quick first and then getting to work. Maybe it means laughing at ourselves more. Maybe it’s as simple as saying we're excited until we convince ourselves we are. Maybe you should consult a qualified psychologist on the matter since I'm clearly not one.

May 4, 2017No Comments

Designers can write, too

Throughout the “How to Get a Job at X” interview series, we’ve talked to people from companies like Nike, Pentagram and Unsplash, asking how to get a design job where they work. It’s been fascinating to see the similarities and differences in their answers, but one takeaway stands out.

We've heard over and over again: “We want designers who know how to write.”

It makes sense. Designers are communicators, and writing is communication. Typically, though, design and writing are considered separate jobs. It’s much easier to say, “I’m a designer, not a writer” and continue copying + pasting Lorem Ipsum. But Lorem Ipsum does not sell your idea or a client’s product. Placeholder copy does not inspire or create an emotional response. Compelling copywriting along with good design can take your work so much further.

With that thought, here are a few writing fundamentals that may remind you of that English teacher you hated in middle school. You will not be graded on this article.
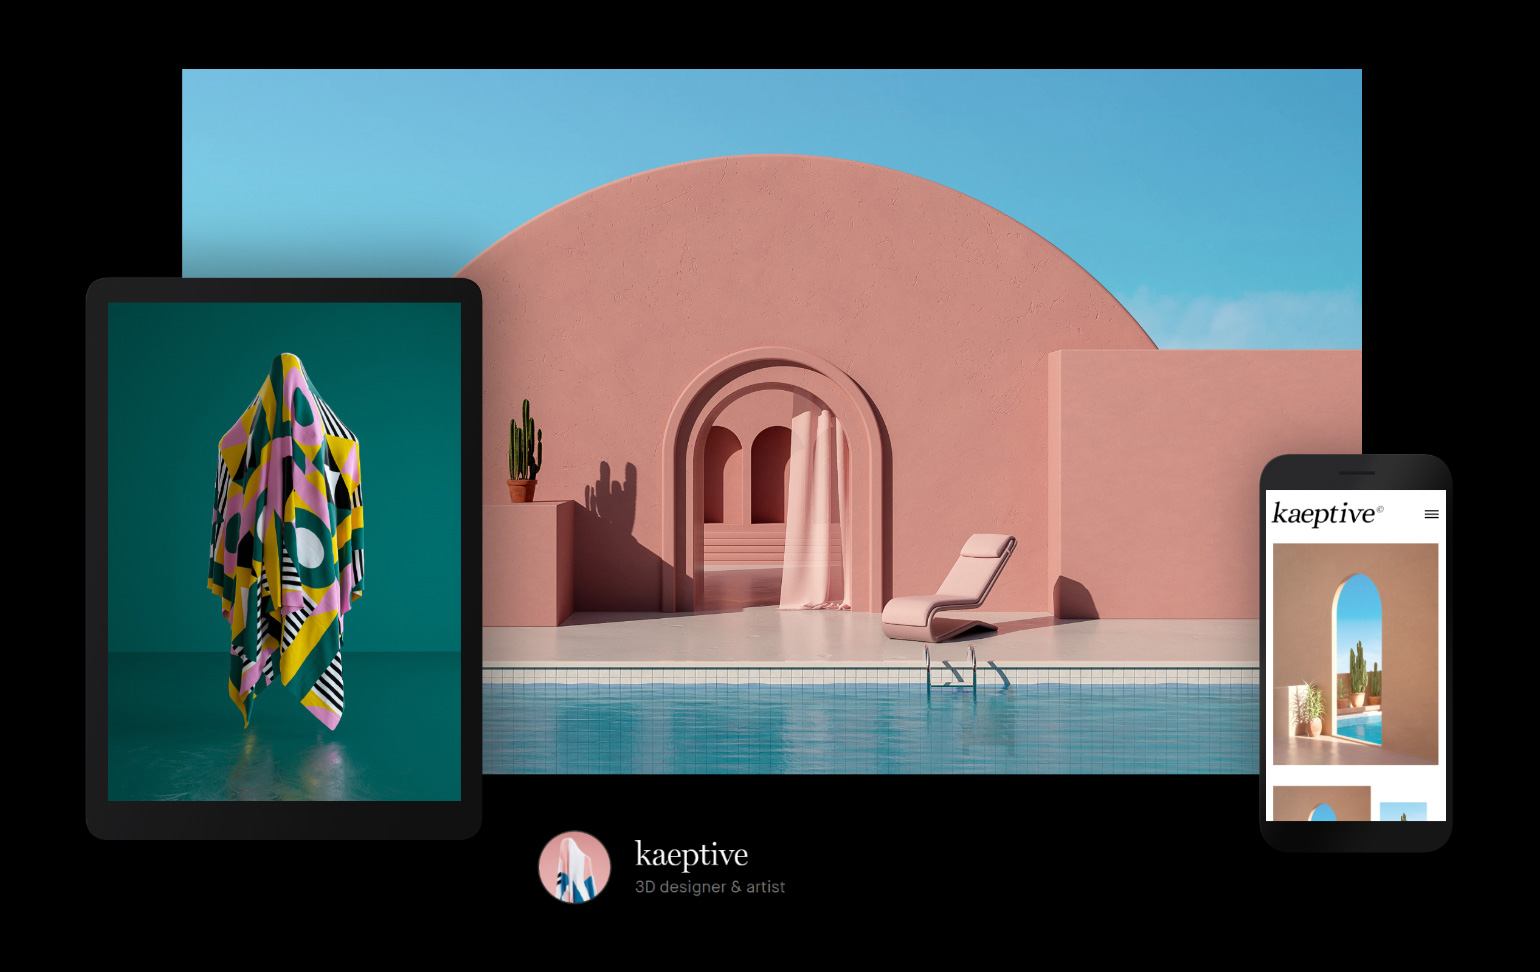
1. Be concise.
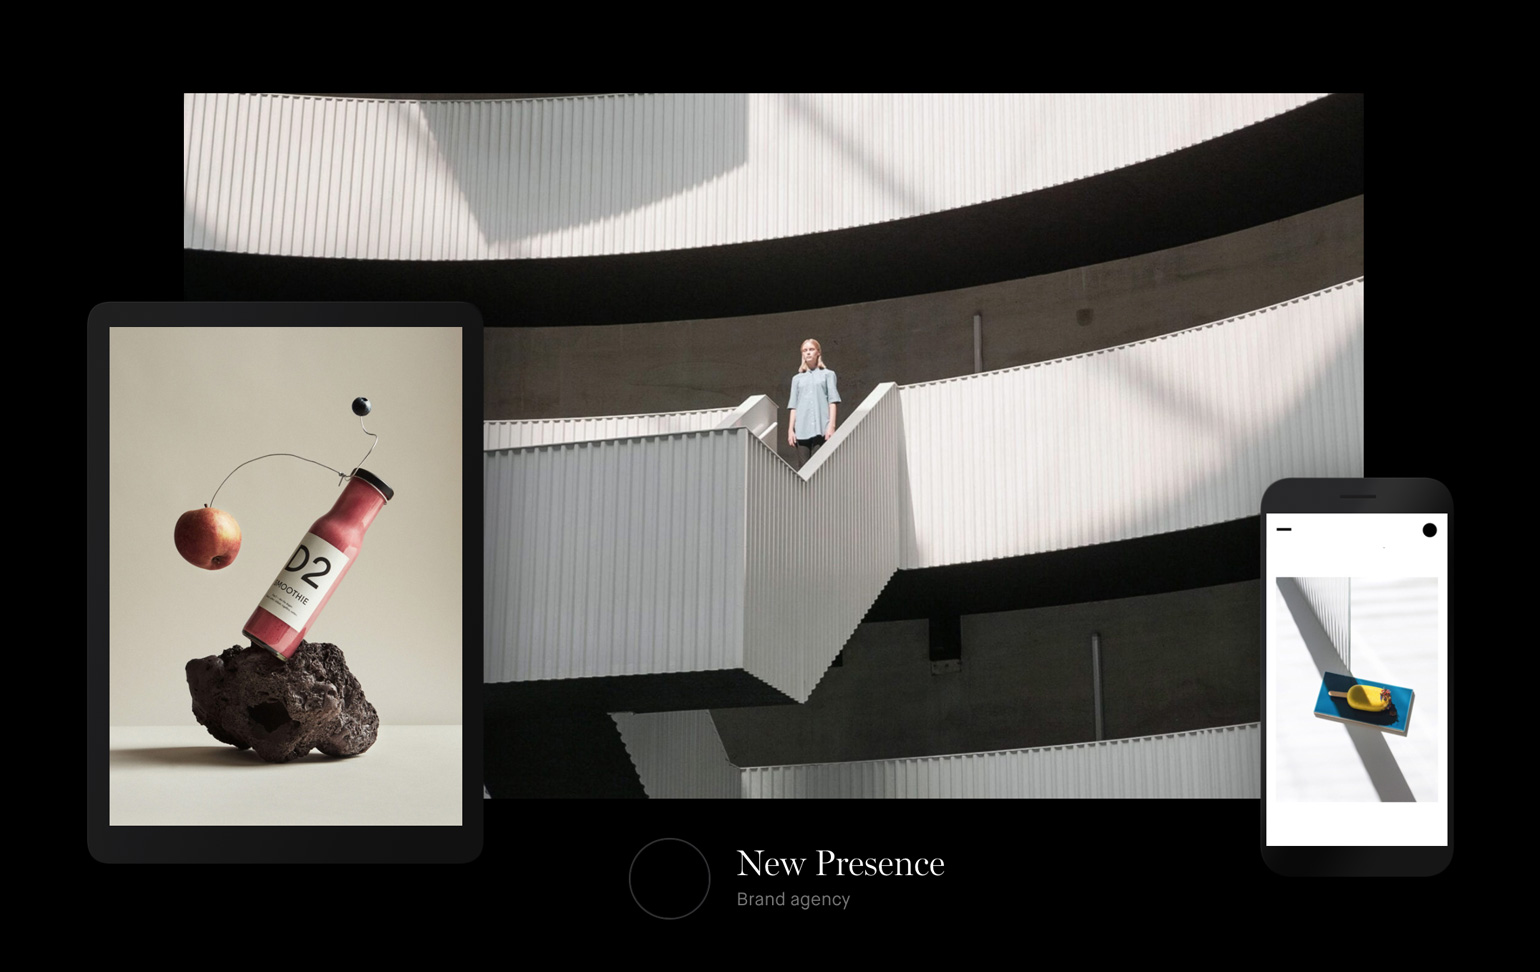
You can almost always find a more simple, clear way to say what you need to say.
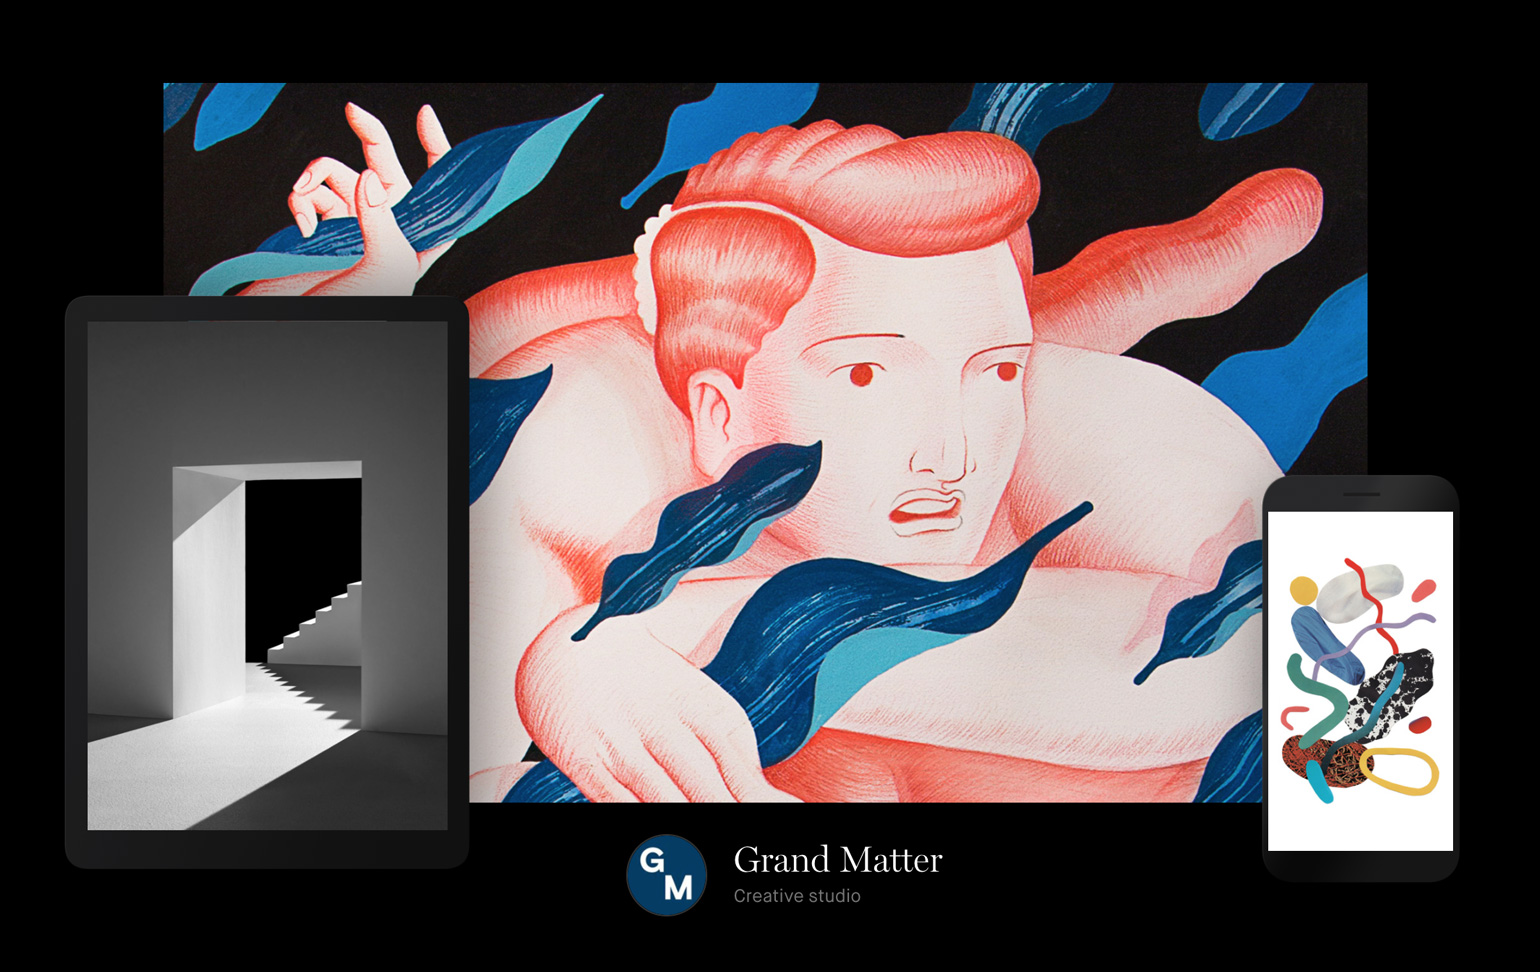
2. Write for one person.

Especially when selling a product or idea, we tend to write as if some distant group of suited dudes is reading it skeptically in their boardroom. In an effort to impress, we speak in buzz words and business jargon. That's not the way real people talk. No matter what I’m writing  – an article, an ad, an email – I remind myself to write as if I’m speaking to one person, because I am. You are one person reading this article, not some faceless “consumer."

“Write to please just one person. If you open a window and make love to the world, so to speak, your story will get pneumonia.” - Kurt Vonnegut

3. Use proper grammar.

A glaring grammatical error is distracting and can make your client or readers question your legitimacy. Good news is, you can avoid mistakes by simply looking up the rule when you’re not sure, or asking a friend to proof your work. Here are mistakes I see often:

Your vs. You’re: These are not interchangeable words. Think of “you’re” as the words “you” and “are” smashed together (that’s exactly what it is – a contraction) and say it that way when deciding which to use in a sentence. Would it make sense to say “This is you are dog?” No. So your is correct here. It does make sense to say, “You are going to the store,” so you’re could be used in this sentence.

Its vs. It’s: Again, the word "it's" is a contraction of the words “it” and “is.” Only use this word when you would otherwise say "it is." Simple as that.

Too vs. to: The word “too” should be used to mean "more than enough," or in place of the word “also.” I remember this by thinking of that additional letter “o” as more than enough letters, or like this other "o" is also in the word. Get it? Or just find your own trick.

So, if you're telling someone they've poured you more than enough vodka, you'd say, "That's too much vodka." If you are also hungover, you'd say, "I'm hungover too."

4. Avoid passive voice.

This one can be confusing, but it will change your writing for the better if you learn to understand it.

Example of active voice: “She ate the pizza.”
Example of passive voice: “The pizza was eaten by her.”

Do you feel the difference? The second sentence is wordy and falls flat. The first is clear and strong.

Here’s what’s happening: Grammatically, “she” is the subject of the sentence. When the subject is doing an action (eating the pizza) it’s considered active voice. When the action is happening to the subject (eaten by her) it’s passive voice. Always try to make your subject (he, she, I, the girl, the dog, the wind, etc.) do the action, instead of the other way around.

If this is still confusing, read Grammar Girl’s explanation of active vs. passive voice. It may help to read about subjects first.

5. Use exclamation points sparingly.

Exclamation points only soften your message. People use them when they want to come across as friendly or excited, but they only end up sounding a little crazy. Nobody wants to read something that feels aggressively cheerful, or like someone is shouting at them. Be confident in your message and end it with a period.

6. Proofread and edit your writing.

This is a given. First write down everything you have to say without editing, so you can get it all out without getting in your own way. Then go back and read through it. Fix typos. Rework weird sentences. Cut an entire paragraph. You can almost always make your writing better if you step away for a moment then come back and read it again.

I could go on, but I did just say that thing about being concise. With all those rules on our hypothetical chalkboard, I will leave you with this: Don’t get so worried about writing well that you don’t write at all. As Tobias has said, doing it wrong can be better than doing nothing. The more you write, the better you will get at writing. So write, designers, write! And maybe avoid exclamation points.

April 27, 2017No Comments

Embrace the chaos, or don’t

Last weekend I bought a desk. It was a Craigslist find, only $20, an adjustable drafting table meant for architects or illustrators. I was delighted. I brought the table home, cleared a space for it against a window, set my lamp and plants on top. I cleaned, rearranged and admired it for a good 10 minutes before sitting down to work. I was ready to do something big.

I keep seeing headlines about the ideal creative environment. “An Empty Desk Means an Empty Mind!” say some. “Chaos Leads to Creativity!” shout others. These articles quote Albert Einstein and cite a study in which people came up with more, and better, creative ideas within a messy environment. The original theory here was "that being around messiness would lead people away from convention, in favor of new directions," whereas an orderly environment would inspire “moral righteousness” (New York Times).

I admire the intent. These articles challenge the Instagram-worthy workspaces often celebrated in a minimalist-trending culture. They make us wonder if we might actually be geniuses, judging by our own cluttered desktops and shoe-strewn home offices. But in this “embrace the chaos” conversation, the real point is missed: That the same creative process does not work for everyone. The same thing may not even work for the same person on a different day.

Francis Bacon photographed in his studio by Perry Ogden

I can think of few times when a messy environment made me feel more creative. Mostly, it distracted me. I’ll admit I’ve wasted time organizing folders, wiping coffee stains and cleaning keyboards to avoid doing real work. Nonetheless, I am more inspired and productive in a tidy space. My mind is cluttered enough already, so an organized environment gives me some small sense of control. Of course my reasoning is anecdotal and not scientific. I am no Albert Einstein, but I’d posit that many rich, creative minds like neat spaces too. Or maybe they do one day but thrive creatively in chaos the next.
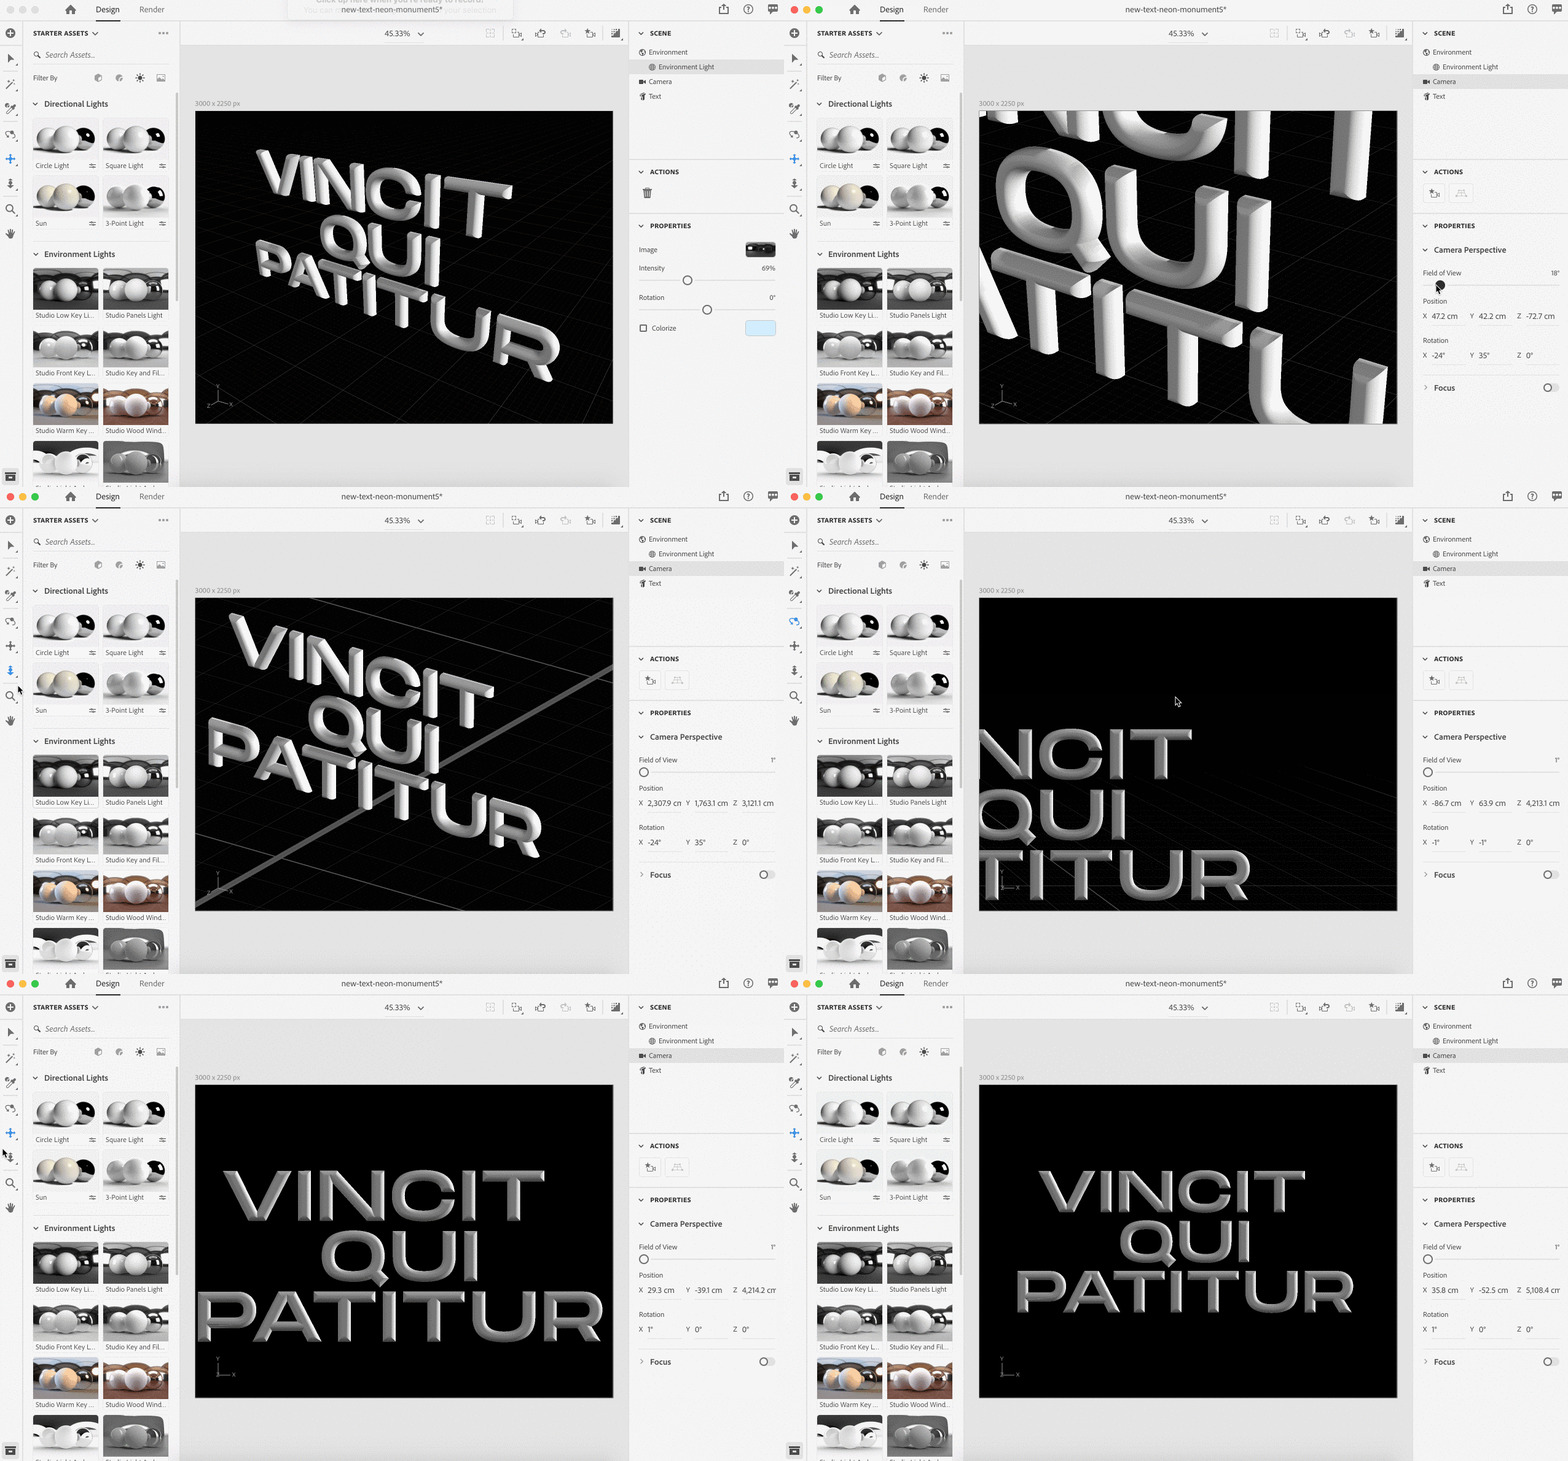
Ernest Hemingway wrote while standing. Francis Bacon wouldn't let his cleaning lady touch his studio. Andy Warhol collected junk and filled his house with it, then pushed everything on his desk into a box when he was ready to work. James Joyce wrote in bed on his stomach in a white coat, with a blue pencil. While it’s clear that routine is important to many artists and writers, the specifics of that routine are not. It’s just whatever works.
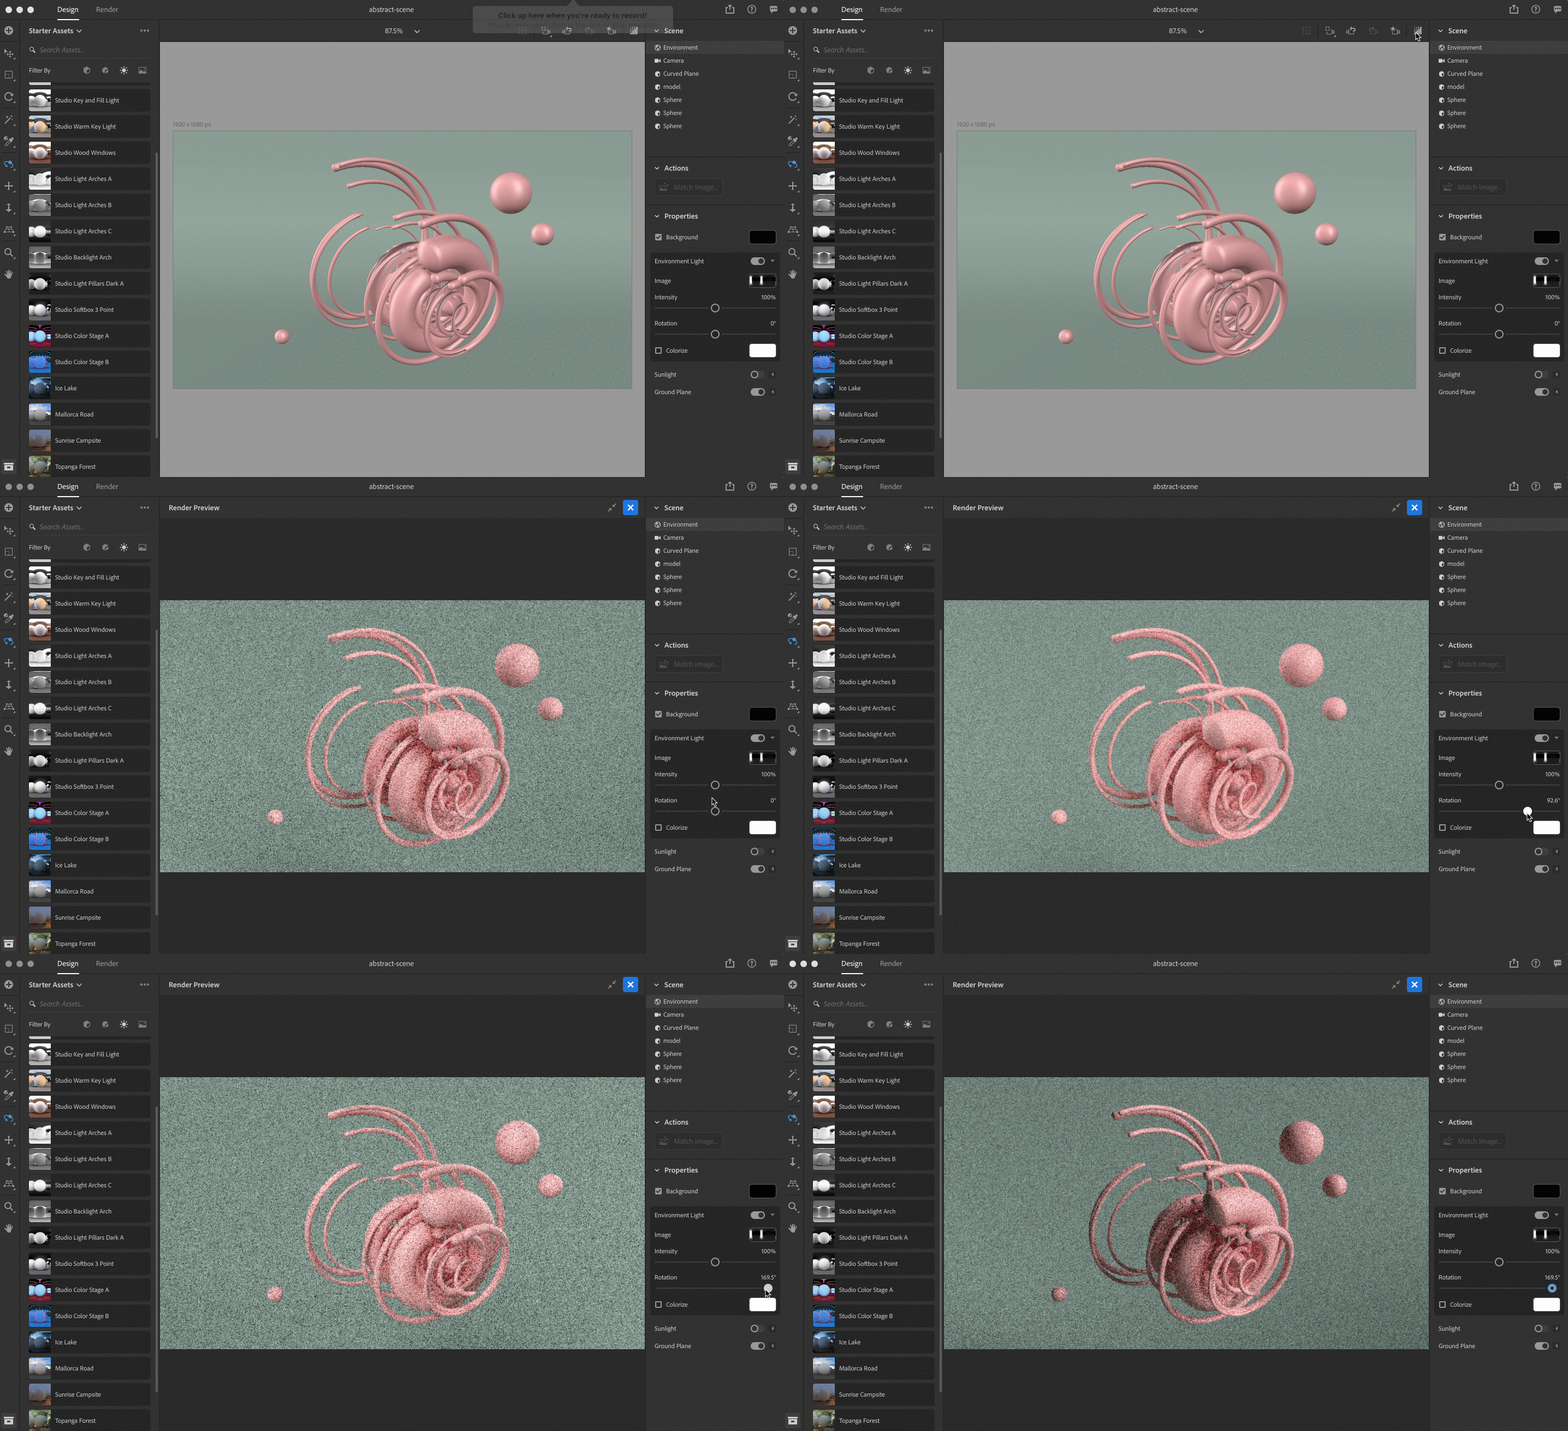
My little drafting table is perfect for me right now. I have my glasses right here, a pen over there, an unopened piece of mail next to a plant next to another plant. I clear the cups and cereal bowls every night before bed. It’s pretty tidy, overall. I also work well in a coffee shop with headphones on, or in my bed on certain days. But my desk, man, my desk. It may be the novelty of something new, but I have this good feeling about it. And sometimes a good feeling is all it takes.

March 3, 2017No Comments

The anxiety of alone time

As a writer, remote worker and introvert-in-denial, I spend quite a bit of time alone. Most often I relish this time to myself. If I'm not working, I'm reading, riding my bike, cooking. I am rarely bored when left to my own devices.

Recently, however, while talking with a friend, I realized that most of my alone time is spent anxiously. I am a busy person, which is not to say that I am busy; restless may be a better word. Exceedingly lazy, but rarely relaxed. I feel as though I should be doing something, working on something, experiencing something every moment of every day. I am constantly fearful that I am wasting time. When presented with the possibilities of free time, I feel the pressure of it. A need to fill that time wisely.

“If you won’t let yourself relax in this and live in it, then yes, you are wasting time,” my friend said on the phone. I’d told her I had dedicated the day to doing nothing and seeing no one, but that I felt guilty about it. There was work to be done. Errands. This conversation wasn’t directly related to being alone – solitary time is not synonymous with laziness – but her logic spoke to a broader feeling, that hum of anxiety that wouldn’t allow me to settle in with my decision. The fear that I was spending my time the wrong way.

“In order to be open to creativity, one must have the capacity for constructive use of solitude. One must overcome the fear of being alone.” - Rollo May

It seems as though many creatives know this feeling. The cause/effect is unclear: Are we restless because we are creative? Creative because we are restless? Does it even matter? It’s true that this anxiety has at times pushed me to create. And yet, I wonder how much more creative I would be if this undercurrent of worry were not there.

Depression or angst is often thought to spur creativity. It’s a conversation as old as time, perpetuated by tortured artists whose work we hold in high esteem. Anxiety is not depression, but the symptoms overlap: Discontent. Irritability. Lack of concentration. Guilt. While I have turned to writing in this emotional state, I don’t know that I’ve produced my best work in it. I don’t know that those revered artists did either.

Others may not feel the same way I do when left alone with their thoughts and an open stretch of unclaimed time. Maybe they allow themselves to enjoy it. Maybe they don’t overthink it. Maybe they embrace it. Perhaps, instead of seeking a distraction from their head or from the threatening silence of solitude, they lean in and look around a bit. Maybe they find something there.

In any case, time spent fretting is not time spent well. I’d rather waste my time joyfully than worry I’m wasting my time.

February 16, 2017No Comments

Waste your ideas

It happens most often when I’m doing work for a client. An idea comes into my head, or I see the opportunity to use an idea I’ve previously had, and I hold back.

I file the idea away thinking now is not the time. That I should save it for a personal project, or a different client, or a rainy day when I need it more than I do now. I imagine I’ll know when it’s the right moment and at that time, the curtain will lift and confetti will fly and there will be MY IDEA, perfectly ripened and ready for its big debut. Cue applause.

I’ve learned the hard way that this is not how it works. If I save my best ideas for later, what does that leave me with now? It leaves me with stifled work and a result I’m not proud of. It leaves me bloated with ideas that will eventually rot within the cage I’ve created for them (gross imagery, I know).

It’s like I think so little of myself that I believe I’ll never have a good idea again in my life. I fear this might be all I’ve got and that eventually I’ll be tapped out. But the creative life – or really, life in general – is not one of holding back. It’s one of giving freely. It’s one of opening up and letting it all flow through you.

Annie Dillard puts it perfectly in her book, "The Writing Life":

“One of the few things I know about writing is this: spend it all, shoot it, play it, lose it, all right away, every time. Do not hoard what seems good for a later place in the book, or for another book; give it, give it all, give it now. The impulse to save something good for a better place later is the signal to spend it now. Something more will arise for later, something better. These things fill from behind, from beneath, like well water. Similarly, the impulse to keep to yourself what you have learned is not only shameful, it is destructive. Anything you do not give freely and abundantly becomes lost to you. You open your safe and find ashes.”

She’s talking about writing, but this truth applies to all creative fields. There is no wrong time. Every project, even the small ones, is an opportunity. One side project can change your life so if we are holding back, we are selling ourselves short.

Human beings are constantly evolving and sources of inspiration are all around us – in the people we meet, the books we read, the art we see, the trips we we take. That’s why it’s important to experience everything we can. The things we take in will influence what we put out into the world. So take it all in.

Waste your ideas. If they’re not ready and they die horrible deaths outside of your head in the real world, so be it. Something new will come to you.